

Dropping your favorite powder and hearing that dreaded crack is a small heartbreak we all know too well. One minute your blush or bronzer looks flawless, and the next it’s a pile of crumbles rolling around inside the case. The good news? You don’t have to toss it in the trash or rush out to buy a replacement. Learning how to fix cracked makeup compact products is easier than you might think, and it only takes a few common household items.
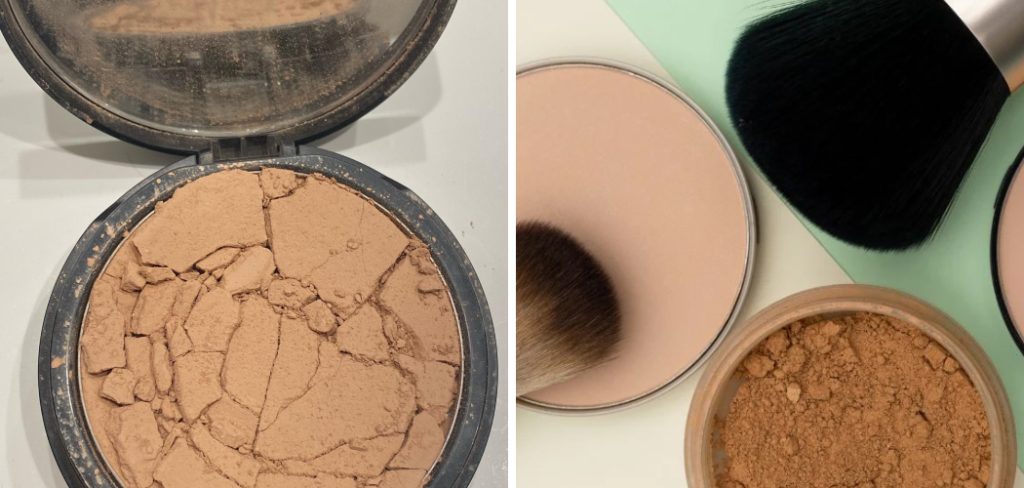
This guide walks you through the whole process in clear, simple steps that work for all skill levels. Whether you shattered a pricey highlighter or a drugstore eyeshadow, the same method brings it back to life. You’ll save money, reduce waste, and feel a little proud of your DIY skills. We’ll cover why this repair matters, a beginner-friendly step-by-step, and answers to the questions people ask most. Grab your broken powder and let’s get started, because that compact deserves a second chance.
Why Fixing a Cracked Makeup Compact Matters
Repairing a broken powder isn’t just about saving a few dollars, though that’s a nice bonus. Quality compacts can cost anywhere from ten to sixty dollars, and replacing them adds up fast. When you repair instead of replace, you keep more cash in your wallet and get to keep the exact shade you love, which may even be discontinued.
There’s also a bigger picture here. The beauty industry produces mountains of packaging waste every year, and tossing a usable product only adds to the pile. Fixing your compact means less plastic and metal heading to the landfill. On top of that, learning this skill empowers you to handle little beauty emergencies with confidence. It’s a quick win that feels good, saves money, and helps the planet all at once.
Step-by-Step Guide to How to Fix Cracked Makeup Compact
Step 1: Prepare Your Workspace
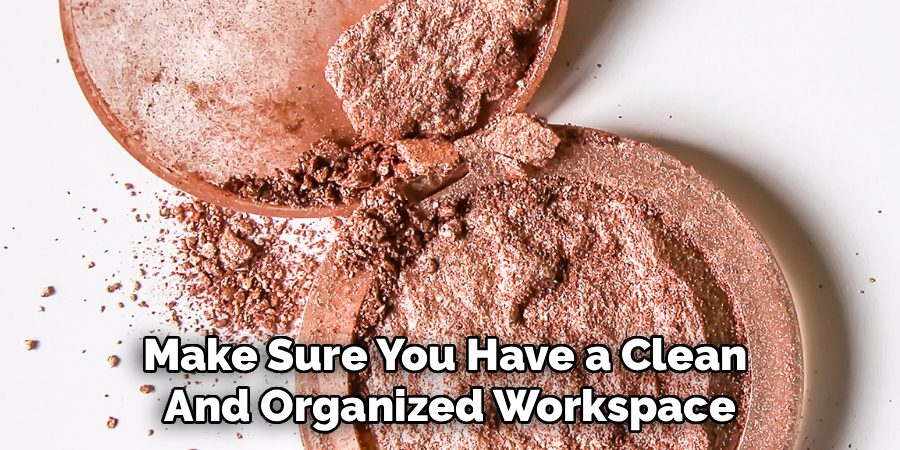
Before you begin fixing your cracked makeup compact, make sure you have a clean and organized workspace. You will need the following materials:
- Rubbing alcohol or hydrogen peroxide
- Clean cloth or paper towels
- Small mixing bowl
- Spatula or flat tool for smoothing out product
- Microfiber cloth (optional)
- Small brush (optional)
Step 2: Crush the Broken Pieces
It might feel strange to break your makeup even more, but this step is key. take the loose chunks and any cracked sections, then gently crush them into a fine powder using the back of your spoon. Work slowly so the powder doesn’t fly everywhere and make a mess. The goal is to turn all those uneven pieces into a smooth, consistent texture with no lumps left behind. A uniform powder blends back together far better than jagged fragments. If you notice any large stubborn bits, keep pressing until everything feels soft and even. Take your time here, since a good crush leads to a smoother final result.
Step 3: Add Rubbing Alcohol
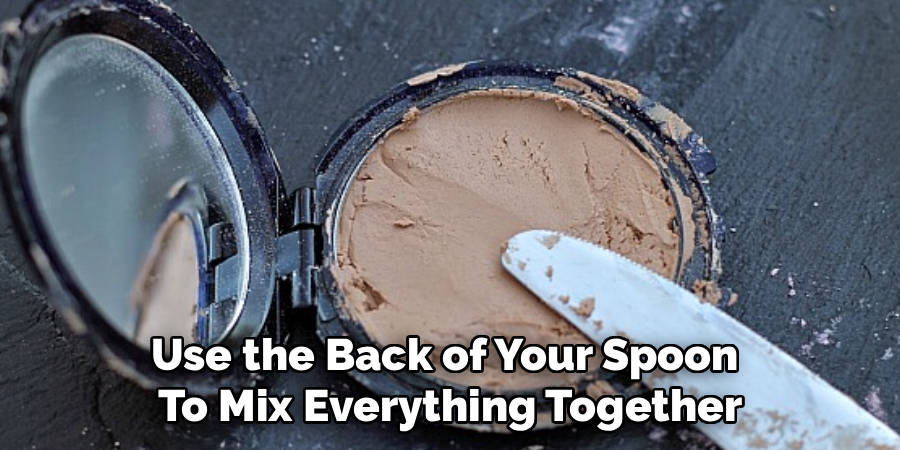
Now that you have your finely crushed eyeshadows, it’s time to add the rubbing alcohol. This step is what will bind everything together and create a solid, pressed pan. Start by adding a few drops of rubbing alcohol into the container with your eyeshadows. Use the back of your spoon to mix everything together, creating a paste-like consistency.
Be careful not to add too much rubbing alcohol, as it can make the mixture too wet and cause it to easily break apart later on. If you do accidentally add too much, simply leave the lid off for a bit and allow some of the alcohol to evaporate before moving on.
Step 4: Smooth the Surface
Once your eyeshadow mixture is at the desired consistency, use the back of your spoon to smooth out the surface until it is completely even. This will ensure that your pressed eyeshadow pan has a smooth and professional appearance.
Allow the mixture to dry completely before using the eyeshadow. This step is crucial, as it ensures the product will set properly and maintain its compact form. Depending on the amount of alcohol used and the humidity of your environment, drying times may vary, but it typically takes anywhere from 24 to 48 hours. Once dry, your pressed eyeshadow is ready to use and should perform like any store-bought alternative, offering vibrant color payoff and smooth application.
Step 5: Press the Makeup
Now that your homemade eyeshadow is dry and fully set, it’s time to press it into its compact form. This final step will give your eyeshadow a professional finish and make it easier to use on a daily basis.
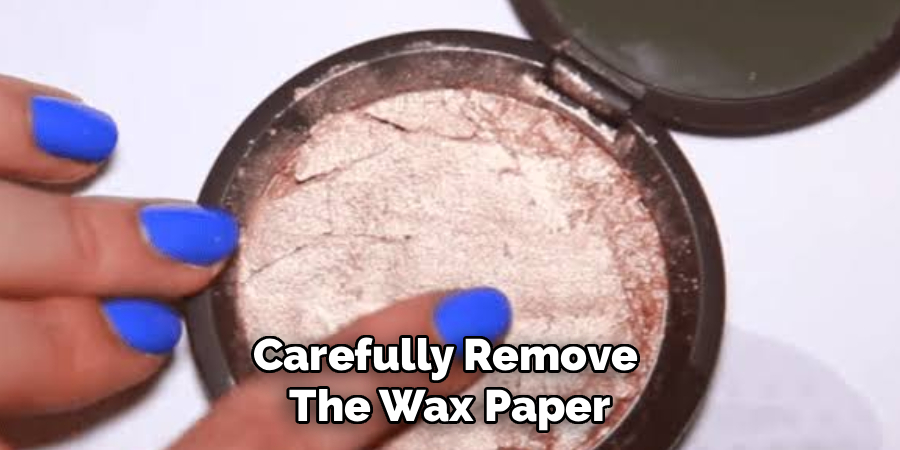
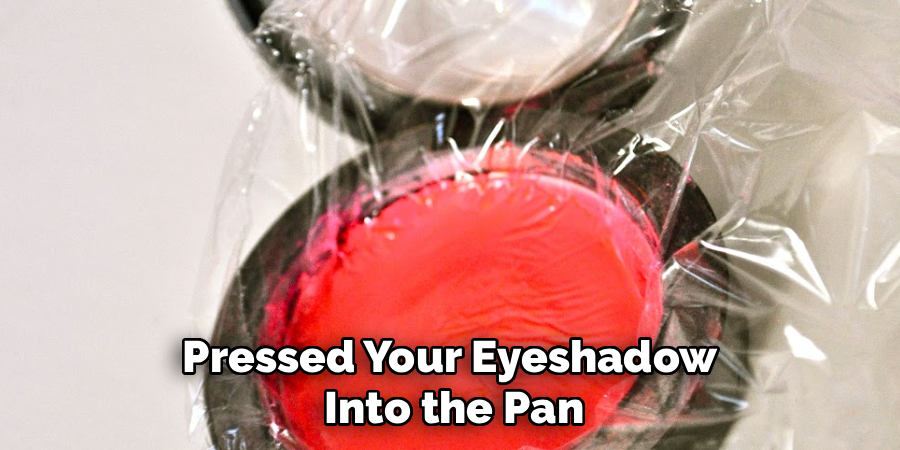
To begin, place a small piece of wax paper or parchment paper on top of the eyeshadow. Then, using a flat object such as a coin or spatula, gently press down on the eyeshadow until it becomes compact and smooth. Be careful not to apply too much pressure, as this can cause cracking or crumbling.
Once you have achieved your desired level of compaction, carefully remove the wax paper from the top of the eyeshadow.
Step 6: Clean the Edges
To give your newly pressed eyeshadow a professional-looking finish, use a clean tissue to gently wipe away any excess product that may have collected on the edges of the pan. This will ensure that your eyeshadow has crisp, clean edges and will also prevent any excess product from getting on your fingers or makeup brushes during application.
Once the edges are clean, allow the eyeshadow to fully dry and set in the pan. This process might take a few hours or even overnight, depending on the formula and moisture levels. Ensuring the product is completely dry will help it maintain its compactness and durability during use. Once dried, your eyeshadow is ready to be incorporated into your makeup routine, offering a fresh, customized addition to your collection. Store it in a secure place to prevent cracking, and enjoy your personally crafted piece of makeup artistry.
Step 7: Let It Dry
Once you have poured and pressed your eyeshadow into the pan, it’s time to let it dry. This is a crucial step in the process, as any remaining moisture can lead to a soft or crumbly product. Be sure to place your eyeshadow in a well-ventilated area and avoid disturbing it while it dries.
You may notice that some eyeshadows take longer to dry than others. This is completely normal and depends on factors such as the pigmentation and formula of the product. It’s always better to err on the side of caution and leave your eyeshadow to dry for at least a few hours, if not overnight.
Frequently Asked Questions
Can I Use Water Instead of Rubbing Alcohol?
It’s best to avoid water for this repair. Water takes much longer to dry, can grow bacteria, and may ruin the texture of your powder. Rubbing alcohol works better because it binds the powder and then evaporates cleanly, leaving no residue behind. If you don’t have any on hand, a splash of alcohol-based hand sanitizer or micellar water can work in a pinch, though pure rubbing alcohol gives the most reliable results.
Will the Fixed Compact Last as Long as a New One?
Yes, a properly repaired compact can last just as long as it did before. As long as you crushed the powder evenly, added the right amount of alcohol, and let it dry fully, the product performs normally. The pigment and formula don’t change during the process. You may notice the surface looks slightly different, but the color payoff and wear time stay the same. Handle it gently going forward to prevent future cracks.
Does This Method Work for All Powder Products?
This technique works well for pressed powders like blush, bronzer, eyeshadow, highlighter, and setting powder. It does not work for cream or liquid formulas, which have a completely different consistency. If your product is a baked powder, the same steps apply, though it may need a touch more alcohol. Always check that your item is a pressed powder before starting, since applying this method to the wrong type could cause more harm than good.
What If My Powder Still Feels Crumbly After Drying?
A crumbly result usually means the powder didn’t get enough alcohol or wasn’t pressed firmly enough. Don’t panic, because you can simply repeat the process. Add a few more drops of rubbing alcohol, press again with more steady pressure, and allow extra drying time. Making sure the powder forms a proper paste before pressing is the key to a solid finish. A little patience and a second attempt almost always fix a stubborn, loose compact.
Is It Safe to Use Makeup After Repairing It?
Yes, your makeup is completely safe to use once it has dried fully. Rubbing alcohol evaporates entirely, so none of it stays behind on your skin. Just make sure the compact feels dry to the touch before applying it to your face. If you’re extra cautious, wait a full twenty-four hours after the repair. The formula itself remains unchanged, so you can wear it exactly as you did before the accident happened.
Conclusion
Rescuing a shattered powder is one of the easiest and most satisfying beauty skills you can pick up. With just rubbing alcohol, a spoon, and a bit of patience, you can bring almost any pressed product back to full working order. Knowing how to fix cracked makeup compact saves you money, spares your favorite shades from the trash, and cuts down on beauty waste that piles up over time. The seven steps above break the whole process into simple, manageable stages that anyone can follow, no matter your experience level.
So the next time you hear that heartbreaking crack, don’t reach for the bin. Grab your supplies, follow along, and give your compact the second life it deserves. Try it once and you’ll feel confident tackling any future powder mishap. Your wallet, your makeup bag, and the planet will all thank you for it.

About the Author
Jane Hubbard is a passionate beauty expert with a wealth of experience in makeup, hair, and overall beauty techniques. After years of working as a hairdresser specialist, she followed her entrepreneurial spirit and started her own consultancy business.
Jane has always been driven by her desire to help others feel confident in their own skin, and she does this by sharing her knowledge, experiences, and practical beauty tips. Through her consultancy, she empowers individuals to embrace their unique beauty, offering tailored guidance that boosts both self-esteem and personal style.
Professional Focus
Specializes in makeup, hairstyling, and beauty consulting.
Provides personalized beauty advice, tips, and techniques to help individuals feel confident in their appearance.
Dedicated to staying up-to-date with the latest industry trends and developments.
Passionate about creating a comfortable and empowering experience for every client.
Education History
University of Craft and Design – Bachelor of Fine Arts (BFA) in Woodworking and Furniture Design
Woodworking Apprenticeships – Extensive hands-on training with skilled craftsmen to refine carpentry and furniture making techniques
Online Courses & Masterclasses – Continued education in advanced woodworking techniques, design principles, and specialized tools
Expertise:
Makeup artistry, hairstyling, and beauty consulting.
Personalized beauty techniques to enhance confidence and self-expression.
Educating clients on how to maintain their beauty routines at home.