

We have all been there. You buy a new bottle of liquid foundation, swipe it on, and suddenly your face looks a shade or two darker than the rest of you. It is a common frustration, but it does not mean you wasted your money. Learning how to make liquid foundation lighter is a simple skill that saves your budget and rescues that “not quite right” shade sitting in your drawer.
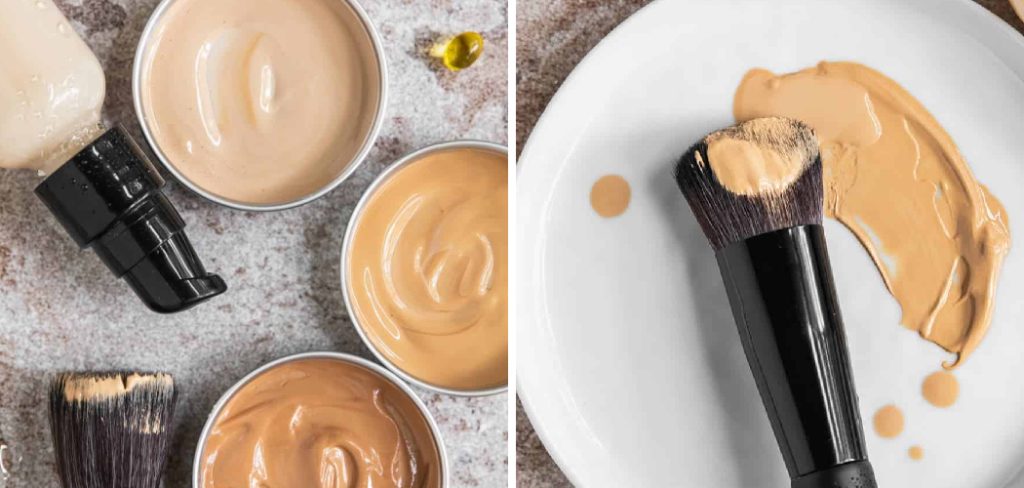
The good news is that you do not need to be a professional makeup artist to fix this. With a few everyday products and a gentle mixing technique, you can adjust the tone until it blends perfectly with your skin. In this guide, we will walk through why a lighter shade matters, seven easy steps you can follow at home, and answers to the questions people ask most. By the end, you will feel confident customizing any foundation to suit your complexion, your season, and your personal style.
Why Making Your Foundation Lighter Matters
Getting your shade right does more than improve a photo. When your foundation matches your neck and chest, your whole look appears natural and polished rather than mask-like. A tone that is too dark can settle into fine lines, emphasize dryness, and leave an obvious line along your jaw, which is exactly what most people want to avoid.
There is also a practical side to consider. Skin naturally lightens in winter and deepens in summer, so a single bottle rarely fits you all year. Adjusting the shade yourself means you get more use from products you already own, cut down on waste, and skip the cost of buying a brand new bottle every few months. In short, a small tweak gives you flexibility, saves money, and helps you feel genuinely comfortable in your own skin.
Step-by-Step Guide to How to Make Liquid Foundation Lighter
Follow these seven steps in order, and take your time with each one. Work in small amounts, test as you go, and always check the color in natural light before applying it to your whole face.
Step 1: Gather Your Tools and Materials
Before you mix anything, set up a small workspace so the process stays clean and simple. You will want your current foundation, a lightening agent such as a white foundation or a pale shade you already own, a clean mixing surface, and a spatula or the back of a spoon. A small palette, a ceramic dish, or even the back of your hand works well for tiny test batches.
Having everything within reach keeps you from rushing. Grab a mirror positioned near a window too, since daylight gives you the most honest view of the true color. Good preparation makes the rest of the steps feel effortless and stress-free.

Step 2: Choose the Right Lightening Agent
The product you mix in matters more than anything else, so choose carefully. A white or very pale foundation from the same formula family is the safest option, because it lightens the shade while keeping the texture and finish consistent. Avoid using plain white face paint or craft products, as these can change how the foundation wears and may look chalky.
If you do not own a white base, a lighter shade of the same foundation line works beautifully. Some people also use a drop of white color-correcting primer. Whatever you pick, make sure it is designed for skin so your final blend stays comfortable, breathable, and safe to wear all day.
Step 3: Foundation Lighter With a Small Test Batch
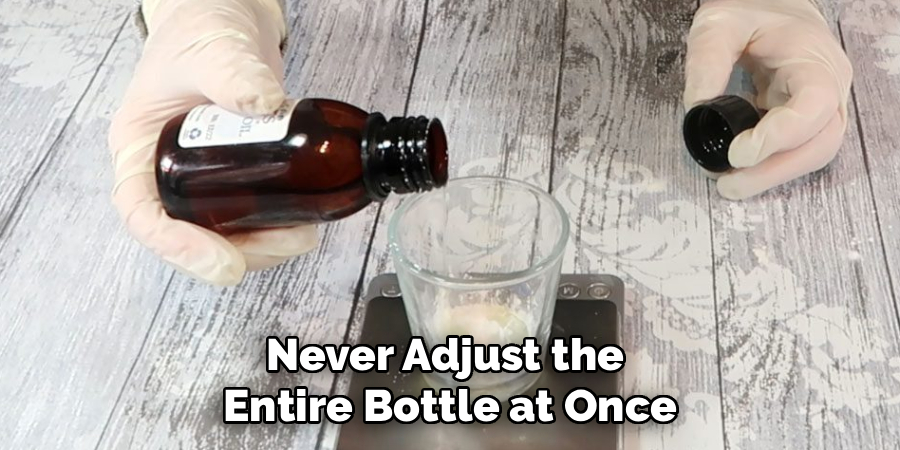
Never adjust the entire bottle at once, because one wrong move could ruin the whole thing. Instead, start with a tiny test batch on your palette. Place a small amount of your regular foundation down first, then add your lightening agent one drop at a time. This slow approach gives you full control and prevents you from overshooting the shade you want.
Blend the two together thoroughly until the color looks even, with no streaks. Take note of roughly how many drops you used, since this helps you repeat the recipe later. A patient, measured start is the secret to a flawless, natural-looking result.
Step 4: Mix Slowly and Blend Thoroughly
Now that you have your ratio in mind, focus on the mixing itself. Use your spatula to fold the two products together with gentle, steady strokes rather than fast stirring, which can introduce air bubbles. Keep working the mixture until the pigment is completely uniform and you cannot see any separate patches of light or dark color.
This part rewards patience. A rushed, half-mixed blend will apply unevenly and may look patchy once it sets on your skin. Take an extra thirty seconds to smooth everything out. When the shade looks consistent across the entire test area, you are ready to check whether the tone actually matches your complexion.
Step 5: Test the Shade on Your Skin
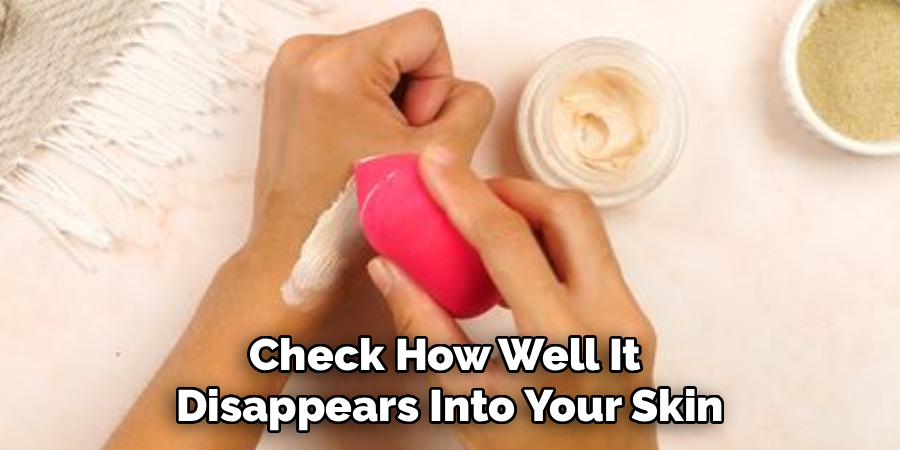
Color on a palette can look very different from color on your face. Swipe a small stripe of your new blend along your jawline, reaching down toward your neck. Let it dry for a minute, then step into natural light and check how well it disappears into your skin. The goal is a shade that vanishes at the edges rather than sitting on top as an obvious line.
If it still looks a touch dark, return to your palette and add another drop of your lightening agent. If it looks too pale or ashy, mix in a little more of your original foundation. Adjusting in tiny increments keeps you in complete control.
Step 6: Adjust the Finish
Sometimes lightening a foundation can slightly change its texture or make the finish look flatter than you expected. If your blend feels a little thick after mixing, add one small drop of a facial moisturizer or a hydrating primer to loosen it. This restores a smooth, natural glide without diluting the color too much.
You can also fine-tune the finish here. A drop of illuminating primer brings back a healthy glow, while a touch of mattifying primer helps control shine. Blend any addition in slowly and test again on your jaw. This step lets you customize not just the shade, but the way your foundation feels and looks throughout the day.
Step 7: Store and Reuse Your Custom Blend
Once you are happy with your shade, decide how much you want to make. For daily use, mixing a fresh batch each morning keeps things simple and hygienic. If you prefer to prepare more at once, transfer your custom blend into a small, clean, airtight container with a tight lid to protect it from air and bacteria.
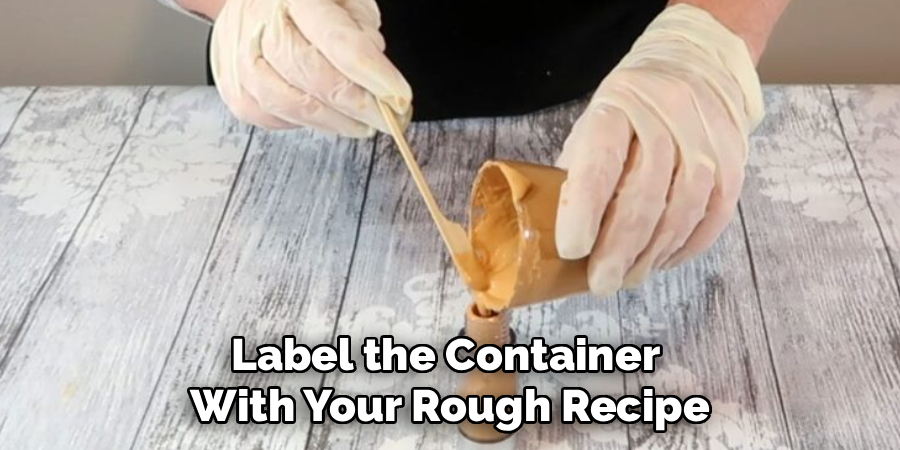
Label the container with your rough recipe, such as the number of drops you used, so you can recreate it easily. Keep it in a cool, dry spot away from direct sunlight, and try to use it within a few weeks. Fresh blends always apply best and keep your skin happy.
Frequently Asked Questions
Can I Use Moisturizer to Lighten My Foundation?
Moisturizer will make your foundation appear slightly lighter, but it mostly thins the product rather than truly changing the pigment. This works for a very minor adjustment or a natural, sheer finish. For a noticeably paler shade, you should mix in a white or lighter foundation instead, since that changes the actual color without sacrificing the coverage you rely on.
Will Adding White Foundation Make It Look Ashy?
It can, if you add too much or use the wrong undertone. To avoid an ashy, grey cast, add white foundation one small drop at a time and blend fully before judging the color. Matching undertones matters too, so pair a warm foundation with a warm-leaning lightener. Testing on your jawline in natural light helps you catch any ashiness before it reaches your whole face.
How Much Lighter Can I Actually Go?
Realistically, you can lighten a foundation by about one to two shades and still keep a natural result. Pushing beyond that often looks unnatural and can turn chalky or grey. If your bottle is three or more shades too dark, it is usually easier and more flattering to buy a closer match rather than trying to transform it completely at home.
Does This Work for Every Foundation Type?
This method works well for most liquid foundations, including dewy, matte, and satin finishes. The key is mixing in a lightening product from a similar formula so the texture stays consistent. Very heavy full-coverage foundations can be trickier to blend smoothly, so mix slowly and add a drop of primer if needed. Always test a small batch first to confirm the results.
How Long Will My Custom Blend Last?
A freshly mixed blend applied the same day is always safest and looks best. If you store extra in a clean, airtight container away from heat and light, it can last a few weeks. Keep an eye out for changes in smell, texture, or color, and toss it if anything seems off. Fresh batches protect both your skin and your finish.
Conclusion
Adjusting a foundation that turned out too dark is one of the easiest wins in your beauty routine. By gathering the right tools, choosing a suitable lightening agent, and mixing patiently in small test batches, you can create a shade that melts seamlessly into your skin. The whole process comes down to going slow, testing on your jawline, and adjusting one drop at a time until the color feels just right.
Now that you know how to make liquid foundation lighter, you never have to abandon a mismatched bottle again. Give it a try with a small batch this week, note your favorite recipe, and enjoy a custom shade that fits your skin through every season. With a little practice, you will handle shade adjustments like a true pro and get far more value from every product you own.

About the Author
Jane Hubbard is a passionate beauty expert with a wealth of experience in makeup, hair, and overall beauty techniques. After years of working as a hairdresser specialist, she followed her entrepreneurial spirit and started her own consultancy business.
Jane has always been driven by her desire to help others feel confident in their own skin, and she does this by sharing her knowledge, experiences, and practical beauty tips. Through her consultancy, she empowers individuals to embrace their unique beauty, offering tailored guidance that boosts both self-esteem and personal style.
Professional Focus
Specializes in makeup, hairstyling, and beauty consulting.
Provides personalized beauty advice, tips, and techniques to help individuals feel confident in their appearance.
Dedicated to staying up-to-date with the latest industry trends and developments.
Passionate about creating a comfortable and empowering experience for every client.
Education History
University of Craft and Design – Bachelor of Fine Arts (BFA) in Woodworking and Furniture Design
Woodworking Apprenticeships – Extensive hands-on training with skilled craftsmen to refine carpentry and furniture making techniques
Online Courses & Masterclasses – Continued education in advanced woodworking techniques, design principles, and specialized tools
Expertise:
Makeup artistry, hairstyling, and beauty consulting.
Personalized beauty techniques to enhance confidence and self-expression.
Educating clients on how to maintain their beauty routines at home.