

A little color on the cheeks can take years off your face, but the rules shift as skin matures. Fine lines, drier texture, and softer contours mean the powder blush that once looked perfect might now settle into creases or fade by lunchtime. If that sounds familiar, you are in the right place.
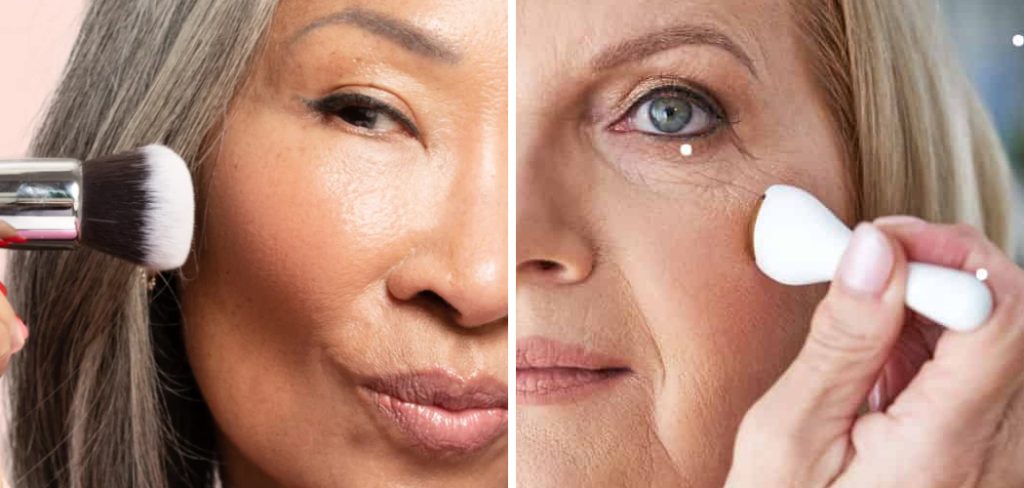
Learning how to apply blush on mature skin is less about following trends and more about understanding what your skin needs today. The goal is a soft, lit-from-within flush that flatters rather than fights your features. With the right formula, placement, and blending technique, you can create a look that appears effortless and genuinely refreshing.
In this guide, you will discover why proper application matters, a clear seven-step routine you can follow at any skill level, and answers to the questions people ask most. Everything here is beginner-friendly, practical, and built to help you feel confident every single morning.
Why Applying Blush Correctly on Mature Skin Matters
Blush does more heavy lifting than any other product once skin begins to change. As we age, natural color in the cheeks fades and the face can look flat or tired. A well-placed flush instantly restores warmth, lifts the face, and mimics the healthy glow of younger skin.
Getting the technique right also protects your finish. Poorly chosen formulas can emphasize dryness or sink into fine lines, while the correct approach smooths and brightens. When you apply color thoughtfully, you avoid harsh stripes and that overly powdered look.
The payoff is real. You spend less time fixing mistakes, use less product, and gain a polished result that lasts. Most of all, you feel put-together with minimal effort, which is exactly what a good routine should give you.
Step-by-Step Guide to How to Apply Blush on Mature Skin
Follow these seven steps in order for a soft, radiant result. Work with a light hand, build slowly, and remember that less product almost always looks more natural.
Step 1: Prep and Hydrate Your Cheeks
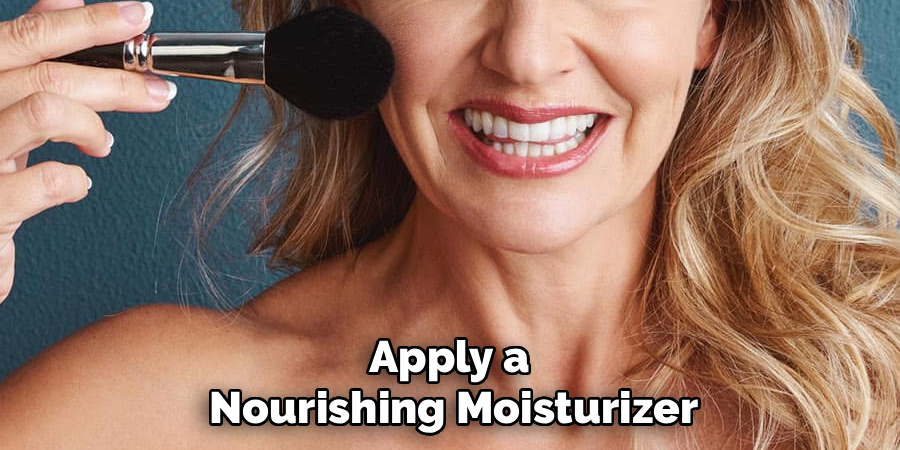
Start with a smooth, hydrated base, because dry patches grab color unevenly and highlight texture. Apply a nourishing moisturizer and let it absorb fully before you touch any makeup. If your skin feels especially thirsty, press a small amount of face oil into the cheeks and wait a minute.
Hydration matters more than any single product choice here. A plump, well-moisturized surface lets color glide on evenly and blend without dragging. Skipping this step is the most common reason blush looks patchy, so give it the attention it deserves. Think of it as building a soft canvas that makeup can sit on beautifully.
Step 2: Choose the Right Formula
Formula choice can make or break your look, and this is where mastering how to apply blush on mature skin really begins. Cream and liquid blushes tend to work best because they melt into the skin and add a dewy, natural finish. Powder formulas can still work, but reserve them for oilier areas or set cream color lightly to help it last.
Reach for warm, soft shades like rose, peach, and soft berry, since these read as fresh rather than harsh. Avoid heavy shimmer, which can settle into fine lines and draw attention to texture. A satin or natural finish flatters mature skin far more than anything overly matte or sparkly.
Step 3: Find the Best Placement
Placement determines whether your blush lifts the face or drags it down. Smile gently and locate the roundest part of your cheek, often called the apple. Apply color there and blend slightly upward toward the top of your ear, following your cheekbone.
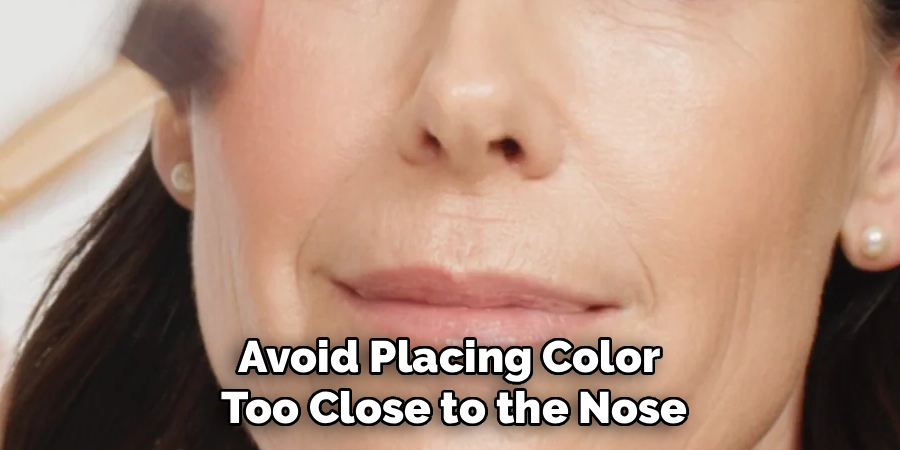
Keep the product high on the face rather than low near the smile lines, because upward placement creates an instant lifting effect. Avoid placing color too close to the nose, which can look flushed rather than radiant. This simple adjustment makes a dramatic difference and helps counter the natural softening of facial contours that comes with age.
Step 4: Apply With a Light Hand
Less is genuinely more when it comes to color on mature skin. Start with a tiny amount of product on your fingertip or a dampened sponge, then tap it gently onto the apples of your cheeks. Building slowly gives you full control and prevents that overloaded, clownish look that is so hard to fix afterward.
For cream and liquid formulas, warm the product between your fingers first so it applies smoothly. Press rather than swipe, since pressing deposits color without disturbing your foundation underneath. You can always add more, but removing excess means starting over, so patience during this step pays off every time.
Step 5: Blend Until Seamless
Blending is where good technique separates a natural glow from an obvious stripe of color. Use clean fingers, a damp sponge, or a soft brush to buff the edges outward in gentle circular motions. The aim is a soft transition with no hard lines where the color stops.
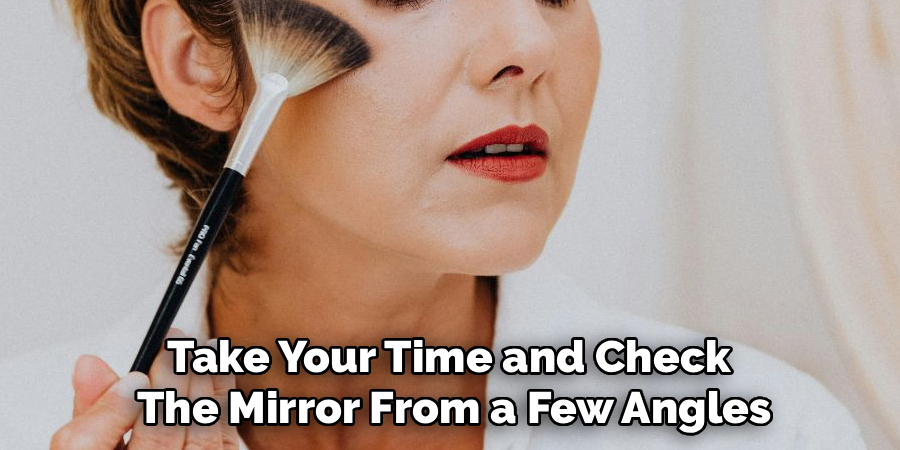
Take your time and check the mirror from a few angles, including natural light near a window. If you spot any harsh edges, tap over them with a clean sponge to soften. Well-blended cheeks look like they belong to your skin rather than sitting on top of it, and that seamless finish is the true mark of skill.
Step 6: Layer and Set for Lasting Wear
To keep your color fresh all day, consider layering thoughtfully. If you used a cream blush, you can press a whisper of matching powder blush on top to lock it in place. This combination lasts far longer than a single layer and resists fading through the afternoon.
Set only the areas that need it, avoiding heavy powder over dry patches. A light mist of setting spray afterward melts everything together and removes any powdery look. This layering trick is one of the smartest habits you can build, giving you a glow that survives coffee, meetings, and warm weather without constant touch-ups.
Step 7: Balance With the Rest of Your Face
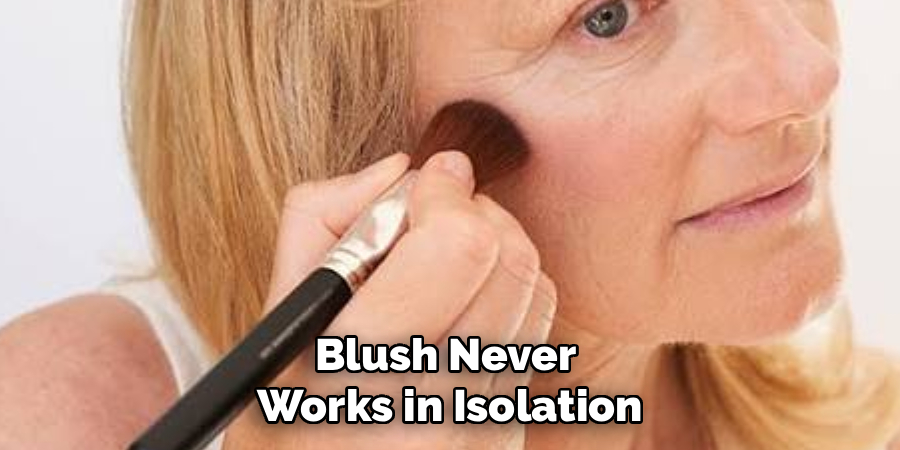
Blush never works in isolation, so step back and view your whole face. Make sure your cheek color complements your lips and eyes rather than competing with them. If your blush is bold, keep the rest of your makeup soft, and if your look is neutral, your cheeks can carry a touch more warmth.
A quick harmony check keeps everything looking intentional and polished. Add a subtle highlight above the cheekbone if you want extra luminosity, but keep it gentle. When each element supports the others, your finished look feels cohesive, youthful, and refreshingly natural rather than overdone.
Frequently Asked Questions
Should I Use Cream or Powder Blush on Mature Skin?
Cream and liquid blushes are usually the better choice because they add moisture and blend into the skin for a dewy, natural finish. Powder can accentuate dryness and fine lines. That said, a light dusting of powder over cream helps your color last longer. If you prefer powder alone, choose a finely milled, satin formula and apply it sparingly.
What Blush Colors Are Most Flattering as Skin Ages?
Soft, warm tones tend to look freshest and most youthful. Rose, peach, soft coral, and muted berry mimic a natural flush beautifully. Very bright or overly matte shades can look harsh, while heavy shimmer settles into texture. Test a shade on the apple of your cheek in natural light, and pick the tone that makes your complexion look awake and healthy.
How Do I Stop Blush From Settling Into Fine Lines?
Start with excellent hydration, since dry skin grabs product unevenly. Apply cream or liquid formulas with a pressing motion rather than swiping, and use a light hand. Avoid heavy shimmer and thick layers, which emphasize creases. Setting your cheeks with a fine mist instead of loose powder also helps color stay smooth and prevents that dry, cakey appearance throughout the day.
Where Exactly Should I Place Blush for a Lifting Effect?
Smile gently and apply color to the roundest part of your cheek, then blend upward toward the top of your ear along the cheekbone. Keeping the product high creates an instant lift and counters the natural softening of facial contours. Avoid placing color low or too near the nose, as that can look flushed rather than fresh and radiant.
How Much Blush Should I Actually Apply?
Far less than you might expect. Begin with a tiny amount, tap it onto the apples of your cheeks, and build gradually until you reach a soft, natural flush. It is always easier to add more than to remove excess. Aim for a look that appears as though you have simply come in from a brisk, refreshing walk outdoors.
Conclusion
A flattering flush comes down to a few reliable habits. Hydrate first, choose creamy formulas in soft warm shades, place color high on the cheek, apply with a light hand, and blend until it looks seamless. Layering and a final harmony check keep everything fresh and cohesive from morning to evening.
Now that you understand how to apply blush on mature skin, you have everything you need to create a natural, youthful glow that lasts. The technique is simple once you practice it, and small adjustments make a noticeable difference. So grab your favorite blush, try these steps tomorrow morning, and enjoy watching your complexion look brighter, lifted, and beautifully awake.

About the Author
Jane Hubbard is a passionate beauty expert with a wealth of experience in makeup, hair, and overall beauty techniques. After years of working as a hairdresser specialist, she followed her entrepreneurial spirit and started her own consultancy business.
Jane has always been driven by her desire to help others feel confident in their own skin, and she does this by sharing her knowledge, experiences, and practical beauty tips. Through her consultancy, she empowers individuals to embrace their unique beauty, offering tailored guidance that boosts both self-esteem and personal style.
Professional Focus
Specializes in makeup, hairstyling, and beauty consulting.
Provides personalized beauty advice, tips, and techniques to help individuals feel confident in their appearance.
Dedicated to staying up-to-date with the latest industry trends and developments.
Passionate about creating a comfortable and empowering experience for every client.
Education History
University of Craft and Design – Bachelor of Fine Arts (BFA) in Woodworking and Furniture Design
Woodworking Apprenticeships – Extensive hands-on training with skilled craftsmen to refine carpentry and furniture making techniques
Online Courses & Masterclasses – Continued education in advanced woodworking techniques, design principles, and specialized tools
Expertise:
Makeup artistry, hairstyling, and beauty consulting.
Personalized beauty techniques to enhance confidence and self-expression.
Educating clients on how to maintain their beauty routines at home.