Are you looking for a fun and festive way to add sparkle to your look? Look no further than body glitter! This shimmery product is perfect for adding a touch of glam to any outfit or makeup look. But how exactly do you apply body glitter? Read on for our step-by-step guide.
Applying body glitter aesthetic is a fun and creative way to add a sparkle to your look, whether it’s for a special event, festival, or just a touch of glam in your everyday style. With the right techniques and products, body glitter can enhance your appearance without being messy or overwhelming.

This guide on how to apply body glitter will walk you through the steps to achieve a flawless and long-lasting glitter application, ensuring you shine with confidence wherever you go.
What Are the Benefits of Using Body Glitter?
Before we dive into the application process, let’s first understand the benefits of using body glitter.
- Adds a touch of sparkle and glamour to any look
- It can be used on both the face and body
- It comes in various colors and sizes for different effects
- Easy to apply and remove
- It can be customized to your desired level of intensity
What Will You Need?
Before you begin the application process, gather all the necessary materials. Here’s what you’ll need:
- Body glitter (loose or in gel form)
- Adhesive (can be made explicitly for body glitter or a gentle adhesive like eyelash glue)
- A makeup brush or sponge
- A small container for mixing and storing glitter
Once you have all the materials ready, it’s time to start applying your body glitter!
8 Easy Steps on How to Apply Body Glitter
Step 1: Prepare Your Skin
Before you begin applying body glitter, prepare your skin properly to ensure the glitter adheres well and stays in place. Start by cleansing the area where you plan to apply the glitter to remove any dirt, oil, or makeup. Use a gentle cleanser or makeup remover to create a smooth, clean surface for the glitter. After cleansing, pat your skin dry with a soft towel.
Next, moisturize the area lightly to hydrate your skin. This step is essential if you have dry or sensitive skin, as it helps to avoid irritation and ensures the adhesive or glitter gel doesn’t cause discomfort.
Allow the moisturizer to absorb fully before moving on to the next step. For extra staying power, apply a thin primer layer to the area. A primer can act as a base, helping the glitter adhere more securely and resist smudging throughout the day or night.
Step 2: Choose Your Glitter and Adhesive
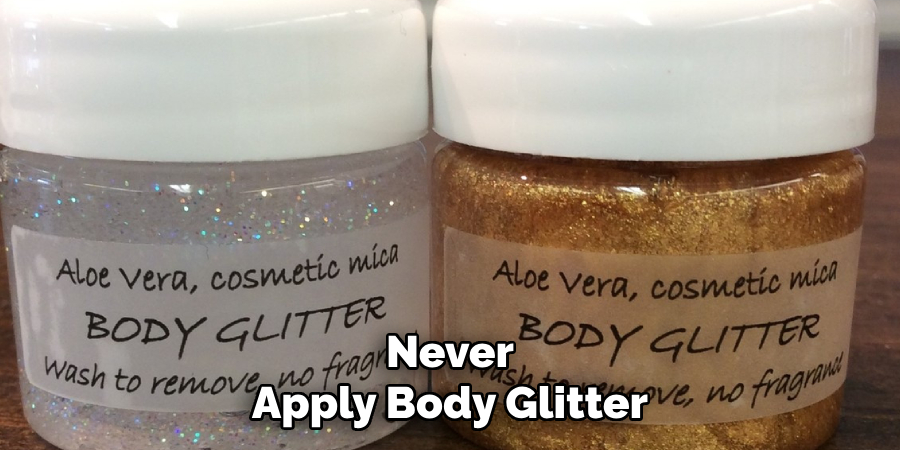
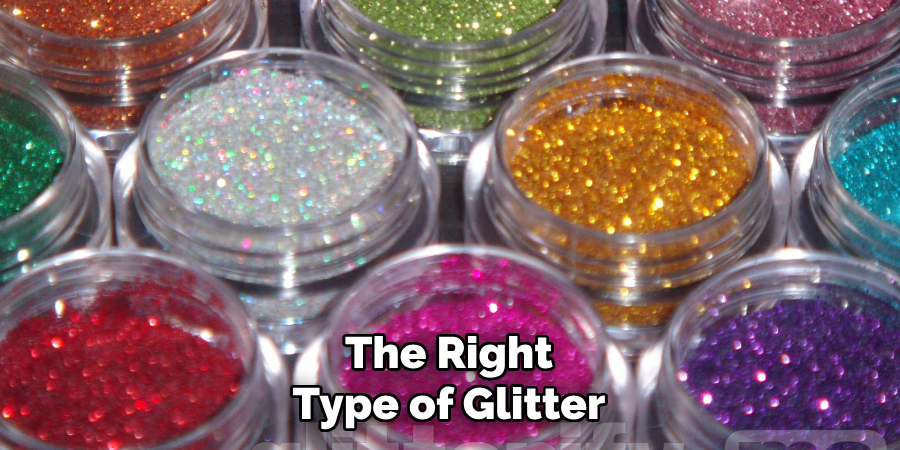
Selecting the correct type of glitter and adhesive is crucial for achieving the desired look. Opt for cosmetic-grade body glitter, as it is designed specifically for use on the skin and is much safer than craft glitter. Cosmetic glitter comes in various sizes, shapes, and colors, so you can choose one that suits your style or matches your outfit.
For the adhesive, you can use a glitter gel, a dedicated glitter adhesive, or even cosmetic-grade aloe vera gel for a more natural option. Glitter adhesives offer the best hold if you’re going for a bold and long-lasting look. Ensure the adhesive you choose suits your skin type, especially sensitive skin, to avoid irritation.
Step 3: Apply the Glitter
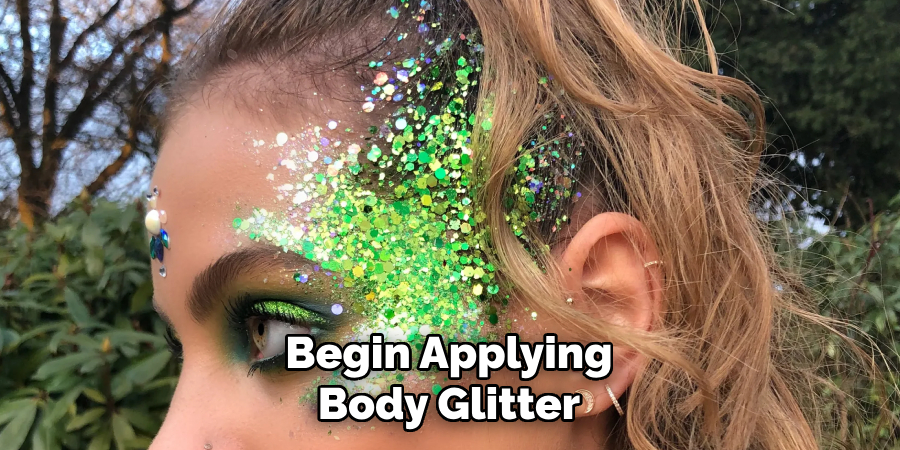
Once you’ve prepped your skin and chosen your materials, it’s time to apply the glitter. Using a small, flat brush or your fingertips, gently dab the adhesive onto the desired area in thin, even layers. Avoid spreading the adhesive too thickly, which can cause uneven glitter application.
Next, while the adhesive is still tacky, carefully press the glitter onto your skin using a clean brush, a silicone applicator, or your fingers. Start with a small amount of glitter and build up gradually to achieve your desired coverage. Gently pat the glitter in place rather than rubbing it, which can smudge the adhesive and disturb its placement. Take your time to ensure an even and precise application for a flawless finish.
Step 4: Set the Glitter
To ensure your glitter stays in place for as long as possible, it’s essential to set it properly. You can lightly mist the area with a setting spray designed for makeup or body art to lock the glitter in place. Hold the spray safely to avoid moving the glitter or causing any patchiness.
Allow the setting spray to dry completely before touching or moving the area. This step helps to minimize fallout and ensures your glitter design stays intact throughout the day or event.
Step 5: Clean Up After Use
After enjoying your glitter look, removing it safely and effectively is essential to avoid irritation or mess. Start by gently loosening the glitter with a makeup remover or oil-based cleanser. Use a soft cotton pad or cloth to wipe the area in small, gentle motions carefully. Avoid scrubbing, as this can irritate the skin or spread the glitter further.
Once most of the glitter is removed, wash the area with warm water and a mild cleanser to remove all residue. Proper cleanup helps maintain healthy skin and prepares you for your next glitter application.
Step 6: Store Your Glitter Products Properly
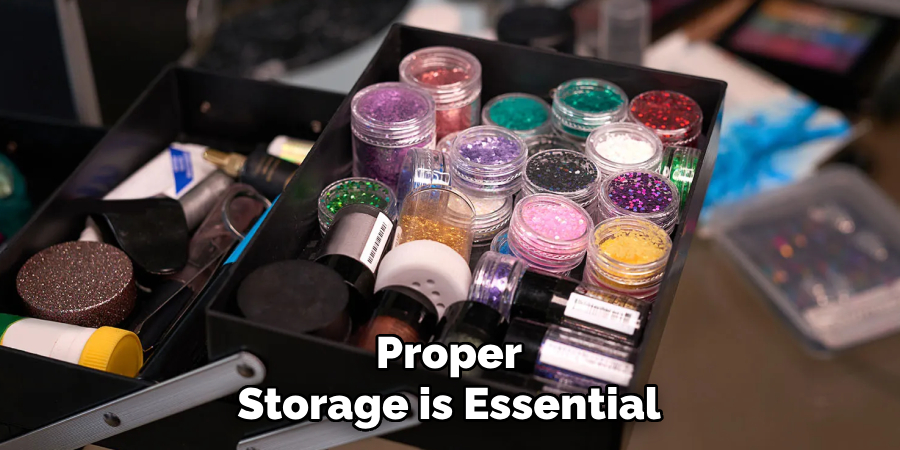
Proper storage is essential to keep your glitter products in good condition and ready for future use. Ensure all glitter containers are tightly sealed to prevent spills or contamination. Store them in a cool, dry place away from direct sunlight, as exposure to heat or humidity can affect their quality.
Keeping your tools, such as brushes and applicators, clean and organized also helps maintain hygiene and smooth application. Proper storage extends the life of your glitter products and keeps your collection tidy and accessible.
Step 7: Experiment with Different Applications
Glitter offers endless possibilities for creative expression, so don’t be afraid to experiment with different application techniques.
Try combining glitter with base products, like gels or adhesives, to achieve unique textures and finishes. To explore new styles, you can mix and match colors for a custom look or apply glitter to unconventional areas, such as nails, hair, or even art projects. Testing new methods helps you find what works best for your needs and enhances your confidence in using glitter creatively.
Step 8: Remove Glitter Safely
Removing glitter can sometimes be tricky, but taking the proper steps ensures a hassle-free process. Start by using an oil-based remover or micellar water on a cotton pad to gently lift the glitter without irritating your skin. Avoid rubbing vigorously, as this can cause irritation or micro-tears.
Use tape or a lint roller to pick up loose glitter effectively for larger areas, such as hair or clothes. Always follow a thorough cleansing routine to ensure no residue is left behind. Proper removal techniques safeguard your skin and help maintain a clean and comfortable experience.
By following these steps and tips, you can quickly achieve a flawless glitter look that lasts all day or night.
5 Things You Should Avoid
- Applying Glitter on Broken or Irritated Skin: Never apply body glitter to cuts, rashes, or irritated areas of the skin, as this can cause further discomfort or infection.
- Using Non-Cosmetic Grade Glitter: Avoid using craft or non-cosmetic-grade glitter, as it contains sharp edges and potentially harmful materials that can irritate the skin or cause injury.
- Skipping Skin Preparation: Don’t apply glitter to unprepared skin. Clean and moisturize your skin before applying to ensure it adheres well and looks even.
- Overloading on Glitter: Avoid piling on too much glitter in one area, as it can appear clumpy and may flake off more efficiently throughout the day.
- Neglecting Proper Removal Techniques: Don’t scrub the glitter off harshly—it can cause skin irritation. Use gentle removal methods, such as oil-based cleansers or adhesive tape, to ensure your skin remains healthy.
5 Different Ways to Get Creative with Glitter
- Create a Glittery Eye Look: Use glitter eyeshadow or glitter eyeliner to add some sparkle and glam to your makeup routine. You can also use loose glitter on top of your regular eyeshadow for a more dramatic effect.
- Add Glitter to Your Nail Polish: Mix loose glitter into your clear nail polish for a fun and unique manicure. You can also use adhesive nail strips or stick-on gems for an easy, mess-free way to incorporate glitter into your nails.
- Sprinkle Some Sparkle in Your Hair: Apply hair gel or hairspray onto small sections of hair and sprinkle glitter on top for a subtle yet eye-catching hairstyle. You can also mix glitter into your hair products for a more intense sparkle.
- Upgrade Your Accessories: Revamp plain accessories by adding glitter to them. This could include shoes, purses, cellphone cases, or even sunglasses. Use adhesive glue and loose glitter to create unique design patterns on your accessories.
- DIY Glitter Crafts: Get crafty with glitter! There are endless possibilities for incorporating glitter into DIY projects such as ornaments, picture frames, candles, and more. The options are limitless and allow you to add personal flair to everyday items.
Conclusion
How to apply body glitter can be a simple and enjoyable way to enhance your look for any occasion.
Begin by choosing the right type of glitter and adhesive for your skin, ensuring that both products are safe and easy to remove. Prep your skin by moisturizing or using a primer to create a smooth base for better adhesion. Use a brush or fingertips to dab the glitter onto desired areas, such as your cheeks, collarbone, or arms, for an eye-catching shimmer.
Finally, seal the glitter with a setting spray to ensure it stays put throughout the day or night. With these steps, you can apply body glitter flawlessly and confidently elevate your style.
About the Author
Jane Hubbard is a passionate beauty expert with a wealth of experience in makeup, hair, and overall beauty techniques. After years of working as a hairdresser specialist, she followed her entrepreneurial spirit and started her own consultancy business.
Jane has always been driven by her desire to help others feel confident in their own skin, and she does this by sharing her knowledge, experiences, and practical beauty tips. Through her consultancy, she empowers individuals to embrace their unique beauty, offering tailored guidance that boosts both self-esteem and personal style.
Professional Focus
- Specializes in makeup, hairstyling, and beauty consulting.
- Provides personalized beauty advice, tips, and techniques to help individuals feel confident in their appearance.
- Dedicated to staying up-to-date with the latest industry trends and developments.
- Passionate about creating a comfortable and empowering experience for every client.
Education History
- University of Craft and Design – Bachelor of Fine Arts (BFA) in Woodworking and Furniture Design
- Woodworking Apprenticeships – Extensive hands-on training with skilled craftsmen to refine carpentry and furniture making techniques
- Online Courses & Masterclasses – Continued education in advanced woodworking techniques, design principles, and specialized tools
Expertise:
- Makeup artistry, hairstyling, and beauty consulting.
- Personalized beauty techniques to enhance confidence and self-expression.
- Educating clients on how to maintain their beauty routines at home.
