
Applying bottom lashes makeup can enhance your eyes, adding depth and dimension to your overall look. While many people focus solely on their upper lashes, emphasizing the lower lashes can create a balanced and polished appearance.
With the right tools, techniques, and a little patience, achieving flawless bottom lash application is easier than you might think. Thanks for reading our blog post on how to apply bottom lashes! We hope you found it helpful and informative.
Why Bottom Lashes Can Transform Your Eye Look
Bottom lashes play a crucial role in defining and enhancing your eyes, yet they are often overlooked in makeup routines. By accentuating your lower lash line, you can create the illusion of larger, more awake eyes. This subtle detail balances the overall eye makeup and frames the eyes beautifully, bringing harmony to your look.
Additionally, applying bottom lashes can add a touch of drama or soft elegance, depending on the style you choose. Whether you’re going for a natural flutter or a bold statement, including bottom lashes in your routine can truly elevate your eye makeup to the next level.
Types of Bottom Lashes
There are several types of bottom lashes to suit different styles and preferences. Some of the most popular options include:
- Natural Bottom Lashes – These are subtle and lightweight, designed to blend seamlessly with your natural lashes. They are perfect for those who want an understated look that enhances their eyes without appearing too dramatic.
- Individual Bottom Lashes – These come in small clusters or single strands, allowing for customization in terms of volume and placement. They provide a more precise and personalized look, ideal for creating varying levels of intensity.
- Dramatic Bottom Lashes – Often longer and thicker, these lashes are designed to make a bold statement. They’re perfect for special events, photoshoots, or when you want your eyes to be the focal point of your makeup.
- Colored or Embellished Bottom Lashes – For a creative and playful twist, you can opt for bottom lashes in different colors or those adorned with glitter, rhinestones, or other embellishments. These are great for festivals or artistic makeup looks.
- Magnetic Bottom Lashes – A more recent innovation, these lashes attach magnetically, eliminating the need for adhesive. They are reusable and convenient, perfect for those who want an easy and fuss-free application process.
Choosing the right type of bottom lashes depends on the look you want to achieve and the occasion. Whether you prefer a subtle enhancement or something daring and artistic, there’s a style to match every mood and personality.
10 Methods How to Apply Bottom Lashes
1. Choose the Right Type of Bottom Lashes for Your Eye Shape
The first and most important step in applying bottom lashes effectively is selecting the right lash style for your eye shape. Bottom lashes come in a variety of lengths and densities—ranging from delicate individual clusters to dramatic strip styles. If you have smaller eyes, opt for lighter, more natural-looking lashes that won’t overpower your lower lash line.
For rounder or almond-shaped eyes, you can experiment with a little more volume or length. Always trim strip lashes to match the shape and width of your eye to avoid an unnatural look. Choosing the right lashes ensures a smoother application and a more flattering final effect.
2. Prep the Under-Eye Area to Support Lash Adhesion
Before diving into the application, prep the skin under your eyes thoroughly to ensure the lashes adhere securely. Start with a clean, oil-free base by wiping the under-eye area gently with micellar water or a mild toner. Follow with a lightweight primer or powder to absorb excess moisture and create a dry canvas for the glue to stick.
Avoid using heavy under-eye creams or serums before lash application, as these can interfere with the adhesive and cause the lashes to slip or lift prematurely. A well-prepped surface makes for a long-lasting and smudge-free finish.
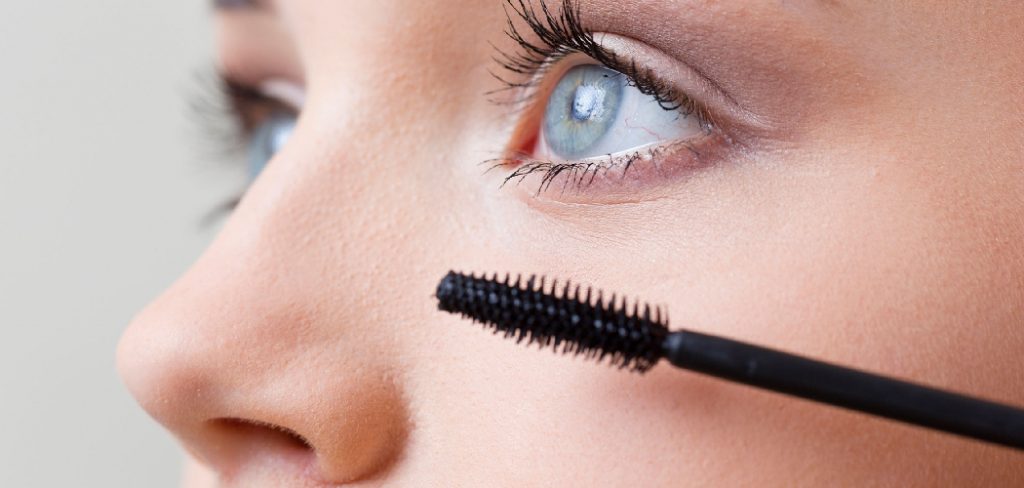
3. Apply a Light Coat of Mascara to Your Natural Bottom Lashes
Applying a thin coat of mascara to your natural lower lashes before putting on false lashes can help provide support and blend the real and false lashes together. Choose a lengthening, non-clumping mascara and focus on separating each lash to avoid clumps.
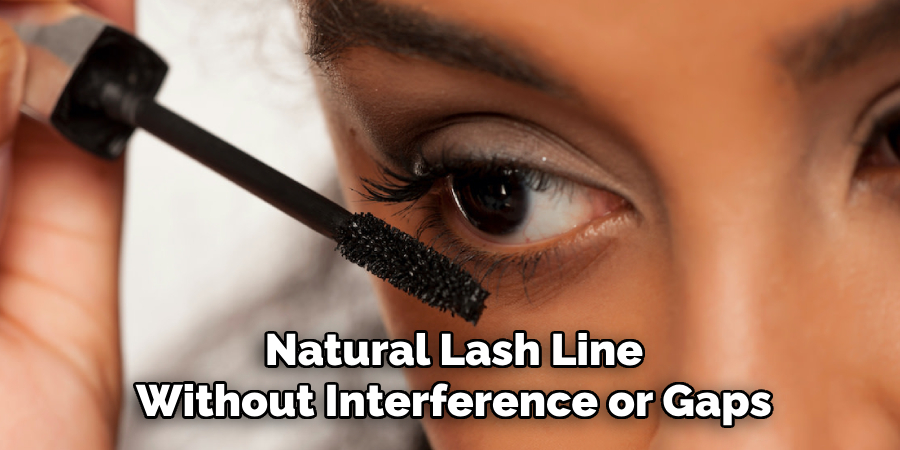
Let the mascara dry completely before continuing. This step enhances the illusion of fuller lashes and makes it easier to position the falsies close to the natural lash line without interference or gaps.
4. Use Tweezers for Precision and Control
Applying bottom lashes can be tricky due to the delicate positioning involved. Using a pair of fine-tip tweezers allows for better control and precision.
Hold the lash with the tweezers at the center of the strip or cluster, and use your other hand to gently pull down your lower lid. This exposes the waterline and lash area, giving you a clear view of where to place the lash. Tweezers also help avoid transferring oils from your fingers onto the lash adhesive, which can reduce stickiness.
5. Cut Strip Lashes into Smaller Segments for Easier Application
Full strip lashes on the bottom can be difficult to manage, especially for beginners. A helpful technique is to cut the strip into smaller segments—either halves or thirds—before applying. Smaller segments are easier to manipulate and position correctly, and they allow for a more customized look.
You can apply each piece one at a time, focusing on the outer corners first and working inward. This not only reduces the chance of misplacement but also helps blend the lashes more naturally with your lower lash line.
6. Use a Clear or Dark Lash Adhesive Based on Your Makeup Look
The type of lash adhesive you choose can affect the overall finish of your look. Clear lash glue dries invisibly and is ideal for natural or minimal makeup looks where any visible glue might be distracting.
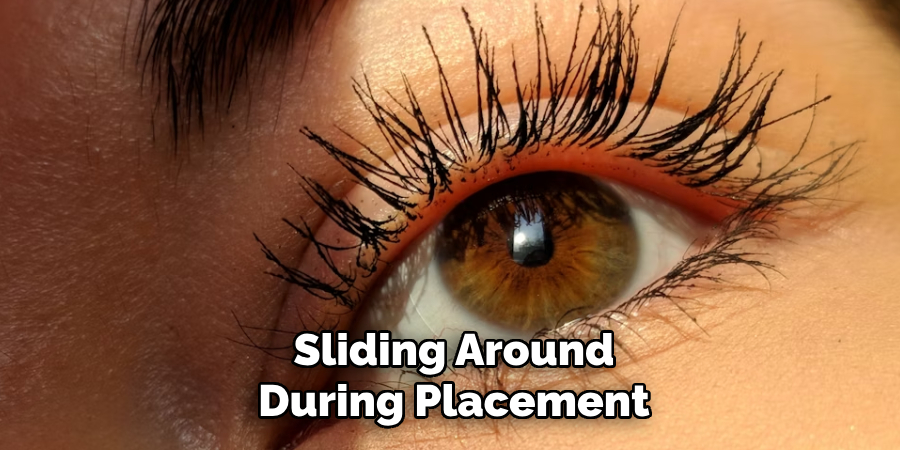
On the other hand, a dark adhesive blends well with bold eyeliner or smoky eyes, adding depth along the lash line. Regardless of your choice, always wait 30–40 seconds after applying the glue to let it become tacky. Tacky glue grips better to the skin and prevents the lashes from sliding around during placement.
7. Apply the Lashes Slightly Below the Waterline for Comfort
When placing bottom lashes, avoid applying them directly onto the waterline, as this can cause irritation or discomfort. Instead, aim to place them just below the natural lash line, along the skin of the lower lid. This creates the illusion of fuller lashes while maintaining comfort and eye safety.
Gently press each segment into place with tweezers or a small applicator tool, starting from the outer edge and moving inward. Take your time to adjust the angle and position to ensure the lashes follow the natural curve of your eye.
8. Blend False Lashes with Your Natural Lashes Using Eyeliner
Once your bottom lashes are in place, it’s important to blend them seamlessly with your real lashes. Use a soft pencil eyeliner or gel liner to trace along the lower lash line, filling in any visible gaps between the falsies and your skin. This helps create a unified, cohesive look.
You can also use a fine-tipped brush and a bit of eyeshadow to soften the edges and make the lash band less noticeable. Blending is essential for maintaining a natural or polished appearance, depending on your desired effect.
9. Use Lower Lash Mascara Sparingly to Define and Set
After the lashes are applied and the glue has dried, you can gently apply a small amount of lower lash mascara to both your natural and false lashes. This step enhances the definition and helps to set the lashes in place.
Use a precision mascara wand—preferably a micro wand designed specifically for lower lashes—and avoid over-coating, which can lead to clumping or messiness. Light, controlled strokes from the base to the tip of the lashes will ensure everything stays in place and looks cohesive.
10. Finish with Setting Spray or Powder to Lock the Look In Place
To ensure your bottom lashes stay put throughout the day or night, finish your routine with a makeup setting spray or a touch of setting powder around the eye area. Spritz a fine mist of spray over your face, keeping your eyes gently closed, or use a small fluffy brush to dust translucent powder under your eyes.
This locks in moisture and prevents movement caused by heat, humidity, or sweat. With your lashes secured and your makeup set, you’re ready to face the world with a wide-eyed, glamorous gaze.
Conclusion
Achieving a flawless and long-lasting makeup look may take a bit of time and effort, but the results are undoubtedly worth it. By following these steps and incorporating the right products into your routine, you can ensure your makeup stays fresh and radiant throughout the day.
Remember, confidence is the best accessory, and with your look perfectly in place, you can step out ready to shine. Thanks for reading our blog post on how to apply bottom lashes! We hope you found it helpful and informative.
About the Author
Jane Hubbard is a passionate beauty expert with a wealth of experience in makeup, hair, and overall beauty techniques. After years of working as a hairdresser specialist, she followed her entrepreneurial spirit and started her own consultancy business.
Jane has always been driven by her desire to help others feel confident in their own skin, and she does this by sharing her knowledge, experiences, and practical beauty tips. Through her consultancy, she empowers individuals to embrace their unique beauty, offering tailored guidance that boosts both self-esteem and personal style.
Professional Focus
- Specializes in makeup, hairstyling, and beauty consulting.
- Provides personalized beauty advice, tips, and techniques to help individuals feel confident in their appearance.
- Dedicated to staying up-to-date with the latest industry trends and developments.
- Passionate about creating a comfortable and empowering experience for every client.
Education History
- University of Craft and Design – Bachelor of Fine Arts (BFA) in Woodworking and Furniture Design
- Woodworking Apprenticeships – Extensive hands-on training with skilled craftsmen to refine carpentry and furniture making techniques
- Online Courses & Masterclasses – Continued education in advanced woodworking techniques, design principles, and specialized tools
Expertise:
- Makeup artistry, hairstyling, and beauty consulting.
- Personalized beauty techniques to enhance confidence and self-expression.
- Educating clients on how to maintain their beauty routines at home.