
Are you tired of applying bronzer and looking like you have dirt on your face? Do you want a natural, sun-kissed glow without the streaky lines? Look no further, because we’ve got you covered with these simple steps on applying bronzer like a pro!
Applying bronzer is a fantastic way to add warmth, dimension, and a sun-kissed glow to your face. Whether you’re looking to enhance your natural features or achieve a radiant, bronzed look, mastering the art of applying bronzer can make all the difference. With the proper techniques and tools, anyone can create a flawless finish that enhances their complexion.
This guide on how to apply bronzer will walk you through the essential steps and tips to apply bronzer effectively, ensuring a natural and polished appearance.
What Are the Benefits of Using Bronzer?
Bronzer is a versatile makeup product that offers various benefits to enhance your overall look. Some of the key advantages of using bronzer include:
- Enhanced Definition and Dimension: By adding bronzer to specific areas of your face, you can create the illusion of more defined features. It is beneficial for sculpting the cheekbones, jawline, and forehead.
- A Natural Glow: Bronzer can give you a sun-kissed, radiant complexion without exposing yourself to harmful UV rays from the sun or tanning beds.
- Improved Skin Tone: If you have an uneven or dull skin tone, bronzer can help add warmth and color to your face, giving you a healthier appearance.
What Will You Need?
Before you start applying bronzer, there are a few things you will need to do to achieve the best results:
- A Good Quality, Matte Bronzer: Opt for a shade that is one or two shades darker than your natural skin tone. Avoid bronzers with visible shimmer as they can look unnatural on the skin.
- A Fluffy Brush: A large, fluffy brush will help you blend the bronzer seamlessly and prevent harsh lines.
- Foundation or Concealer: It is always recommended to apply bronzer over a base of foundation or concealer for a smooth and even finish.
- Optional – Highlighter: If you want an extra glow, you can use a highlighter in addition to bronzer. Apply it to the high points of your face, such as the cheekbones, brow bone, and bridge of the nose.
- Application Technique: The key to a natural-looking bronzed glow is to apply the product sparingly and blend well. Start by tapping off excess product from your brush before applying it to your face
9 Easy Steps on How to Apply Bronzer
Step 1. Choose the Right Shade
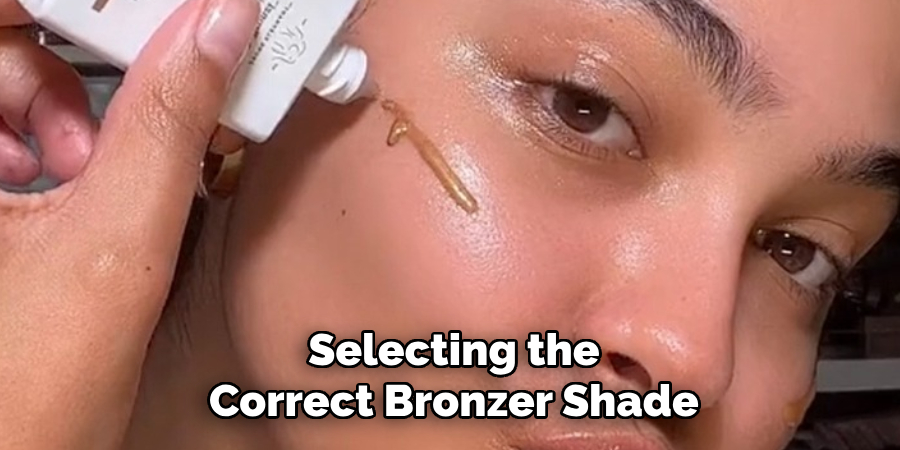
Selecting the correct bronzer shade is essential to achieving a natural-looking glow. The ideal shade should be one or two shades darker than your natural skin tone. For fair skin tones, opt for a soft, peachy, or light golden shade. Medium skin tones typically pair well with warm golden or honey hues. Deeper skin tones can select rich, coppery, or deep chocolate shades for a radiant finish.
Avoid shades that are too orange or overly dark, as they can result in an unnatural appearance. When in doubt, test the bronzer on your jawline under natural light to ensure it complements your complexion seamlessly.
Step 2. Prep Your Skin
To achieve a flawless bronzed look, preparing your skin is essential. Begin by cleansing your face to remove dirt, oil, and any remaining makeup. Follow up with a lightweight moisturizer to ensure your skin is hydrated and smooth, creating the perfect base for bronzer application. If your skin tends to be oily, consider using a mattifying primer to control shine and improve makeup longevity.
For those with drier skin, a hydrating primer can help your bronzer glide on effortlessly and blend seamlessly. Proper skin preparation ensures an even, natural finish and enhances the overall appearance of your bronzed glow.
Step 3. Use the Right Brush
When applying bronzer, the type of brush you use can make a significant difference in achieving a flawless look. Opt for a fluffy, medium-sized brush with soft bristles, as this allows for even distribution and seamless blending. Tapered brushes are ideal for more precise application, especially when contouring specific areas like the hollows of your cheeks or along your jawline. Avoid brushes that are too dense, as they can deposit too much product and make blending difficult.
Step 4. Apply to Key Areas
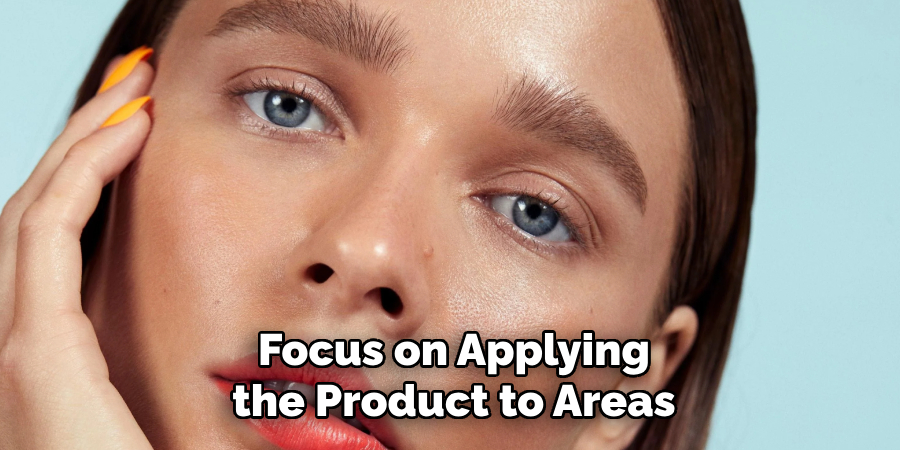
Focus on applying the product to areas where the light naturally hits your face for a luminous effect. Begin by sweeping the product onto the tops of your cheekbones, then move to the bridge of your nose, your brow bone, and the center of your forehead. For a more sculpted look, lightly apply along your jawline and the tip of your chin. Use a light hand and build up gradually to avoid over-application, ensuring a natural and radiant finish.
Step 5. Don’t Forget the Neck
Apply the product evenly down your neck to maintain a seamless and consistent appearance. Neglecting the neck can result in a noticeable contrast between your face and neck, disrupting the natural look. Use a soft brush or sponge to gently blend the product along the sides and front of your neck, ensuring even coverage.
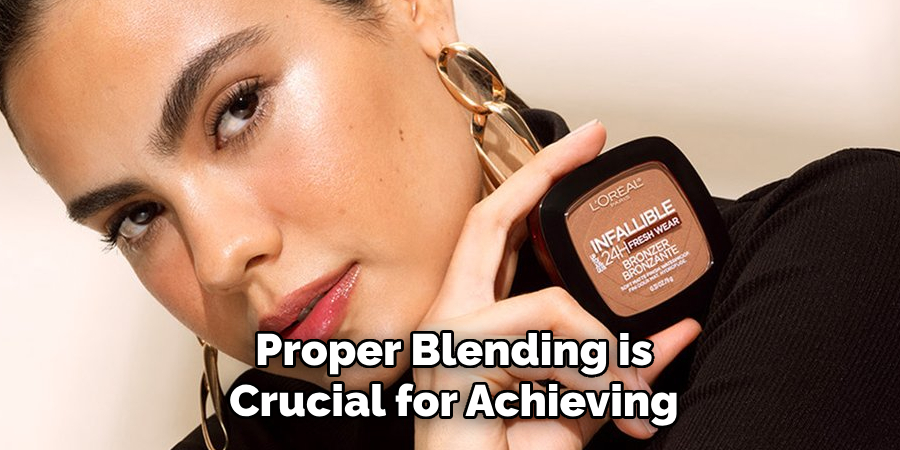
Step 6. Blend Thoroughly
Proper blending is crucial for achieving a flawless finish. Use gentle, circular motions with a makeup sponge or brush to soften any harsh lines, ensuring the makeup seamlessly transitions across your face and neck. Pay extra attention to the edges near your hairline, jawline, and ears to avoid noticeable demarcation lines. Take your time during this step to create a smooth and polished look that enhances your natural features.
Step 7. Adjust for Your Makeup Look
Tailor your makeup to suit the occasion and your personal style. If you’re aiming for a natural look, focus on subtle enhancements, such as a light blush, neutral eyeshadow, and a soft gloss or balm for your lips. For a more dramatic appearance, consider adding bold eyeliner, vibrant eyeshadow, or a striking lipstick shade. Remember to blend and balance your elements for a cohesive finish. Adjust your lighting to check your makeup from different angles and ensure everything looks seamless.
Step 8. Set Your Makeup
Once you’ve completed your makeup, it’s essential to set it in place to ensure it lasts throughout the day or event. Use a setting spray by holding it at arm’s length and misting it evenly over your face. Alternatively, a translucent setting powder can be applied lightly with a brush or puff, focusing on areas prone to oiliness, like the T-zone. Setting your makeup not only locks in your look but also helps prevent smudging and fading, keeping your appearance fresh and flawless for hours.
Step 9. Check in Natural Light
Take a moment to examine your makeup in natural light to ensure it looks seamless and well-blended. Natural light provides the most accurate reflection of how your makeup will appear in everyday settings. Stand near a window or step outside to check for any harsh lines, uneven blending, or mismatched foundation shades. Make adjustments as necessary to achieve a harmonious and polished finish that complements your natural features.
By following these steps, you can achieve a flawless makeup look that is sure to turn heads. Remember to always start with clean skin and use quality products for the best results.
5 Things You Should Avoid
- Using the Wrong Shade: Choosing a bronzer that is too dark or too orange for your skin tone can result in an artificial or muddy appearance. Opt for a shade that is only one or two tones deeper than your natural skin tone for a more natural look.
- Applying Too Much Product: Overloading your brush with bronzer and using it heavily can make your makeup look harsh and unbalanced. Always start with a light hand and build up the product gradually as needed.
- Skipping Blending: Leaving harsh lines or unblended areas after applying bronzer can make it look streaky and unnatural. Use a fluffy brush to blend the product seamlessly into your skin for a smooth finish.
- Placing Bronzer Incorrectly: Applying bronzer all over your face can end up making you look flat instead of sculpted. Focus on the high points of your face where the sun naturally hits, such as the forehead, cheekbones, and jawline.
- Ignoring Your Skin Type: If you have oily or dry skin, using the wrong bronzer formula can emphasize imperfections. Stick to powder bronzer for oily skin and cream or liquid bronzer for dry skin to achieve the best results.
By avoiding these common mistakes and incorporating bronzer into your makeup routine, you can achieve a sun-kissed glow that will enhance your natural features.
Conclusion
How to apply bronzer can be a simple and effective way to add warmth and dimension to your face when done correctly.
Focus on selecting the right shade and formula for your skin type and undertone, as this sets the foundation for a natural-looking appearance. Always use a light hand, building up the intensity gradually to avoid harsh lines or an unnatural finish. Remember to blend thoroughly for a seamless application and target areas where the sun naturally hits your face.
With these tips, you can confidently use bronzer to enhance your features and achieve a glowing, radiant complexion.
About the Author
Jane Hubbard is a passionate beauty expert with a wealth of experience in makeup, hair, and overall beauty techniques. After years of working as a hairdresser specialist, she followed her entrepreneurial spirit and started her own consultancy business.
Jane has always been driven by her desire to help others feel confident in their own skin, and she does this by sharing her knowledge, experiences, and practical beauty tips. Through her consultancy, she empowers individuals to embrace their unique beauty, offering tailored guidance that boosts both self-esteem and personal style.
Professional Focus
- Specializes in makeup, hairstyling, and beauty consulting.
- Provides personalized beauty advice, tips, and techniques to help individuals feel confident in their appearance.
- Dedicated to staying up-to-date with the latest industry trends and developments.
- Passionate about creating a comfortable and empowering experience for every client.
Education History
- University of Craft and Design – Bachelor of Fine Arts (BFA) in Woodworking and Furniture Design
- Woodworking Apprenticeships – Extensive hands-on training with skilled craftsmen to refine carpentry and furniture making techniques
- Online Courses & Masterclasses – Continued education in advanced woodworking techniques, design principles, and specialized tools
Expertise:
- Makeup artistry, hairstyling, and beauty consulting.
- Personalized beauty techniques to enhance confidence and self-expression.
- Educating clients on how to maintain their beauty routines at home.