
Are you tired of your cheek makeup fading away in just a few hours? Do you want to achieve those natural-looking flushed cheeks all day long? If yes, then it’s time for you to try using a cheek tint.
How to apply cheek tint is a quick and easy way to add a natural, healthy flush to your face. Whether you’re going for a subtle glow or a bold pop of color, cheek tint can help enhance your features and elevate your look. The process is simple and suitable for all skill levels, making it a go-to option for both everyday makeup and special occasions.
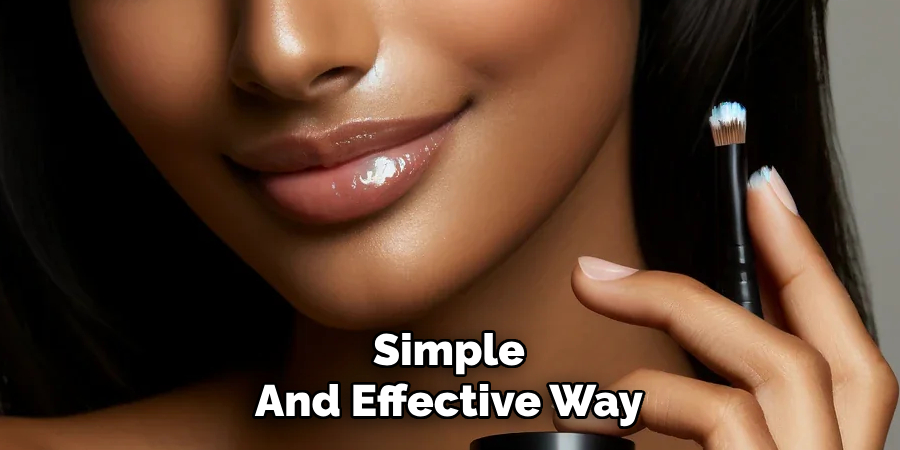
With a little practice and the proper techniques, you’ll be able to achieve a flawless, blended finish that lasts throughout the day.
What Are the Benefits of Using Cheek Tint?
There are several benefits to using cheek tint over other types of blush or powder products.
- Natural, Dewy Finish: One of the main advantages of using cheek tint is that it provides a natural, dewy finish to the skin. The liquid formula blends seamlessly into the skin, giving it a healthy and glowing appearance.
- Long-Lasting Color: Cheek tints have a longer staying power than traditional powder blushes. This is because they stain the skin rather than just sitting on top of it, making them more resistant to sweat and oil production throughout the day.
- Versatility: Most cheek tints can be used on the cheeks and lips, making them a versatile multi-purpose product. They can also be used as an eyeshadow or mixed with foundation for an all-over glow.
- Economical: A little goes a long way with cheek tints due to their highly pigmented formula. This makes them more economical in the long run compared to traditional powder blushes that need to be reapplied frequently.
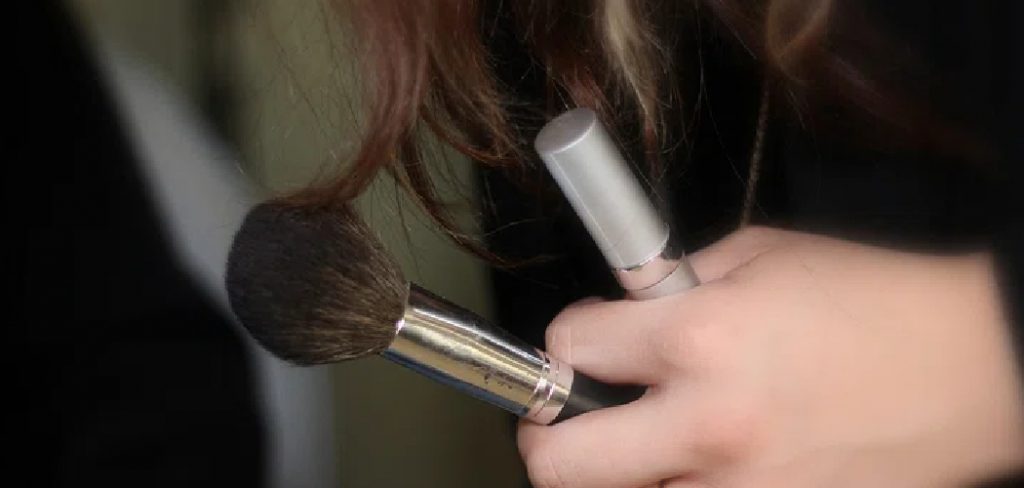
- Easy Application: Cheek tints usually come in a convenient liquid or gel formula that is easy to apply and blend using just your fingers. This makes it ideal for quick touch-ups and those always on the go throughout the day.
What Will You Need?
To achieve the perfect flush with a diy cheek tint, you will need the following items:
- A quality cheek tint product of your choice
- Clean fingers for application
- Optional: a makeup sponge or brush for blending (if preferred)
Once you have these items, you can apply your cheek tint and achieve a natural, rosy glow!
8 Easy Steps on How to Apply Cheek Tint
Step 1. Start with a Clean Face:
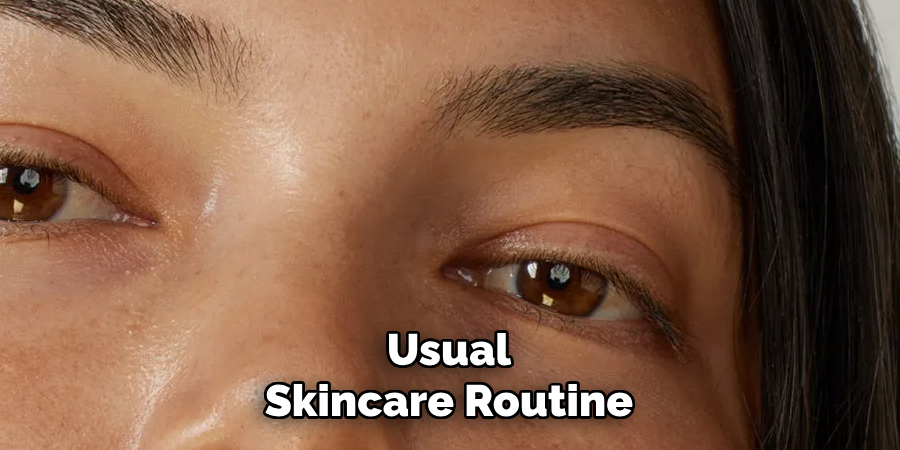
Before applying your cheek tint, ensure your face is clean and free of dirt or oils. Use a gentle cleanser to wash your face, pat it dry with a clean towel, and follow up with your usual skincare routine, such as moisturizer or sunscreen. A clean and prepped face helps the cheek tint adhere better to your skin, providing a smoother and more even application. This step also ensures your makeup lasts longer and looks fresh throughout the day.
Step 2. Choose the Right Amount of Product:
When it comes to cheek tint, less is often more. Start with a small amount of product, as it is much easier to gradually build up the color than tone it down if you’ve applied too much. Squeeze or dab a tiny drop onto the back of your hand to gauge the amount before applying it directly to your cheeks.
This technique prevents over-application and allows you to warm up the product, making it easier to blend seamlessly into your skin. If you’re using a cream or liquid tint, start with a pea-sized amount, and for powder tints, lightly tap your brush into the product and knock off any excess. Always remember that you can layer the product if you desire a bolder look, but starting with a controlled amount gives you flexibility and ensures a balanced, natural finish.
Step 3. Set Your Makeup
Once you’ve achieved your desired look with the blush, setting your makeup to ensure it lasts throughout the day is essential. Use a translucent setting powder for a matte finish or a setting spray for a radiant, dewy effect. Lightly dust the powder over your cheeks with a fluffy brush or mist the spray evenly over your face, holding it about 8–10 inches away. This final step keeps your makeup in place and helps maintain a polished appearance.
Step 4. Touch Up Throughout the Day
To keep your makeup looking fresh, it’s helpful to touch up your blush during the day if needed. Carry a travel-sized blush or a compact with a built-in mirror for convenience. Gently reapply a small amount of blush to your cheeks using a clean brush or your fingertips, blending it seamlessly with your makeup. This quick step ensures your look stays vibrant and polished, no matter the occasion.
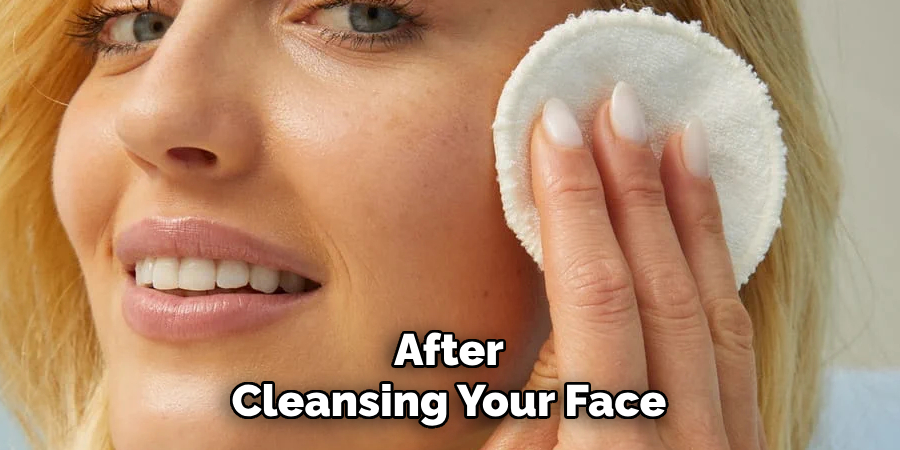
Step 5. Remove Your Makeup Properly
It’s essential to remove your makeup thoroughly to maintain healthy skin. Use a gentle makeup remover or cleansing balm to dissolve the blush and other makeup products. Follow up with a facial cleanser suited to your skin type to ensure no residue is left behind. This step not only cleanses your skin but also helps prevent breakouts and keeps your complexion fresh and radiant.
Step 6. Hydrate and Moisturize Your Skin
After cleansing your face and removing your makeup, it’s essential to replenish your skin’s hydration. Apply a nourishing moisturizer suited to your skin type to lock in moisture and keep your skin supple and smooth. Consider incorporating a hydrating serum or face oil for an added boost, especially if your skin feels dry after cleansing. This step helps maintain your skin’s natural barrier and promotes a healthy, glowing complexion.
Step 7. Protect Your Skin with Sunscreen
The final and most crucial step in your skincare routine is applying sunscreen. Sunscreen shields your skin from harmful UV rays, preventing premature aging, sunburn, and an increased risk of skin cancer. Choose a broad-spectrum sunscreen with at least SPF 30 and apply it generously to all exposed areas of your skin, even on cloudy days or when staying indoors near windows. Reapply every two hours if you’re outdoors for extended periods to ensure continuous protection.
Step 8. Stay Hydrated
Keeping your skin hydrated is essential for maintaining its elasticity and overall health. Drinking plenty of water throughout the day helps flush out toxins and promotes a natural glow. Additionally, using a good-quality moisturizer suited to your skin type ensures that your skin stays supple and protected against dryness. Apply moisturizer immediately after cleansing or bathing to lock in hydration for best results.
Following these tips and incorporating them into your daily routine can help keep your skin youthful and radiant.
5 Things You Should Avoid
- Applying Too Much Product at Once
Overloading your cheeks with too much tint in one go can make it harder to achieve a natural, blended look. Start with a small amount and build up gradually for better control.
- Using the Wrong Tools
Avoid using tools like thick brushes or sponges that may not blend the tint seamlessly. Instead, opt for your fingertips or a soft, damp sponge for smoother application.
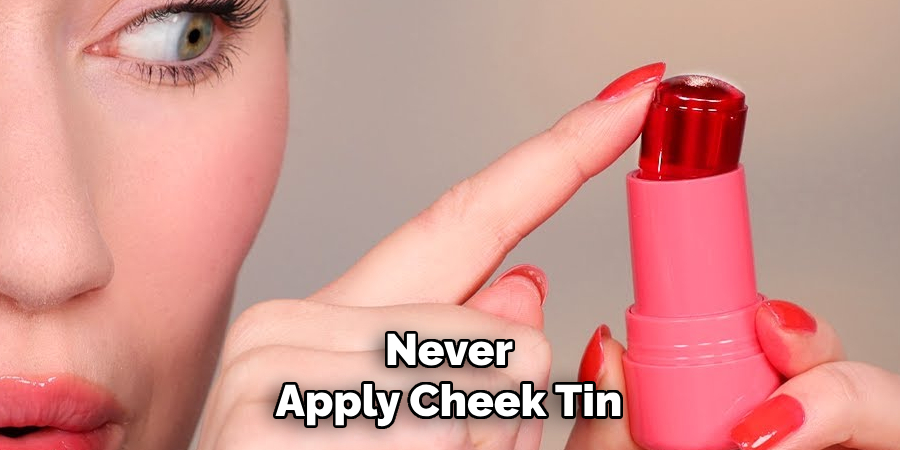
- Skipping Prep Steps
Never apply cheek tint on dry or unprepped skin. Always moisturize beforehand to ensure the tint blends evenly and doesn’t cling to dry patches.
- Applying Tint After Setting Powder
Using cheek tint on top of setting powder can create a patchy, uneven finish. Apply the tint after foundation but before powder for a smoother result.
- Ignoring Lighting Conditions
Avoid applying cheek tint in poor lighting, which leads to an uneven or heavy-handed application. Natural light is best to ensure the color is balanced and flattering.
How to Make a Natural Cheek Tint?
- Choosing the Right Ingredients: When making your natural cheek tint, it’s important to choose ingredients that are safe for use on the skin and won’t irritate. Look for natural pigments such as beetroot or hibiscus powder and nourishing oils like jojoba or almond oil.
- Finding the Perfect Shade: Experiment with different ratios of pigment to oil to find your perfect shade. You can also mix different pigments to create unique colors.
- Using Safe Containers: When storing your homemade cheek tint, use a clean and safe container, such as a small glass jar or metal tin. Avoid using plastic containers, which can leach harmful chemicals into your product.
- Application: To apply your homemade cheek tint, simply use your fingertips to dab a small amount onto the apples of your cheeks and blend outward towards your hairline. You can also use a makeup brush for a more precise application.
Conclusion
Applying cheek tint is a simple and effective way to enhance your natural glow. Whether using your fingertips or a brush, the key is to start with a small amount and build up gradually to achieve your desired look.
Blend the tint evenly for a seamless finish, ensuring it matches your overall makeup style. With a bit of practice, you’ll find that cheek tint adds a pop of color and creates a fresh, lively appearance suitable for any occasion.
Hopefully, this guide on how to apply cheek tint has provided you with the necessary information to incorporate cheek tint into your makeup routine confidently. Happy tainting!
About the Author
Jane Hubbard is a passionate beauty expert with a wealth of experience in makeup, hair, and overall beauty techniques. After years of working as a hairdresser specialist, she followed her entrepreneurial spirit and started her own consultancy business.
Jane has always been driven by her desire to help others feel confident in their own skin, and she does this by sharing her knowledge, experiences, and practical beauty tips. Through her consultancy, she empowers individuals to embrace their unique beauty, offering tailored guidance that boosts both self-esteem and personal style.
Professional Focus
- Specializes in makeup, hairstyling, and beauty consulting.
- Provides personalized beauty advice, tips, and techniques to help individuals feel confident in their appearance.
- Dedicated to staying up-to-date with the latest industry trends and developments.
- Passionate about creating a comfortable and empowering experience for every client.
Education History
- University of Craft and Design – Bachelor of Fine Arts (BFA) in Woodworking and Furniture Design
- Woodworking Apprenticeships – Extensive hands-on training with skilled craftsmen to refine carpentry and furniture making techniques
- Online Courses & Masterclasses – Continued education in advanced woodworking techniques, design principles, and specialized tools
Expertise:
- Makeup artistry, hairstyling, and beauty consulting.
- Personalized beauty techniques to enhance confidence and self-expression.
- Educating clients on how to maintain their beauty routines at home.