
Dark circles can make you look tired and dull, but with the right concealer application, you can brighten your under-eye area and achieve a refreshed, awake appearance. Applying concealer effectively is not just about covering up; it’s about enhancing your natural beauty while ensuring the product blends seamlessly with your skin tone. Whether you’re a makeup beginner or an experienced enthusiast, these tips will guide you through how to apply concealer for dark circles.

Why Dark Circles Appear
Dark circles can develop for a variety of reasons, ranging from lifestyle factors to genetics. One common cause is insufficient sleep, which can make the skin appear pale and allow blood vessels beneath the eyes to become more visible. Stress and fatigue often exacerbate this effect.
Genetics also play a significant role, as some people naturally have thinner skin or more pronounced pigmentation in the under-eye area. Other factors include aging, as the skin loses collagen and elasticity over time, and lifestyle habits such as smoking, dehydration, or excessive sun exposure, which can all contribute to the prominence of dark circles. Identifying the underlying cause is essential for addressing the issue effectively.
Importance of Concealer in a Makeup Routine
Concealer plays a crucial role in any makeup routine, particularly when it comes to addressing imperfections like dark circles, blemishes, or redness. It helps to create a smooth and uniform complexion by masking uneven skin tones, allowing for a polished and flawless look. For dark circles specifically, a well-matched concealer can brighten the under-eye area and visibly reduce signs of fatigue, providing a refreshed appearance.
Furthermore, concealer works in tandem with foundation to enhance the overall finish of makeup, offering a natural yet perfected base. Choosing the right shade and formula is key to achieving optimal coverage without looking heavy or cakey, making concealer an essential tool in achieving a radiant and confident look.
10 Methods How to Apply Concealer for Dark Circles
1. Start with Clean, Hydrated Skin for the Best Canvas
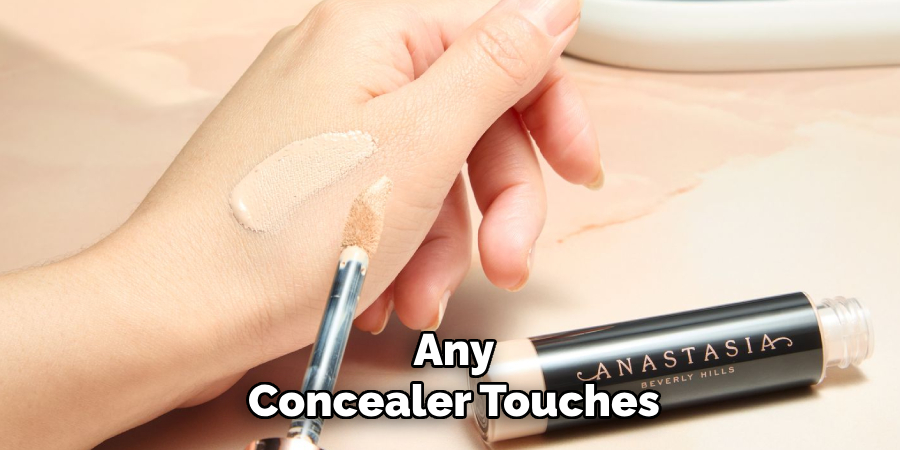
Before any concealer touches your under-eye area, it’s vital to begin with freshly cleansed, moisturized skin. Dark circles often appear more pronounced when the skin beneath your eyes is dry or puffy, so gently wash your face using a mild cleanser and follow with a hydrating eye cream.
Look for creams that include ingredients like hyaluronic acid, caffeine, or vitamin C, as these help depuff and brighten the area. Allow the moisturizer to fully absorb—this not only ensures a smoother application but also prevents your concealer from settling into fine lines or creasing throughout the day.
2. Use a Color Corrector First If Needed
If your dark circles have a strong purplish, bluish, or even green tint, a concealer alone may not fully neutralize them. In that case, applying a color corrector beforehand can make all the difference. Peach or orange correctors work best for blue or purple undertones, while yellow can help with reddish hues.
Apply the corrector with a small brush or your fingertip and gently pat it into the darkest areas beneath your eyes. Don’t overdo it—just a thin layer is enough to cancel out the discoloration before concealing. Always blend the edges so it looks seamless under your foundation or concealer.
3. Choose the Right Concealer Formula for Your Skin Type
Concealers come in various formulations—liquid, cream, stick, or pot—and choosing the right one for your skin type can drastically improve results. If you have dry under-eyes, a hydrating, serum-based or radiant-finish concealer is ideal, as it won’t cling to flakiness or accentuate lines.
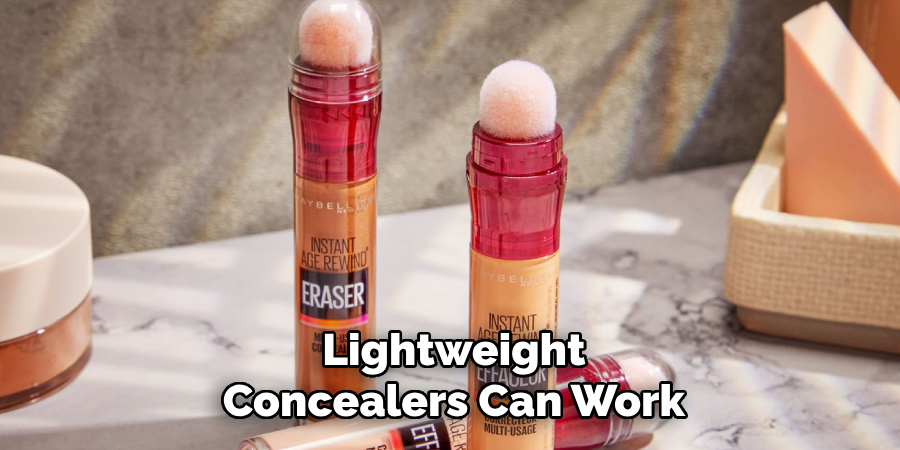
For oily skin or a long-wear finish, opt for a matte or satin formula that stays put without creasing. Medium-to-full coverage formulas are often better for dark circles, but lightweight concealers can work when paired with correctors. The key is to strike a balance between coverage and comfort so your under-eye area still looks like skin.
4. Pick the Correct Shade—Slightly Lighter, Not Too Pale
A common mistake when concealing dark circles is using a shade that’s too light. While going slightly lighter than your foundation helps to brighten, an overly pale concealer can actually highlight the darkness or make the area look ashy.
Ideally, pick a shade that is one to two tones lighter than your foundation with a similar undertone—peach or golden for warm complexions, pink or rose for cool ones. Test the shade in natural light if possible, and avoid stark white or greyish tones, which won’t neutralize the darkness and may draw more attention instead.
5. Apply Concealer Strategically in a Triangle or Dot Pattern
Rather than swiping a thick layer directly under the eye, try more strategic application for a natural and lifted look. One popular method is the “inverted triangle” technique, where you draw a triangle from the inner corner of the eye down to the cheek and back up to the outer corner.
This brightens the entire mid-face and diffuses the darkness. Alternatively, use a “three-dot” technique—placing small dots near the inner corner, center, and outer under-eye, then blending. This approach helps you avoid using too much product while still achieving thorough coverage and a lifted effect.
6. Blend Gently Using the Right Tools
Blending is what turns concealer from obvious makeup into a seamless part of your skin. Use a damp makeup sponge, your ring finger, or a small concealer brush depending on your preference. The warmth of your finger can help melt the product into your skin, while a sponge offers a more airbrushed finish.
Whichever tool you choose, always use gentle tapping or dabbing motions—never drag or rub the concealer, especially around the delicate eye area. Blend the edges outward so the transition between concealer and skin is imperceptible.
7. Layer in Thin Coats to Avoid Caking
When trying to hide very dark circles, the temptation is to apply a thick layer of concealer all at once. However, layering in thin coats is far more effective and natural-looking. Start with a light application, blend thoroughly, then assess whether more coverage is needed.
Add another small layer only where the darkness still shows through. This approach prevents the product from becoming cakey or settling into fine lines. Thin layers also adhere better to the skin and are less likely to crack or fade throughout the day.
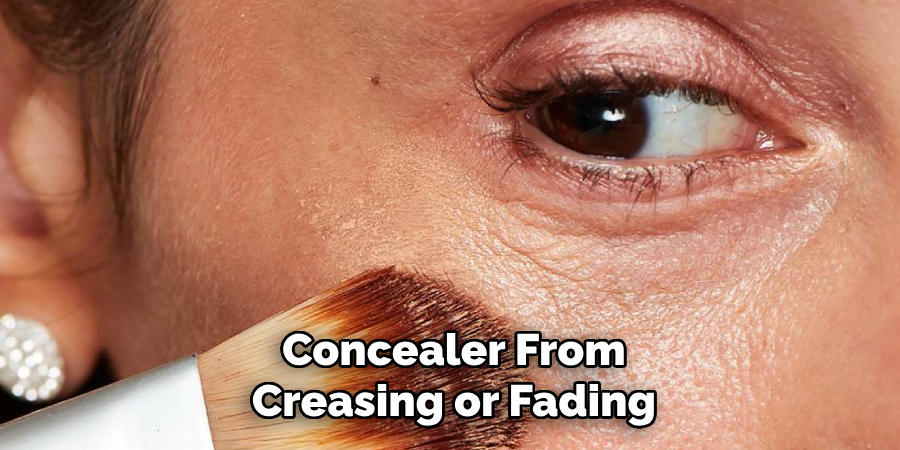
8. Set Lightly with Powder to Lock It In
To keep your concealer from creasing or fading, it’s important to set it with a light dusting of powder. Choose a finely milled, translucent setting powder and apply it sparingly with a small, fluffy brush. Tap off the excess powder before gently patting it onto the under-eye area.
If you’re using a radiant or dewy concealer, a matte powder will help tone down shine without flattening the skin. Be cautious not to use too much powder, as it can make the area look dry or emphasize texture. For a smoother finish, some prefer pressing powder in with a damp sponge.
9. Brighten the Inner Corners for a Wide-Awake Look
Even with the best concealer application, darkness can still linger at the very inner corners of the eyes. This area often casts natural shadows due to the facial bone structure. To instantly look more awake and refreshed, dab a tiny bit of concealer or highlighter into the inner corner using a small brush or fingertip.
You can also use a brightening pencil or a champagne-colored eyeshadow for a subtle glow. This small step goes a long way in making the entire eye area appear lifted, youthful, and energized—especially helpful for early mornings or late nights.
10. Refresh Throughout the Day Without Overloading
If your dark circles begin to peek through after a long day, resist the urge to pile on more concealer. Instead, revive your under-eye area with a light touch-up method. Blot gently with a tissue or blotting paper to remove excess oil or creasing.
Then, apply a dab of hydrating mist or eye cream over the concealer to rehydrate and smooth. Once refreshed, pat on a minimal amount of concealer only where necessary and blend it in. This approach maintains a natural finish and keeps your under-eyes looking bright and fresh without buildup.

Conclusion
By adopting these simple yet effective techniques, you can achieve a flawless and refreshed look throughout the day. Remember, less is often more when it comes to makeup. Prioritize hydration and minimal touch-ups to maintain a naturally radiant appearance that lasts.
With these tips in your routine, you’ll feel confident and ready to shine, no matter what the day holds. Now that you know how to add concealer for dark circles. While it does take a few steps each time, hopefully now you understand the process and why it’s worth taking the extra step to make sure your floor is properly cared for. So don’t wait any longer, take action today!
About the Author
Jane Hubbard is a passionate beauty expert with a wealth of experience in makeup, hair, and overall beauty techniques. After years of working as a hairdresser specialist, she followed her entrepreneurial spirit and started her own consultancy business.
Jane has always been driven by her desire to help others feel confident in their own skin, and she does this by sharing her knowledge, experiences, and practical beauty tips. Through her consultancy, she empowers individuals to embrace their unique beauty, offering tailored guidance that boosts both self-esteem and personal style.
Professional Focus
- Specializes in makeup, hairstyling, and beauty consulting.
- Provides personalized beauty advice, tips, and techniques to help individuals feel confident in their appearance.
- Dedicated to staying up-to-date with the latest industry trends and developments.
- Passionate about creating a comfortable and empowering experience for every client.
Education History
- University of Craft and Design – Bachelor of Fine Arts (BFA) in Woodworking and Furniture Design
- Woodworking Apprenticeships – Extensive hands-on training with skilled craftsmen to refine carpentry and furniture making techniques
- Online Courses & Masterclasses – Continued education in advanced woodworking techniques, design principles, and specialized tools
Expertise:
- Makeup artistry, hairstyling, and beauty consulting.
- Personalized beauty techniques to enhance confidence and self-expression.
- Educating clients on how to maintain their beauty routines at home.