
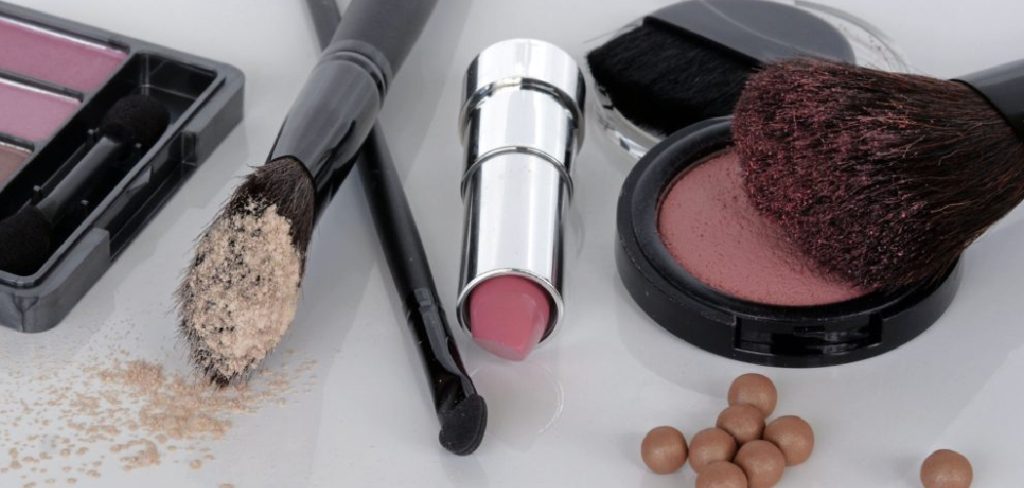
The beauty world has been completely captivated by the magic of liquid blush, and one specific product has risen above the rest to become a viral sensation. ELF Cosmetics has created a highly pigmented, long-wearing formula that rivals high-end luxury brands at a fraction of the price. However, its incredible potency can be a double-edged sword for beginners.
If you aren’t careful, a tiny dot can quickly turn into a makeup mishap that spans your entire cheek. Mastering this product requires a little bit of technique and the right approach. Whether you are aiming for a subtle, natural glow or a bold, dramatic statement, understanding the proper method is key. This guide is designed to demystify the process, walking you through exactly how to apply elf liquid blush to achieve a seamless, radiant finish that looks like second skin, ensuring you feel confident every time you reach for that colorful wand.
When it comes to elevating your makeup game, liquid blush is a secret weapon that can instantly enhance your complexion. Its lightweight texture and blendable formula make it a versatile choice for all skin types and occasions. By using the right techniques, you can achieve a buildable, natural-looking flush that brings warmth and dimension to your face without overpowering your overall look.
Step-by-Step Guide on How to Apply ELF Liquid Blush
Step 1: Prep Your Canvas for Smooth Application
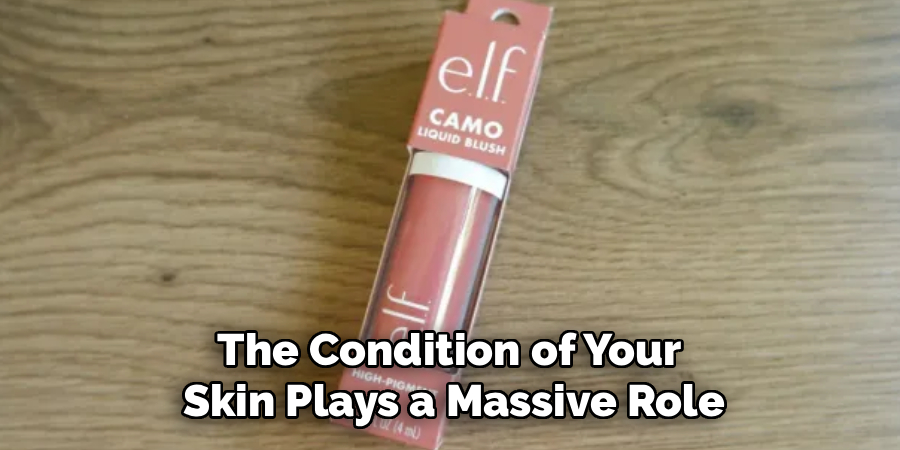
Before you even open the blush tube, the condition of your skin plays a massive role in the final result. Liquid formulas tend to cling to dry patches or texture, so starting with a hydrated base is non-negotiable. Begin by cleansing your face and applying a lightweight moisturizer suitable for your skin type. If you wear foundation or concealer, apply your base makeup first.
Liquid blush generally sits best on top of liquid or cream foundations rather than powders. Ideally, your skin should feel tacky but not greasy. If you have very oily skin, you might consider a gripping primer to help the product adhere better without sliding around. A well-prepped face ensures the pigment glides on effortlessly rather than dragging or looking patchy.
Step 2: The Dotting Technique for Controlled Color
The most critical error beginners make with this specific product is using way too much. The formula is incredibly saturated, meaning a little goes a very long way. When you pull the wand out of the tube, resist the urge to swipe it directly onto your face like a concealer.
Instead, gently dab one or two tiny dots onto the high points of your cheeks. You can always add more later, but taking it away is much harder. Some makeup artists prefer to dot the product onto the back of their hand first to warm it up and control the amount on the brush or sponge. This controlled approach prevents the dreaded clown-cheek effect and gives you the freedom to build intensity slowly.
Step 3: Choose the Right Tool for Blending
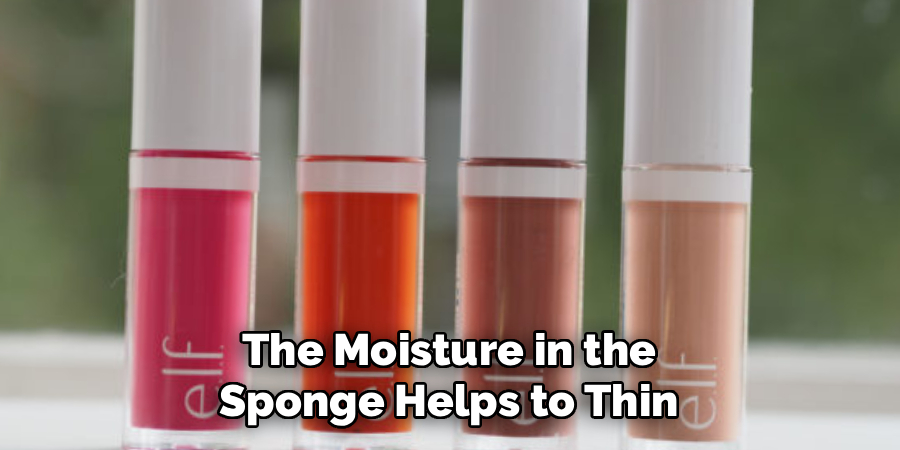
The tool you select will drastically change the finish of your blush. For a sheer, dewy, and natural look, a damp beauty sponge is your best friend. The moisture in the sponge helps to thin out the pigment slightly and press it into the skin for a seamless meld. If you prefer a more pigmented, high-impact flush, opt for a synthetic stippling brush or an angled blush brush.
Synthetic bristles generally don’t absorb as much product as natural hair brushes, meaning more color ends up on your face. A brush allows for precise placement and helps you maintain the intensity of the shade. You can even use your fingers for a quick, melted-in look, using the warmth of your skin to blend the edges.
Step 4: Blending Upwards
Placement creates the illusion of lift, and the direction you blend matters immensely. Once you have your dots on your cheeks, begin blending immediately as some liquid formulas can set quickly. Using your chosen tool, tap and blend the product upwards towards your temples rather than dragging it down towards your jawline.
This upward motion lifts the face visually, giving you a more youthful and snatched appearance. Avoid blending too close to your nose, as this can drag the face down or make you look flushed from a cold. Keep the color focused on the upper cheekbones for that trendy, lifted aesthetic. Mastering this directional blending is a huge part of learning how to apply elf liquid blush for a flattering effect.
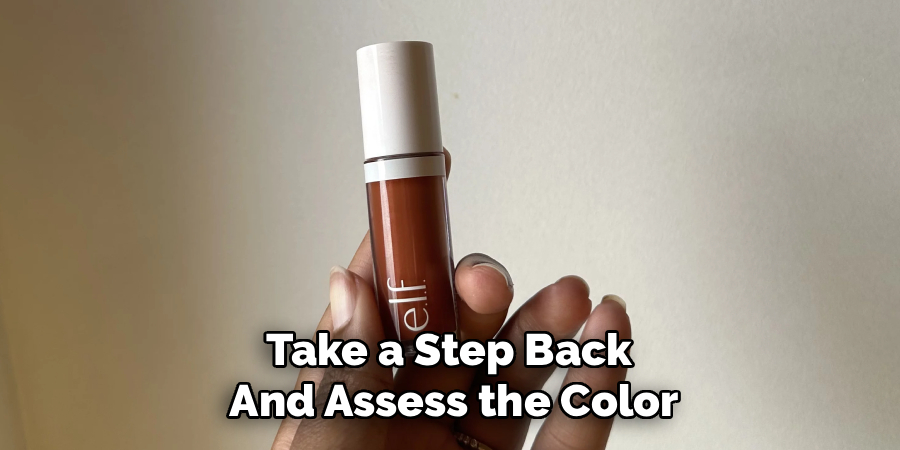
Step 5: Layering for Desired Intensity
Once your initial layer is blended out, take a step back and assess the color in natural lighting if possible. One of the beauties of this formula is its buildability. If the first pass was too subtle for your taste, simply repeat the dotting process. Add just one more small dot to the center of where you want the most color and blend out the edges again. It is much safer to work in these thin, light layers than to apply a heavy amount all at once.
Layering ensures the product dries down evenly and lasts longer throughout the day. Continue this process until you reach your desired level of vibrancy, keeping in mind that blush is often the first makeup product to fade, so going slightly bolder is okay.
Step 6: Setting the Look for Longevity
Liquid products have a beautiful dewy finish, but they can move around if not properly set, especially if you have oily skin or live in a humid climate. To lock your hard work in place, you have two main options. For a glowy finish, you can simply mist your face with a high-quality setting spray that melts all the layers of makeup together.
If you want serious staying power or a matte finish, lightly dust a translucent setting powder over the cheeks. For an extra pop of color that lasts all day, you can top the liquid formula with a matching powder blush. This technique, known as sandwiching, ensures the pigment stays vibrant from morning coffee until evening cocktails.
Step 7: Cleaning Up and Perfecting the Edges
Even with the best technique, sometimes we blend a little too low or the color looks a bit messy. Don’t panic; this is easily fixable without ruining your whole face. Take the sponge or brush you used for your foundation or concealer—without adding new product to it—and gently dab over the edges of your blush. The leftover foundation on the tool acts as an eraser, diffusing harsh lines and softening the color.
This helps to marry the blush with your skin tone, creating a gradient effect that looks professional. If you blended too low, use a bit of concealer to carve out the area under your cheekbone, sharpening the look and re-establishing that lifted effect. This final polish separates a messy application from a flawless one.
Frequently Asked Questions
Does This Liquid Blush Work on Oily Skin?
Yes, liquid blush can absolutely work for oily skin types. The key is in the preparation and setting. After applying the liquid blush, it is highly recommended to set it with a translucent powder or a matching powder blush. This locks the liquid product in place and prevents the oils in your skin from breaking down the pigment throughout the day. Additionally, using a matte-finish setting spray can help extend the wear time significantly.
Can I Apply Liquid Blush Over Powder Foundation?
Generally, it is not recommended to apply liquid products on top of powder products, as this can cause the makeup to pill, lift, or look muddy. Liquids interact best with other liquids or creams. If you wear powder foundation, try applying your liquid blush first, or switch to a powder blush formula. However, if you must layer it, dab it on very gently with a sponge rather than dragging a brush, to avoid disturbing the powder base underneath.
How Do I Pick the Right Shade for My Skin Tone?
Choosing a shade depends on your undertone and the look you want.
- Fair Skin: Soft pinks, dusty roses, and peaches often look most natural.
- Medium Skin: Corals, mauves, and warm berry tones provide a beautiful warmth.
- Deep Skin: Rich plums, brick reds, and vibrant oranges pop beautifully and look stunningly radiant.
Consider your skin’s undertone (cool, warm, or neutral) and try to match the blush tone to harmonize with it.
Why Does My Blush Look Patchy?
Patchy application usually stems from skin texture or formula conflict. If your skin is dry, the pigment will cling to dry flakes; ensure you exfoliate and moisturize well. Another common culprit is the base makeup drying down too fast before you apply the blush. Try applying the blush while your foundation is still slightly tacky. Also, clean your brushes or sponges regularly, as product buildup on tools can lead to uneven, streaky application.
Is It Better to Use a Brush or a Sponge?
This ultimately comes down to personal preference and the desired finish.
- Sponge: A damp beauty sponge absorbs some excess product, offering a sheer, dewy, and airbrushed finish that is very beginner-friendly.
- Brush: A synthetic stippling brush keeps the pigmentation high and allows for more precise placement on the cheekbones.
Many users find that applying with a brush and then softening the edges with a sponge offers the best of both worlds.
Conclusion
Mastering liquid blush is a game-changer for your makeup routine, offering a fresh, youthful radiance that powder formulas simply cannot replicate. While the high pigmentation of ELF’s popular product can be intimidating at first, following a structured approach makes it completely manageable.
By prioritizing skin prep, using the “less is more” dotting technique, and blending upwards for a lifted effect, you can achieve professional-looking results at home. Remember that makeup is an art form, and mistakes are easily fixed with a little leftover foundation on your sponge. Now that you have learned the expert tips on how to apply elf liquid blush, you are ready to experiment with different shades and placements, embracing a glowing, flushed look that lasts all day long.
About the Author
Jane Hubbard is a passionate beauty expert with a wealth of experience in makeup, hair, and overall beauty techniques. After years of working as a hairdresser specialist, she followed her entrepreneurial spirit and started her own consultancy business.
Jane has always been driven by her desire to help others feel confident in their own skin, and she does this by sharing her knowledge, experiences, and practical beauty tips. Through her consultancy, she empowers individuals to embrace their unique beauty, offering tailored guidance that boosts both self-esteem and personal style.
Professional Focus
- Specializes in makeup, hairstyling, and beauty consulting.
- Provides personalized beauty advice, tips, and techniques to help individuals feel confident in their appearance.
- Dedicated to staying up-to-date with the latest industry trends and developments.
- Passionate about creating a comfortable and empowering experience for every client.
Education History
- University of Craft and Design – Bachelor of Fine Arts (BFA) in Woodworking and Furniture Design
- Woodworking Apprenticeships – Extensive hands-on training with skilled craftsmen to refine carpentry and furniture making techniques
- Online Courses & Masterclasses – Continued education in advanced woodworking techniques, design principles, and specialized tools
Expertise:
- Makeup artistry, hairstyling, and beauty consulting.
- Personalized beauty techniques to enhance confidence and self-expression.
- Educating clients on how to maintain their beauty routines at home.