
Eyebrow gel is a versatile product that can help shape, define, and hold your brows in place for a polished, natural look. Whether you’re aiming for a bold, filled-in style or a subtle, groomed appearance, applying eyebrow gel correctly can make all the difference.
This guide on how to apply eyebrow gel will walk you through the steps to achieve flawless brows with ease. If you’re wondering how to use lip tint for a natural, long-lasting color, our step-by-step guide will walk you through the process.
Why Use Eyebrow Gel?
Before we dive into the application process, it’s important to understand why eyebrow gel is a must-have in your makeup routine. Here are a few benefits of using eyebrow gel:
Defines and Shapes Browse:
Eyebrow gel helps tame unruly brow hairs and adds definition to sparse or thin brows. Its tinted formula can also fill in gaps and create a more defined shape.
Holds Brows in Place:
If you struggle with keeping your brows in place throughout the day, eyebrow gel is an essential product for you. Once applied, it acts as a lightweight hairspray to keep your brow hairs in place without making them feel stiff or crunchy.
Saves Time:
Applying eyebrow gel takes only a few seconds but can make a significant difference in your overall makeup look. It eliminates the need for multiple products such as pencils, powders, and pomades, saving you time and effort.
8 Step-by-step Guidelines on How to Apply Eyebrow Gel
Step 1: Prep Your Brows
Before applying eyebrow gel, it’s essential to start with clean, dry brows. Use a gentle cleanser or makeup remover to ensure there is no leftover makeup, oil, or debris on your eyebrows.
Then, use a spoolie brush to comb through your brow hairs in the direction of their natural growth. This step helps separate the hairs and lays the foundation for an even application of the gel.
Step 2: Choose the Right Shade
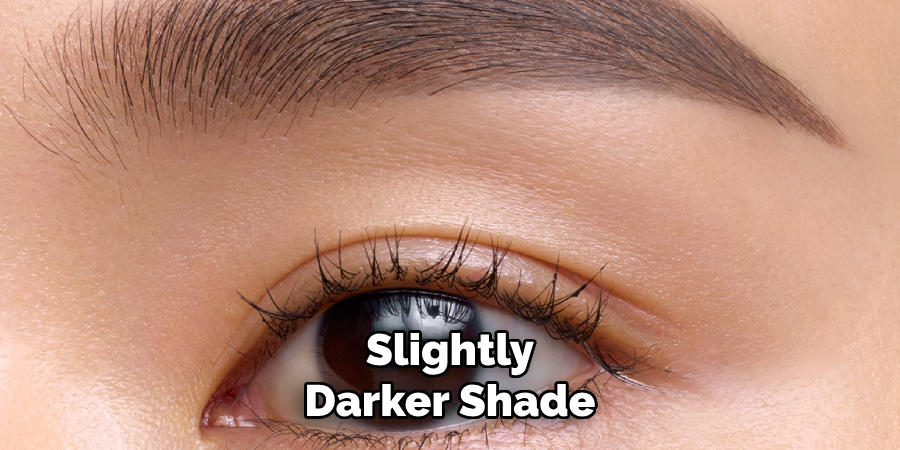
Selecting the correct shade of eyebrow gel is crucial for achieving natural-looking brows. If you’re using a tinted gel, choose a color that matches your natural brow shade or is one to two shades lighter for a softer look.
For individuals with lighter hair, opting for a slightly darker shade can add definition, while those with darker hair may prefer a lighter tint to avoid making the brows look too harsh. If you’re new to using eyebrow gel, consider starting with a clear formula, which works universally and focuses solely on holding brow hairs in place.
Step 3: Dip the Brush
Once you’ve chosen your eyebrow gel, carefully remove the wand from the tube. To avoid applying too much product, gently scrape off any excess gel on the rim of the tube. This ensures a more controlled application and prevents clumping on your brows.
The goal is to have just enough product on the brush to coat your brow hairs evenly without overwhelming them.
Step 4: Apply the Gel
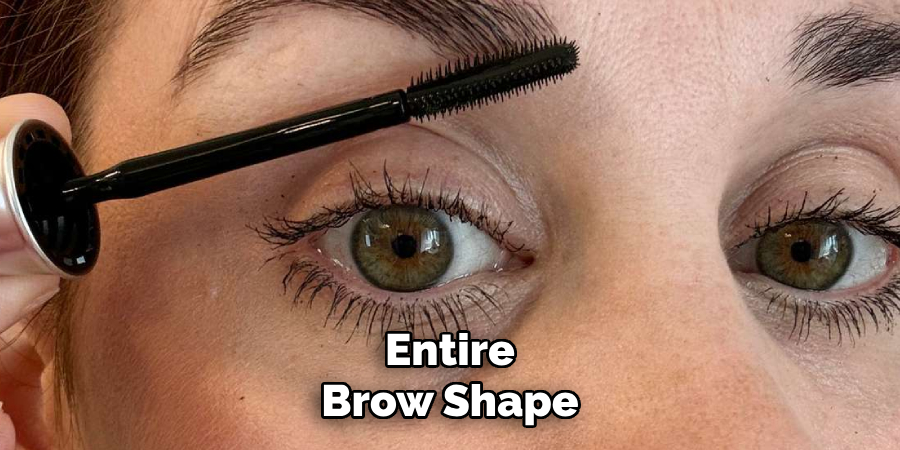
Using light, feathery strokes, start applying the gel to your brows from the inner corner towards the tail. Follow the natural direction of hair growth for a more natural look. If you prefer a bolder brow, you can apply more pressure and fill in any sparse areas by brushing against the direction of hair growth.
Be mindful not to apply too much product at once, as it can be challenging to remove without messing up your entire brow shape.
Step 5: Blend for a Natural Look
After applying the gel, use a clean spoolie brush to lightly comb through your brows. This helps distribute the product evenly and ensures that no areas look overly saturated or clumpy. Blending also softens any harsh lines, creating a more natural finish.
Work gently to avoid disturbing the shape you’ve created, and continue brushing in the direction of your natural hair growth for the best results.
Step 6: Clean Up Any Mistakes
If you accidentally applied too much gel or created a harsh line, don’t worry. Take a clean spoolie brush and gently wipe away the excess product with back-and-forth motions. You can also use a cotton swab to clean up any stray hairs or smudges around your brows.
It’s best to do this while the gel is still wet, so be sure to correct any mistakes before it dries and sets in place.
Step 7: Set the Gel
Allow the eyebrow gel to dry for a few minutes before moving on to the next step. This gives the product time to set and hold your brows in place throughout the day.
If you have particularly unruly brows, you can use a clear brow wax or pomade over the dried gel for extra hold. Just make sure not to disturb your brow shape while applying these products.
Step 8: Finish with Makeup (Optional)
Lastly, if you want an even more defined look, consider using complementary makeup products to complete your eyebrow look. You can use an eyebrow pencil or powder to fill in any sparse areas, a highlighter under the brow bone for a lifted effect, or a brow gel with fibers for added volume and texture.
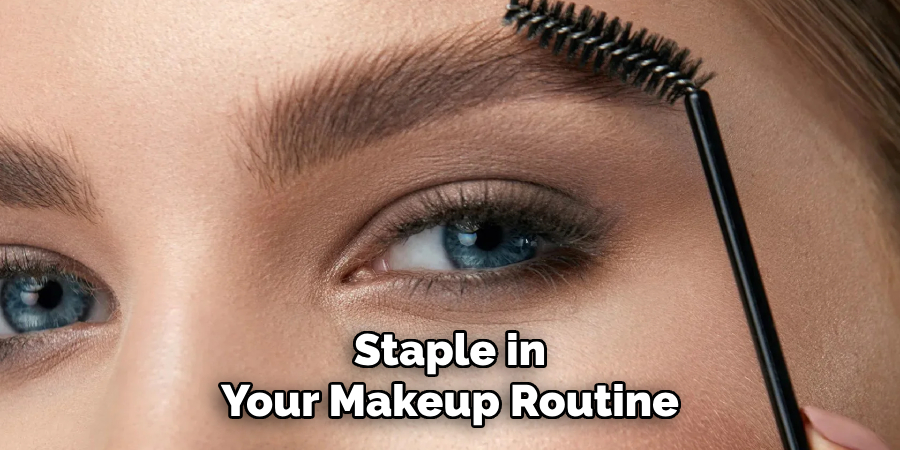
Following these steps on how to apply eyebrow gel will help you achieve flawless, well-groomed brows that last all day. With a little practice and patience, you’ll be able to apply eyebrow gel like a pro in no time! Whether you’re going for a natural or bold look, this versatile product is sure to become a staple in your makeup routine. Happy grooming!
Tips and Tricks
- If you’re new to using eyebrow gel, start with a clear formula to get comfortable with the application process before experimenting with tinted gels.
- Don’t be afraid to mix shades to find the perfect match for your brows. You can also use a lighter shade in the inner corners and a darker shade towards the tail for a natural ombre effect.
- Use short, light strokes when applying eyebrow gel to avoid creating harsh lines or overloading your brows with the product.
- When using tinted eyebrow gel, make sure to blend well for a more natural look. Use a clean spoolie brush to comb through your brows after application.
- To achieve long-lasting results, make sure to start with clean and dry eyebrows. This prevents the gel from clumping or sliding off throughout the day.
- If you accidentally apply too much product, use a clean spoolie brush or cotton swab to remove the excess and correct any mistakes.
- To set your brows in place for longer, you can use a clear eyebrow wax or pomade over the dried gel.
- Don’t forget to always check your eyebrows in natural light before leaving the house to ensure they look even and well-groomed.
- Experiment with different brushes and techniques to find what works best for your brow shape and hair type. Some people may prefer a brush with shorter bristles for better control, while others may like a spoolie brush for blending.
- Remember that less is more when it comes to applying eyebrow gel. Start with a small amount of product and build up as needed for a natural and defined look.
Frequently Asked Questions
Q1: is Eyebrow Gel Suitable for All Skin Types?
A1: Yes, eyebrow gel can be used on all skin types. However, if you have oily skin, make sure to use a waterproof formula or set the gel with a clear brow wax to prevent smudging.
Q2: Can I Use Eyebrow Gel if I Have Sparse Brows?
A2: Absolutely! Eyebrow gel is perfect for filling in sparse brows and creating a fuller, more defined look. Just make sure to use light, feathery strokes and start with a small amount of product to avoid overwhelming your brows.
Q3: Do I Need to Use Other Brow Products with Eyebrow Gel?
A3: It depends on the desired look you want to achieve. If you want a natural and effortless look, eyebrow gel tutorial can be used on its own. However, if you want a more defined and sculpted brow, you can use other complementary products such as an eyebrow pencil or powder, for added dimension and texture.
Q4: How Long Will Eyebrow Gel Last on My Brows?
A4: The longevity of eyebrow gel depends on the formula used and individual factors like skin type and activity level. On average, it can last up to 8-10 hours before needing a touch-up. However, using a clear brow wax or pomade over the gel can help prolong its wear time.
Conclusion
Perfectly groomed eyebrows can transform your entire look, and eyebrow gel is a versatile and effective tool to help you achieve just that. By following the steps outlined in this guide on how to apply eyebrow gel and incorporating the tips and tricks shared, you can master the art of applying eyebrow gel with confidence.
Whether you prefer a natural, effortless style or bold, statement brows, the right techniques and products make all the difference. Remember to take your time, experiment with different looks, and enjoy the process of enhancing your brows. With practice and patience, flawless, long-lasting eyebrows are just a few strokes away!
About the Author
Jane Hubbard is a passionate beauty expert with a wealth of experience in makeup, hair, and overall beauty techniques. After years of working as a hairdresser specialist, she followed her entrepreneurial spirit and started her own consultancy business.
Jane has always been driven by her desire to help others feel confident in their own skin, and she does this by sharing her knowledge, experiences, and practical beauty tips. Through her consultancy, she empowers individuals to embrace their unique beauty, offering tailored guidance that boosts both self-esteem and personal style.
Professional Focus
- Specializes in makeup, hairstyling, and beauty consulting.
- Provides personalized beauty advice, tips, and techniques to help individuals feel confident in their appearance.
- Dedicated to staying up-to-date with the latest industry trends and developments.
- Passionate about creating a comfortable and empowering experience for every client.
Education History
- University of Craft and Design – Bachelor of Fine Arts (BFA) in Woodworking and Furniture Design
- Woodworking Apprenticeships – Extensive hands-on training with skilled craftsmen to refine carpentry and furniture making techniques
- Online Courses & Masterclasses – Continued education in advanced woodworking techniques, design principles, and specialized tools
Expertise:
- Makeup artistry, hairstyling, and beauty consulting.
- Personalized beauty techniques to enhance confidence and self-expression.
- Educating clients on how to maintain their beauty routines at home.