
Are you tired of boring, dull lips? Are you looking for a way to add some shine and color to your lips? Look no further because lip gloss is here to save the day!
Lip gloss is a versatile cosmetic that can instantly elevate your look, adding shine and a touch of glamour to your lips. Whether you’re going for a natural glow or a bold, glossy finish, applying lip gloss correctly ensures a polished appearance and longer-lasting wear. Additionally, lip gloss comes in a variety of shades and finishes, making it the perfect complement to any makeup look.
This guide on how to apply lip gloss will walk you through the simple steps to achieve a flawless application, helping you make the most of this essential beauty product.
What Are the Benefits of Using Lip Gloss?
Lip gloss is not just for adding shine and color to your lips. Many other benefits make it a must-have in any makeup collection.
- Moisturizes Lips: The primary purpose of lip gloss is to add moisture to your lips, leaving them soft and smooth. This is especially beneficial during dry weather or when your lips are feeling chapped.
- Easy to Apply: Unlike lipstick, lip gloss comes with an applicator wand or brush, making it easier to apply and achieve precise results.
- Enhances Your Natural Lip Color: If you prefer a more natural look, opt for a clear or sheer lip gloss that will improve the color of your lips without adding too much pigment.
- Adds Shine: Lip gloss is known for its glossy finish, giving your lips a subtle shine that can make them appear fuller and more youthful.
- Versatile: Lip gloss can be worn alone or layered over lipstick to add dimension and shine. It can also be used as a lip balm, providing both color and hydration in one product.
What Will You Need?
Before you start applying your lip gloss, make sure you have the following items ready:
- Lip gloss of your choice
- Lip liner (optional)
- Tissues or a cotton swab for any cleanup
- Mirror for precise application
10 Easy Steps on How to Apply Lip Gloss
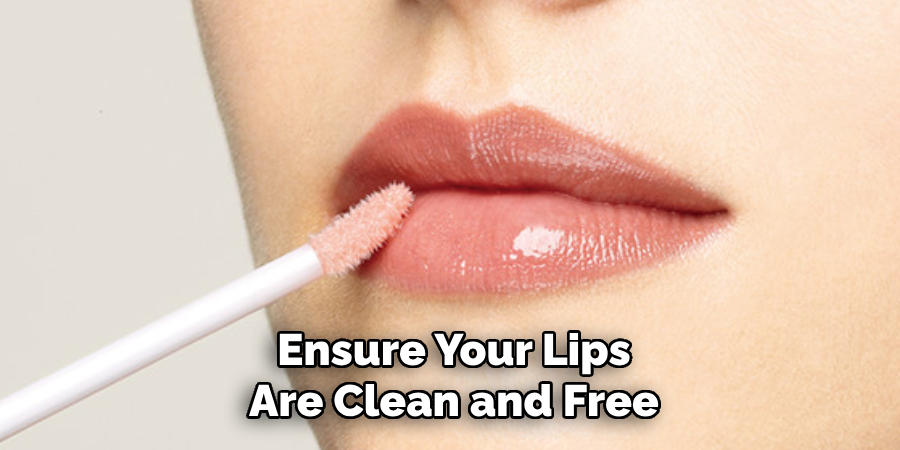
Step 1. Start with Clean Lips
Ensure your lips are clean and free from any previous products such as lipstick, balm, or gloss. Use a makeup remover or a gentle cleanser to wipe away any residue. This provides a smooth base for the lip gloss, ensuring an even application. Exfoliating your lips beforehand with a lip scrub or a soft toothbrush can also help remove any dry, flaky skin, leaving your lips smooth and ready for the gloss. Once clean, pat them dry gently with a tissue before proceeding to the next step.
Step 2. Exfoliate Your Lips
Exfoliating your lips is an essential step to ensure a flawless and long-lasting gloss application. Dead skin cells can accumulate on the surface of your lips, resulting in an uneven texture and affecting the adhesion of your lip gloss. To exfoliate, use a gentle lip scrub made with natural ingredients, such as sugar and oils, or opt for a soft toothbrush to buff away any rough patches gently. Apply the scrub or brush in small, circular motions, being careful not to press too hard to avoid irritation.
This process not only smooths the surface of your lips but also helps to boost circulation, giving your lips a naturally plump and healthy appearance. After exfoliating, rinse your lips thoroughly with warm water and gently pat them dry with a soft cloth or tissue. Follow up with a hydrating lip balm to lock in moisture and keep your lips feeling smooth and supple throughout the day.
Step 3. Moisturize Your Lips
To keep your lips hydrated and protected, applying a nourishing lip balm is essential. Choose a balm that contains natural ingredients like shea butter, coconut oil, or beeswax, as these are highly effective at sealing in moisture. If possible, look for a product with added SPF to protect your lips from harmful UV rays.
Gently apply the balm by gliding it across your lips to ensure even coverage. Reapply throughout the day as needed, especially after eating, drinking, or being exposed to harsh weather conditions. Regularly moisturizing your lips helps maintain their softness, prevents chapping, and promotes overall lip health.
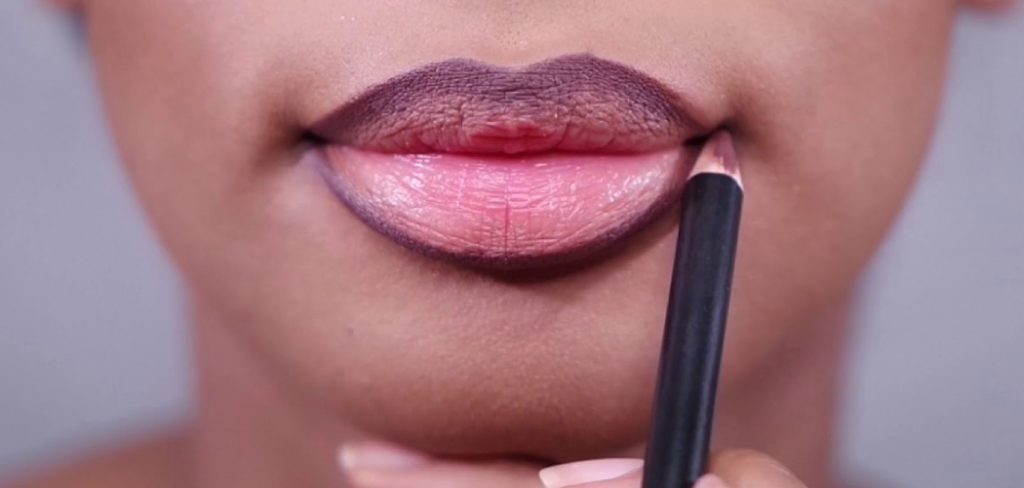
Step 4. Use a Lip Liner
A lip liner is an essential tool for achieving defined, polished lips. Begin by selecting a liner that matches your natural lip color or the shade of lipstick you plan to use. Start from the center of your upper lip and outline the natural shape of your lips, moving outward toward the corners.
Repeat this process on your lower lip, ensuring the lines are even and precise. Lip liner not only enhances the shape of your lips but also helps to prevent your lipstick from feathering or smudging, ensuring a long-lasting finish. You can also use the liner to fill in your lips entirely for a matte base or wear it alone for a natural look.
Step 5. Start at the Center
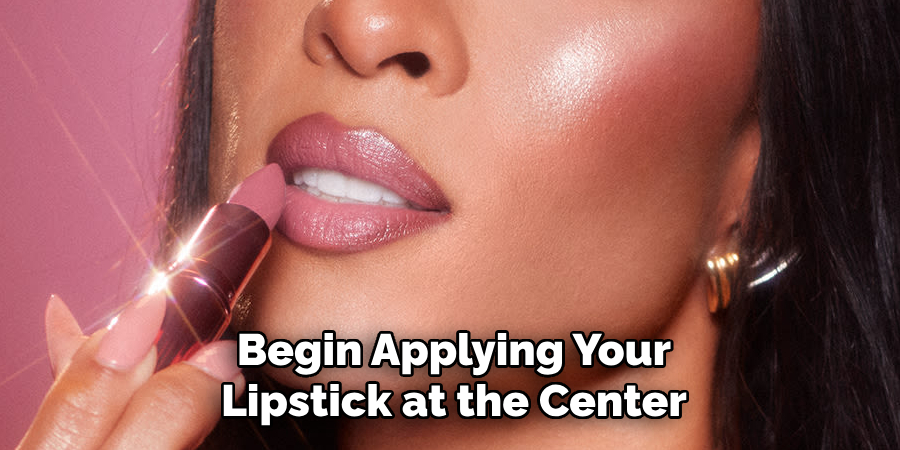
Begin applying your lipstick at the center of your upper lip, focusing on the Cupid’s bow. Using short, controlled strokes, work your way outward toward the corners of your mouth. Repeat the same process on your lower lip, starting at the center and blending outward. This technique ensures even application and helps to create a symmetrical look. For added precision, use a lip brush to blend the edges seamlessly.
Step 6. Spread the Gloss
To add an extra touch of shine and dimension, apply a layer of lip gloss over your lipstick. Start at the center of your lips and gently spread it outward using the applicator. Be mindful not to overapply, as a thin layer is usually enough to achieve a glossy and polished finish. This step not only enhances the color but also keeps your lips hydrated and luscious throughout the day.
Step 7. Apply to the Top Lip
Start by carefully applying lipstick to the center of your top lip, following the natural curve of your Cupid’s bow. Use small, precise strokes to ensure an even and symmetrical application, working outward toward the corners of your mouth. If needed, use a lip brush for added precision and to define the edges for a neat, professional look. Take your time to create a smooth and flawless finish.
Step 8. Check for Evenness
Once you’ve finished applying your lipstick, take a moment to check for evenness and symmetry. Use a mirror in good lighting to ensure the color is applied smoothly across both lips, with no gaps or uneven edges. If you spot any imperfections, use a cotton swab or a small lip brush to correct them. This step is key to achieving a polished and professional look.
Step 9. Clean Up Any Excess
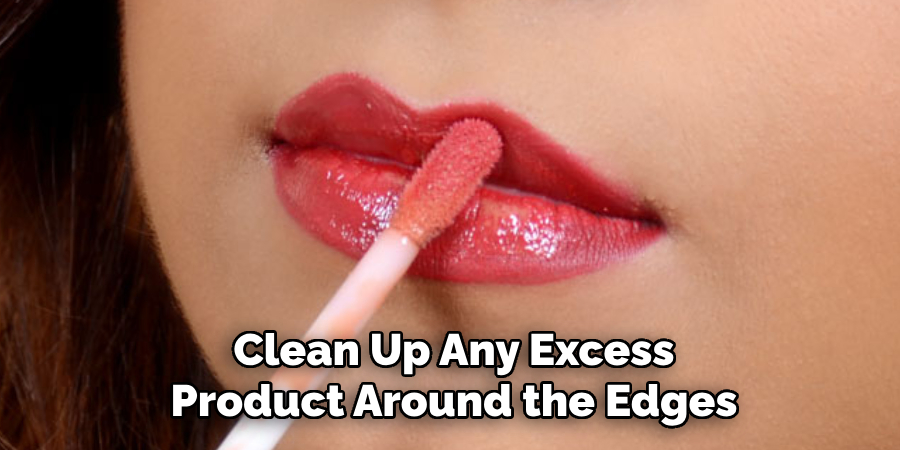
After ensuring your lipstick is evenly applied, take a moment to clean up any excess product around the edges of your lips. This is particularly important for bold or dark colors, which can be more noticeable if they bleed outside your natural lip line. Use a clean cotton swab dipped in micellar water or makeup remover to carefully tidy up any smudges. For extra precision, use a small, flat makeup brush with concealer to define the edges of your lips and create a crisp, clean border.
Step 10. Reapply as Needed
If you notice your lipstick fading throughout the day, don’t hesitate to reapply to maintain a fresh and polished look. Start by gently blotting any remaining color with a tissue to create a clean base. If needed, touch up your lips with a bit of balm to prevent dryness. Then, reapply your lipstick, layering it evenly for a smooth finish. This step ensures that your lip color remains vibrant and intact, no matter how long your day lasts.
With these steps, you’ll achieve perfectly glossy lips that shine with confidence!
5 Things You Should Avoid
- Applying Too Much Product
Overloading your lips with too much gloss can lead to an overly sticky and uncomfortable feel. A small amount goes a long way, resulting in a more elegant and manageable appearance.
- Skipping Lip Prep
Applying gloss directly on dry, chapped lips can exaggerate imperfections. Always exfoliate and hydrate your lips beforehand for a smoother and more polished finish.
- Using Gloss on Its Own for Long Wear
Lip gloss tends to wear off quickly when used alone. For better longevity, layer it over a lip liner or lipstick to give it something to adhere to and reduce frequent touch-ups.
- Ignoring the Lip Outline
Not paying attention to the edges of your lips can result in smudging or gloss bleeding beyond your lip line. Use a precise applicator or a matching liner to keep the look neat.
- Choosing the Wrong Shade or Formula
Not all glosses suit every occasion. For formal settings, overly glittery glosses may feel out of place, while thick, sticky formulas can be uncomfortable to wear for extended periods. Pick a shade and formula that complements the occasion and your style.
Conclusion
Applying lip gloss effectively is about striking a balance and paying attention to detail.
By preparing your lips, choosing the right shade and formula, and applying the gloss with precision, you can achieve a polished and stylish look every time. Practice and experimenting with different techniques will help you discover what works best for you, ensuring your lip gloss enhances your overall appearance with ease and confidence.
Hopefully, the article on how to apply lip gloss has provided you with some helpful tips and tricks to upgrade your beauty routine. So go ahead, embrace the shine and let your personality shine through with the help of some stunning lip gloss. Keep experimenting, stay confident, and rock that glossy look!
About the Author
Jane Hubbard is a passionate beauty expert with a wealth of experience in makeup, hair, and overall beauty techniques. After years of working as a hairdresser specialist, she followed her entrepreneurial spirit and started her own consultancy business.
Jane has always been driven by her desire to help others feel confident in their own skin, and she does this by sharing her knowledge, experiences, and practical beauty tips. Through her consultancy, she empowers individuals to embrace their unique beauty, offering tailored guidance that boosts both self-esteem and personal style.
Professional Focus
- Specializes in makeup, hairstyling, and beauty consulting.
- Provides personalized beauty advice, tips, and techniques to help individuals feel confident in their appearance.
- Dedicated to staying up-to-date with the latest industry trends and developments.
- Passionate about creating a comfortable and empowering experience for every client.
Education History
- University of Craft and Design – Bachelor of Fine Arts (BFA) in Woodworking and Furniture Design
- Woodworking Apprenticeships – Extensive hands-on training with skilled craftsmen to refine carpentry and furniture making techniques
- Online Courses & Masterclasses – Continued education in advanced woodworking techniques, design principles, and specialized tools
Expertise:
- Makeup artistry, hairstyling, and beauty consulting.
- Personalized beauty techniques to enhance confidence and self-expression.
- Educating clients on how to maintain their beauty routines at home.