
For many beauty enthusiasts, making the switch to mineral makeup is a breath of fresh air. Unlike heavy liquids or creams that can feel suffocating on the skin, mineral formulas are lightweight, breathable, and often packed with skin-loving ingredients. However, the transition isn’t always seamless. If you are used to the swipe-and-go nature of liquid products, facing a jar of loose powder can be intimidating. The fear of a messy application or a cakey, dry finish often holds people back from experiencing the natural radiance these products provide.
The secret lies entirely in the technique. It requires a different approach than traditional makeup, relying less on painting and more on buffing. When done correctly, the result is a “your skin but better” look that lasts all day and feels like you are wearing nothing at all. Whether you have sensitive skin, rosacea, or just want a more natural approach to beauty, learning exactly how to apply mineral foundation can transform your daily routine from a chore into a moment of self-care.
Why Choose Mineral Foundation?
Before diving into the application process, it is helpful to understand why this product is worth the learning curve. Mineral foundation is composed of natural minerals like mica, zinc oxide, and titanium dioxide. These ingredients are milled into a fine powder that sits on the surface of the skin rather than sinking into pores, making it an excellent choice for acne-prone or sensitive skin types. Furthermore, because it lacks the fillers, dyes, and fragrances found in conventional makeup, it minimizes the risk of irritation. The finish is uniquely versatile; it can look sheer and dewy or matte and full-coverage depending on how you manipulate the powder.
Step-by-Step Guide: How to Apply Mineral Foundation
Step 1: Prep and Prime Your Skin
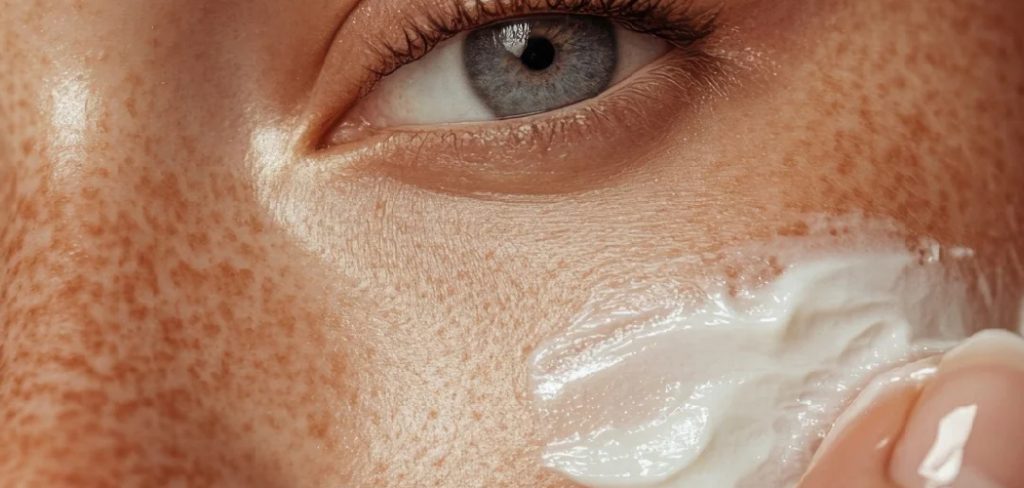
The most critical phase of your makeup routine actually happens before you even open the jar of foundation. Because mineral makeup is a dry powder, it tends to cling to dry patches or flaky skin, which can result in an uneven texture. To prevent this, you must start with a clean, well-hydrated canvas. Cleanse your face thoroughly and apply a moisturizer suited to your skin type.
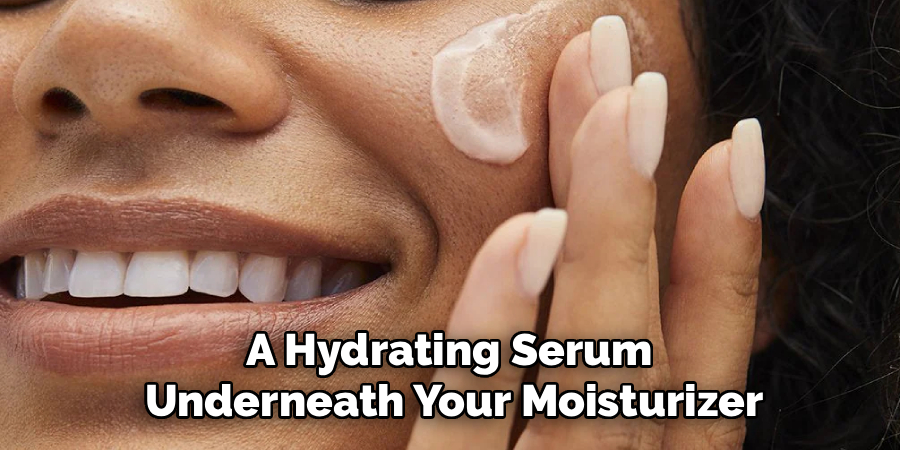
If you have particularly dry skin, a hydrating serum underneath your moisturizer can work wonders. The key here is to let your skincare absorb completely. Wait at least five to ten minutes after moisturizing before applying makeup. If your face is too tacky or wet, the powder will streak; if it is too dry, it won’t buff in. A silky, hydrated surface allows the minerals to melt into the skin for a seamless finish.
Step 2: Choose the Right Tools
You cannot achieve a flawless airbrushed look with mineral powder if you are using the wrong tools. Unlike liquids that can be applied with fingers or a damp sponge, mineral foundation requires a specific type of brush to work its magic. You need a Kabuki brush or a dense, flat-top buffer brush. The density of the bristles is what allows you to pick up the powder and press it onto the skin effectively.
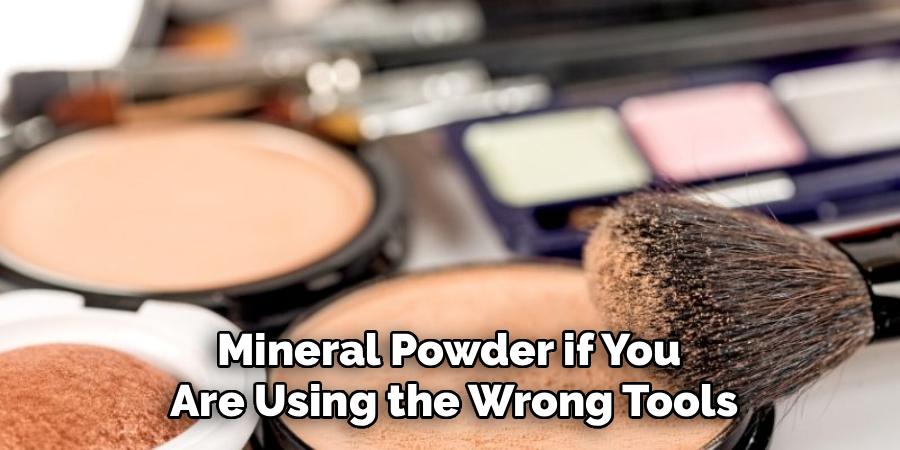
A fluffy powder brush, which you might use for setting powder, is too loose; it will scatter the product everywhere and provide zero coverage. Synthetic bristles are generally preferred over natural hair because they are softer, more durable, and do not absorb the product. investing in a high-quality Kabuki brush is a vital part of learning how to apply mineral foundation correctly, as the tool does 50% of the work for you.
Step 3: Dispense the Mineral Powder
One of the most common mistakes beginners make is using far too much product at once. Mineral foundation is highly concentrated pigment, meaning a little goes a very long way. To dispense the product, turn your closed jar upside down and give it a sharp tap. Turn it back over and open the lid. You should see a small amount of powder sitting in the sifter or on the inside of the cap.
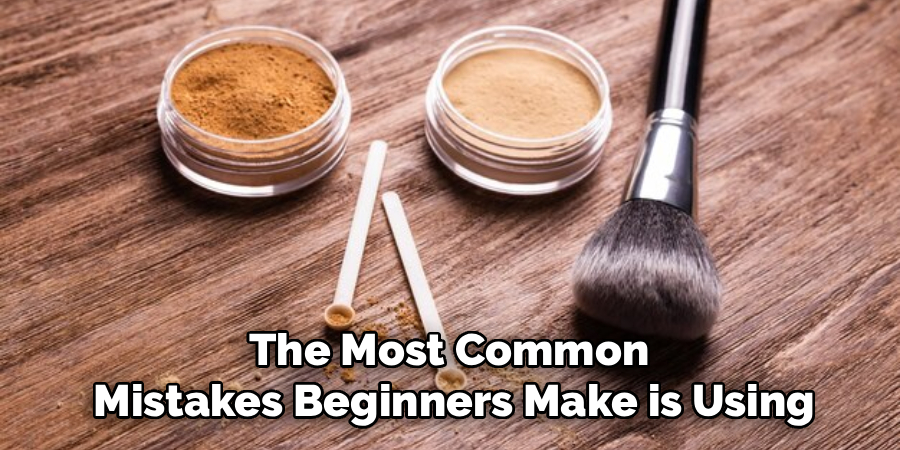
This small sprinkling is often enough for your first layer. It is much easier to add more product than it is to take it away once it is on your face. Pouring a pile of powder into the lid will only lead to a heavy, mask-like application. Start with an amount the size of a dime sprinkled into the lid; this control ensures you don’t over-apply.
Step 4: Swirl and Tap the Brush
This step is often described by the mantra “Swirl, Tap, Buff.” Take your dense Kabuki brush and swirl it firmly into the powder sitting in the lid. You aren’t just trying to coat the tips of the bristles; you want to work the minerals deep into the brush head. Continue swirling until the white tips of your brush have mostly disappeared and the powder looks absorbed.
Next, holding the brush over the lid, give the handle a firm tap against the side. This is non-negotiable. You want to shake off any excess loose powder. If you see a cloud of dust when you move the brush to your face, you haven’t tapped enough. The goal is to have the minerals tucked inside the bristles so they can be released slowly and evenly as you buff.
Step 5: Buff into the Skin
Now comes the actual application. Take your loaded brush and apply it to your face using firm, circular motions. This technique is called buffing. The friction and warmth generated by the circular motion help the minerals mix with the natural oils on your skin (or your moisturizer), turning the powder into a creamy consistency.
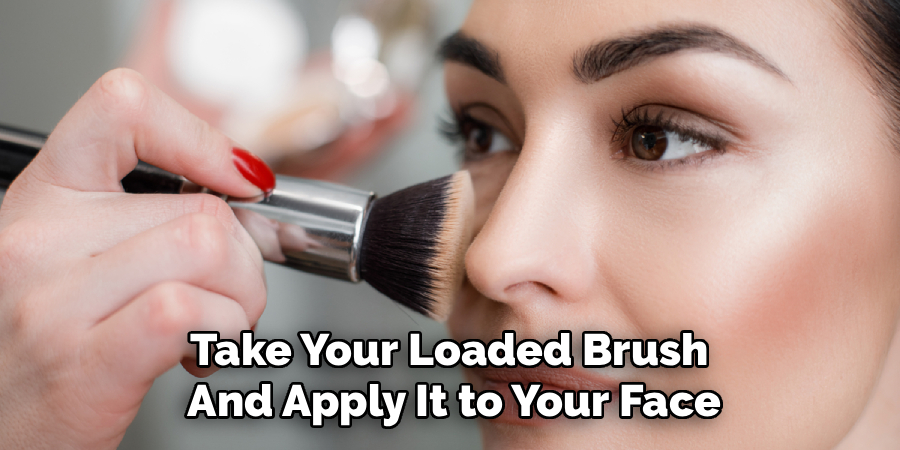
Start from the outside of your face near the jawline and work your way inward towards the nose, or vice versa—find a direction that feels comfortable for you. Don’t just sweep the brush across your face like you are painting a wall; keep the brush moving in tight circles. The more you buff, the more natural the finish will look. If you stop too soon, the product sits on top of the skin like dust. Buffing ensures it melds with your complexion for that coveted radiant glow.
Frequently Asked Questions
Is Mineral Foundation Good For Dry Skin?
Yes, mineral foundation can be excellent for dry skin, provided you prep correctly. Because it is a powder, it can cling to dry patches if the skin is parched. The trick is to exfoliate regularly to remove dead skin cells and moisturize heavily before application. Some brands also offer “moisturizing” mineral formulas that contain added antioxidants or jojoba esters. If you find the powder looks dry, try using a hydrating setting spray immediately after application to melt the minerals into the skin, or mix the loose powder with a drop of facial oil to create a liquid-like consistency.
Can Mineral Makeup Cover Acne And Scars?
Absolutely. Mineral makeup typically contains high levels of pigment (zinc oxide and titanium dioxide), which are excellent for concealing redness and discoloration. Zinc oxide also has natural anti-inflammatory properties, which can help soothe active breakouts while covering them. To cover acne or scars effectively, use a small, dense concealer brush to press the minerals directly onto the blemish. This concentrates the pigment exactly where you need it. You can then buff a lighter layer of foundation over the entire face to blend everything together for a unified, flawless look.
Do I Need A Special Brush For Application?
You definitely need the right tool for the job. A standard fluffy blush or powder brush is too loose and flexible; it will scatter the minerals and result in a messy, sheer application that fades quickly. To get the coverage and finish mineral makeup is famous for, you need a brush with very dense, firm bristles, typically synthetic. A Kabuki brush or a flat-top buffer brush is ideal because it allows you to exert the necessary pressure to “buff” the powder into the skin, transforming it from a dust into a creamy finish.
Why Does My Mineral Foundation Look Cakey?
If your foundation looks cakey, thick, or emphasizes pores, you have likely applied too much product or didn’t buff it in enough. The most common error is skipping the “tap” step—you must shake off the excess powder from your brush before it touches your face. It is also possible that your moisturizer didn’t sink in fully before you started, causing the powder to grab onto wet spots. To fix a cakey look, take a clean, fluffy brush and buff your face to remove excess product, then mist generously with a facial spray to hydrate the layers.
Is It Better Than Liquid Foundation?
“Better” is subjective, but mineral foundation offers distinct advantages. It is generally cleaner, free from preservatives, parabens, and fragrances that often irritate sensitive skin types. It is also non-comedogenic, meaning it won’t clog pores, making it a favorite for those with acne. Liquid foundation can feel heavier and may slide off oily skin, whereas mineral powder tends to bind to oil and last longer in hot weather. However, liquid foundation might be easier for beginners who are used to traditional application methods. Ultimately, it depends on your skin type and lifestyle preferences.
Conclusion
Switching your beauty routine to include mineral makeup is a journey that pays off with healthier skin and a radiant, natural glow. It requires a departure from the traditional methods of smearing and painting, asking you instead to slow down and buff your way to perfection. By respecting the process—prepping your skin, using the right dense brushes, and building coverage in thin, deliberate layers—you can achieve a look that withstands the day without clogging your pores. Now that you know how to apply mineral foundation with confidence, you can say goodbye to the heavy, mask-like makeup of the past and embrace a lighter, fresher approach to beauty.
About the Author
Jane Hubbard is a passionate beauty expert with a wealth of experience in makeup, hair, and overall beauty techniques. After years of working as a hairdresser specialist, she followed her entrepreneurial spirit and started her own consultancy business.
Jane has always been driven by her desire to help others feel confident in their own skin, and she does this by sharing her knowledge, experiences, and practical beauty tips. Through her consultancy, she empowers individuals to embrace their unique beauty, offering tailored guidance that boosts both self-esteem and personal style.
Professional Focus
Specializes in makeup, hairstyling, and beauty consulting.
Provides personalized beauty advice, tips, and techniques to help individuals feel confident in their appearance.
Dedicated to staying up-to-date with the latest industry trends and developments.
Passionate about creating a comfortable and empowering experience for every client.
Education History
University of Craft and Design – Bachelor of Fine Arts (BFA) in Woodworking and Furniture Design
Woodworking Apprenticeships – Extensive hands-on training with skilled craftsmen to refine carpentry and furniture making techniques
Online Courses & Masterclasses – Continued education in advanced woodworking techniques, design principles, and specialized tools
Expertise:
Makeup artistry, hairstyling, and beauty consulting.
Personalized beauty techniques to enhance confidence and self-expression.
Educating clients on how to maintain their beauty routines at home.