
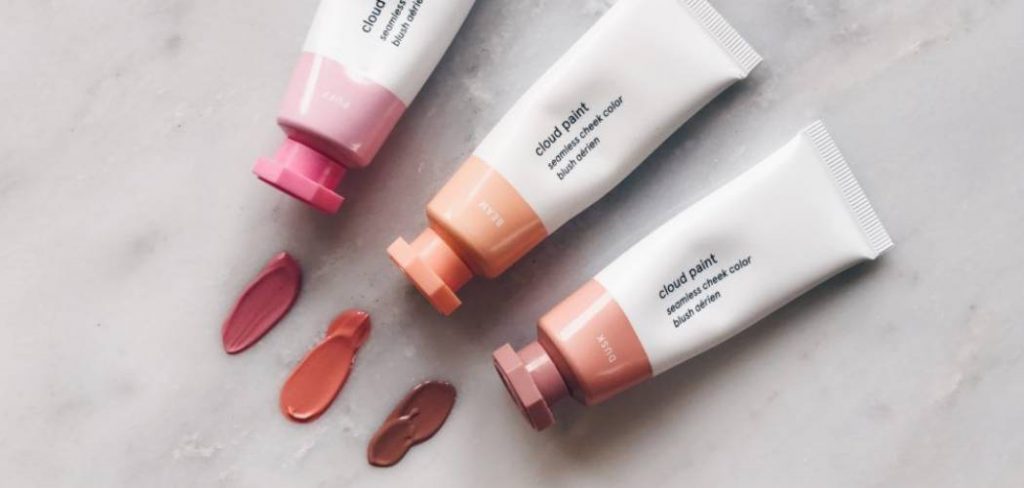
Applying Nars Liquid Blush can elevate your makeup routine, delivering a natural, radiant glow to your cheeks. This lightweight formula is highly pigmented, blendable, and perfect for achieving both subtle and bold looks. Whether you’re new to liquid blush or looking to perfect your technique, this guide will walk you through the steps of how to apply nars liquid blush every time.
Why Choose NARS Liquid Blush
NARS Liquid Blush stands out as a favorite among beauty enthusiasts for several compelling reasons. Its silky, weightless texture makes it easy to apply and blend seamlessly into the skin, leaving a natural-looking flush that enhances any complexion. The formula is enriched with nourishing ingredients, ensuring it feels comfortable on the skin while providing long-lasting wear throughout the day. Additionally, its versatile pigmentation allows you to build coverage, making it suitable for both subtle everyday looks and more dramatic evening glam. With a range of stunning shades to choose from, NARS Liquid Blush offers something for every skin tone and occasion, making it a must-have in any makeup collection.
Tools for Applying NARS Liquid Blush
To achieve the perfect application of NARS Liquid Blush, the right tools can make all the difference. A synthetic makeup brush is ideal for blending the product seamlessly into the skin, allowing for precision and a smooth, even finish. For a more natural, skin-like effect, using clean fingers to tap and blend the blush can work wonderfully, as the warmth of your hands helps to melt the product into the skin.
For those who prefer an airbrushed look, a damp makeup sponge can also be a great option, lightly pressing the blush onto the cheeks in layers to build the desired intensity. Whichever tool you choose, ensure it complements your personal style and the finish you’re aiming for, so you can enjoy flawless, glowing results every time.
10 Methods How to Apply Nars Liquid Blush
1. Choose the Right Shade for Your Skin Tone
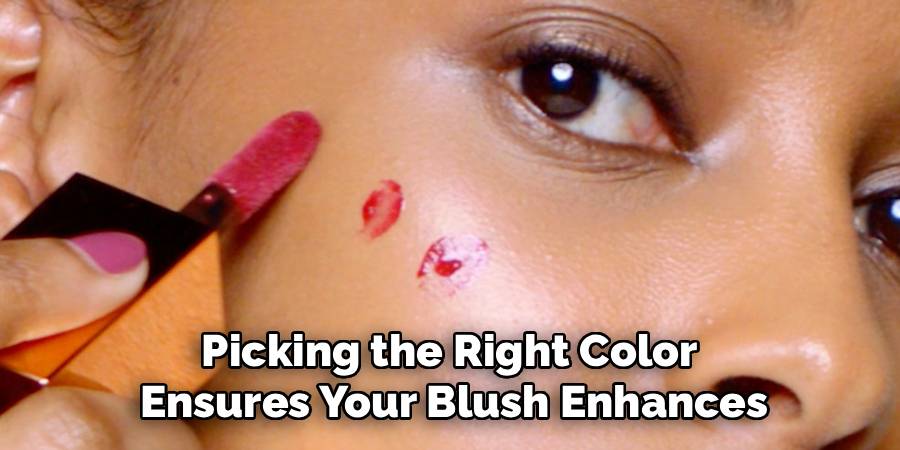
Before diving into application, the first step is selecting a NARS diy Liquid Blush shade that complements your skin tone. For fair skin, shades like “Orgasm” or “Dolce Vita” provide a natural flush without overpowering. Medium tones pair beautifully with “Torrid,” which adds warmth, while deeper skin tones glow with rich shades like “Luster” or “Outlaw.” The goal is to mimic the natural flush that appears on your skin when you’re slightly flushed or excited. Picking the right color ensures your blush enhances your features rather than appearing stark or artificial.
2. Shake the Bottle Well Before Use
NARS Liquid Blush is highly pigmented and formulated with nourishing oils, which can separate slightly when not used frequently. Shaking the bottle before each use ensures the pigment, oils, and emollients are evenly mixed. This prevents blotchiness and helps you get consistent color payoff with every application. A good shake for 10–15 seconds allows the product to blend smoothly onto the skin, helping you achieve a natural, streak-free finish. Skipping this step can result in either too much pigment or too much oil dispensing, disrupting your look.
3. Start with a Small Amount
Due to its rich pigmentation, a little goes a very long way with NARS Liquid Blush. Begin by dispensing a tiny droplet—no larger than a rice grain—onto the back of your hand. You can always build up the intensity, but it’s much harder to tone it down once too much is applied. This conservative approach gives you full control, ensuring that the blush appears soft, seamless, and tailored to your preference. It also prevents product waste and helps the blush last longer.
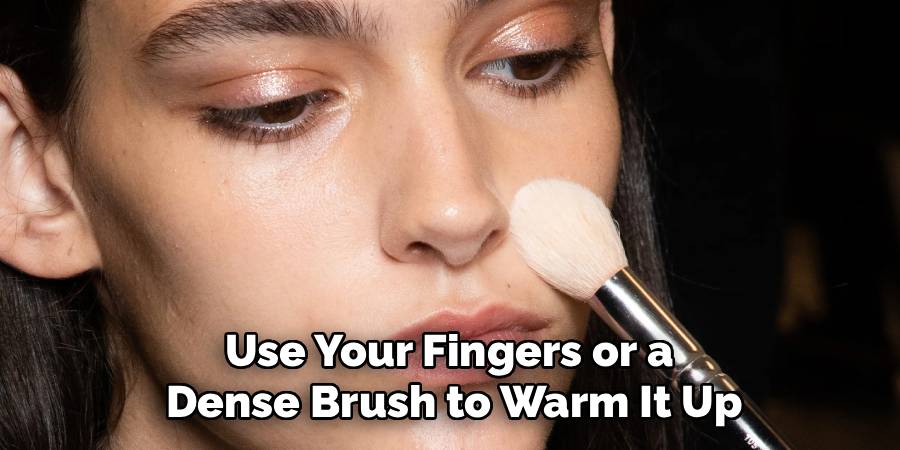
4. Warm It Up with Your Fingers or a Brush
Once the blush is on the back of your hand, use your fingers or a dense brush to warm it up. This makes the product more blendable and easier to apply. When using fingers, gently pat the blush in circular motions to break down the texture slightly. If using a brush, swirl it lightly in the product to pick up the pigment evenly. This pre-blending action helps avoid harsh lines on the face and ensures a more even and radiant application when transferred to the skin.
5. Identify the Right Placement Based on Your Face Shape
Blush placement can make a noticeable difference in enhancing your facial features. For a classic look, apply the blush to the apples of your cheeks and blend it slightly upward toward your temples. If you have a round face, angle the application slightly higher to elongate the face. Those with longer or oval faces can benefit from applying blush more horizontally across the cheeks. Understanding your face shape allows you to tailor your application for a naturally flattering look, rather than applying blush in a one-size-fits-all way.
6. Use a Tapping Motion to Apply
Instead of rubbing or sweeping the blush, use gentle tapping or patting motions to press the product into the skin. This technique prevents the foundation or base makeup underneath from being disrupted or moved around. Whether you’re using your fingers, a beauty sponge, or a brush, tapping allows the product to melt into your skin, creating a skin-like finish. It’s especially effective with liquid formulas like NARS because it helps the blush blend without streaks or harsh lines.
7. Blend Outward and Upward for a Lifted Effect
Once the blush is deposited onto your cheeks, take the time to blend it outward and slightly upward toward your temples. This direction gives the illusion of lifted cheekbones and a more youthful, sculpted face. Avoid dragging the blush down, which can pull the face down visually. The upward blend is not only flattering for all face shapes but also mimics the natural way your cheeks flush when you’re healthy and vibrant. Blend with a light touch to keep the pigment soft and diffused.

8. Layer if Needed, but Allow Drying Time
If you want a more intense pop of color, wait for the first layer to dry slightly before applying more. Liquid blushes like NARS set quickly, and applying a second layer too soon can lead to patchiness or streaks. Lightly layer a small amount of product and blend it in the same tapping motion. Build until you reach your desired intensity. This method ensures that your blush stays even and radiant throughout the day without looking overdone or cakey.
9. Set with Translucent Powder for Longevity
Although NARS Liquid Blush has a long-lasting formula, setting it with a light dusting of translucent powder can further improve wear time—especially for oily skin types or humid climates. Use a fluffy brush and gently sweep a sheer powder over the cheeks, focusing on areas prone to oil or sweat. This doesn’t mute the color but rather locks the product in place and helps maintain a smooth, fresh look throughout the day. It also prevents the blush from sliding or fading unevenly.
10. Finish with Highlighter or Bronzer for Dimension
To complete your look and add dimension to your cheeks, consider pairing your NARS Liquid Blush with a touch of highlighter on the tops of your cheekbones and bronzer just below your blush placement. This combination enhances your bone structure and creates a radiant, three-dimensional finish. The blush gives color, the bronzer adds warmth and contour, and the highlighter adds glow. Together, they balance each other and make your overall makeup look polished and intentional. Just remember to blend all three elements harmoniously to avoid harsh lines.
Maintenance and Upkeep
Proper maintenance of your makeup tools and products is essential to ensure longevity and optimal performance. For instance, regularly clean your makeup brushes to prevent product buildup and bacteria accumulation, which can affect both application quality and skin health. Store your blush, bronzer, and highlighter in a cool, dry place away from direct sunlight to preserve their formula and pigmentation. Additionally, always check the expiration dates of your products and replace them as needed to maintain their effectiveness and avoid potential skin irritation. Taking these small but important steps will keep your makeup routine seamless and your products in top condition.
Safety Considerations
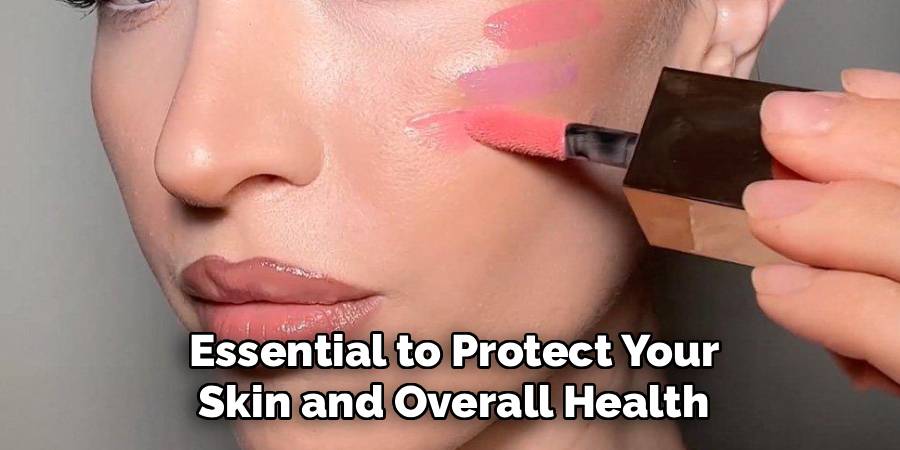
When using makeup products, prioritizing safety is essential to protect your skin and overall health. Always perform a patch test before trying new products to check for potential allergic reactions. Avoid sharing your makeup with others, as this can lead to the transfer of bacteria and increase the risk of infections. Be mindful of product storage, ensuring items are kept in a clean, temperature-controlled environment to prevent contamination or formula degradation. Furthermore, never use makeup on broken or irritated skin, as this may exacerbate the issue or introduce harmful bacteria. By following these safety considerations, you can enjoy a healthier and more enjoyable makeup experience.
Conclusion
Applying NARS Liquid Blush is both an art and a science, but with the right techniques, it becomes an easy and enjoyable step in your routine. Each method in this guide is designed to help you master the process—from choosing the right shade to blending with precision—so that you can achieve a flawless, radiant finish every time. Whether you prefer a soft flush or bold color payoff, these tips ensure your blush enhances your natural beauty without any fuss. Thanks for reading our blog post on how to apply nars liquid blush! We hope you found it helpful and informative.
About the Author
Jane Hubbard is a passionate beauty expert with a wealth of experience in makeup, hair, and overall beauty techniques. After years of working as a hairdresser specialist, she followed her entrepreneurial spirit and started her own consultancy business.
Jane has always been driven by her desire to help others feel confident in their own skin, and she does this by sharing her knowledge, experiences, and practical beauty tips. Through her consultancy, she empowers individuals to embrace their unique beauty, offering tailored guidance that boosts both self-esteem and personal style.
Professional Focus
Specializes in makeup, hairstyling, and beauty consulting.
Provides personalized beauty advice, tips, and techniques to help individuals feel confident in their appearance.
Dedicated to staying up-to-date with the latest industry trends and developments.
Passionate about creating a comfortable and empowering experience for every client.
Education History
University of Craft and Design – Bachelor of Fine Arts (BFA) in Woodworking and Furniture Design
Woodworking Apprenticeships – Extensive hands-on training with skilled craftsmen to refine carpentry and furniture making techniques
Online Courses & Masterclasses – Continued education in advanced woodworking techniques, design principles, and specialized tools
Expertise:
Makeup artistry, hairstyling, and beauty consulting.
Personalized beauty techniques to enhance confidence and self-expression.
Educating clients on how to maintain their beauty routines at home.