
Are you ready to get started with Ohora gel nails? Whether you’ve never applied a set of gel nails before or you’re an experienced nail technician, we’ve got everything you need to know about how to apply Ohora gel nails.
If you’re looking for an easy, hassle-free way to get beautiful nails at home, Ohora Gel Nails are your solution! These professional quality gels don’t require any special tools or equipment – all you need is a UV light and the gel kit.
With this tutorial, you’ll learn the basic steps for applying Ohora Gel Nail technology like a pro so you can achieve perfect nails quickly and easily from the comfort of your home. Read on for fantastic tips relating to the preparation, application guidelines, and all things in between – you won’t be disappointed!
What Will You Need?
Before you start your Ohora Gel Nail application process, it’s important to ensure you have all the necessary materials. Here’s a list of supplies that you’ll need:
- Ohora Gel Nail Kit
- UV Light
- Nail File/Buffer
- Nail Polish Remover
- Cuticle Pusher/Cuticle Trimmer
- Alcohol Wipes
Once you’ve gathered all of your supplies, you’re ready to begin.
10 Easy Steps On How to Apply Ohora Gel Nails
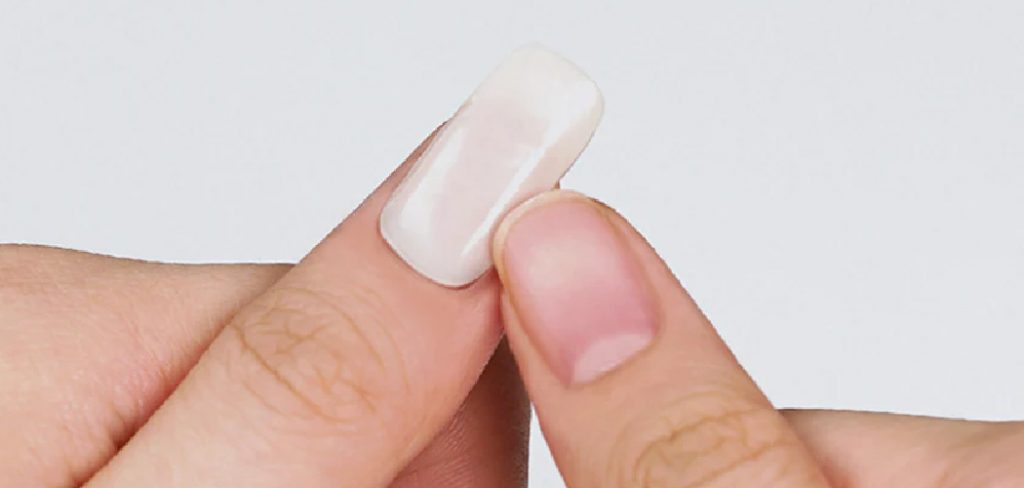
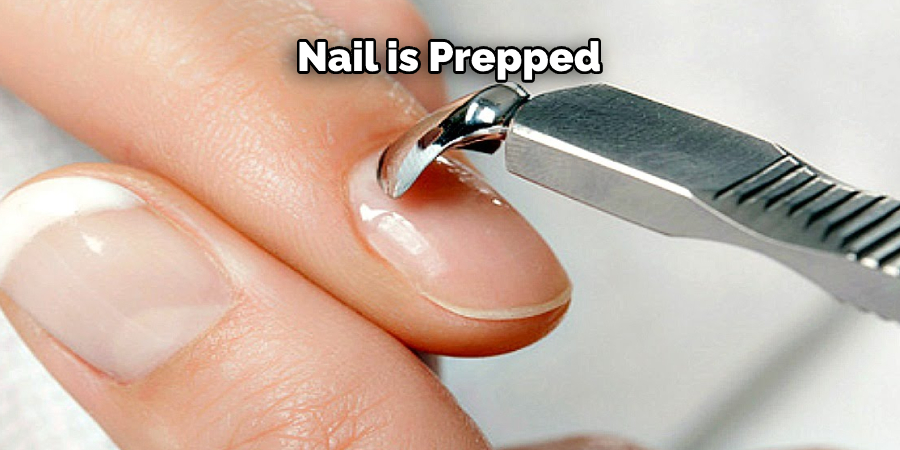
Step 1: Prep the Nails
Before you apply your new gel nail set, you’ll need to ensure that your natural nail is prepped and ready. Start by filling the surface of each nail with a buffer or nail file and removing any excess cuticles with a cuticle pusher or trimmer. If you’re applying gel nails over artificial tips, make sure to remove any shine from the surface with a buffer.
Step 2: Cleanse the Nails
Use an alcohol wipe to thoroughly cleanse each nail, removing all oils from the surface. This step is essential for a successful application because it will help to ensure the longevity of your mani/pedi. Don’t forget to cleanse between each step!
Step 3: Select Your Gel Nail Color
Now it’s time for the fun part – selecting your color! Choose one or two shades suitable for both hands and feet, depending on the look you’re hoping to achieve. It’s important to make sure that you have enough gel for both hands and feet before proceeding.
Step 4: Apply Base Coat
Once you’ve selected your gel nail color, it’s time to apply the base coat. First, ensure that the brush is slightly damp before gently applying a thin layer of base coat over each nail. Make sure to cover all areas and avoid air bubbles – this will help create an even finish.
Step 5: Cure the Nails Under UV Light
Place each hand or foot under the UV light for approximately two minutes per finger/toenail (depending on how powerful your UV light is). This helps set the base coat in place so it doesn’t chip or peel off. Additionally, it helps to ensure that your Ohora Gel Nails will last for weeks!
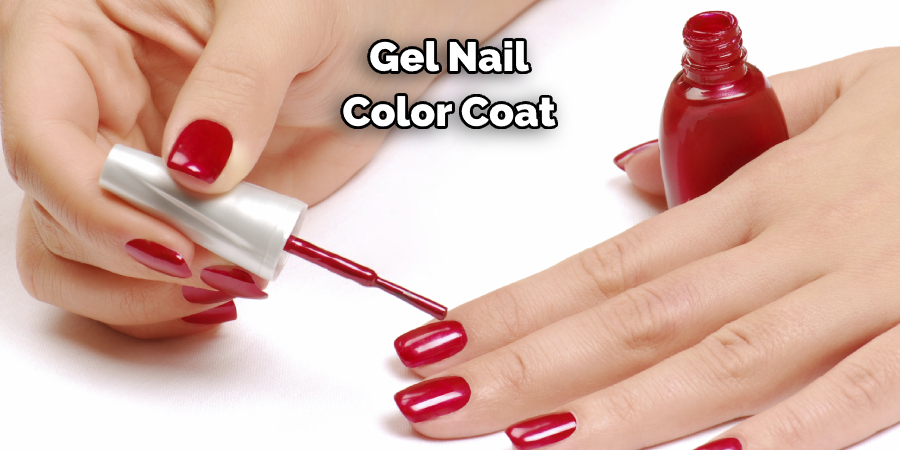
Step 6: Apply Color Coat
Now it’s time to apply the gel nail color coat! Again, make sure that the brush is slightly damp before gently brushing a thinner layer of gel polish onto each nail. Try to ensure even coverage throughout – this will help you achieve a smooth finish.
Step 7: Cure Under UV Light
Once you’ve applied all of your color coats, place each hand or foot back under the UV light for approximately two minutes per finger/toenail (depending on how powerful your UV light is). This helps to securely set the color in place and prevent chipping or peeling later on. You can repeat this step if you want a stronger, long-lasting finish.
Step 8: Apply Top Coat
Now that the color has been set in place, it’s time to apply a top coat. Again, make sure that the brush is slightly damp before gently brushing a thin layer of gel polish on each nail. This will help to protect your mani/pedi and give it an extra glossy finish.
Step 9: Cure Under UV Light
Finally, place each hand or foot under the UV light for approximately two minutes per finger/toenail (depending on how powerful your UV light is). This helps secure the top coat so it doesn’t chip or peel off later on. Be careful not to over-cure, as this can cause the gel nails to become brittle.
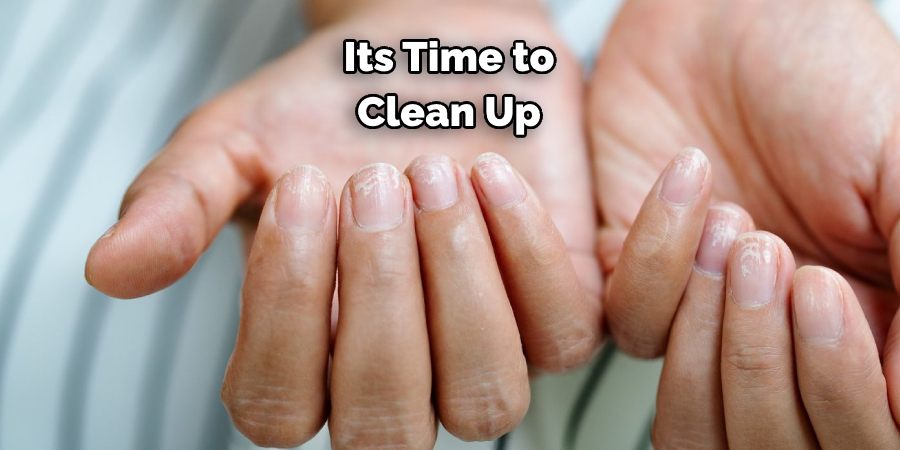
Step 10: Clean Up Nails
Now that you’ve finished applying your Ohora Gel Nails, it’s time to clean up! Use a cotton pad and nail polish remover to remove any excess gel from the sides of each nail. This will help you achieve a neat and professional looking mani/pedi.
Following these simple steps, you can easily apply a beautiful and long-lasting set of Ohora Gel Nails that will last weeks. So what are you waiting for – grab your Ohora Gel Nail kit and get started today! You won’t be disappointed!
5 Additional Tips and Tricks
- 1File the free edge of your nails prior to applying the gel nail polish for a smoother application.
- Wipe down each nail with rubbing alcohol before each step of the process, which helps the gel adhere properly.
- Gently buff away any remaining cuticle skin at the base of your nails after you have filed them in order to ensure a flawless finish.
- Apply the top coat in thin layers for the best results and maximum shine!
- To help preserve your manicure, apply oil or hand lotion to each nail every few days to keep it fresh and shiny!
By following these simple tips and tricks, you can enjoy beautiful Ohora Gel Nails that last longer than traditional nail polish! So go ahead and give it a try – your nails will thank you for it.
5 Things You Should Avoid
1. Avoid Using Acetone: Acetone is an aggressive chemical solvent that can damage your nail bed and weaken the adhesive bond between your nails and the gel polish. To remove Ohora Gel Nails, use our specially formulated remover instead.
2. Avoid Using Other Brands of Products: Always stick to Ohora’s range of nail care products – from preps to base coats, top coats, and more – as they are designed specifically for our formulas to get the best results.
3. Avoid Soaking in Water for Too Long: Soaking your nails for a few minutes before applying gel polish will help prep them properly, but make sure not to overdo it! Oversoaking can cause nail dehydration which makes them brittle and prone to breakage.
4. Avoid Rough Filing: Using a coarse file to shape your nails can cause more harm than good. You should always use a gentle, fine-grit file to prep the nails before applying gel polish for the best results.
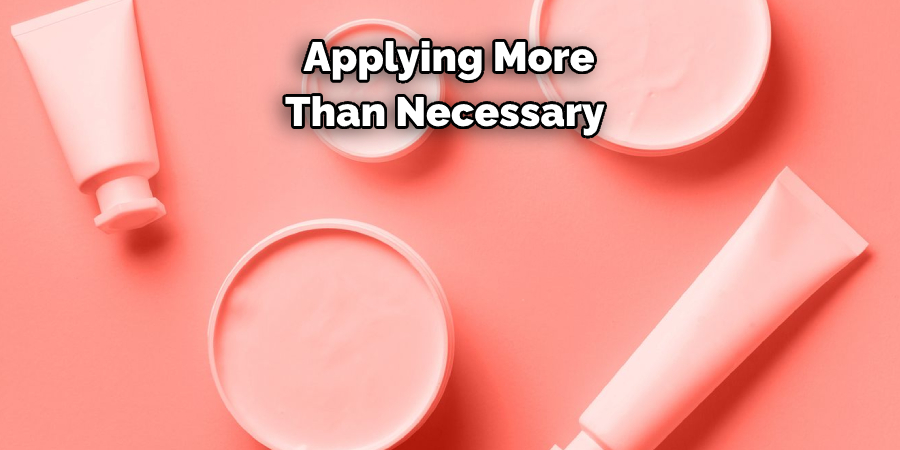
5. Avoid Using Too Much Product: Unlike regular nail polish, Ohora Gel Nails require only a thin coat of base and top coat in order to adhere to each other and last longer properly. Applying more than necessary can make the polish crack or peel off prematurely.
Following these tips will help ensure that you get the most out of your Ohora Gel Nails experience! Proper care and maintenance can last up to 4 weeks with little to no fading or chipping. Don’t forget – Ohora Gel Nails are all about achieving a salon-quality look, so take your time and be sure to get it just right. Enjoy!
How Do You Remove Ohora Without Damage?
Removing Ohora Gel Nails is easy and safe; you only need the special Ohora Gel Nail Remover Kit. First, use the included nail file to buff off some of the top coat from each nail. Then, take a cotton ball or pad, dip it in the remover solution, and place it on top of each nail for 15 minutes.
After that, use an orange stick or cuticle pusher to peel away the remaining gel polish from your nails gently. Once done, clean up any remaining residue with a soft cloth, and voilà – your nails are now free of gel polish!
By following these simple steps, you can easily remove your Ohora Gel Nails without causing any damage! So don’t be afraid to experiment and try out different nail designs – you can always take them off when you want to switch it up.
Conclusion
All in all, applying a set of Ohora Gel Nails can be a fun and rewarding experience. With patience and the right tools, you can create a salon-style manicure from the comfort of your home. Furthermore, gel nails look great for up to two weeks, giving you enough time to enjoy your new DIY mani! Don’t forget that Ohora Gel Nails also come in many vibrant colors and finishes, so you will be able to find one perfect for any occasion.
Remember to apply with care and caution and ensure you keep your nails safe from abuse. So grab your nail kit today, get creative, and show off your newfound skills!
Hopefully, the article on how to apply ohora gel nails was helpful. Thanks for reading!
About the Author
Jane Hubbard is a passionate beauty expert with a wealth of experience in makeup, hair, and overall beauty techniques. After years of working as a hairdresser specialist, she followed her entrepreneurial spirit and started her own consultancy business.
Jane has always been driven by her desire to help others feel confident in their own skin, and she does this by sharing her knowledge, experiences, and practical beauty tips. Through her consultancy, she empowers individuals to embrace their unique beauty, offering tailored guidance that boosts both self-esteem and personal style.
Professional Focus
- Specializes in makeup, hairstyling, and beauty consulting.
- Provides personalized beauty advice, tips, and techniques to help individuals feel confident in their appearance.
- Dedicated to staying up-to-date with the latest industry trends and developments.
- Passionate about creating a comfortable and empowering experience for every client.
Education History
- University of Craft and Design – Bachelor of Fine Arts (BFA) in Woodworking and Furniture Design
- Woodworking Apprenticeships – Extensive hands-on training with skilled craftsmen to refine carpentry and furniture making techniques
- Online Courses & Masterclasses – Continued education in advanced woodworking techniques, design principles, and specialized tools
Expertise:
- Makeup artistry, hairstyling, and beauty consulting.
- Personalized beauty techniques to enhance confidence and self-expression.
- Educating clients on how to maintain their beauty routines at home.