
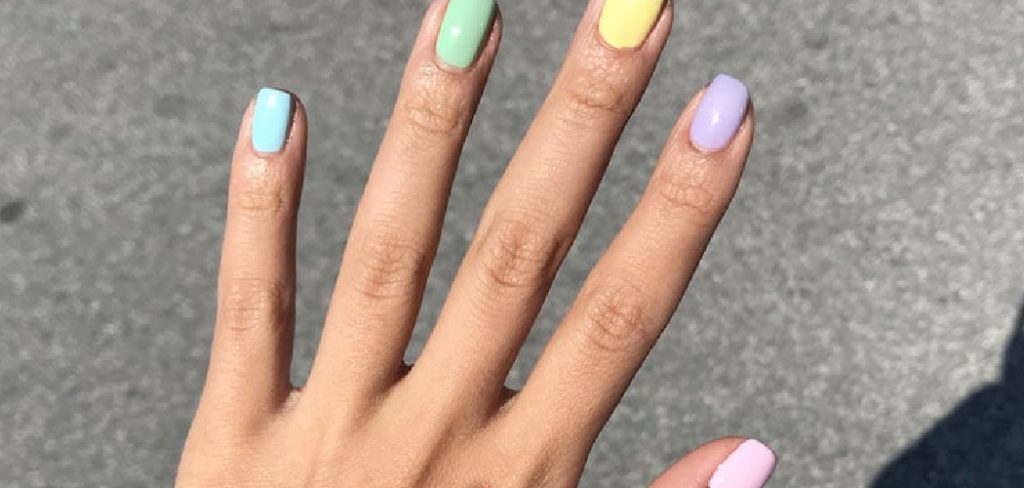
In the world of beauty, few innovations have been as liberating as the modern press-on nail. Gone are the days when artificial nails were synonymous with flimsy plastic and messy glue disasters. Today’s options are durable, stylish, and virtually indistinguishable from a professional acrylic or gel set.
They offer the ultimate flexibility, allowing you to switch up your look for a weekend event or maintain a polished appearance for weeks at a fraction of the salon cost. However, the difference between a manicure that pops off in an hour and one that lasts for two weeks lies entirely in the application technique. Many beginners give up too soon because they skip crucial preparation steps. By mastering a few simple tricks, you can achieve a flawless, durable finish that rivals any nail technician’s work. This guide is designed to walk you through how to apply press on nails like a pro, ensuring your new manicure looks stunning and stays put through your daily life.
Why Proper Application Matters
Taking the time to apply press-on nails correctly makes all the difference in both appearance and longevity. Proper application ensures that your nails not only look smooth and natural but also stay securely in place, resisting lift or pop-offs caused by daily wear and tear. Without the right technique, press-ons can quickly become frustrating or unsatisfactory, leading to wasted time and money. By understanding the importance of preparation and precision, you can maximize the lifespan of your manicure and maintain a polished, professional look for days—or even weeks—to come.
How to Apply Press On Nails: A Step-by-Step Guide
Step 1: Select the Correct Size for Each Finger
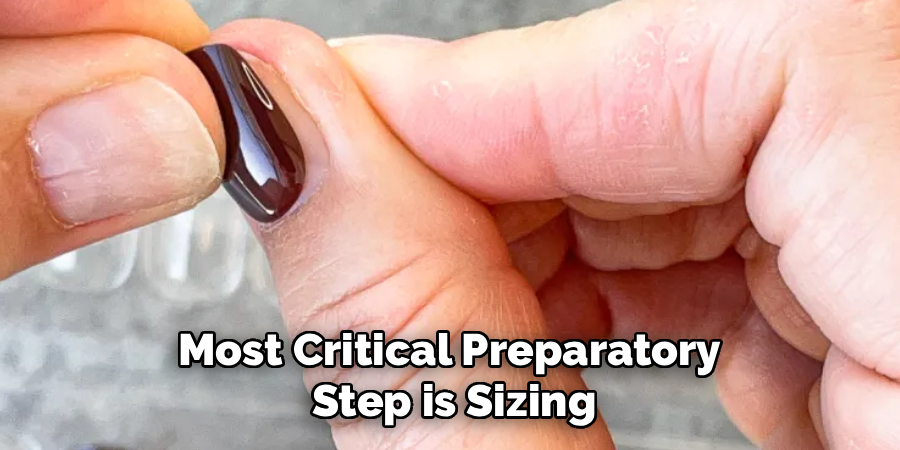
Before you open any glue or peel off any adhesive tabs, the most critical preparatory step is sizing. Pour out all the nails from the kit and test them against your natural nail beds one by one. A common mistake is choosing a nail that is slightly too large, thinking it offers better coverage. In reality, if the press-on overlaps with your skin or cuticle, it will lift prematurely and likely cause discomfort. Ideally, you want a nail that fits perfectly from sidewall to sidewall. If you find yourself between sizes, always choose the smaller option or gently file down the sides of a larger nail for a custom fit. Lay out your selected ten nails in order on a table so you are ready to apply them seamlessly without searching through the pile later.
Step 2: Prepare Your Natural Nails Thoroughly
The longevity of your manicure depends entirely on the condition of your natural nails. Start by removing any old polish with an acetone-based remover, which also helps to dehydrate the nail plate slightly. Next, trim your natural nails short so they do not peek out from underneath the press-ons. Use a cuticle pusher or an orangewood stick to gently push back your cuticles. This step is vital because if you glue the artificial nail onto the cuticle skin rather than the nail plate, it creates an air pocket that will cause the nail to pop off within days. A clean, obstruction-free canvas is essential for the adhesive to bond securely and create a watertight seal.
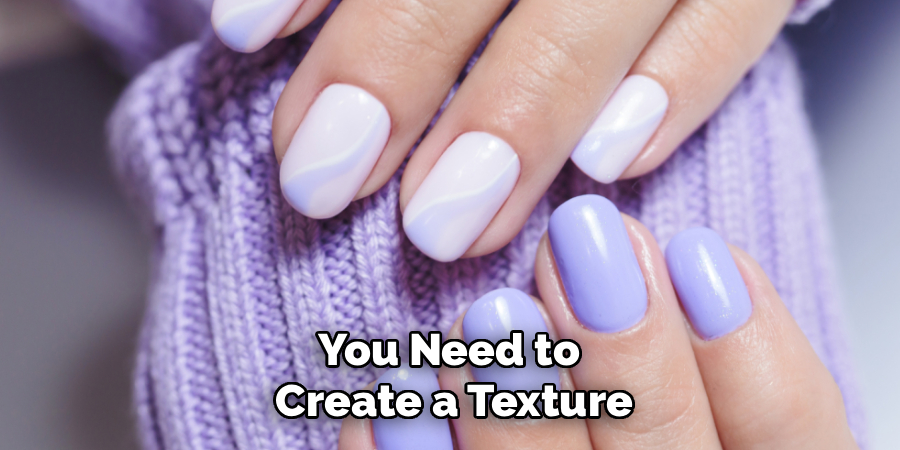
Step 3: Buff the Surface for Better Adhesion
Once your cuticles are pushed back and your nails are trimmed, you need to create a texture that the glue can grip. Use a gentle nail buffer or a fine-grit file to lightly buff the surface of your natural nails. You are not trying to thin your nails down; you simply want to remove the natural shine and oils. This slightly rough texture significantly increases the surface area for the adhesive, acting like a primer for a stronger bond. Be sure to buff the entire surface, including the edges near the cuticles and sidewalls. After buffing, wipe your nails down with an alcohol prep pad or a cotton ball soaked in rubbing alcohol to remove all the dust and dehydrate the nail one last time.
Step 4: Apply the Adhesive
Now comes the bonding phase. If you are using nail glue for a longer-lasting manicure, apply a small dot to your natural nail and a small dot to the back of the press-on nail. Swirl the glue tip to spread it evenly, ensuring you cover the center without flooding the edges. If you prefer adhesive tabs for shorter wear, peel the tab from the sheet and press it firmly onto your natural nail, smoothing out any air bubbles before peeling off the protective film. The key is moderation; too little glue creates weak spots, while too much causes messy overflow that ruins the finish. Finding the right balance ensures a secure hold without damaging your skin.
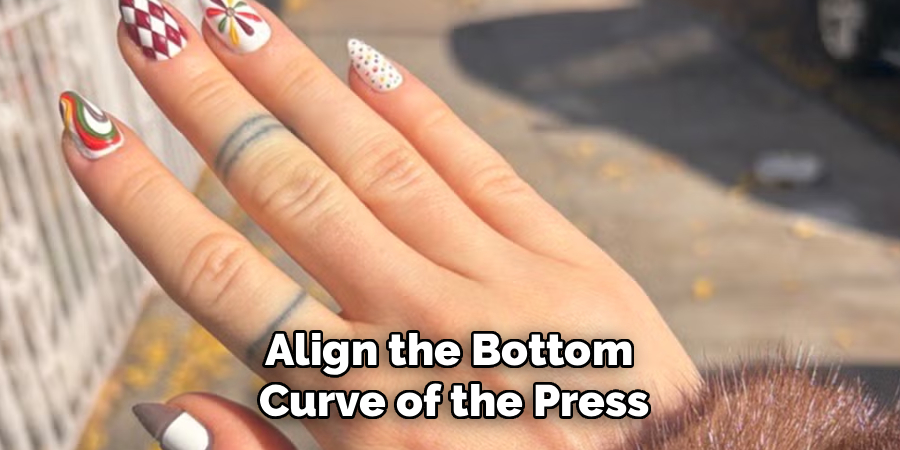
Step 5: Press and Hold at a Angle
The actual application technique is where precision matters most. Align the bottom curve of the press-on nail with your cuticle line, holding it at a 45-degree angle. Gently slide it down until it meets the cuticle, but do not shove it underneath the skin. Once aligned, slowly lower the rest of the nail down onto your natural nail bed. This angled approach helps to push out air bubbles that could otherwise get trapped and weaken the bond. Once the nail is flat, press down firmly. Do not just press in the center; use your thumb to apply pressure to the sides and the cuticle area as well. This full-contact pressure is vital for distributing the glue evenly.
Step 6: Secure the Bond with Sustained Pressure
Simply placing the nail is not enough; you must cure the bond with physical pressure. Hold the nail down firmly for at least 30 seconds. Count slowly in your head or use a timer. This half-minute is crucial because it allows the glue to dry slightly and grab onto the textured surface of your natural nail. If you release the pressure too early, the nail might spring back slightly, creating invisible gaps where water can enter later. Repeat this holding process for every single finger. It requires patience, but this specific attention to detail is a major part of learning how to apply press on nails successfully. The extra time spent here translates directly to extra days of wear.
Step 7: Shape and Refine the Final Look
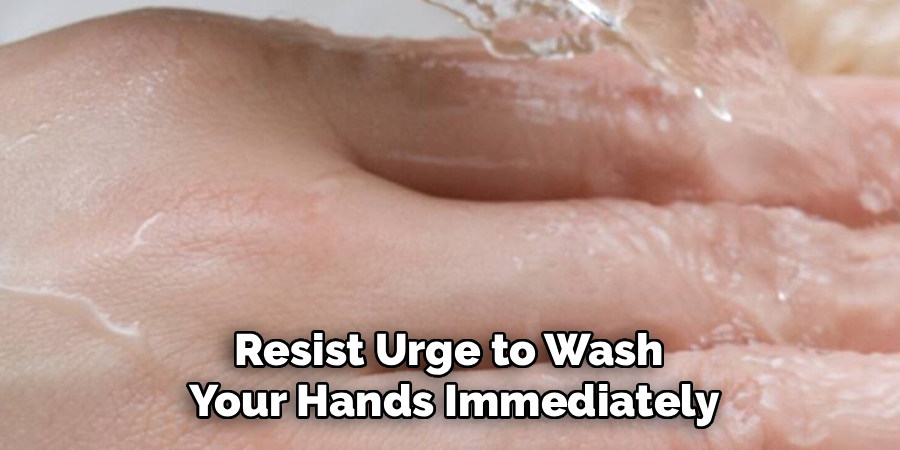
After all ten nails are applied and secured, resist the urge to wash your hands immediately. Water can interfere with the curing glue, so keep your hands dry for at least an hour. Once the adhesive has fully set, you can refine the look. Even if the press-ons came pre-shaped, there might be small plastic nubs at the tip from the manufacturing mold. Use a glass file or a standard emery board to smooth these rough edges. You can also customize the length and shape to suit your preference, turning a coffin shape into an almond or squaring off the edges. Finish with a dab of cuticle oil to rehydrate the skin around your nails for a fresh, salon-quality appearance.
Frequently Asked Questions
How Long Do Press-On Nails Actually Last?
The lifespan of your manicure depends heavily on the application method and your lifestyle.
- Adhesive Tabs: Typically last for 1 to 3 days. They are perfect for special events or weekends.
- Nail Glue: Can last anywhere from 1 to 2 weeks with proper preparation.
- Maintenance: Wearing gloves while washing dishes and avoiding using your nails as tools (like opening soda cans) will significantly extend their wear time.
Will Press-On Nails Damage My Natural Nails?
Generally, press-on nails are much safer than acrylics or gels because they do not require harsh drilling. Damage usually occurs during the removal process, not during wear. If you rip or pry the nails off forcefully, you will peel layers of your natural nail with them. However, if you soak them off gently with warm soapy water and oil, or use pure acetone for glue removal, your natural nails should remain healthy and intact.
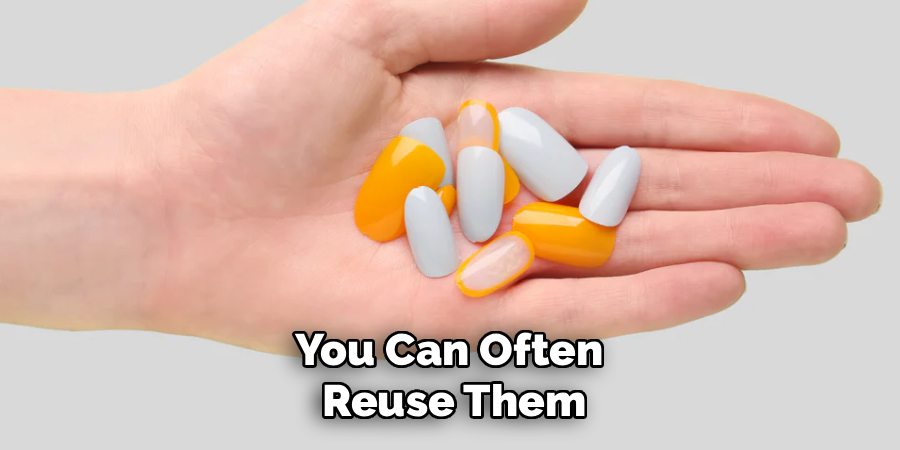
Can I Reuse My Press-On Nails?
Yes, you can often reuse them, especially if you used adhesive tabs. Tabs can simply be rolled off the back of the artificial nail. If you used liquid glue, reuse is harder because dried glue builds up on the back. However, you can gently file away the dried glue residue using a specific e-file bit or careful manual filing. High-quality, thicker press-on nails are better candidates for reuse than thinner, cheaper varieties.
What If a Nail Pops Off Early?
It happens to the best of us! This usually means there was an air pocket or the nail bed wasn’t fully dehydrated. Always carry a small tube of nail glue in your bag for emergencies. To fix it, lightly buff your natural nail and the back of the press-on to remove old dried glue, wipe with alcohol, apply a fresh drop of glue, and hold firmly for 30 seconds. It will be good as new.
How Do I Remove Press-On Nails Safely?
Never rip them off. The safest method depends on how you attached them.
- For Glue: Soak your hands in a bowl of warm, soapy water mixed with a little olive oil or cuticle oil for 15-20 minutes. The oil helps break down the adhesive bond. Gently rock the nails back and forth until they lift.
- For Acetone: If they are stubborn, soak in 100% acetone, but be aware this will likely melt the press-on nail, preventing reuse.
Conclusion
Mastering the art of the at-home manicure gives you the freedom to express your style without being tethered to salon appointments or high prices. While it might seem like just sticking plastic to your fingers, the nuance lies in the preparation—sizing correctly, buffing specifically, and pressing firmly. By treating the process with the same care as a professional technician, you ensure that your nails not only look authentic but also withstand the rigors of daily life.
Whether you are prepping for a wedding, a job interview, or just want to feel polished for the week ahead, these steps are your roadmap to success. Now that you understand how to apply press on nails properly, you have the power to transform your hands in minutes, giving you confidence and beauty right at your fingertips.
About the Author
Jane Hubbard is a passionate beauty expert with a wealth of experience in makeup, hair, and overall beauty techniques. After years of working as a hairdresser specialist, she followed her entrepreneurial spirit and started her own consultancy business.
Jane has always been driven by her desire to help others feel confident in their own skin, and she does this by sharing her knowledge, experiences, and practical beauty tips. Through her consultancy, she empowers individuals to embrace their unique beauty, offering tailored guidance that boosts both self-esteem and personal style.
Professional Focus
- Specializes in makeup, hairstyling, and beauty consulting.
- Provides personalized beauty advice, tips, and techniques to help individuals feel confident in their appearance.
- Dedicated to staying up-to-date with the latest industry trends and developments.
- Passionate about creating a comfortable and empowering experience for every client.
Education History
- University of Craft and Design – Bachelor of Fine Arts (BFA) in Woodworking and Furniture Design
- Woodworking Apprenticeships – Extensive hands-on training with skilled craftsmen to refine carpentry and furniture making techniques
- Online Courses & Masterclasses – Continued education in advanced woodworking techniques, design principles, and specialized tools
Expertise:
- Makeup artistry, hairstyling, and beauty consulting.
- Personalized beauty techniques to enhance confidence and self-expression.
- Educating clients on how to maintain their beauty routines at home.