
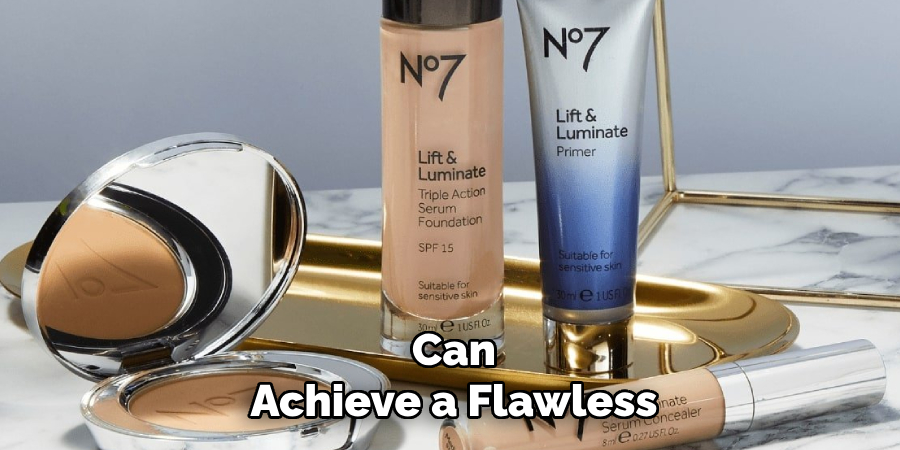
Are you tired of your makeup not lasting all day? Do you struggle with controlling the shine on your face? Pressed powder how to apply may be the solution to your problems!
How to apply pressed powder is an essential step in achieving a flawless makeup look. It helps to set your foundation, reduce shine, and provide a smooth, matte finish throughout the day.
Whether you’re aiming for a natural look or a full-coverage glam, properly knowing how to use pressed powder can make a significant difference in your makeup application. Additionally, using pressed powder can help blur imperfections and give your skin a more polished appearance.
With the right techniques and tools, you can enhance your complexion and ensure your makeup stays in place effortlessly.
What Are the Benefits of Pressed Powder?
Before we dive into the application process, it’s essential to understand why pressed powder is a must-have in your makeup routine. Some of the benefits of using pressed powder include:
- Setting and Mattifying Foundation: After applying your foundation, setting it with pressed powder helps keep it in place for extended periods. It also helps to reduce shine and create a matte finish.
- Blurring Imperfections: Pressed powder can help to blur fine lines, wrinkles, and other imperfections on the skin, giving you a smoother complexion.
- Controlling Oiliness: If you have oily or combination skin, using pressed powder can help absorb excess oil throughout the day, making your makeup look fresh and shine-free.
- Adds a Finishing Touch: Pressed powder is the perfect finishing touch to your makeup routine. It helps to blend all your products, giving you a more polished and flawless complexion.
These are just a few of the many benefits of using pressed powder, making it an essential product for achieving a long-lasting, flawless makeup look.
What Will You Need?
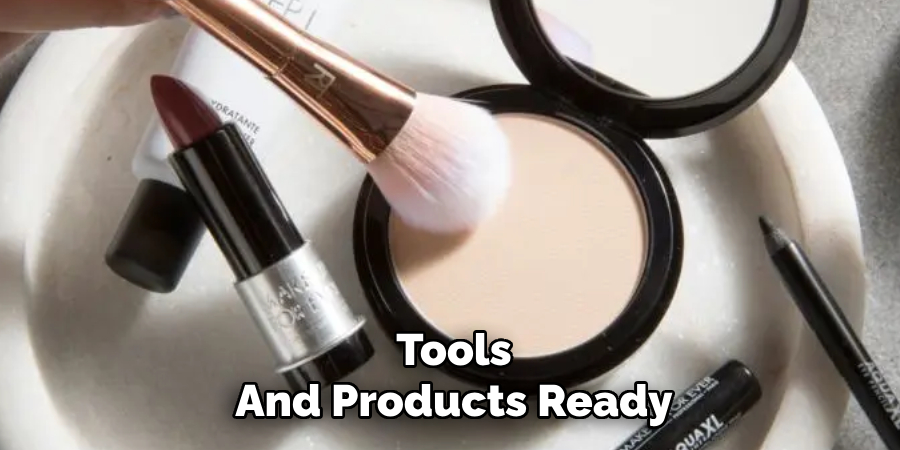
Before we begin the application process, here’s a list of tools and products you’ll need:
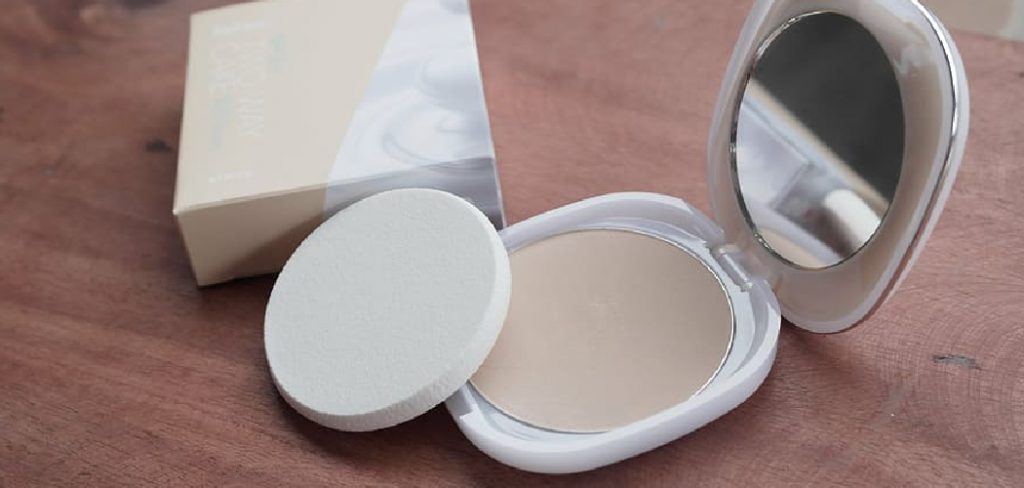
- Pressed Powder: This is the main product you’ll use to set your makeup. Choose a shade that closely matches your skin tone for a seamless finish.
- Powder Brush or Sponge: You can use either a fluffy powder brush or a damp sponge to apply pressed powder. Make sure it’s clean and soft to avoid disrupting your foundation underneath.
- Setting Spray (Optional): Spritz on some setting spray after applying pressed powder for extra staying power.
Once you have your tools and products ready, let’s dive into the application process!
9 Easy Steps on How to Apply Pressed Powder
Step 1. Prepare Your Skin:
Before applying pressed powder, it’s essential to ensure your skin is prepped correctly. Start by cleansing your face to remove any dirt, oil, or residue that may interfere with your makeup. Follow this with a moisturizer suited to your skin type to hydrate and create a smooth base. If your skin gets oily throughout the day, consider using a mattifying or oil-control primer.
Primers can help your pressed powder adhere better, prevent caking, and reduce shine. Prepping your skin well’ll create the perfect canvas for a long-lasting and seamless makeup application.
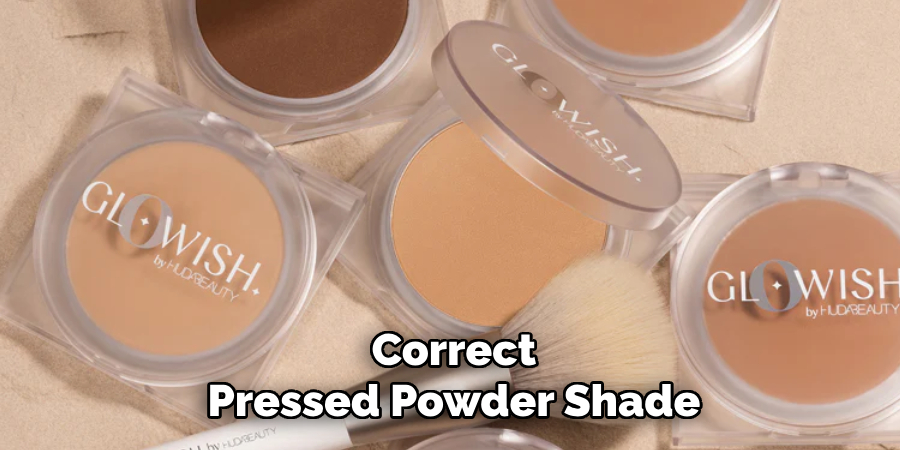
Step 2. Choose the Right Shade:
Selecting the correct pressed powder shade is crucial for a natural and flawless finish. To find your perfect match, test the powder on your jawline or the back of your hand in natural light. The shade should blend seamlessly with your skin tone without leaving a noticeable line or appearing too light or dark.
If unsure, opt for a translucent or universal shade that works for a wide range of skin tones. The right shade ensures your makeup looks even and complements your natural complexion.
Step 3. Apply the Pressed Powder:
Once you’ve prepped your skin and selected the correct shade, it’s time to apply the pressed powder. Use a clean makeup brush or a powder puff to pick up the product. Gently tap off any excess to avoid applying too much at once.
Start by lightly sweeping the powder across your face, focusing on areas that become oily, such as the T-zone. Press the powder onto your skin using a dabbing motion for a fuller coverage look. Blend well to ensure a smooth and natural finish, avoiding any patchiness or buildup.
Step 4. Set Your Makeup:
To ensure your makeup stays in place all day, finish by setting your pressed powder. You can use a setting spray to lock in your look and reduce any powdery appearance, giving your skin a natural, polished finish. Hold the spray a few inches from your face and mist lightly, evenly covering your makeup.
Allow it to dry naturally without touching your face. This final step helps enhance the longevity of your makeup while maintaining a fresh and radiant appearance.
Step 5. Touch-Up Throughout the Day:
Consider carrying your pressed powder for touch-ups during the day to maintain a flawless look. Use a compact with a mirror for convenience. Gently blot any excess oil from your face with a tissue or blotting paper before reapplying the powder. Lightly dust the powder on areas where your makeup has faded, or shine has appeared, focusing on your T-zone. Avoid over-applying to keep your makeup looking natural and fresh.
Step 6. Remove Makeup Properly:
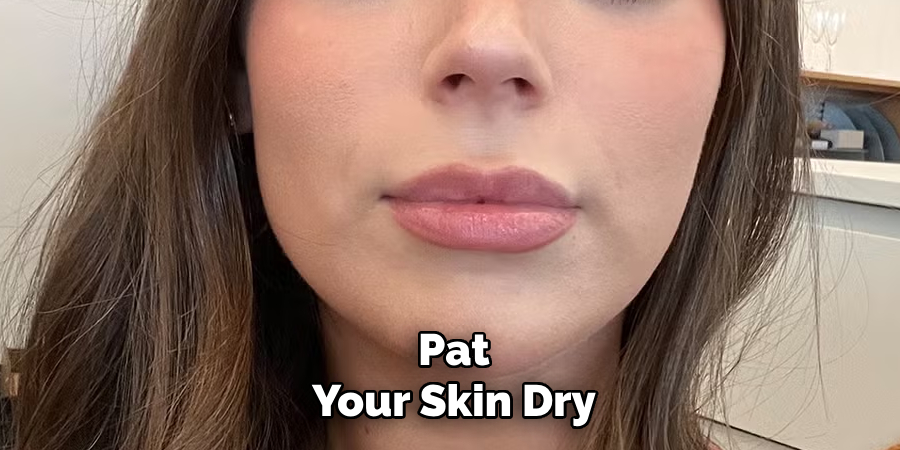
Removing your makeup thoroughly is essential to keep your skin healthy and prevent clogged pores. Begin with a gentle makeup remover or cleansing oil to dissolve makeup, especially around the eyes and lips. Follow up with a facial cleanser suitable for your skin type to remove residue.
Pat your skin dry with a soft towel and complete the process by applying a moisturizer to keep your skin hydrated and nourished. Proper makeup removal ensures your skin remains fresh and ready for the next application.
Step 7. Clean Your Makeup Tools Regularly:
To maintain healthy skin and ensure the best makeup application, cleaning your makeup brushes and tools is crucial. Dirty brushes can accumulate bacteria, oils, and leftover makeup, which can lead to breakouts or skin irritation. Use a gentle brush cleanser or a mixture of mild soap and warm water to clean your brushes thoroughly. Rinse well and lay them flat to dry to preserve their shape.
For sponges, squeeze out excess water after washing and let them air dry completely. Regular cleaning extends the life of your tools and helps your makeup go on smoothly and flawlessly.
Step 8. Store Your Makeup Properly:
Proper storage of your makeup products is essential to maintain their quality and extend their shelf life. Keep your makeup in a cool, dry place away from direct sunlight, as heat and moisture can degrade the formulas and reduce their effectiveness. Use makeup organizers or designated storage containers to keep your products well-organized and protected from dust.
Ensure that all lids are tightly closed to prevent products from drying out or becoming contaminated. By storing your makeup correctly, you can ensure it stays fresh and safe.
Step 9. Replace Expired Makeup:
To ensure the safety and effectiveness of your makeup, it is vital to replace products once they expire. Using expired makeup can lead to skin irritation, infections, or reduced performance. Pay attention to the Period After Opening (PAO) symbol on your products, indicating how long a product is safe to use.
For reference, mascaras should typically be replaced every three months, while foundations and lipsticks may last up to a year. Regularly declutter your makeup collection and dispose of expired items to maintain a healthy and hygienic beauty routine.
By following these steps and tips, you can achieve a flawless makeup look with the help of pressed powder.
5 Things You Should Avoid
- Using the Wrong Shade: Avoid using a pressed powder shade that doesn’t match your skin tone. A mismatch can result in a patchy or unnatural finish. Always test the powder on your jawline to find the right color.
- Applying Too Much Product: Over-applying pressed powder can make your makeup look cakey and heavy. Use a light hand and build up coverage gradually if needed.
- Skipping Skin Preparation: Applying pressed powder directly to unprepared skin can highlight dry patches and uneven texture. Always moisturize and, if possible, use a primer before applying.
- Using a Dirty Applicator: A dirty sponge or brush can transfer bacteria and oils to your face, causing breakouts or uneven application. Make sure to clean your applicators regularly.
- Rubbing Instead of Patting: Avoid scratching the pressed powder into your skin, as this can disturb your foundation or base makeup. Instead, gently pat or press the powder onto your skin for a smoother finish.
By avoiding these common mistakes, you can achieve a flawless, long-lasting makeup look with pressed powder.
Conclusion
How to apply pressed powder effectively requires proper technique and preparation. Start with a clean, moisturized, and primed face to ensure a smooth canvas.
Use the right amount of product, avoiding over-application to prevent a cakey appearance. Always choose the correct shade for your skin tone and use a clean applicator to achieve even coverage. By patting the powder gently onto your skin rather than rubbing it, you can lock in your foundation and create a seamless, polished finish.
With these steps, you can master applying pressed powder and enjoy a flawless look throughout the day.
About the Author
Jane Hubbard is a passionate beauty expert with a wealth of experience in makeup, hair, and overall beauty techniques. After years of working as a hairdresser specialist, she followed her entrepreneurial spirit and started her own consultancy business.
Jane has always been driven by her desire to help others feel confident in their own skin, and she does this by sharing her knowledge, experiences, and practical beauty tips. Through her consultancy, she empowers individuals to embrace their unique beauty, offering tailored guidance that boosts both self-esteem and personal style.
Professional Focus
- Specializes in makeup, hairstyling, and beauty consulting.
- Provides personalized beauty advice, tips, and techniques to help individuals feel confident in their appearance.
- Dedicated to staying up-to-date with the latest industry trends and developments.
- Passionate about creating a comfortable and empowering experience for every client.
Education History
- University of Craft and Design – Bachelor of Fine Arts (BFA) in Woodworking and Furniture Design
- Woodworking Apprenticeships – Extensive hands-on training with skilled craftsmen to refine carpentry and furniture making techniques
- Online Courses & Masterclasses – Continued education in advanced woodworking techniques, design principles, and specialized tools
Expertise:
- Makeup artistry, hairstyling, and beauty consulting.
- Personalized beauty techniques to enhance confidence and self-expression.
- Educating clients on how to maintain their beauty routines at home.