
Are you looking for a flawless and long-lasting makeup application? Look no further than primer.
How to apply primer to face is an essential step in creating a smooth and long-lasting makeup base. It helps to even out your skin tone, minimize the appearance of pores, and ensure your makeup adheres better throughout the day. Whether you’re aiming for a natural look or preparing for a full-glam finish, using primer can make a significant difference in the overall appearance and longevity of your makeup. Primer also helps control oil production, which is beneficial for those with oily skin.
Applying primer can be a quick and effortless part of your routine with the right techniques and products suited to your skin type. Let’s explore some tips for using primer to achieve a flawless and long-lasting makeup look.
What Are the Benefits of Using Primer?
As mentioned previously, there are several benefits to using primer as part of your makeup routine. Some of these include:
- Smoothing and Blurring Imperfections: Primer can help to fill in fine lines, pores, and other imperfections on the skin’s surface, giving you a smoother canvas for your makeup application.
- Enhancing Makeup Longevity: By creating a barrier between your skin and makeup, primer helps to prevent oils from breaking down your foundation or concealer, allowing it to stay in place for longer periods.
- Controlling Oil Production: Many primers have mattifying properties that help to control excess oil production throughout the day. This is especially beneficial for those with oily or combination skin types.
- Reducing Redness and Pore Visibility: Some primers specifically address common skin concerns, such as redness or large pores. These primers often contain color-correcting pigments or blurring agents, helping to even out skin tone and minimize the appearance of pores.
- Hydrating and Nourishing: Primers are available for dry or dehydrated skin, providing an extra dose of hydration and nourishment. These primers often contain ingredients like hyaluronic acid, glycerin, or botanical extracts to help plump and moisturize the skin.
What Will You Need?
To apply primer, you will need:
- A clean and moisturized face
- Your preferred primer
- Clean hands or a makeup brush/sponge for application
- Optional: a makeup sponge or brush to blend the primer into your skin
Once you have gathered all the necessary materials, you can apply your primer.
9 Easy Steps on How to Apply Primer to Face
Step 1. Cleanse Your Face
Start by thoroughly cleansing your face with a gentle cleanser suited to your skin type. Removing dirt, oil, and any leftover makeup is essential to ensure that the primer adheres properly to your skin and creates a smooth base for your makeup.

Pat your face dry with a clean towel, as excess moisture can interfere with the primer’s application. Taking the time to cleanse your face will improve your makeup’s longevity and help maintain healthy, clear skin.
Step 2. Moisturize Your Skin
Applying moisturizer is a crucial step in preparing your skin for makeup. Choose a moisturizer that matches your skin type—whether oily, dry, combination, or sensitive. This step ensures your skin remains hydrated throughout the day and helps prevent your makeup from appearing cakey or patchy. Gently massage the moisturizer into your skin in upward circular motions, allowing it to absorb fully before proceeding to the next step.
Proper hydration creates a smooth, plump surface, making it easier for the primer and foundation to adhere evenly. Don’t forget to include a moisturizer with SPF if you’re applying makeup during the day, as it provides essential protection against harmful UV rays. Taking the time to moisturize not only enhances your makeup application but also contributes to the overall health of your skin.
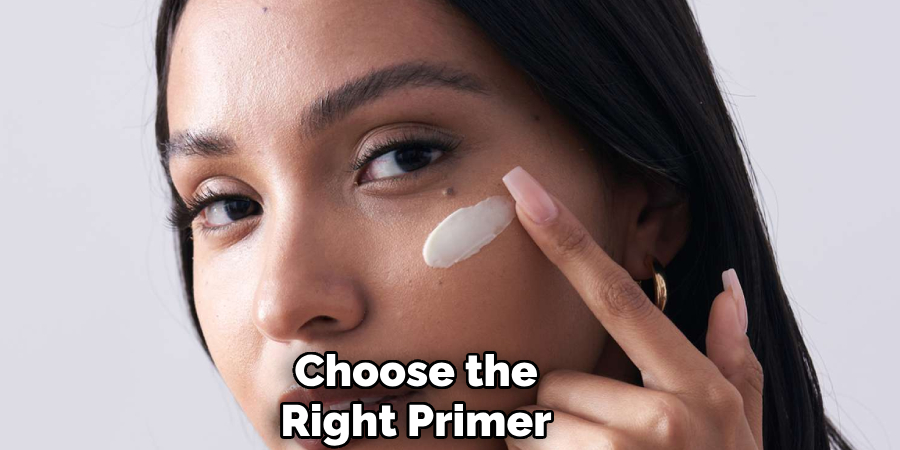
Step 3. Choose the Right Primer
A primer is a crucial step in creating a flawless makeup base, as it helps to smooth the skin’s surface, minimize the appearance of pores, and ensure that your makeup lasts longer throughout the day. When choosing the right primer, it’s essential to consider your skin type and the desired effect. If you have oily skin, use a mattifying primer to control excess shine and keep your complexion fresh.
For dry skin, a hydrating primer can help lock in moisture and create a dewy finish. Color-correcting primers are an excellent option if you’re looking to tackle specific concerns, such as redness or dullness. Take the time to blend the primer evenly across your face, focusing on areas where your makeup tends to wear off quickly, like the T-zone. This step lays the foundation for a smoother, more even makeup application that stays put all day.
Step 4. Dispense a Small Amount
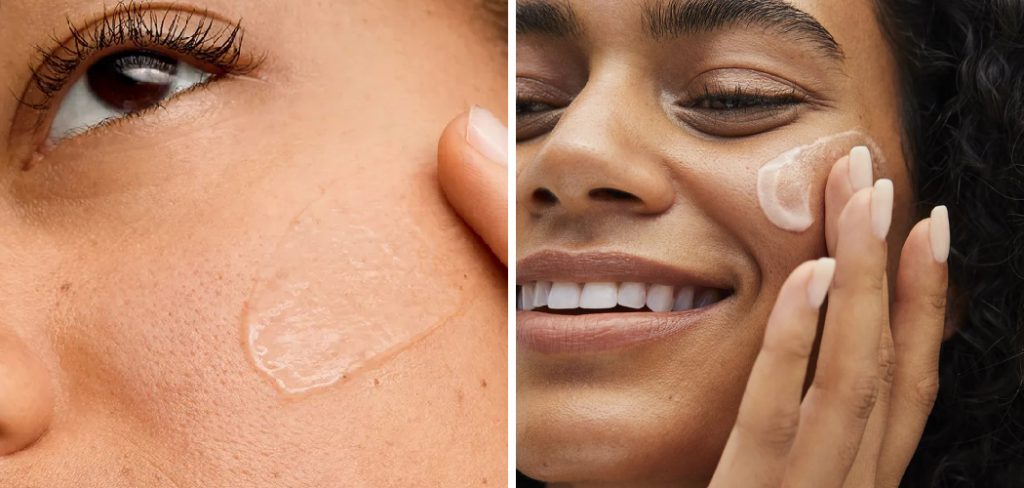
When it comes to primer, a little goes a long way. Squeeze or pump a pea-sized primer onto the back of your hand or fingertips. This small quantity is typically enough to cover your entire face without overwhelming your skin or causing the product to pill under your makeup. Use even less if you’re focusing on specific areas, such as your nose or cheeks.
Start with a light application and build up only if necessary. Overloading on primer can lead to an uneven texture or interfere with the appearance of your foundation, so precision and moderation are key. Close the primer container tightly to avoid drying it out and ensure it stays fresh for future use.
Step 5. Apply Primer to Key Areas
Applying primer to the key areas of your face not only creates a smooth canvas but also extends the longevity of your makeup. Focus on areas where makeup tends to wear off quickly, such as the T-zone, which includes your forehead, nose, and chin. For those with oily skin, this step can help minimize shine and prevent foundation from breaking down throughout the day.
If you have larger pores or areas prone to texture, such as around the nose or on the cheeks, use a pore-filling or smoothing primer to blur imperfections and create an even surface. Additionally, if you’re targeting discoloration or redness, consider using a color-correcting primer tailored to your needs.
Step 6. Blend It Outwards
Blending your foundation outwards is crucial for achieving a natural, seamless look. Start by applying the foundation to the center of your face, such as the forehead, nose, and cheeks, where redness or discoloration tends to be more noticeable. Using a damp makeup sponge, a foundation brush, or even your fingers, gently blend the product outward toward the edges of your face.
This technique ensures the foundation transitions smoothly into your natural skin tone at the hairline, jawline, and neck, avoiding harsh lines or an unnatural mask-like effect. Remember to blend into often overlooked areas, such as around the ears and under the chin, for a polished and cohesive finish.
Step 7. Allow It to Absorb
Allowing your foundation to absorb into the skin is crucial for achieving a natural and long-lasting finish. After blending, give the product a few moments to settle and meld with your skin’s unique texture and temperature. This step ensures that the foundation sets properly, reducing the likelihood of it moving or becoming patchy throughout the day.

During this time, you can take the opportunity to assess if any areas need additional blending or touch-ups. If your skin appears too matte or flat, lightly misting a setting spray can also help to hydrate and enhance the finish, creating a softer, more seamless look.
Step 8. Check for Even Coverage
Carefully inspect your face in natural lighting to ensure an even application of foundation and other makeup products. Pay close attention to areas like the jawline, hairline, and around the nose, as these spots are common for uneven blending or product buildup. Use a small makeup sponge or brush to soften any harsh edges and blend where necessary.
Additionally, ensure the foundation matches your neck and décolletage to create a cohesive, natural look. If you notice any areas where your skin’s natural tone is peeking through, you can apply a tiny amount of product and blend it out gently.
Step 9. Customize if Needed
Once your base makeup is complete, take a moment to assess the overall look under natural lighting. This step is crucial, as artificial lighting can sometimes distort colors and textures. If you find certain areas that require additional attention, customize your approach based on your skin’s unique needs.
For example, if you have redness or blemishes that are still visible, use a small concealer brush to lightly dab on additional coverage and blend it seamlessly into the surrounding foundation. Alternatively, if your makeup feels too heavy or cakey, a fine mist of setting spray can help soften the look and melt the products into your skin for a more natural finish. This step is about fine-tuning your application to ensure it complements your features and preferences.
You can achieve a flawless and long-lasting makeup look by following these tips and experimenting with different techniques.

Conclusion
How to apply primer to face is an essential step in creating a smooth and long-lasting makeup base.
Start by selecting a primer that suits your skin type, whether mattifying for oily skin, hydrating for dry skin, or blurring for more even texture. Use clean fingertips or a brush to apply a small amount of primer evenly across your face, focusing on areas where your makeup tends to fade or crease. Allow the primer to fully absorb before proceeding with your foundation or other makeup products.
With the right application, primer can enhance the longevity and appearance of your makeup, giving you a polished and flawless finish.
About the Author
Jane Hubbard is a passionate beauty expert with a wealth of experience in makeup, hair, and overall beauty techniques. After years of working as a hairdresser specialist, she followed her entrepreneurial spirit and started her own consultancy business.
Jane has always been driven by her desire to help others feel confident in their own skin, and she does this by sharing her knowledge, experiences, and practical beauty tips. Through her consultancy, she empowers individuals to embrace their unique beauty, offering tailored guidance that boosts both self-esteem and personal style.
Professional Focus
- Specializes in makeup, hairstyling, and beauty consulting.
- Provides personalized beauty advice, tips, and techniques to help individuals feel confident in their appearance.
- Dedicated to staying up-to-date with the latest industry trends and developments.
- Passionate about creating a comfortable and empowering experience for every client.
Education History
- University of Craft and Design – Bachelor of Fine Arts (BFA) in Woodworking and Furniture Design
- Woodworking Apprenticeships – Extensive hands-on training with skilled craftsmen to refine carpentry and furniture making techniques
- Online Courses & Masterclasses – Continued education in advanced woodworking techniques, design principles, and specialized tools
Expertise:
- Makeup artistry, hairstyling, and beauty consulting.
- Personalized beauty techniques to enhance confidence and self-expression.
- Educating clients on how to maintain their beauty routines at home.