
Rare Beauty’s Soft Pinch Liquid Blush has taken the beauty world by storm, and for good reason. Its incredible pigmentation, long-lasting formula, and beautiful range of shades make it a must-have product. However, its viral status also comes with a common challenge: that intense color payoff can be intimidating for beginners and even seasoned makeup users. One wrong move and you can go from a subtle, healthy glow to a full-blown clown cheek. But fear not. The secret to a flawless finish lies entirely in the technique, not the amount of product. With a light hand and the right blending strategy, anyone can achieve that coveted natural flush. This guide will provide a clear, step-by-step tutorial on how to apply rare beauty liquid blush, ensuring you get a perfect, radiant look every single time.
When it comes to liquid blush, mastering the right method can completely transform your makeup game. A little goes a long way with this type of product, making it both effective and economical. The key is focusing on placement, blending, and understanding how it complements your overall look. By following a few simple steps, you can elevate your routine and create a polished, youthful glow effortlessly.
How to Apply Rare Beauty Liquid Blush: A Step-by-Step Guide
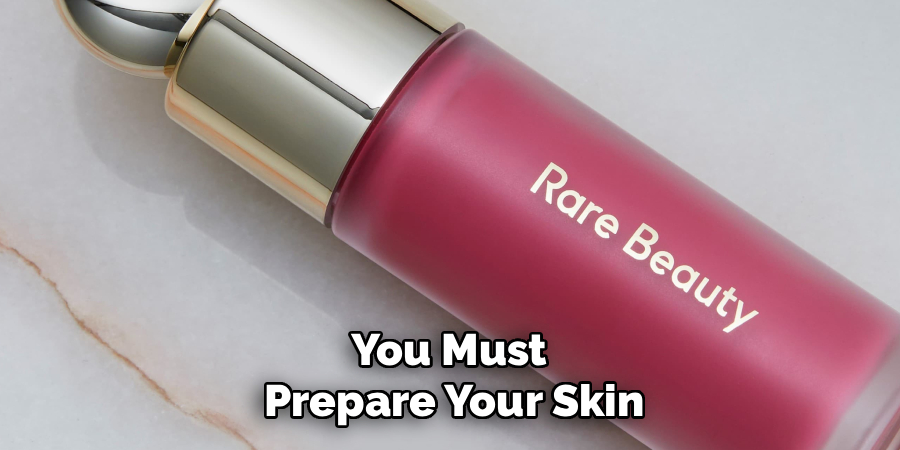
Step 1: Prep Your Skin for a Smooth Canvas
Before you even think about blush, you must prepare your skin. A smooth, hydrated canvas is the key to ensuring any makeup, especially a liquid formula, glides on evenly and does not cling to dry patches. Start with your usual skincare routine, making sure to moisturize thoroughly. If you have oily skin, a mattifying primer can help control shine and increase the longevity of your blush. For those with drier skin, a hydrating or illuminating primer will create a dewy base that enhances the blush’s natural radiance. Allowing your primer to set for a minute before applying foundation will create the perfect grip for all subsequent products.
Step 2: Apply Your Base Makeup First
Deciding whether to apply blush before or after foundation is a matter of preference, but for this highly pigmented formula, applying it after your base is ideal for most users. Go ahead and apply your foundation and concealer as you normally would. The liquid blush is designed to blend seamlessly over both liquid and cream foundations. If you prefer to use powder foundation, it is best to apply the liquid blush first to avoid any patchiness or caking that can occur when placing a liquid on top of a powder. This order of operations ensures the blush has a smooth surface to melt into.
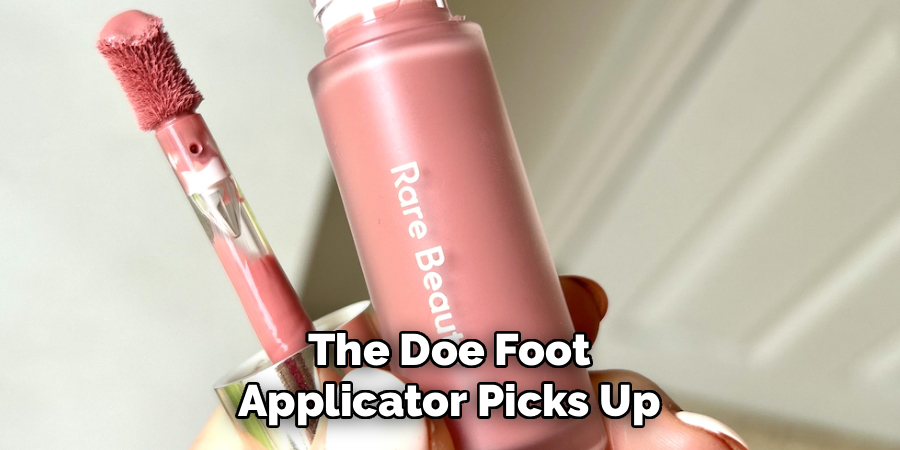
Step 3: Significant Amount of Blush
This is the single most important rule when working with this product. The doe-foot applicator picks up a significant amount of blush, and applying it directly to your face is a recipe for over-application. The best technique is to place just one or two tiny dots of product on the back of your hand or a makeup palette first. This acts as your working surface, allowing you to control exactly how much you pick up with your finger, brush, or sponge. By starting with a minimal amount, you can build the color up slowly to your desired intensity, which is far easier than trying to tone down too much pigment later.
Step 4: The Dotting Technique for Placement
Once you have your blush on the back of your hand, it is time to place it on your cheeks. For a classic, lifted look, smile gently to find the apples of your cheeks. Using your ring finger, gently tap a single, small dot of blush onto the upper portion of the apple of your cheek, slightly higher than you might normally place a powder blush. The goal is to keep the placement high on the cheekbone to create a youthful, lifted effect. Avoid placing the product too close to your nose or below your nostrils, as this can drag the face down. Remember, one small dot is often enough for an entire cheek.
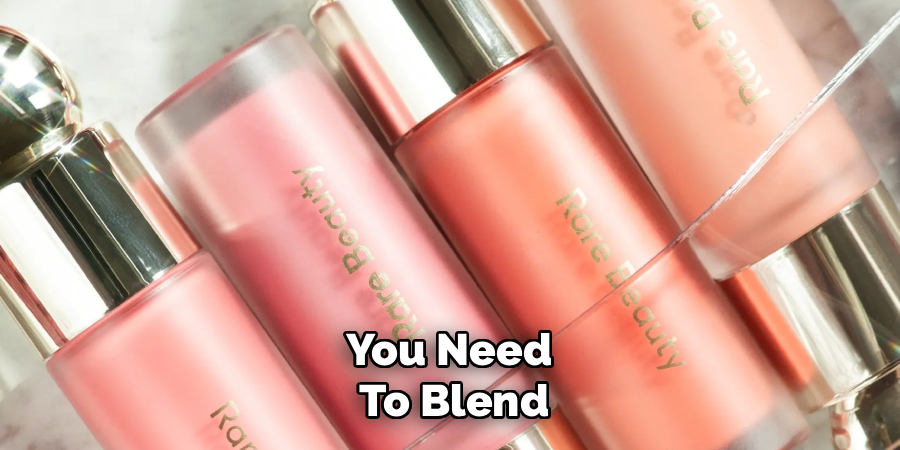
Step 5: Blend Up and Out
Immediately after placing your dot of blush, you need to blend. This formula sets relatively quickly, so working one cheek at a time is essential for a seamless finish. You have a few options for blending tools. Using your fingertips provides a very natural, skin-like finish as the warmth of your skin helps melt the product. A damp makeup sponge will give a sheer, airbrushed effect. For the most control, a dense, synthetic blush brush is excellent. Whichever tool you choose, use a tapping or stippling motion to blend the blush up and out, towards your temples. Avoid dragging or rubbing, which can move your foundation underneath.
Step 6: Build the Color Slowly and Intentionally
After blending out your first layer, step back and assess the intensity. If you desire a more vibrant flush, you can add another small dot and repeat the blending process. Because of its potent pigment, it is always better to apply two thin layers than one thick one. This layering technique gives you complete control over the final look, allowing you to go from a barely-there whisper of color to a bold statement cheek. This methodical approach is a core part of learning how to apply rare beauty liquid blush without overwhelming your face with color.
Step 7: Set Your Blush for All-Day Wear
Once you are happy with the color and blend of your blush, the final step is to set it. If you have oily skin or simply want to maximize the wear time, a light dusting of translucent setting powder over the cheeks can lock the liquid blush in place. For a more intense and multi-dimensional look, you can layer a powder blush of a similar shade right on top. This technique not only sets the cream but also adds a beautiful depth of color. Finish with a spritz of your favorite setting spray to melt all the layers of makeup together for a flawless, long-lasting finish that will not budge all day.
Alternative Blush Application Techniques
If you’re looking to shake up your blush routine, there are several alternative application techniques worth trying. For a natural, youthful glow, dab a cream blush directly onto the apples of your cheeks using your fingertips and blend it upwards toward the temples for a seamless finish. For a lifted appearance, apply blush higher on the cheekbones and blend towards the hairline. Another trendy approach is to apply a small amount of blush across the nose bridge and upper cheeks for a “sun-kissed” effect that mimics a natural flush after being in the sun. If you prefer a more editorial or artistic look, try using a blush stick or cream to create monochromatic makeup by applying the same shade to your cheeks, lips, and even eyelids for a cohesive and striking finish. Experimenting with placement and techniques can help you discover what enhances your unique face shape and style.
Frequently Asked Questions
Can I Use a Brush to Apply Rare Beauty Liquid Blush?
Absolutely! A brush is an excellent tool for application. For best results, use a dense, synthetic brush, like a stippling brush or a dedicated liquid blush brush. Instead of dotting the product directly on your face, you can dot it onto the back of your hand, then pick up a small amount with your brush. Use tapping motions to blend it onto the cheeks. This method gives you great control and a beautiful, airbrushed finish.
How Do I Choose Between the Matte and Dewy Finishes?
Rare Beauty offers both matte and dewy formulas, and the choice depends on your skin type and desired look.
- Matte: Ideal for oily or combination skin types, as it provides a soft-focus, long-wearing finish that will not add extra shine.
- Dewy: Perfect for normal to dry skin types, or for anyone who wants a luminous, radiant glow. It gives the skin a healthy, hydrated appearance.
What if I Accidentally Apply Too Much Blush?
Do not panic! It is a common and fixable mistake. Take your foundation brush or sponge with a tiny bit of leftover foundation on it and gently tap it over the edges of the blush to diffuse the color. You can also take a clean, damp sponge and press it over the area to lift some of the excess pigment. Finally, a light dusting of translucent setting powder can also help tone down the intensity.
Does This Blush Work on Bare Skin Without Foundation?
Yes, it works beautifully on bare skin for a natural, “no-makeup makeup” look. Ensure your skin is well-moisturized before application. Apply a tiny dot to your cheeks and blend it out with your fingers. The warmth from your skin will help it melt in seamlessly, giving you a very believable, fresh-from-a-workout flush that looks like it is coming from within.
How Can I Make My Liquid Blush Last Longer?
This blush is already very long-wearing, but you can increase its longevity.
- Primer: Start with a good primer to create a smooth, gripping base.
- Layering: After applying the liquid blush, lightly set it with a translucent powder. For ultimate staying power, layer a powder blush of a similar shade on top.
- Setting Spray: Finish your entire makeup look with a setting spray to lock everything in place for hours.
Conclusion
The intense pigment of Rare Beauty’s liquid blush might seem intimidating, but its blendability and beautiful finish make it worth mastering. The key takeaways are simple: start with an incredibly small amount, work one cheek at a time, and blend upwards and outwards with a tapping motion. By treating the product with a light hand and building it up in thin layers, you can achieve anything from the subtlest hint of color to a bold, vibrant cheek.
Do not be afraid to experiment with different shades and application tools to find what works best for you. Now that you have a foolproof guide on how to apply rare beauty liquid blush, you can confidently unlock its full potential and enjoy that viral, long-lasting glow.
About the Author
Jane Hubbard is a passionate beauty expert with a wealth of experience in makeup, hair, and overall beauty techniques. After years of working as a hairdresser specialist, she followed her entrepreneurial spirit and started her own consultancy business.
Jane has always been driven by her desire to help others feel confident in their own skin, and she does this by sharing her knowledge, experiences, and practical beauty tips. Through her consultancy, she empowers individuals to embrace their unique beauty, offering tailored guidance that boosts both self-esteem and personal style.
Professional Focus
- Specializes in makeup, hairstyling, and beauty consulting.
- Provides personalized beauty advice, tips, and techniques to help individuals feel confident in their appearance.
- Dedicated to staying up-to-date with the latest industry trends and developments.
- Passionate about creating a comfortable and empowering experience for every client.
Education History
- University of Craft and Design – Bachelor of Fine Arts (BFA) in Woodworking and Furniture Design
- Woodworking Apprenticeships – Extensive hands-on training with skilled craftsmen to refine carpentry and furniture making techniques
- Online Courses & Masterclasses – Continued education in advanced woodworking techniques, design principles, and specialized tools
Expertise:
- Makeup artistry, hairstyling, and beauty consulting.
- Personalized beauty techniques to enhance confidence and self-expression.
- Educating clients on how to maintain their beauty routines at home.