
Are you looking for a long-lasting, full-coverage concealer that won’t crease or smudge throughout the day? If so, then Shape Tape Concealer from Tarte Cosmetics is just what you need! This revolutionary concealer has quickly become one of the hottest makeup products on the market and it’s no wonder why – not only does it provide maximum coverage, but its creamy formula helps cosmetically reduce those pesky dark circles and other imperfections.

Concealer is an essential step in any makeup routine, so why not make sure you’re using the best product out there? Follow these simple steps to learn how to apply Shape Tape Concealer like a pro.
In this blog post, we’ll show you everything there is to know about applying Shape Tape Concealer correctly so that you can get an all-day flawless finish!
What Will You Need?
Before we jump into the steps, let’s first gather everything you’ll need to apply Shape Tape Concealer:
- Your favorite makeup primer (optional)
- A small amount of moisturizer for under your eyes
- Shape Tape Concealer
- A concealer brush or sponge
- Optional: Setting powder and powder puff or beauty blender for baking technique.
Once you have all your tools ready, it’s time to get started.
10 Easy Steps on How to Apply Shape Tape Concealer
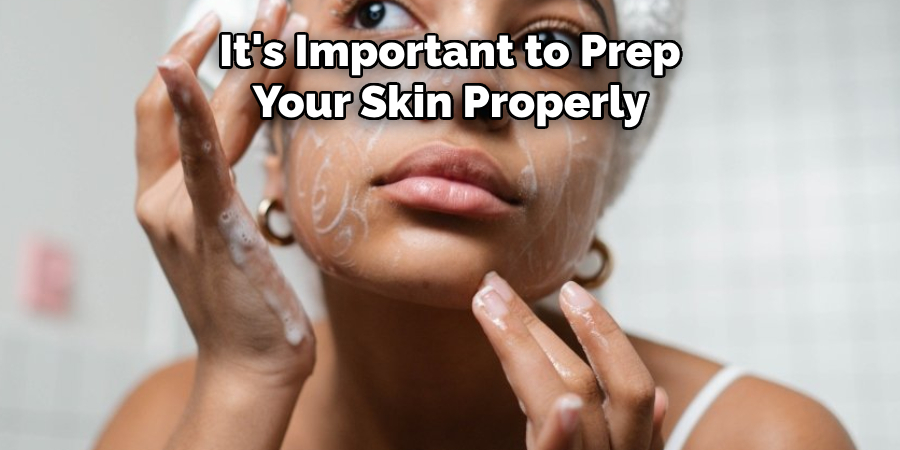
Step 1: Prep Your Skin
Before applying any makeup, it’s important to prep your skin properly. Start by cleansing and moisturizing your face as usual. Then, apply a small amount of moisturizer, specifically under your eyes. This will help the concealer glide on smoothly and prevent it from settling into fine lines.
Step 2: Apply Your Primer
If you prefer to use primer, apply it now. Primer helps to smooth out your skin and allows the makeup to stay in place longer. Pay special attention to the under-eye area, where you’ll be applying the Shape Tape Concealer. Use your fingers to gently blend the primer into your skin, and give it a few moments to dry before moving on to the next step.
Step 3: Apply the Shape Tape Concealer
Now, it’s time to apply the Shape Tape Concealer. Apply a small amount of the concealer under your eyes using the wand applicator. The key is to use less than you need – you can always add more if necessary. Focus on areas where you have dark circles or uneven skin tone. Remember, the Shape Tape Concealer is highly pigmented, so a little goes a long way!
Step 4: Blend the Concealer
After application, the next step is to blend the Shape Tape Concealer. For this, you can use a concealer brush or a beauty sponge. If you’re using a brush, use small stippling motions to blend the concealer into your skin. For a beauty sponge, dampen it slightly before use, and tap it against your skin to blend. The goal is to achieve smooth, even coverage without any harsh lines. Take your time with this step; remember, it’s better to slowly build up your coverage than to apply too much at once.
Step 5: Set the Concealer
Once you’ve achieved the desired coverage with your Shape Tape Concealer, it’s time to set it. This is an important step to ensure your concealer stays in place all day and doesn’t crease or fade. If you have a setting powder, now is the time to use it.
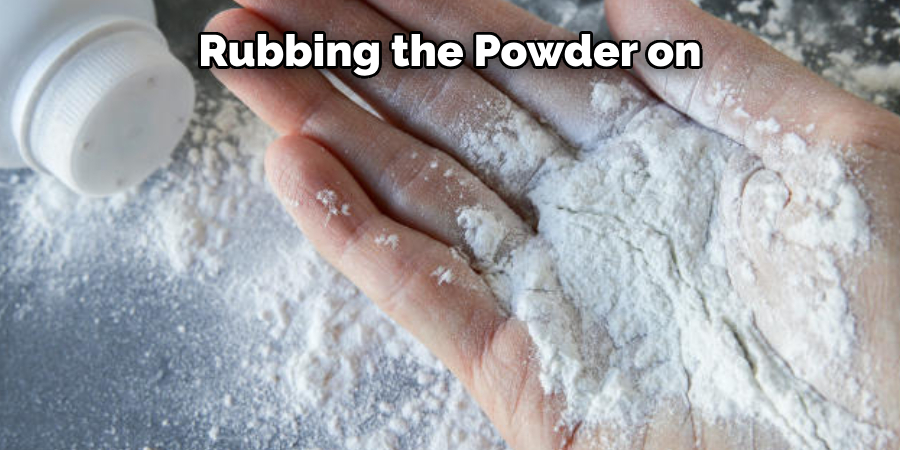
Dip a fluffy brush, powder puff, or beauty blender in the powder, then gently press it over the area where you applied the Shape Tape Concealer. Remember, you’re not swiping or rubbing the powder on, but pressing it into your skin to set the concealer. If you’re using the baking technique, you can let the powder sit on your skin for a few minutes before dusting off the excess. This gives your makeup a flawless, long-lasting finish.
Step 6: Check Your Work
After setting your concealer, take a moment to assess your work. Check your face from different angles and in other lighting conditions to ensure no harsh lines, unblended patches, or areas needing more coverage. If necessary, touch up with a small Shape Tape Concealer and blend again. Perfecting your makeup is all about layering and blending — patience is key. Once satisfied with the result, you can proceed with the rest of your makeup routine.
Step 7: Continue With Your Makeup Routine
After you have applied and set your Shape Tape Concealer, you can continue with the rest of your makeup routine. This could include applying a foundation that matches your skin tone over the entire face, including the area where you applied concealer. Use a beauty sponge or makeup brush to blend it well for a seamless look.
Then, proceed with applying blush, bronzer, or highlighter as desired. Remember your eye makeup, lip color, and any final touches. The key is to create a harmonious look where all elements work together. Remember to blend well to avoid any harsh lines or uneven patches. Achieving a flawless finish with Shape Tape Concealer as your base will leave you with a stunning look that lasts all day.
Step 8: Touch-ups Throughout the Day
Even with a long-lasting concealer like Shape Tape, it’s possible you might need a minor touch-up during the day, especially if you have oily skin or if you’ve been particularly active. To touch up, gently dab a tiny amount of Shape Tape Concealer onto the area you want to refresh, then blend using your brush or sponge. Avoid rubbing or dragging the concealer, which can disrupt your makeup. With these quick touch-ups, your flawless look can remain intact all day long.
Step 9: Remove Your Makeup
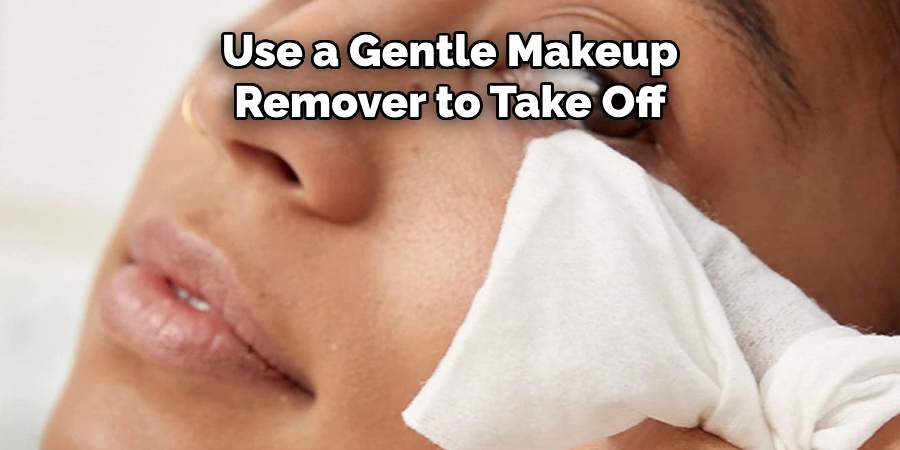
At the end of the day, it’s crucial to remove your makeup correctly to give your skin a break and maintain its health. Use a gentle makeup remover to take off your Shape Tape Concealer along with the rest of your makeup. You could also opt for a cleansing oil or micellar water, depending on your skin type and preference.
After removing your makeup, cleanse your skin with a facial cleanser to ensure that all makeup residue is gone. Finally, follow up with your usual skincare routine, which should include a toner, serum, and moisturizer. Proper makeup removal is a key step in your skincare routine, helping to keep your skin in its best shape and ready for another flawless makeup application the next day.
Step 10: Start Fresh the Next Day
After a good night’s sleep, your skin is ready for a new day and a fresh application of Shape Tape Concealer. Remember to start with a clean, moisturized face. If you have any lingering redness or discoloration from the day before, don’t worry! The Shape Tape Concealer is perfect for covering any imperfections and giving you a fresh start. Don’t forget the lessons you’ve learned from the previous application—less is more, it’s all about blending, and setting your concealer is crucial. Repeat these steps, and you’ll have a flawless look every day.
You can achieve a flawless and long-lasting makeup look by following these steps on how to apply Shape Tape Concealer.
5 Additional Tips and Tricks
- Blend Well: The key to a smooth and natural finish is blending. Use a beauty sponge or a concealer brush to ensure the product integrates seamlessly with your skin.
- Less is More: Shape Tape concealer is highly pigmented, so a little goes a long way. Starting with less product and building up if needed can prevent a cakey finish.
- Apply in a Triangle: For a brightened, lifted look, apply the concealer in a triangle shape under your eyes, with the base along your lash line and the point towards your cheek.
- Setting is Key: Always set your concealer with a powder to prevent creasing and maintain longevity. Remember, dab the powder, don’t drag.
- Skin Preparation: Hydrate your under-eye area with a good eye cream before application. This ensures a smooth canvas for concealer and prevents it from settling into fine lines.
With these additional tips and tricks, you can make the most out of your Shape Tape concealer and achieve flawless under-eye coverage.
5 Things You Should Avoid
- Avoid Over-Applying: Since Shape Tape concealer is richly pigmented, over-application can lead to a heavy, unnatural look. Use sparingly to maintain a natural finish.
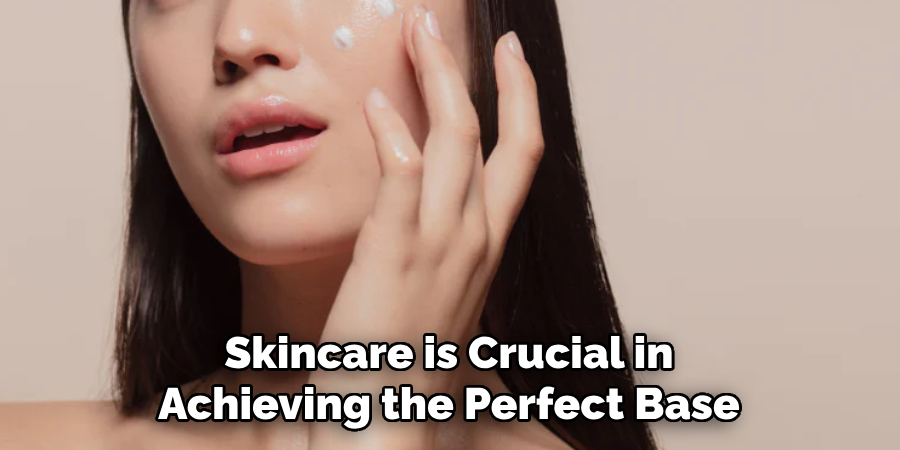
- Don’t Skip Skincare: Failing to cleanse and moisturize before application properly can result in uneven coverage and possible skin breakouts. Skincare is crucial in achieving the perfect base.
- Don’t Use the Wrong Shade: Using a concealer that is too light or too dark for your skin tone can result in an unnatural look. Always try to match the concealer to your skin tone for the best results.
- Avoid Applying with Fingers: Though it may seem convenient, applying concealer with your fingers can lead to an uneven application and potential bacteria transfer. It’s best to use a sponge or a brush.
- Neglecting to Set Concealer: Skipping the setting process will likely result in your concealer creasing or wearing off throughout the day. Always set your concealer with a powder to ensure longevity.
You can achieve a flawless and natural look with your Shape Tape concealer by avoiding these common mistakes.
Conclusion
To sum it up, if you want to step up your makeup game correctly, applying shape tape concealer is a fantastic place to start. This technique allows you to even out those imperfections while giving your face a smooth surface and a flawless finish. Plus, this application method is straightforward – taking no more than 10 minutes and using tools already everywhere in our homes.
Hopefully, the article on how to apply shape tape concealer has helped you understand the technique better and give you some valuable insights on how to make the most out of this amazing product. With these tips and tricks in mind, you can confidently use Shape Tape concealer to achieve a flawless and natural look every time.
So why not give it a try? Do your research and follow these key tips – before you know it, you’ll have achieved the ultimate makeup look!
About the Author
Jane Hubbard is a passionate beauty expert with a wealth of experience in makeup, hair, and overall beauty techniques. After years of working as a hairdresser specialist, she followed her entrepreneurial spirit and started her own consultancy business.
Jane has always been driven by her desire to help others feel confident in their own skin, and she does this by sharing her knowledge, experiences, and practical beauty tips. Through her consultancy, she empowers individuals to embrace their unique beauty, offering tailored guidance that boosts both self-esteem and personal style.
Professional Focus
- Specializes in makeup, hairstyling, and beauty consulting.
- Provides personalized beauty advice, tips, and techniques to help individuals feel confident in their appearance.
- Dedicated to staying up-to-date with the latest industry trends and developments.
- Passionate about creating a comfortable and empowering experience for every client.
Education History
- University of Craft and Design – Bachelor of Fine Arts (BFA) in Woodworking and Furniture Design
- Woodworking Apprenticeships – Extensive hands-on training with skilled craftsmen to refine carpentry and furniture making techniques
- Online Courses & Masterclasses – Continued education in advanced woodworking techniques, design principles, and specialized tools
Expertise:
- Makeup artistry, hairstyling, and beauty consulting.
- Personalized beauty techniques to enhance confidence and self-expression.
- Educating clients on how to maintain their beauty routines at home.