
Are you tired of hot roots every time you dye your grey hair? If so, don’t worry – you’re not alone! Hot roots are a common problem that can occur when coloring grey roots, but fortunately, you can take steps to avoid them.

When coloring grey roots, one common challenge many faces is the occurrence of “hot roots,” where the roots appear much lighter or more vibrant than the rest of the hair. This happens due to the scalp’s natural heat, which accelerates the processing of hair color at the roots. Avoiding hot roots requires careful preparation, the right choice of products, and proper application techniques.
By understanding the causes and following a few essential tips on how to avoid hot roots when coloring grey roots, you can achieve a seamless and uniform color that blends perfectly with the rest of your hair.
What Are the Causes of Hot Roots?
Before we dive into the tips on how to avoid hot roots, let’s first understand why they occur. As mentioned earlier, hot roots appear when the scalp’s natural heat speeds up the processing of hair color at the roots. This can happen due to several reasons, including:
- Natural Body Heat: The scalp naturally generates heat, which can vary from person to person.
- Inconsistent Application: When dyeing your hair at home, applying the color evenly throughout your roots can be challenging. If certain areas have more product than others, those areas may process faster and result in hot roots.
- Wrong Developer Choice: Using a higher volume developer than necessary or mixing the incorrect developer-to-color ratio can cause hot roots.
- Color Build-Up: If you have been dyeing your hair for a long time, there may be a build-up of color on your roots, resulting in faster processing and hot roots.
These are just a few reasons why hot roots may occur. Now that we understand the causes, let’s move on to how you can avoid them.
What Will You Need?
To avoid hot roots when coloring grey roots, you will need:
- Hair Color: Choose a hair color specifically formulated for covering grey hair. These colors typically have more pigment and are better at covering stubborn greys.
- Developer: The developer helps activate the hair dye, so choosing the right one for your hair type and desired result is essential. Opt for a lower volume developer (10 or 20) for grey roots to prevent over-processing.
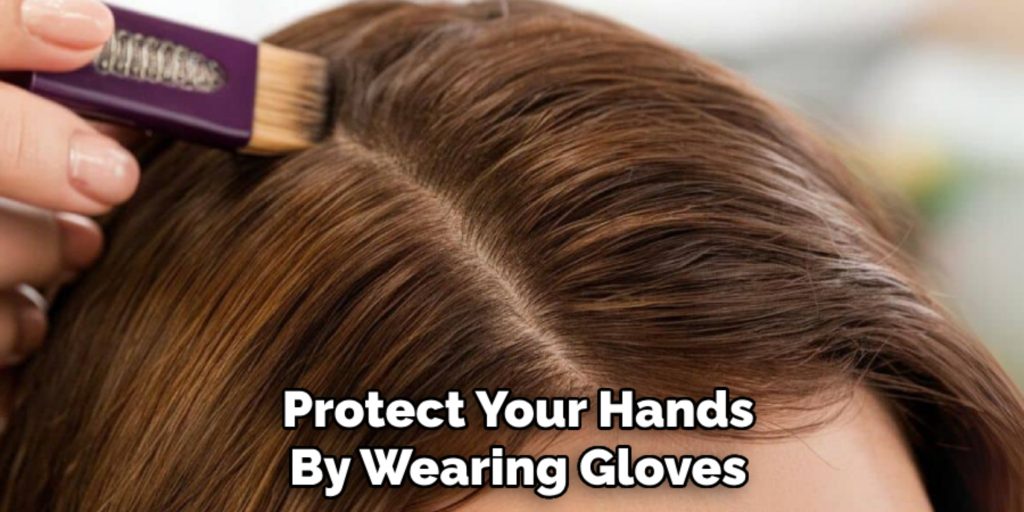
- Gloves: Protect your hands by wearing gloves while applying the color.
- Brush or Applicator Bottle: Choose an applicator that works best for you – a brush or an applicator bottle.
- Hair Clips: Keep your hair sections separated using clips to ensure ean ven distribution of color.
Once you have gathered all the necessary items, it’s time to start avoiding hot roots.
10 Easy Steps on How to Avoid Hot Roots When Coloring Grey Roots
Step 1: Prep Your Hair
Start by ensuring your hair is clean and free of heavy styling products, oils, or residue. Wash your hair the day before coloring using a gentle, sulfate-free shampoo. This allows the natural oils in your scalp to build up, providing a protective layer to help prevent irritation during the coloring process. Avoid using conditioner before coloring, as it may prevent the hair dye from adhering correctly.
Brush your hair thoroughly to remove any tangles, and divide it into sections with hair clips. This will make it easier to apply the color evenly and avoid missing any spots. Preparing your hair correctly is a critical first step in achieving even, consistent results while preventing hot roots.
Step 2: Apply Barrier Cream to Your Hairline
Before applying hair color, it’s essential to protect your skin from stains and irritation. Use a barrier cream, such as petroleum jelly or a specialized hairline protector, and generously apply it along your hairline, including your ears and the nape of your neck.
This step creates a protective layer between your skin and the hair dye, minimizing the risk of staining and making cleanup much more manageable. Be careful not to get any cream on your hair, as it can create a barrier that prevents the dye from saturating the strands.
Step 3: Mix Your Color and Developer
To achieve the best results, following the mixing instructions provided with your hair color kit is vital. Typically, you’ll combine the color solution with the developer in a plastic or glass bowl, or directly in an applicator bottle, depending on the product. Ensure you use the correct ratio of color to the developer, as specified in the instructions—this is crucial for achieving the desired consistency and color outcome.
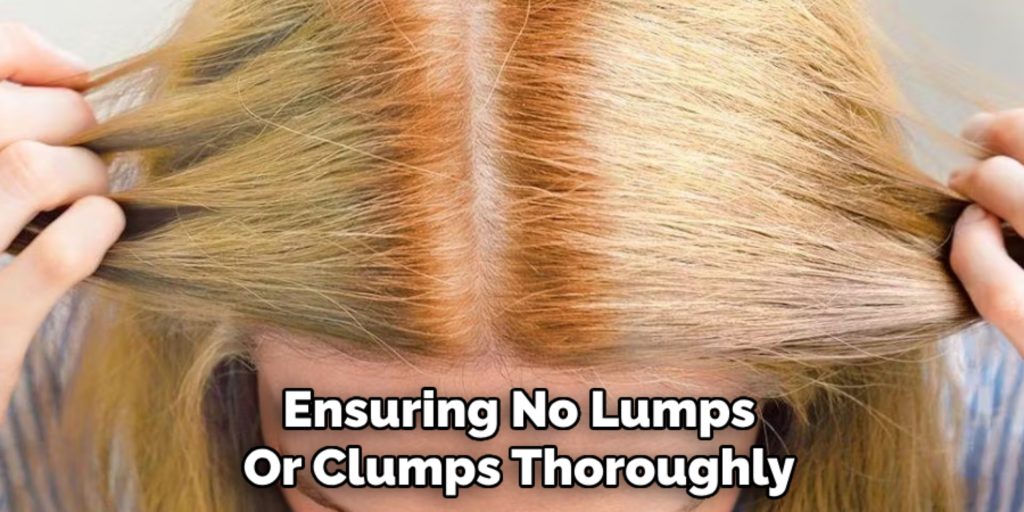
Use a tint brush or applicator to mix the components, ensuring no lumps or clumps thoroughly. A smooth and even mixture allows for a more straightforward application and ensures uniform color coverage. Wear gloves while mixing to protect your skin from the chemicals, and make sure the area where you’re working is well-ventilated to avoid inhaling any fumes.
Step 4: Start Applying From The Ends
When applying hair color, it’s essential to start at the ends of your hair and work your way up toward the roots. This technique ensures an even distribution of color. It helps avoid overly processed roots, as they absorb color more quickly due to their proximity to your scalp’s natural warmth.
To begin, section your hair into manageable parts using clips. This will give you better control and make it easier to apply the color evenly. Take a small section of hair at a time, using your tint brush or the applicator to apply the color generously to the ends. Work the color through with your fingers or a fine-toothed comb to ensure thorough saturation. Continue this process until all the ends are covered, being mindful to avoid leaving any spots untreated.
Step 5: Move Onto The Mid-Lengths
Once you’ve finished applying color to the ends, move on to the mid-lengths of your hair. Continue working in small sections, starting a few inches above where you applied color to the ends. Use gentle strokes with your applicator to ensure even coverage and saturation. Remember not to overlap already colored sections, which can result in hot roots.
Step 6: Apply Color To The Roots Last
Your roots process color faster than the rest of your hair due to the natural heat from your scalp, so it’s essential to leave this step for last. Begin by dividing your hair once again into small sections for precision. Starting at the base of each section, use your tint brush or applicator to carefully apply the color directly to the root area.
Work organized, ensuring that every part of your roots is evenly covered without overlapping the previously colored mid-lengths. Use the edge of the applicator to spread the product close to the scalp without over-saturating. Repeat this process for the entire head, not missing any spots.
Step 7: Massage The Color Into Your Roots
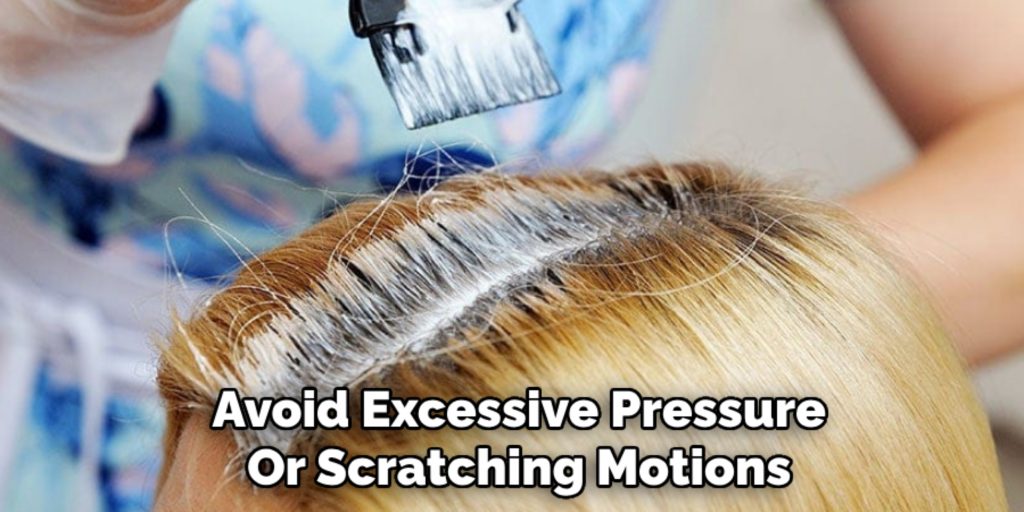
After you’ve applied the color to your roots, use your fingers to massage it gently into the scalp. This step helps ensure even coverage and can promote better dye absorption for a consistent result. Avoid excessive pressure or scratching motions, which may irritate the scalp and lead to discomfort during processing.
Step 8: Check The Time
Once the color has been applied evenly to your roots, it’s essential to start keeping track of the processing time. Refer to the instructions provided with your hair dye to determine the recommended duration for optimal results. Typically, this ranges between 20 to 45 minutes, depending on the product and your desired outcome.
Set a timer to avoid leaving the dye on for too long, as over-processing can damage your hair or lead to an uneven result. During this time, you can use a shower cap to cover your hair to prevent drips and help maintain warmth, aiding in the coloring process.
Step 9: Rinse and Condition
After the processing time has elapsed, rinse your hair thoroughly with lukewarm water until the water runs clear. Avoid hot water, as it can open the cuticles and strip away the color. Once you’ve rinsed out all of the dye, use a nourishing conditioner to restore moisture to your hair and lock in the color. Leave the conditioner on for a few minutes before rinsing it out thoroughly.
Step 10: Maintenance and Aftercare
After coloring your hair, it’s essential to take proper care of it to maintain vibrant color and healthy-looking locks. Use a color-safe shampoo and conditioner to keep your hair hydrated and prevent fading. Avoid washing your hair too frequently, as this can cause the color to fade faster.
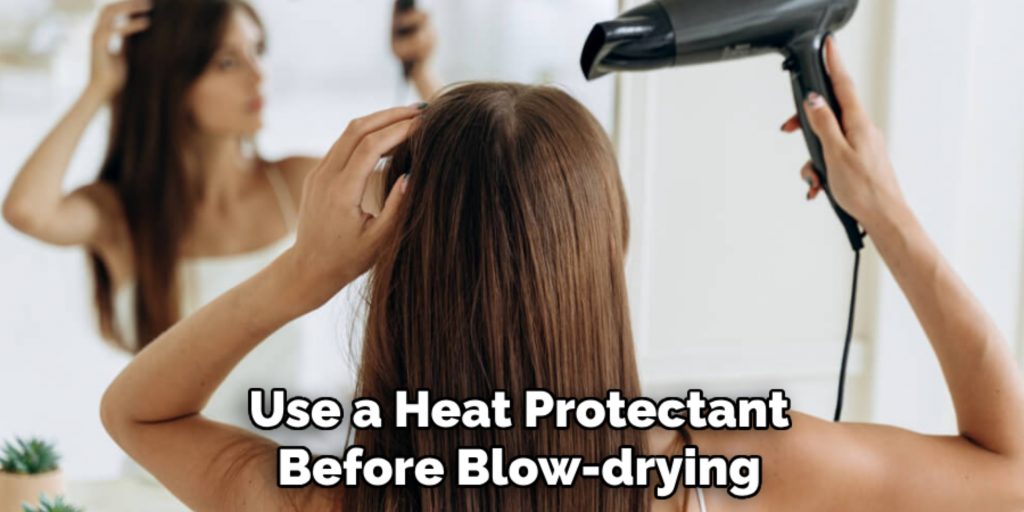
To minimize damage from heat styling tools, use a heat protectant before blow-drying or using hot tools. Additionally, consider scheduling regular or root touch-ups every few weeks if you aim for a long-lasting color result.
Following these steps can achieve professional-looking results at home and keep your hair looking vibrant and healthy.
Conclusion
Hair coloring can be a fun and exciting way to change your look or cover up pesky gray hairs. With the right tools, techniques, and products, you can achieve beautiful colors from the comfort of your home.
Remember to follow these steps carefully, take proper precautions, and maintain your colored hair with aftercare for long-lasting results.
Hopefully, the article on how to avoid hot roots when coloring grey roots has helped you understand the process better and achieve your desired outcome. Happy coloring!
About the Author
Jane Hubbard is a passionate beauty expert with a wealth of experience in makeup, hair, and overall beauty techniques. After years of working as a hairdresser specialist, she followed her entrepreneurial spirit and started her own consultancy business.
Jane has always been driven by her desire to help others feel confident in their own skin, and she does this by sharing her knowledge, experiences, and practical beauty tips. Through her consultancy, she empowers individuals to embrace their unique beauty, offering tailored guidance that boosts both self-esteem and personal style.
Professional Focus
- Specializes in makeup, hairstyling, and beauty consulting.
- Provides personalized beauty advice, tips, and techniques to help individuals feel confident in their appearance.
- Dedicated to staying up-to-date with the latest industry trends and developments.
- Passionate about creating a comfortable and empowering experience for every client.
Education History
- University of Craft and Design – Bachelor of Fine Arts (BFA) in Woodworking and Furniture Design
- Woodworking Apprenticeships – Extensive hands-on training with skilled craftsmen to refine carpentry and furniture making techniques
- Online Courses & Masterclasses – Continued education in advanced woodworking techniques, design principles, and specialized tools
Expertise:
- Makeup artistry, hairstyling, and beauty consulting.
- Personalized beauty techniques to enhance confidence and self-expression.
- Educating clients on how to maintain their beauty routines at home.