
Are you tired of dealing with hot roots whenever you dye your hair at home? Hot roots, or brassy or orange, occur when the color applied to the roots is lighter or brighter than the rest of the hair.
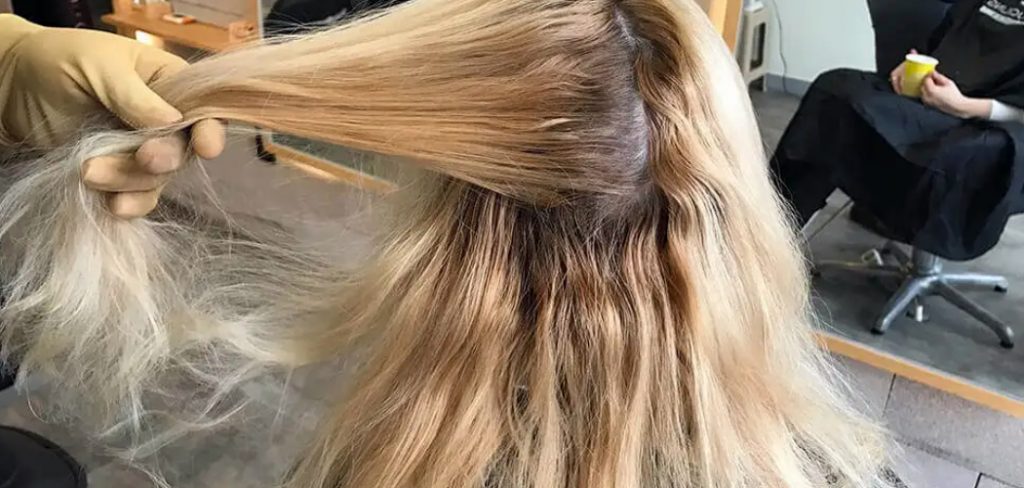
Achieving a consistent hair color at home with box dye can be tricky, especially when avoiding the dreaded “hot roots.” Hot roots occur when the hair closest to the scalp turns out to be a lighter or warmer shade than the rest of your hair, creating an uneven appearance. This usually happens due to the scalp’s warmth accelerating the dye’s processing or because previously dyed hair reacts differently to color compared to virgin roots.
This guide on how to avoid hot roots with box dye will walk you through the steps to effectively avoid hot roots when using box dye at home.
What Are the Benefits of Using Box Dye?
Before diving into how to avoid hot roots, it’s essential to understand the benefits of using box dye.
- Cost-effective: Box dyes are a budget-friendly option compared to a salon for professional hair coloring services.
- Convenience: You can easily find box dye at any drugstore or supermarket and use it in your home.
- Variety: Box dye comes in a wide range of colors, making it easy to find a shade that suits your desired look.
- Ease of Use: Box dye often comes with detailed instructions and all the necessary tools, making it easy for anyone to achieve a new hair color at home.
These benefits make box dye popular for many people looking to change their hair color. However, it can lead to hot roots if not applied correctly.
What Will You Need?
To avoid hot roots with box dye, you will need:
- Box dye in your Desired Shade: Make sure to choose a color close to your natural hair color or previously dyed hair color.
- Gloves: Wear gloves while applying the dye to protect your hands from staining.
- A Timer: To ensure you leave the dye on for the required time.
- A Tint Brush or Applicator Bottle: These tools will help you apply the dye evenly and precisely.
- An Old Shirt or Towel: In case of any spills or drips, it’s best to wear an old shirt or have a towel handy to protect your clothes.
Once you have all the necessary tools and materials, follow the steps below to avoid hot roots with box dye.
10 Easy Steps on How to Avoid Hot Roots With Box Dye
Step 1. Perform a Strand Test
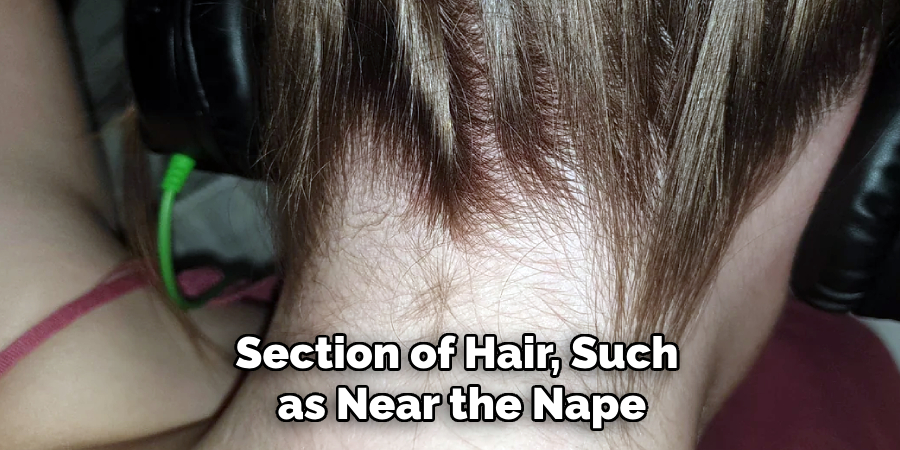
A strand test is crucial to determine how your hair will react to the dye and to assess whether you’ve chosen the correct shade. To perform a strand test, select a small, inconspicuous section of hair, such as near the nape of your neck. Mix a small amount of the dye according to the instructions provided in the box.
Apply the mixture to the strand and allow it to process for the recommended time. Once the time is up, rinse the strand thoroughly and check the result. This will give you a preview of the final color and help you determine if adjustments need to be made, such as selecting a different shade or modifying the application time. Never skip this step; it can save you from unwanted surprises and ensure better results.
Step 2. Prep Your Hair Properly
Before applying the dye, ensure your hair is in the best condition possible to achieve even results. Avoid washing your hair on the day of dyeing, as natural oils on your scalp provide a protective barrier and help prevent irritation. Comb through your hair to remove any tangles and ensure it’s dry before starting, as wet hair can dilute the dye and lead to uneven color. If your hair is heavily damaged or particularly porous, consider applying a protein treatment a few days before strengthening it. Proper preparation helps set the stage for vibrant, consistent color and reduces the risk of hot roots.
Step 3. Section Your Hair
Dividing your hair into sections is crucial for an even and thorough hair dye application. Start by parting your hair down the middle, and then create four sections by splitting each side horizontally from ear to ear. Use clips to secure each section in place. Working in smaller sections ensures the dye is applied evenly to every strand, reducing the chance of missed spots or uneven color. This step also helps make the process more manageable and organized, especially if you’re dyeing your hair at home.
Step 4. Apply the Hair Dye
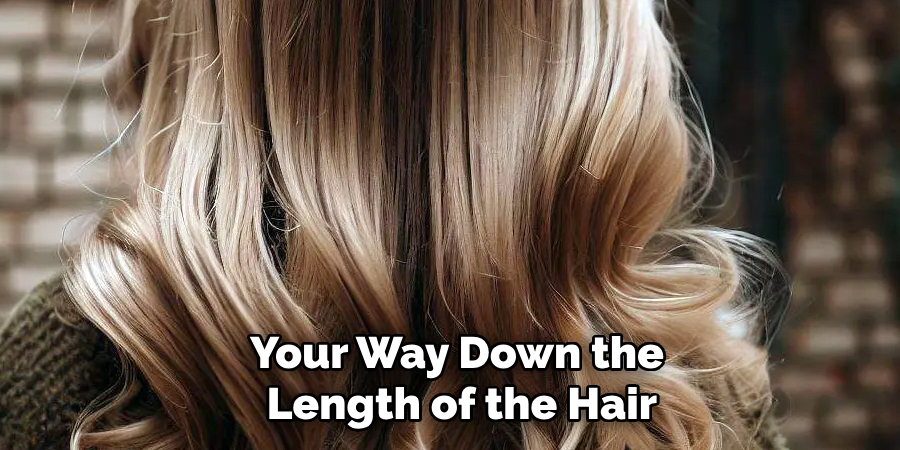
Now that your hair is properly sectioned, it’s time to apply the dye. Start with one section and use an applicator brush to coat the roots first, as these typically require the most color to achieve an even result. Work your way down the length of the hair, ensuring each strand is saturated with dye. Repeat this process for each section, moving methodically to maintain consistency. Be sure to wear gloves to protect your hands and use a comb to distribute the dye evenly. Take your time during this step, as thorough application is key to achieving a professional-looking result.
Step 5. Allow the Dye to Process
After the dye has been applied, allow it to process for the time specified in the instructions provided with your hair dye. This step is critical to ensure that the color develops appropriately. Avoid touching or disturbing your hair during this time, which could lead to uneven results. Use this waiting period to clean up any dye spills around your hairline, ears, or neck with a damp cloth or cotton swab. Pay attention to the timing—leaving the dye on for too long or too short can affect the final outcome. Set a timer to avoid over or under-processing, and prepare to be amazed by your new color.
Step 6. Rinse and Condition
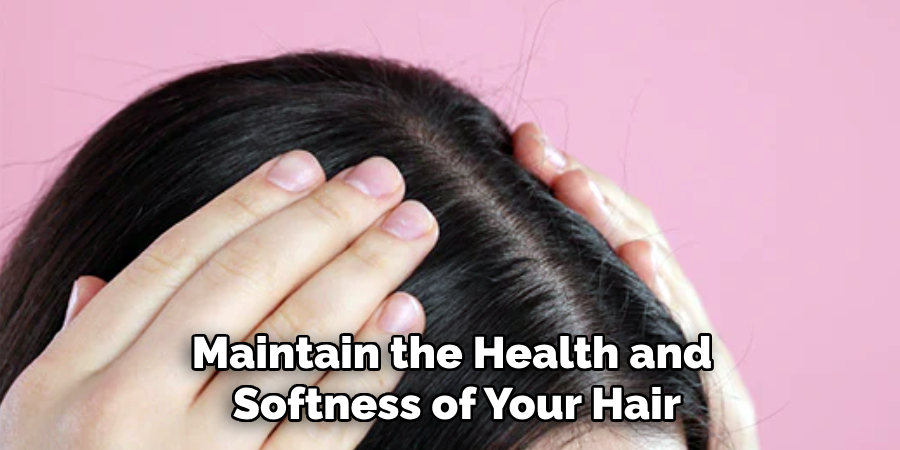
Once the processing time is complete, rinse your hair thoroughly with lukewarm water until the water runs clear. Avoid using hot water, as it can strip the color prematurely. Gently massage your scalp to remove any residual dye. Many hair dye kits include a conditioning treatment—apply it generously to nourish and lock in the color. Leave the conditioner on for the recommended time before rinsing it out thoroughly. This step not only enhances the vibrancy of the color but also helps maintain the health and softness of your hair. Pat your hair dry with a towel and avoid vigorous rubbing to prevent damage.
Step 7. Style and Enjoy
After your hair is dry, it’s time to style it and reveal your new look! Use your preferred styling tools and products, but avoid excessive heat for the first few days to help preserve the color. Take a moment to admire your fresh hair color and how it complements your style. To maintain the vibrancy, use shampoos and conditioners specifically formulated for color-treated hair and limit exposure to harsh sun or chemicals, such as chlorine. Your new color will remain radiant and eye-catching for weeks with proper care!

Step 8. Touch-Up as Needed
Over time, hair color may fade, or regrowth may become noticeable, especially near the roots. To keep your color looking fresh and consistent, schedule touch-ups as needed. Many at-home color kits or professional salons offer options for root touch-ups or refreshing the existing color. Remember to follow the same care routine after touch-ups to ensure your hair remains healthy, vibrant, and flawless. Regular maintenance will allow you to enjoy your stunning hair color without interruption.
Step 9. Protect Your Hair from Damage
To extend your hair color’s life and keep it healthy, focus on protecting it from potential damage. Heat styling tools such as flat irons, curling irons, and blow dryers can lead to dryness and breakage, which may affect the vibrancy of your color. Always use a heat protectant spray before styling, and consider air-drying your hair whenever possible. Additionally, minimize chemical treatments or excessive bleaching that can weaken hair strands. Your hair will remain strong, vibrant, and gorgeous by prioritizing protection and care.
Step 10. Nourish Your Hair with Proper Hydration
Keeping your hair hydrated is essential for maintaining health and ensuring your color looks radiant. Use deep-conditioning treatments or hair masks specifically designed for color-treated hair at least once weekly. These products help to replenish moisture, repair damage, and seal the hair cuticle, preventing color from fading prematurely. Opt for leave-in conditioners to provide extra hydration and protection throughout the day. Proper hydration revitalizes your hair and enhances its shine and softness, giving you a salon-fresh look.
By following these steps and incorporating proper hair care into your routine, you can achieve vibrant, long-lasting color that complements your style.
Conclusion
Preparation and technique are key to avoiding hot roots with box dye. Start by choosing the shade that matches your desired color goal and aligns with your natural hair tone.
Always read and follow the instructions on the box carefully to ensure the application is even. When applying the dye, begin with the lengths and ends of your hair, leaving the roots for last, as they tend to process color faster due to the warmth of the scalp. If your roots are a significantly different color from the rest of your hair, consider sectioning your hair and adjusting the application time to balance the color development. Lastly, avoid overlapping the dye onto previously colored hair to prevent uneven results.
Hopefully, the article on how to avoid hot roots with box dye has provided you with helpful tips and tricks to achieve a beautiful, natural-looking color at home.
About the Author
Jane Hubbard is a passionate beauty expert with a wealth of experience in makeup, hair, and overall beauty techniques. After years of working as a hairdresser specialist, she followed her entrepreneurial spirit and started her own consultancy business.
Jane has always been driven by her desire to help others feel confident in their own skin, and she does this by sharing her knowledge, experiences, and practical beauty tips. Through her consultancy, she empowers individuals to embrace their unique beauty, offering tailored guidance that boosts both self-esteem and personal style.
Professional Focus
- Specializes in makeup, hairstyling, and beauty consulting.
- Provides personalized beauty advice, tips, and techniques to help individuals feel confident in their appearance.
- Dedicated to staying up-to-date with the latest industry trends and developments.
- Passionate about creating a comfortable and empowering experience for every client.
Education History
- University of Craft and Design – Bachelor of Fine Arts (BFA) in Woodworking and Furniture Design
- Woodworking Apprenticeships – Extensive hands-on training with skilled craftsmen to refine carpentry and furniture making techniques
- Online Courses & Masterclasses – Continued education in advanced woodworking techniques, design principles, and specialized tools
Expertise:
- Makeup artistry, hairstyling, and beauty consulting.
- Personalized beauty techniques to enhance confidence and self-expression.
- Educating clients on how to maintain their beauty routines at home.