
Are you tired of spending a lot of money on hair salon appointments and hours sitting in a chair waiting for your roots to be bleached? If you’re looking for a more affordable and convenient way to lighten your roots, bleaching at home may be your solution.

Keeping up with hair root maintenance is essential for a fresh and vibrant look. Whether you want to touch up your color or embark on a complete transformation, bleaching your roots at home can be convenient and cost-effective.
In this guide, we’ll walk you through the step-by-step process of how to bleach my roots at home. With the right tools, preparation, and technique, you can achieve salon-quality results and maintain gorgeous hair right from your bathroom. So, let’s dive in and discover how to bleach your roots like a pro!
What Are the Benefits of Bleaching Your Roots at Home?
Before we jump into the process, let’s first discuss why bleaching your roots at home may be a good option for you. Here are some benefits to consider:
- Cost-Saving: Bleaching your roots at home can save you much money compared to salon appointments.
- Convenience: You don’t have to schedule an appointment or leave the comfort of your own home.
- Customization: By bleaching your roots, you have complete control over the color and intensity, allowing for a more personalized look.
- Time-saving: You won’t have to sit in a salon chair for hours; you can multitask and do other things while waiting for the bleach to process.
- Safety: With the proper precautions and following instructions carefully, bleaching at home can be just as safe as getting it done at a salon.
What Will You Need?
Before starting the bleaching process, make sure you have all the necessary tools and products. Here’s a list of items to have on hand:
- Bleach powder
- Developer
- Gloves
- Mixing bowl
- Tint brush or applicator brush
- Old t-shirt or hair clips to section your hair
- Shampoo and conditioner for aftercare
These items can be found at most beauty supply stores or online. Make sure to research and choose products suitable for your hair type and desired outcome.
9 Easy Steps on How to Bleach My Roots at Home
Step 1. Prepare Your Hair:
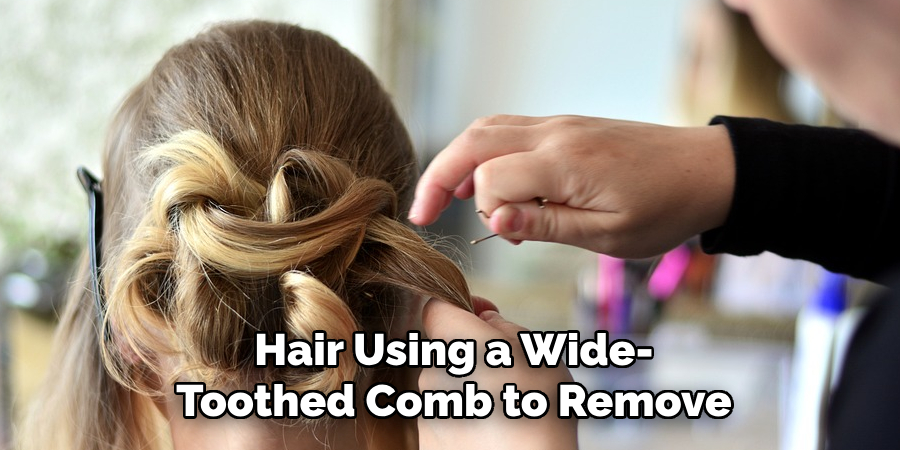
Start by ensuring your hair is dry and unwashed for at least 24 hours before bleaching. Natural oils on your scalp act as a protective barrier, reducing the risk of irritation from the bleach. Additionally, it’s important to detangle your hair using a wide-toothed comb to remove any knots or tangles, making it easier to apply the bleach evenly. Remove any hair accessories or clips and let your hair hang freely. These steps will help you achieve the best results and minimize damage during bleaching.
Step 2. Protect Your Skin
Protecting your skin before applying bleach is essential to avoid irritation or chemical burns. Start by applying petroleum jelly or a thick moisturizing cream around your hairline, ears, and the nape of your neck. This creates a barrier that prevents the bleach from contacting your skin. Additionally, wear gloves throughout the process to shield your hands from the harsh chemicals in the bleach. Finally, wear an old t-shirt or wrap a towel around your shoulders to protect your clothing from accidental spills or drips. A little preparation goes a long way in ensuring your bleaching session is safe and comfortable.
Step 3. Mix the Bleach
Follow the instructions provided on the bleach powder and developer packaging to mix the solution correctly. Generally, you’ll combine the bleach powder and developer in a 1:2 ratio (check specific product directions for exact measurements). Use the designated mixing bowl and tint brush to blend until it reaches a smooth, creamy consistency. Be sure to mix thoroughly so there are no clumps, as this ensures an even application.
Step 4. Mix Bleach and Developer
Once you have gathered the bleach powder and developer, it’s time to mix them to create the bleaching solution. Follow these steps to ensure a successful mixture:
- Measurements: Check the instructions on the bleach powder and developer packaging for the recommended mixing ratio. Typically, a 1:2 ratio of bleach powder to developer is used, but referring to the specific product guidelines for accurate measurements is essential.
- Mixing Tools: Combine the bleach powder and developer using a designated mixing bowl and a tint brush. These tools are designed to facilitate a thorough and even mixture.
- Blending: Gradually pour the bleach powder into the mixing bowl, followed by the developer. Use the tint brush to stir and blend the mixture. Aim for a smooth and creamy consistency, ensuring no clumps or uneven patches.
- Thorough Mixing: Take your time to mix the bleach and developer thoroughly. Eliminating any clumps is crucial to ensure an even application and consistent results. Pay close attention to any areas where the bleach powder may have settled at the bottom of the bowl.
Step 5: Application and Processing
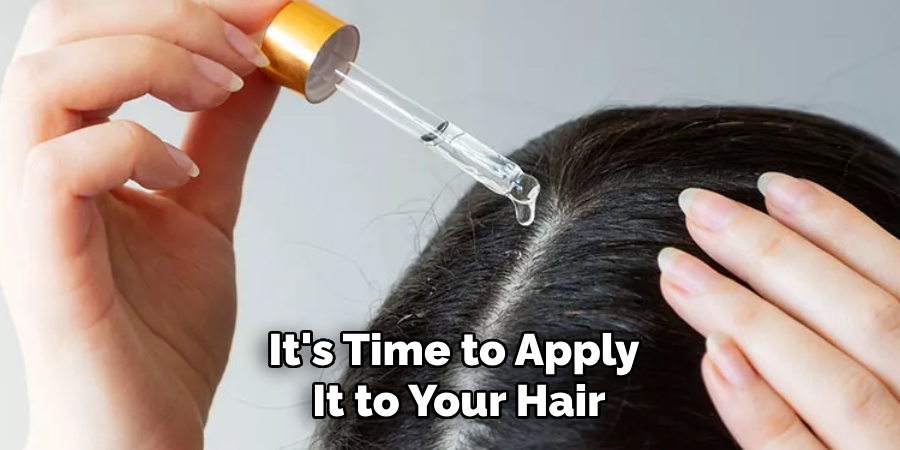
Once you have prepared the bleach mixture, it’s time to apply it to your hair. Follow these steps for a successful application:
- Sectioning: Divide your hair into manageable sections using clips or hair ties. This will ensure that the bleach is applied evenly and thoroughly.
- Gloves and Protection: Wear gloves to protect your hands and a cape or old clothing to prevent bleach stains on your clothes.
- Start from the Ends: Begin applying the bleach mixture to the ends of your hair, as they usually require more lightening. Gradually work your way up to the roots.
- Even Application: Use the tint brush or gloved fingers to apply the bleach mixture evenly that it saturates each strand. Comb through the hair to ensure complete coverage.
- Processing Time: Refer to the product guidelines to determine the recommended processing time. Different hair types and desired results may require varying processing times.
- Monitoring: Regularly check your hair throughout the processing time to assess the lightening progress. Avoid leaving the bleach on for too long, as it may damage your hair.
- Rinsing: Once the desired lightening level is achieved, rinse your hair thoroughly with lukewarm water to remove the bleach. Follow up with a gentle shampoo and conditioner designed for color-treated hair.
- Post-Bleach Care: After bleaching, providing extra care and nourishment to your hair is important. Use deep conditioning treatments, avoid heat-styling tools, and minimize exposure to sunlight and harsh chemicals.
By following these steps, you can achieve consistent and beautiful results while minimizing potential damage to your hair.
Step 6: Drying and Styling
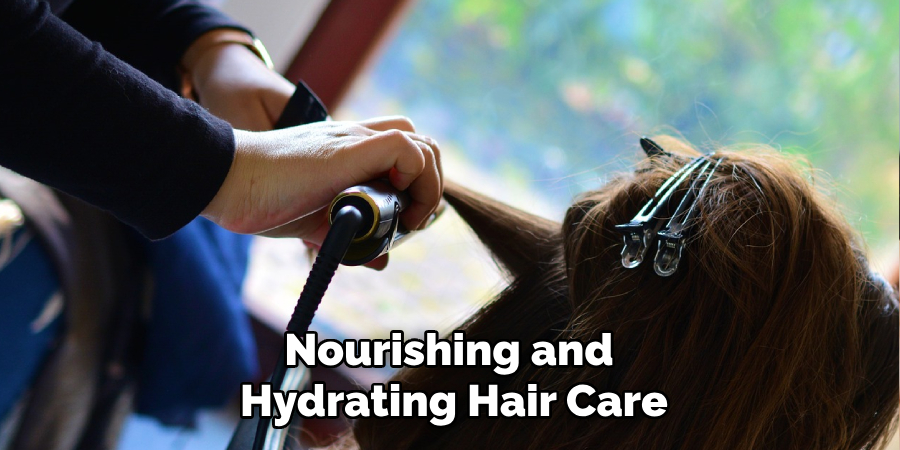
Once you have successfully bleached your hair, following proper drying and styling techniques is essential to maintain the health and appearance of your newly transformed locks. After rinsing out the bleach, pat your hair gently with a towel to remove excess moisture. Avoid rubbing vigorously, as this can lead to frizz and damage. Allow your hair to air dry, or use a blow dryer on low heat to prevent further damage. Once your hair is dry, you can style it using heat-protectant products and avoiding excessive heat styling. Remember to continue using nourishing and hydrating hair care products to keep your bleached hair looking healthy and vibrant.
Step 7: Maintenance and Touch-Ups
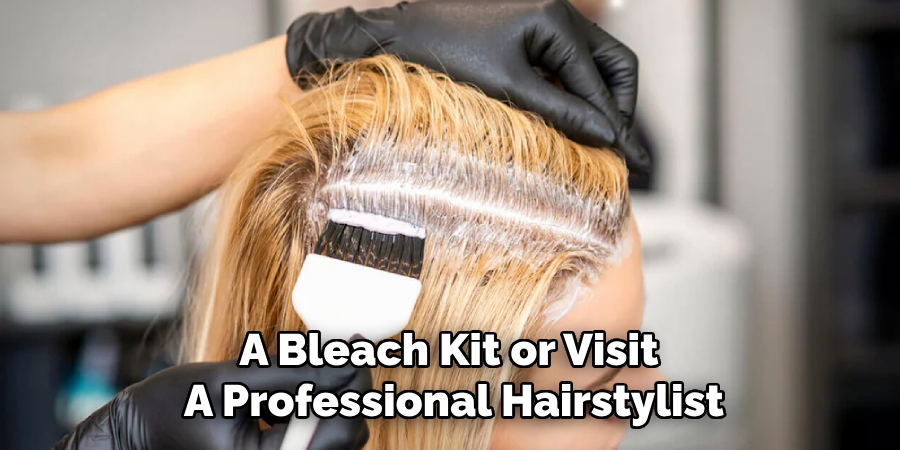
Maintaining your bleached hair requires extra care and attention. Use color-safe shampoos and conditioners, avoid heat-styling tools, and minimize exposure to sunlight and chlorine. Regular deep conditioning treatments are also recommended to nourish your hair and prevent damage. If you notice any roots or uneven lighting, consider touching up with a bleach kit or visit a professional hairstylist for maintenance appointments. With proper care and maintenance, you can confidently continue rocking your newly bleached hair.
Step 8: Embrace Your New Look
Bleaching your hair can be a transformative and empowering experience. Embrace your new look and have fun experimenting with different hairstyles and colors. And remember, if you ever decide to return to your natural hair color or try a new shade, options are always available to help you achieve the desired results safely and effectively.
Step 9: Show Off Your Beautifully Bleached Hair
Now that you’ve taken all the steps to bleach and maintain your hair, it’s time to show off your stunning new look! Flaunt your beautifully bleached locks confidently and embrace the compliments coming your way. Experiment with different hairstyles and colors to express your unique style and personality. Remember, your hair is a canvas for self-expression, so have fun and enjoy discovering new possibilities. Keep up with the maintenance routine, and you’ll continue to rock your bleached hair proudly!
Following these steps and properly caring for your bleached hair can achieve stunning results without compromising its health.
Conclusion
How to bleach my roots at homeis a process that requires careful preparation, application, and maintenance.
By following these steps and utilizing the right tools and products, you can achieve beautiful bleached hair without causing significant damage. Remember always to prioritize the health of your hair and consult a professional if needed.
Now it’s time to embrace your new look and show off your stunning bleached locks with confidence! So go ahead, take the leap, and transform your hair into a blank canvas for self-expression. The possibilities are endless! Happy bleaching!
About the Author
Jane Hubbard is a passionate beauty expert with a wealth of experience in makeup, hair, and overall beauty techniques. After years of working as a hairdresser specialist, she followed her entrepreneurial spirit and started her own consultancy business.
Jane has always been driven by her desire to help others feel confident in their own skin, and she does this by sharing her knowledge, experiences, and practical beauty tips. Through her consultancy, she empowers individuals to embrace their unique beauty, offering tailored guidance that boosts both self-esteem and personal style.
Professional Focus
- Specializes in makeup, hairstyling, and beauty consulting.
- Provides personalized beauty advice, tips, and techniques to help individuals feel confident in their appearance.
- Dedicated to staying up-to-date with the latest industry trends and developments.
- Passionate about creating a comfortable and empowering experience for every client.
Education History
- University of Craft and Design – Bachelor of Fine Arts (BFA) in Woodworking and Furniture Design
- Woodworking Apprenticeships – Extensive hands-on training with skilled craftsmen to refine carpentry and furniture making techniques
- Online Courses & Masterclasses – Continued education in advanced woodworking techniques, design principles, and specialized tools
Expertise:
- Makeup artistry, hairstyling, and beauty consulting.
- Personalized beauty techniques to enhance confidence and self-expression.
- Educating clients on how to maintain their beauty routines at home.