
Are you tired of visiting the salon to touch up your roots every few weeks? With a little know-how, you can master the art of blending roots at home, saving time and money while achieving professional-looking results.
Blending roots involves seamlessly transitioning the color from your natural hair to previously dyed hair, giving a more blended and natural appearance. This technique is beneficial for those with highlights or ombre hair, as it helps to avoid harsh lines and create a more cohesive look.
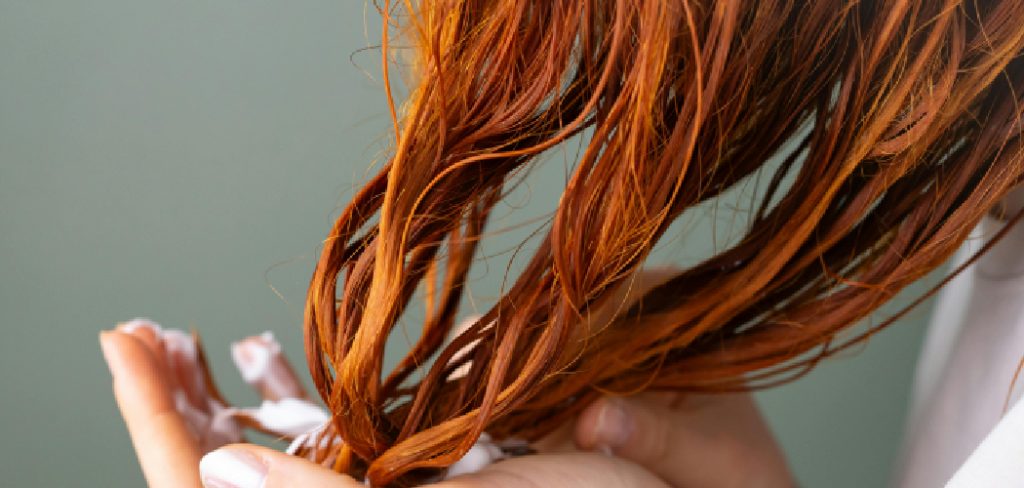
Whether you’re covering up gray hairs or maintaining your desired hair color, this guide will provide you with step-by-step instructions and tips how to blend roots at home. Get ready to embrace a hassle-free and convenient way to keep your hair looking fresh and vibrant. Let’s dive in!
What Are the Benefits of Blending Roots at Home?
Blending roots at home offers various benefits, making it an attractive option for many individuals. These include:
- Cost Savings: Visiting the salon for root touch-ups can add up quickly, but with the right techniques and products, you can save money by doing it yourself.
- Convenience: With busy schedules, finding time to go to the salon may not always be feasible. Blending your roots at home gives you more control over when and where you do it.
- Personalization: Everyone’s hair is different, and what works for one person may not work for another. Learning to blend roots at home allows you to customize the process to fit your unique hair needs and preferences.
- Healthy Hair: Constantly exposing your hair to the chemicals in salon dyes can be damaging. By blending roots at home, you can reduce the frequency of chemical treatments and promote healthier hair.
These are just a few of the many benefits of blending roots at home. Let’s now explore the step-by-step process.
What Will You Need?
Before you begin, make sure you have the necessary supplies on hand. These may include:
- Hair Dye: Choose a hair dye designed explicitly for root touch-ups, preferably in the same shade as your previously dyed hair.
- Developer: The developer activates the color in the hair dye. Make sure to get one that is compatible with your chosen brand.
- Gloves: Use gloves while applying the hair dye to protect your hands from staining and irritation.
- Brush or Applicator Bottle: Use a brush or applicator bottle to apply the hair dye precisely where needed.
- Sectioning Clips: These will help keep your hair organized and make it easier to apply the hair dye evenly.
- Old Towel or Cape: To protect your clothes from any potential spills, lay an old towel or cape over your shoulders.
Once you have all your supplies, you’re ready to begin.
9 Easy Steps on How to Blend Roots at Home
Step 1: Mix the Hair Dye
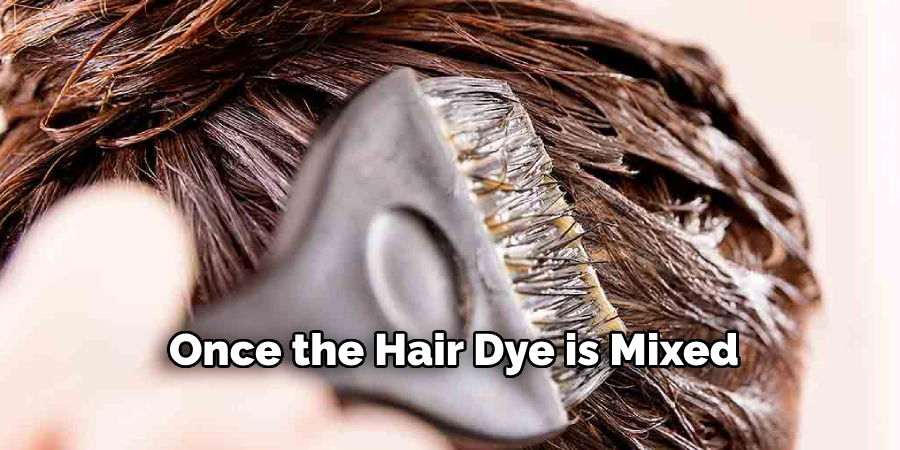
Start by carefully following the instructions provided with your chosen hair dye. Combine the hair dye and developer in the recommended proportions in a non-metallic bowl. Use a tinting brush or gloved fingers to thoroughly mix the two components until a smooth and consistent color mixture is achieved. Ensure there are no lumps or clumps in the mix, as this could affect the application and result in uneven color. Take note of any specific instructions regarding development time or additional steps, such as pre-color treatments, mentioned by the hair dye brand. Once the hair dye is mixed, you can proceed with the root touch-up process.
Step 2: Section Your Hair
Divide your hair into manageable sections to ensure even hair dye application. Use a comb to create clean parts, and secure each section with clips. Typically, dividing your hair into four quadrants works well—split your hair down the middle from front to back, then create another part from ear to ear. This will make it easier to apply the hair dye precisely to your roots without missing any spots. Proper sectioning also helps avoid overlapping the dye onto areas of already-colored hair, preventing uneven color or over-processing. Take your time with this step, as it sets the foundation for a neat and professional-looking application. Once your hair is sectioned and secured, apply the dye.
Step 3: Apply the Hair Dye
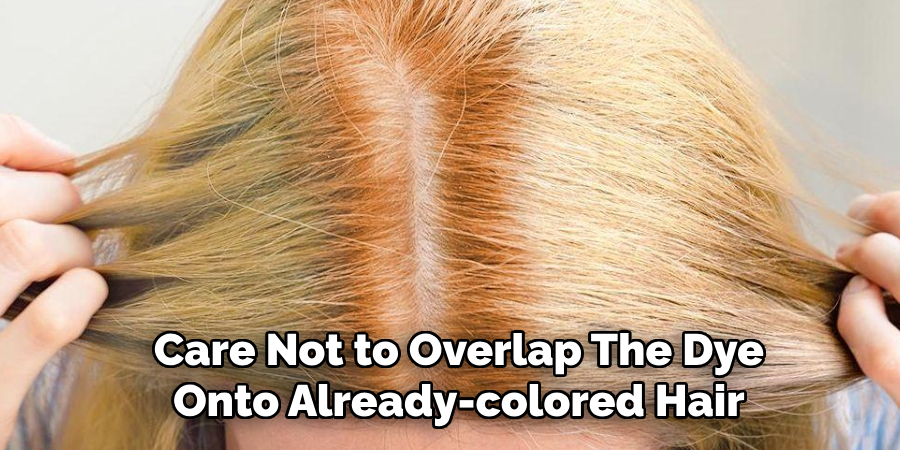
Apply the hair dye to your roots using your brush or applicator bottle. Begin at the back of your head and work your way forward, covering all visible roots evenly. Take care not to overlap the dye onto already-colored hair, which can result in an uneven blend or overly darkened roots. It’s recommended to apply the dye lightly at first and then go back over any missed spots for a more natural look. Work quickly but carefully, ensuring each section is coated with an even layer of color.
Step 4: Blend Outwards
Once you’ve applied the dye to your roots, use your brush or gloved fingers to blend the dye outward gently. This helps create a seamless transition between your natural roots and the previously dyed areas. You can use a gentle sweeping or feathering motion to distribute the dye slightly beyond the root area without saturating the rest of your hair. This step is crucial for avoiding harsh lines and achieving a natural gradient. Try blending each section before moving to the next, ensuring consistent results across your head. You can proceed to the processing step when you’re satisfied with the blending.
Step 5: Wait for the Dye to Develop
Follow the recommended development time stated by your hair dye brand. This is usually around 20-30 minutes, but it may differ depending on the type of dye and desired level of color intensity. Use this time to relax and avoid touching or moving your hair too much, as this can affect how the color develops. You can also use a shower cap or towel to cover your head, which helps retain heat and promotes better color absorption.
Step 6: Check Your Roots
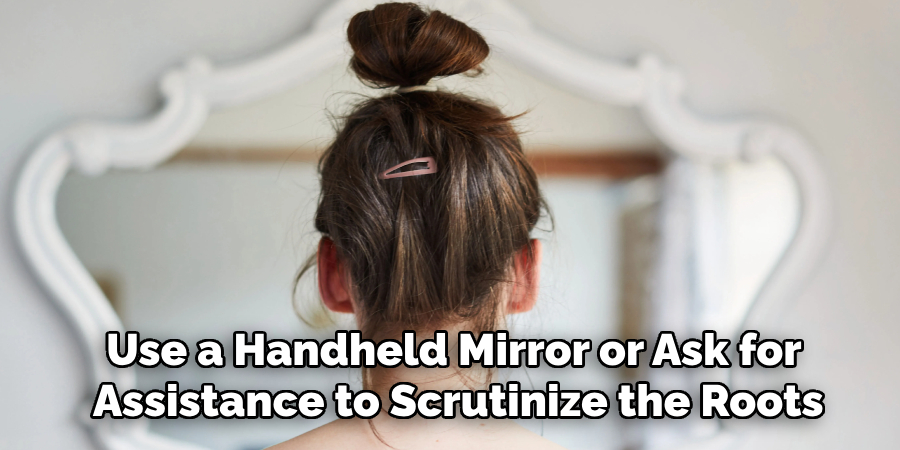
After the recommended development time, you must check your roots to ensure they have received adequate color coverage. Use a handheld mirror or ask for assistance to scrutinize the roots. If you notice any areas where the color appears uneven, or the roots are still lighter than the rest of your hair, you can apply a small amount of dye. Use a fine-toothed comb or a tinting brush to distribute the color evenly and blend it seamlessly with the rest of your hair. Take your time with this step to achieve a cohesive and natural-looking result. Once you’re satisfied with the color distribution, you can proceed to the next and final step of the dyeing process.
Step 7: Rinse and Shampoo
Once you have completed the color development process and checked your roots, it’s time to rinse the dye. Start by thoroughly rinsing your hair with lukewarm water until the water runs clear. This helps remove any excess dye and ensures that the color is evenly distributed.
After rinsing, apply a color-safe shampoo to cleanse your hair. Gently massage the shampoo into your scalp and hair, working it through from roots to ends. Rinse out the shampoo thoroughly, making sure no residue remains.
To maintain the vibrancy and longevity of your newly colored hair, consider using a color-protecting conditioner or treatment. Apply it to your hair, focusing on the lengths and ends, and leave it on for the recommended time before rinsing. This helps lock in the color and keep your hair vibrant and healthy.
Step 8. Condition Your Hair
After rinsing out the shampoo, it’s essential to condition your hair thoroughly. Use a deep conditioning treatment or your regular conditioner and apply it from mid-length to ends. Let it sit for a few minutes before rinsing with cool water. This helps seal the cuticles and lock in moisture, leaving your hair feeling soft, smooth, and nourished.
Step 9: Dry and Style Your Hair
Use a microfiber towel or an old t-shirt to blot excess water from your hair gently. Avoid rubbing or wringing out your hair, which can cause damage and frizz. If you plan on blow-drying or using heat-styling tools, use a heat-protectant product to prevent damage. You can also let your hair air dry for a more natural look. Once your hair is dry, style it as desired. Congratulations, you have completed a root touch-up at home! Remember to follow proper hair care practices and use color-safe products to maintain the vibrancy of your roots until your next touch-up.
By following these steps, you can achieve a professional-looking root touch-up at home without visiting a salon.
Conclusion
How to blend roots at home is a great way to save time and money while still achieving salon-quality results.
By following these steps, you can confidently touch up your roots and maintain a cohesive and natural-looking color until your next visit to the salon. Proper sectioning, careful application, blending techniques, and conditioning are key components of a successful root touch-up. Remember always to use color-safe products and follow proper hair care practices for long-lasting results.
With these tips, you can easily blend your roots at home without any stress or hassle. Happy dyeing! So go ahead and give it a try—with the right tools and techniques, achieving perfect root coverage at home is possible.
About the Author
Jane Hubbard is a passionate beauty expert with a wealth of experience in makeup, hair, and overall beauty techniques. After years of working as a hairdresser specialist, she followed her entrepreneurial spirit and started her own consultancy business.
Jane has always been driven by her desire to help others feel confident in their own skin, and she does this by sharing her knowledge, experiences, and practical beauty tips. Through her consultancy, she empowers individuals to embrace their unique beauty, offering tailored guidance that boosts both self-esteem and personal style.
Professional Focus
- Specializes in makeup, hairstyling, and beauty consulting.
- Provides personalized beauty advice, tips, and techniques to help individuals feel confident in their appearance.
- Dedicated to staying up-to-date with the latest industry trends and developments.
- Passionate about creating a comfortable and empowering experience for every client.
Education History
- University of Craft and Design – Bachelor of Fine Arts (BFA) in Woodworking and Furniture Design
- Woodworking Apprenticeships – Extensive hands-on training with skilled craftsmen to refine carpentry and furniture making techniques
- Online Courses & Masterclasses – Continued education in advanced woodworking techniques, design principles, and specialized tools
Expertise:
- Makeup artistry, hairstyling, and beauty consulting.
- Personalized beauty techniques to enhance confidence and self-expression.
- Educating clients on how to maintain their beauty routines at home.