
Are you tired of spending hours at the salon every few weeks to get your keratin treatment? Do you want to extend the longevity of your keratin-treated hair without breaking the bank?
Proper blow-drying techniques are essential for maintaining and styling keratin-treated hair and achieving smooth, frizz-free results. Whether you recently had a keratin treatment or have been enjoying its benefits for a while, knowing how to blow-dry your hair correctly can help preserve its sleekness and extend the longevity of the treatment.
In this guide, we’ll walk you through the steps and share expert tips on how to blow dry keratin treated hair to ensure a salon-quality finish every time. Get ready to enhance the shine, manageability, and overall health of your locks with these tried-and-true techniques.
What Are the Benefits of Blow Drying Keratin Treated Hair?
Blow-drying keratin-treated hair has several benefits, including:
- Better Manageability: Blow drying helps smooth the hair cuticles and reduce frizz, making it easier to style and manage your hair.
- Enhanced Shine: Keratin treatments already give your hair a glossy finish, but blow drying can enhance it by distributing natural oils from roots to ends.
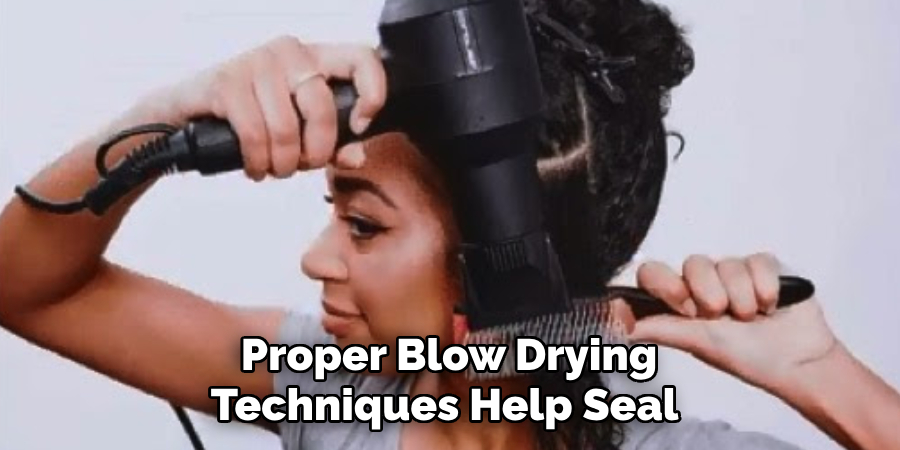
- Longer-lasting Results: Proper blow drying techniques help seal in the keratin treatment’s effects, extending its longevity and keeping your hair sleek for longer periods.
- Time-saving: With the right tools and techniques, blow-drying keratin-treated hair can save you time compared to air drying, speeding up the process and setting your style.
Once you know how to blow dry keratin-treated hair correctly, it can become a quick and easy part of your hair care routine.
What Will You Need?
Before we dive into the steps, make sure you have these essential tools and products ready:
- A Quality Blow Dryer: Investing in a high-quality blow dryer with adjustable heat settings can significantly improve the smoothness of your hair without damaging it.
- Wide-tooth Comb or Detangling Brush: These tools are gentle on the hair and help to distribute the product while detangling any knots evenly.
- Heat Protectant Spray: To protect your hair from heat damage, applying a heat protectant spray before blow drying is crucial. Choose one specifically designed for keratin-treated hair for added protection.
- Round Bristle Brush: This brush is perfect for creating volume and smoothness while blow drying. Look for one with a ceramic or tourmaline barrel to distribute heat evenly.
- Hair Clips: These will help section your hair while blow drying, making it easier to manage and style smaller sections at a time.
Once you have all your tools and products ready, it’s time to learn how to blow dry keratin-treated hair.
10 Easy Steps on How to Blow Dry Keratin Treated Hair
Step 1: Prepare Your Hair
Before blow-drying your keratin-treated hair, it’s essential to start with clean, freshly washed hair. Use a sulfate-free shampoo and a nourishing conditioner designed for keratin-treated hair. Gently towel-dry your hair to remove excess moisture, being careful not to rub or twist your hair vigorously, as this can cause frizz and breakage.
Once your hair is damp, apply a leave-in conditioner or heat protectant spray to further protect your hair from the heat of the blow dryer. Comb through your hair with a wide-tooth comb or detangling brush to evenly distribute the product and gently detangle any knots. Adequately preparing your hair creates a solid foundation for a smooth and successful blow-drying process.
Step 2: Section Your Hair
Divide your hair into manageable sections before you begin blow drying. Start by parting your hair into four main sections — two on the top and two at the bottom. Use hair clips to secure each section to prevent tangling and organize the process.
Working with smaller sections ensures you can dry each part thoroughly and achieve a smoother finish. Depending on your hair’s thickness and length, you may create additional sections for more precision. Proper sectioning is crucial for efficient styling and achieving the best results without overheating any specific area of your hair.
Step 3: Choose the Right Heat Setting
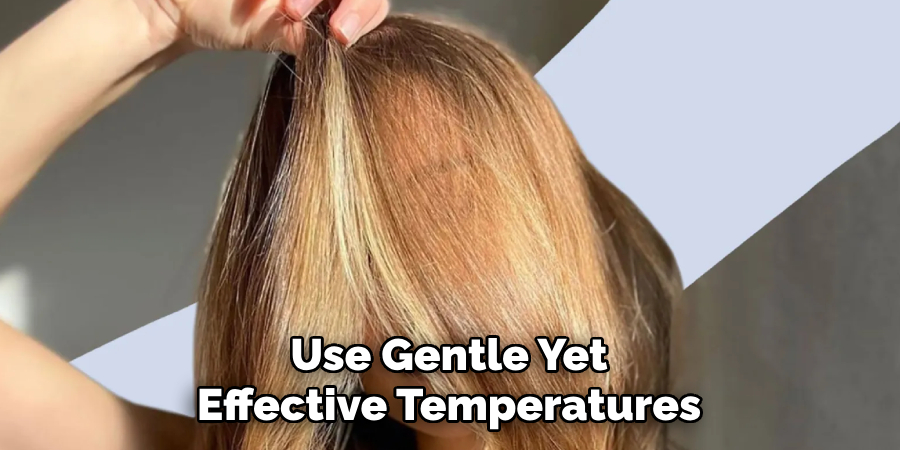
Select a medium or low heat setting on your blow dryer to protect your keratin-treated hair from excessive heat damage. High heat can weaken the keratin bonds and cause dryness or breakage, so it’s essential to use gentle yet effective temperatures.
Many high-quality blow dryers come with adjustable settings, allowing you to choose the right level of heat and airflow for your specific hair type. If your blow dryer has a “cool shot” button, keep it in mind for later — it can help set your style and seal the cuticle for added shine.
Step 4: Start Blow Drying from the Roots
Begin drying your hair by focusing on the roots of one section at a time. Hold the blow dryer about six inches from your scalp and direct the airflow downward to reduce frizz and smooth the cuticle. Use the round bristle brush to lift each section at the root slightly as you blow dry, creating a natural volume.
Once the roots are dry, gradually move to the mid-lengths and ends, following the same downward motion for a polished finish. Working methodically from the roots to the ends helps ensure consistent results without overheating parts of your hair.
Step 5: Pay Attention to the Roots
When blow-drying keratin-treated hair, it’s essential to dry the roots thoroughly before moving toward the ends. Starting with the roots not only ensures that there’s no excess moisture trapped at the scalp but also helps maintain volume while preventing flatness.
Use the nozzle of your blow dryer to direct airflow toward the roots, angling it slightly as you pull the brush through for a natural lift. Be careful not to apply too much heat directly on the roots, which can cause damage and lead to greasiness.
Step 6: Finish with a Cool Shot
Once each section is dry, switch your blow dryer to the cool setting and briefly review the section. The cool air helps to set your style, close the cuticles, and lock in the smooth texture you’ve achieved. This final touch adds extra shine and ensures your hair remains frizz-free throughout the day. Repeat this step for all sections of your hair for optimal results.
Step 7: Be Gentle on Your Hair
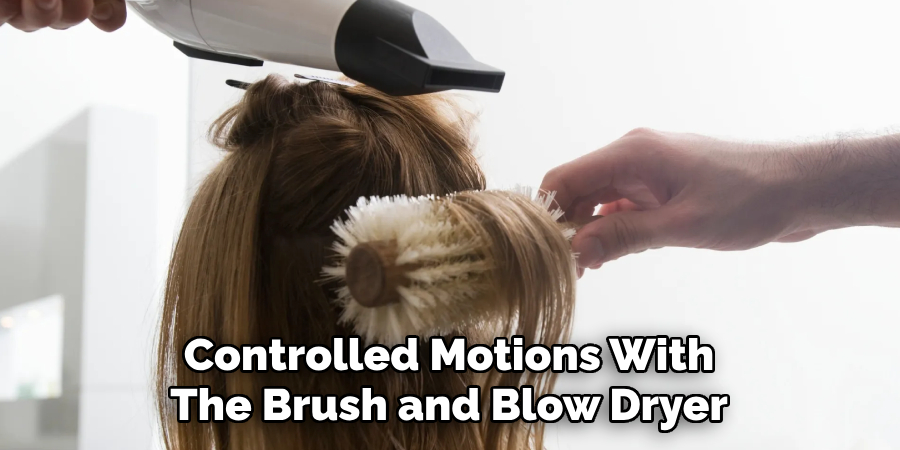
Keratin-treated hair requires extra care to maintain its smoothness and shine, so be gentle throughout the blow-drying process. Avoid pulling or tugging your hair too harshly with the brush to prevent breakage or damage to the keratin layer.
Use steady, controlled motions with the brush and blow dryer, ensuring enough time to dry each section thoroughly without overworking it. Patience and gentleness will help preserve the integrity of the treatment and leave your hair looking healthy and sleek. If you encounter any knots or tangles, use a wide-tooth comb or detangling brush to gently remove them without causing damage.
Step 8: Focus on One Section at a Time
Take your time working through each section, ensuring that it is scorched before moving on to the next. Leaving any part of your hair damp can lead to frizz or compromise your styling results.
Use the round bristle brush to guide the hair through the blow dryer’s airflow, maintaining a smooth downward motion. Consistency in technique is key to achieving a uniform, polished appearance.
Step 9: Use the Nozzle Attachment
If your blow dryer comes with a nozzle attachment, use it during the process. The nozzle focuses the airflow in a specific direction, allowing for greater precision and smoother results.
By concentrating the heat and airflow on a targeted area, the nozzle helps to reduce frizz and ensures even drying, particularly for keratin-treated hair. Keep the nozzle angled downward as you work through each section to maintain the hair’s sleek finish.
Step 10: Apply a Finishing Product
Once your hair is dried and styled, apply a small amount of finishing serum or light oil designed for keratin-treated hair. Focus on the mid-lengths and ends to add shine and smoothness while taming flyaways. Avoid using too much product, which can damage your hair or make it appear greasy.
A pea-sized amount is typically sufficient for most hair types. This final step enhances your blow-dry results and keeps your keratin-treated hair looking its best.
By following these steps and using the right tools and techniques, you can enjoy smooth, frizz-free, and beautifully styled keratin-treated hair every time you blow dry.
Conclusion
How to blow dry keratin treated hair may seem daunting at first, but with the right approach and tools, you can achieve salon-worthy results in your home.
Remember to start by sectioning your hair carefully and choosing a medium or low heat setting on your blow dryer. Then, focus on drying from the roots to the ends while gently taking time. Finish with a superb shot and a small finishing product for added shine and smoothness.
With these tips, you can confidently style your keratin-treated hair without worrying about damage or frizz. So go ahead and give it a try—your smooth, sleek locks will thank you! Happy styling!
About the Author
Jane Hubbard is a passionate beauty expert with a wealth of experience in makeup, hair, and overall beauty techniques. After years of working as a hairdresser specialist, she followed her entrepreneurial spirit and started her own consultancy business.
Jane has always been driven by her desire to help others feel confident in their own skin, and she does this by sharing her knowledge, experiences, and practical beauty tips. Through her consultancy, she empowers individuals to embrace their unique beauty, offering tailored guidance that boosts both self-esteem and personal style.
Professional Focus
- Specializes in makeup, hairstyling, and beauty consulting.
- Provides personalized beauty advice, tips, and techniques to help individuals feel confident in their appearance.
- Dedicated to staying up-to-date with the latest industry trends and developments.
- Passionate about creating a comfortable and empowering experience for every client.
Education History
- University of Craft and Design – Bachelor of Fine Arts (BFA) in Woodworking and Furniture Design
- Woodworking Apprenticeships – Extensive hands-on training with skilled craftsmen to refine carpentry and furniture making techniques
- Online Courses & Masterclasses – Continued education in advanced woodworking techniques, design principles, and specialized tools
Expertise:
- Makeup artistry, hairstyling, and beauty consulting.
- Personalized beauty techniques to enhance confidence and self-expression.
- Educating clients on how to maintain their beauty routines at home.