
Tired, dull eyes can be a common concern, but makeup offers a powerful way to make them look brighter, bigger, and more awake. The right techniques can instantly lift your appearance, helping you look refreshed and vibrant, even on days when you don’t feel it. It’s all about using light and color strategically to enhance your natural features.
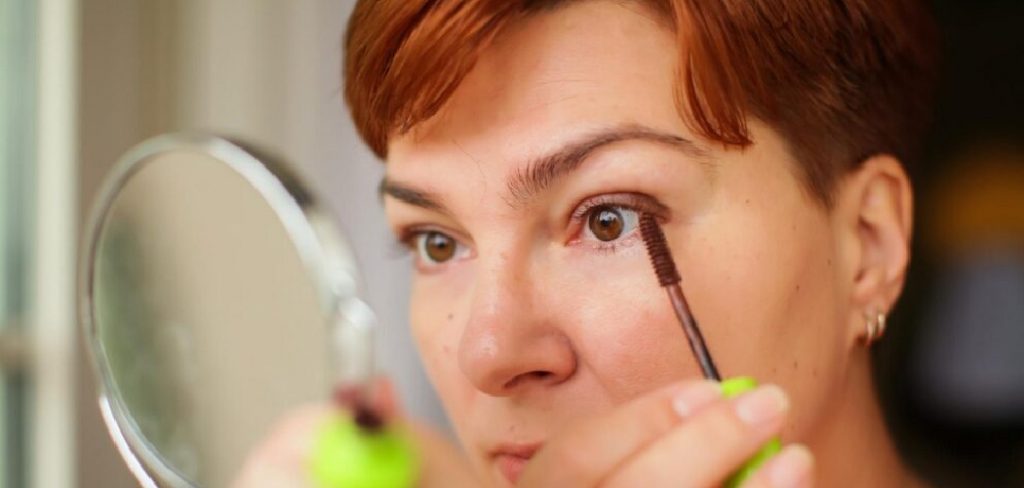
This guide on how to brighten eyes with makeup will walk you through everything you need to know, from the essential tools to a detailed, step-by-step process. By learning how to use products like concealer, highlighter, and eyeliner effectively, you can master the art of eye-brightening and add a simple yet impactful routine to your makeup skills.
Tools and Materials You’ll Need
- Hydrating Eye Cream
- Color-correcting Concealer (Peach or Orange Tones)
- Full-coverage Concealer (1-2 Shades Lighter Than Your Skin Tone)
- Nude or White Eyeliner Pencil
- Eyeshadow Primer
- Neutral Eyeshadow Palette (With Light, Medium, and Dark Shades)
- Shimmery Champagne or Pearl-colored Highlighter/eyeshadow
- Brown or Dark Gray Eyeliner (Pencil or Gel)
- Eyelash Curler
- Volumizing Mascara
- Eyebrow Pencil or Powder
- Makeup Brushes (Blending, Small Detail, and Angled Brushes)
10 Step-by-step Guidelines on How to Brighten Eyes With Makeup
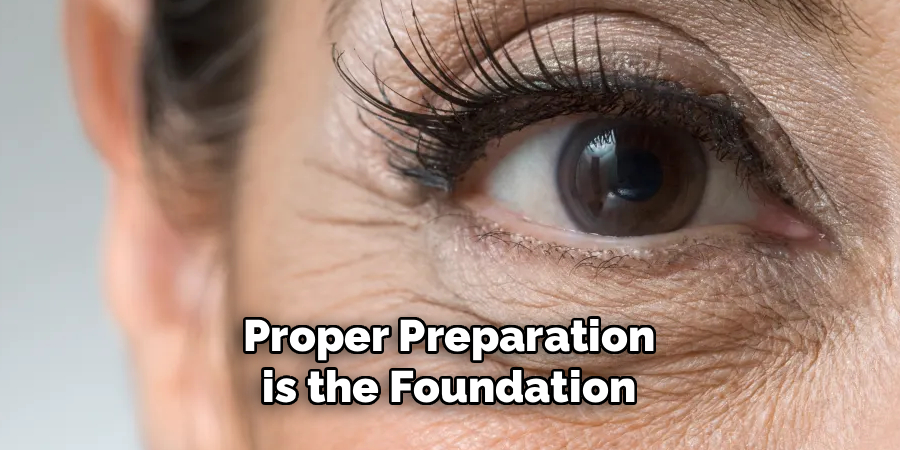
Step 1: Prep and Prime the Eye Area
Proper preparation is the foundation for any successful makeup look, and it’s especially important for brightening the eyes. Start by applying a hydrating eye cream to the entire orbital area, including the under-eye and eyelids. This step moisturizes the skin, plumps fine lines, and creates a smooth canvas for makeup. A well-hydrated base prevents concealer from creasing and looking cakey, ensuring a fresh look that lasts all day.
After the eye cream has fully absorbed, apply an eyeshadow primer to your eyelids. This may seem like a small step, but it makes a huge difference. An eyeshadow primer neutralizes any discoloration on the lids, intensifies the pigment of your eyeshadows, and significantly extends their wear time. It prevents the shadow from smudging or fading, keeping your bright-eyed look intact from morning to night.
Step 2: Color Correct Dark Circles
Dark circles can be one of the biggest culprits in making eyes look tired. To counteract them, you need to use a color corrector before your concealer. For blue or purple-toned under-eye circles, a peach or orange-toned corrector works best to neutralize the darkness. Using your ring finger or a small brush, gently pat a small amount of the color corrector onto the dark areas, focusing on the inner corners and hollows of your eyes.
The key is to use a thin layer and blend it out seamlessly. You don’t need to cover the entire under-eye area, just the specific discolored parts. This targeted application cancels out the shadows without adding excess product. By neutralizing the undertones first, you’ll find that you need less concealer later, which results in a more natural and less heavy finish.
Step 3: Apply a Brightening Concealer
Once you’ve color-corrected, it’s time to apply a brightening concealer. Choose a creamy, full-coverage formula that is one to two shades lighter than your natural skin tone. Apply it in an inverted triangle shape under your eyes, with the point of the triangle ending at your cheek. This technique not only conceals any remaining darkness but also creates an illusion of lift and brightness for your entire face.
Use a damp makeup sponge or a fluffy brush to gently blend the concealer into your skin, patting and pressing rather than wiping. Make sure to blend it well into the inner corner of your eye, as this is an area that often holds shadows. The lighter shade draws light to the center of your face, making you look instantly more awake and radiant.
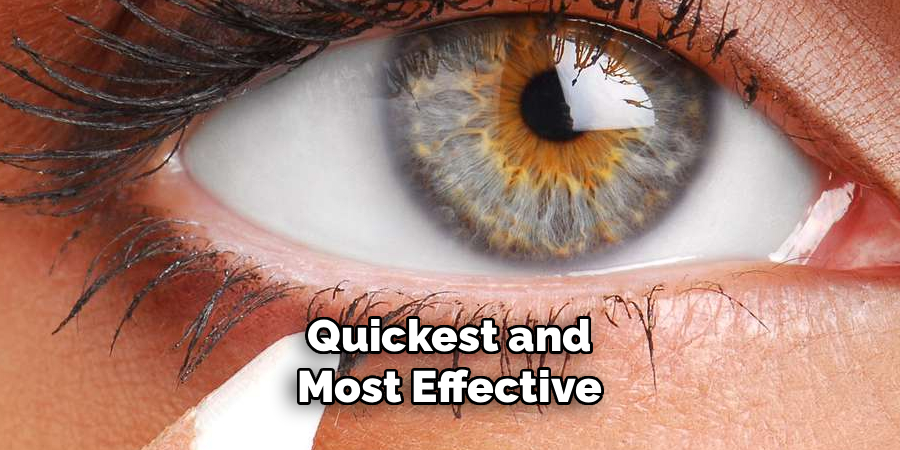
Step 4: Use a Nude Eyeliner on the Waterline
One of the quickest and most effective tricks to brighten your eyes is to line your lower waterline with a nude or white eyeliner pencil. While white can sometimes look stark, a nude or beige pencil provides a softer, more natural-looking effect. This simple action neutralizes any redness in your waterline and creates the illusion of a larger, more open eye.
Gently pull down your lower lid and trace the pencil along the entire length of your waterline, from the inner to the outer corner. The creamy pencil should glide on smoothly without tugging at the delicate skin. This instantly makes the whites of your eyes appear clearer and brighter, contributing to a well-rested appearance. It’s a small detail that delivers a major impact.
Step 5: Apply a Light, Neutral Base Eyeshadow
With your base perfected, it’s time to move on to eyeshadow. Start by applying a light, neutral-colored eyeshadow all over your eyelid, from the lash line up to the crease. Shades like soft beige, ivory, or a light taupe work perfectly as a base. This step helps to even out the skin tone on your lids and creates a clean canvas for the other colors you’ll apply.
Using a flat eyeshadow brush, pat the color onto your lid to build up a smooth, even layer of pigment. This initial layer of light shadow acts as a brightener on its own, making your eyes look more prominent. It also helps the subsequent shadows blend more easily, ensuring a professional and polished final look.
Step 6: Define the Crease with a Medium Shade
To add dimension and prevent your eyes from looking flat, you need to define the crease. Select a medium-toned neutral eyeshadow, such as a soft brown, caramel, or muted mauve. Using a fluffy blending brush, sweep this color into the crease of your eyelid using gentle, back-and-forth windshield-wiper motions. This technique creates a subtle shadow that makes your eyes appear larger.
Focus the color on the outer half of your crease to create a gentle lift. The goal is to add depth without creating a heavy or dark look. Make sure to blend thoroughly to avoid any harsh lines, creating a soft, seamless transition between the lid and crease colors. This contouring step is essential for giving your eyes shape and structure.
Step 7: Highlight the Inner Corner and Brow Bone
Highlighting is the secret weapon for bright, sparkling eyes. Take a shimmery, light-colored eyeshadow—think champagne, pearl, or soft gold—and apply it to the inner corners of your eyes using a small pencil brush or your pinky finger. This pop of light instantly draws attention to your eyes and makes them appear wider and more separated, giving you a doe-eyed effect.
Next, apply the same highlighter just beneath the arch of your eyebrows, along the brow bone. This accentuates the arch of your brows and creates a lifted look. Be sure to blend it out so there are no harsh lines, just a subtle, luminous sheen. These small points of light work together to catch the light and give your eyes a beautiful, radiant glow.
Step 8: Define the Upper Lash Line
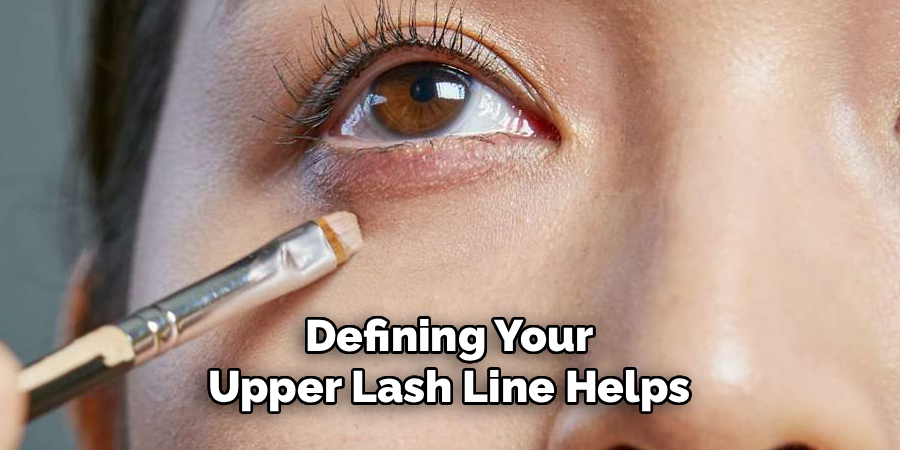
Defining your upper lash line helps to frame your eyes and make your lashes appear fuller. Instead of a harsh black liquid liner, opt for a softer color like dark brown, charcoal, or deep plum. A softer color provides definition without closing off the eye. You can use a pencil, gel, or even a dark eyeshadow applied with a damp angled brush for this step.
Apply the liner as close to your lash line as possible, starting from the inner corner and working your way out. You can create a very thin line or slightly thicken it toward the outer corner for a subtle wing. For an even softer look, use a smudging brush to gently smoke out the liner, creating a hazy, romantic effect that still provides beautiful definition.
Step 9: Curl Your Lashes and Apply Mascara
Never underestimate the power of an eyelash curler. Curling your lashes before applying mascara is a non-negotiable step for brighter eyes. It opens up the eye area by lifting your lashes upwards, making your eyes look instantly bigger and more awake. Hold the curler at the base of your lashes for a few seconds, then “walk” it out to the tips, clamping gently along the way.
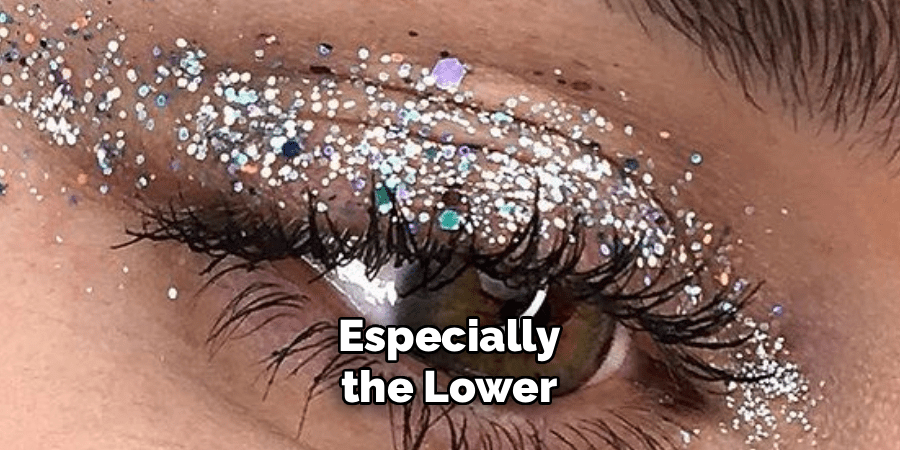
Once curled, apply one or two coats of a volumizing or lengthening mascara to your top lashes. Wiggle the wand at the base to build volume, then pull it through to the tips. For an extra brightening effect, you can add a light coat of mascara to your bottom lashes, but focus mainly on the top to maintain that lifted look.
Step 10: Groom and Define Your Brows
Your eyebrows are the frames for your eyes, and well-groomed brows can make a significant difference in your overall look. Start by brushing your brow hairs upwards with a spoolie to see their natural shape. Then, use a brow pencil, powder, or pomade to fill in any sparse areas with light, hair-like strokes.
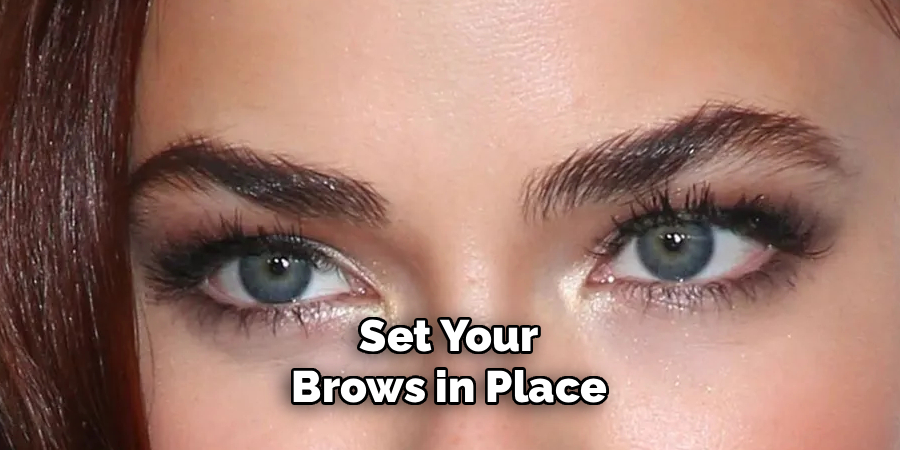
Focus on defining the arch and extending the tail of the brow if needed. A clean, defined brow shape helps to lift the entire eye area and contributes to a more polished and put-together appearance. Set your brows in place with a clear or tinted brow gel to ensure they stay perfect all day.
Following these steps on how to brighten eyes with makeup, you’ll notice an instant difference in the appearance of your eyes.
Frequently Asked Questions
Q1: What Is The Best Concealer Color For Brightening?
A1: The best concealer color for brightening is typically one to two shades lighter than your actual skin tone with a neutral or slightly warm undertone. This subtle lightness helps to counteract shadows and reflect light, creating a lifted effect. For color correction beforehand, use a peach-toned corrector for fair to light skin and an orange-toned corrector for medium to deep skin to neutralize blue or purple under-eye circles.
Q2: Can I Use Shimmer Eyeshadow If I Have Mature Eyes?
A2: Yes, you can absolutely use shimmer eyeshadow on mature eyes, but placement is key. Avoid applying heavy shimmer all over the lid, as it can accentuate fine lines. Instead, strategically place a soft, satin, or finely milled shimmer on the center of the eyelid, the inner corner, and just below the brow bone. This adds a beautiful touch of light without settling into creases.
Q3: How Can I Make My Makeup Last All Day?
A3: To make your eye makeup last, always start with an eyeshadow primer. This creates a tacky base for eyeshadows to adhere to and prevents them from creasing. For concealer, set it with a very light dusting of translucent setting powder. This locks it in place and prevents it from settling into fine lines. Using waterproof or long-wearing formulas for your eyeliner and mascara will also ensure your look stays smudge-free.
Q4: Does Eyeliner Make Eyes Look Smaller or Bigger?
A4: Eyeliner can do both, depending on how it’s applied. Lining your entire eye, especially the lower waterline, with a dark color can make your eyes appear smaller. To make them look bigger, apply a soft brown or gray liner to the upper lash line only. Using a nude or white pencil on the lower waterline is an excellent trick to open up the eyes and make them appear larger and brighter.
Conclusion
Creating bright, awake-looking eyes is an achievable goal for everyone, regardless of skill level. By following these steps on how to brighten eyes with makeup—from prepping your skin and correcting discoloration to strategically applying highlighter and mascara—you can transform tired eyes into a vibrant and expressive feature.
Remember that the right tools and techniques are your best assets. With a little practice, these simple methods will become a go-to part of your routine for a fresh and radiant look every day.
About the Author
Jane Hubbard is a passionate beauty expert with a wealth of experience in makeup, hair, and overall beauty techniques. After years of working as a hairdresser specialist, she followed her entrepreneurial spirit and started her own consultancy business.
Jane has always been driven by her desire to help others feel confident in their own skin, and she does this by sharing her knowledge, experiences, and practical beauty tips. Through her consultancy, she empowers individuals to embrace their unique beauty, offering tailored guidance that boosts both self-esteem and personal style.
Professional Focus
- Specializes in makeup, hairstyling, and beauty consulting.
- Provides personalized beauty advice, tips, and techniques to help individuals feel confident in their appearance.
- Dedicated to staying up-to-date with the latest industry trends and developments.
- Passionate about creating a comfortable and empowering experience for every client.
Education History
- University of Craft and Design – Bachelor of Fine Arts (BFA) in Woodworking and Furniture Design
- Woodworking Apprenticeships – Extensive hands-on training with skilled craftsmen to refine carpentry and furniture making techniques
- Online Courses & Masterclasses – Continued education in advanced woodworking techniques, design principles, and specialized tools
Expertise:
- Makeup artistry, hairstyling, and beauty consulting.
- Personalized beauty techniques to enhance confidence and self-expression.
- Educating clients on how to maintain their beauty routines at home.