
Are you a dipping powder enthusiast looking for the best way to clean your brushes? If so, then you’ve come to the right place! In this blog post, we’re going to provide all of the tips and tricks that you need to keep your dipping powder brush in pristine condition. We’ll walk through step-by-step instructions on how to clean dipping powder brush each time without damaging its material or compromising the quality of your nail job.
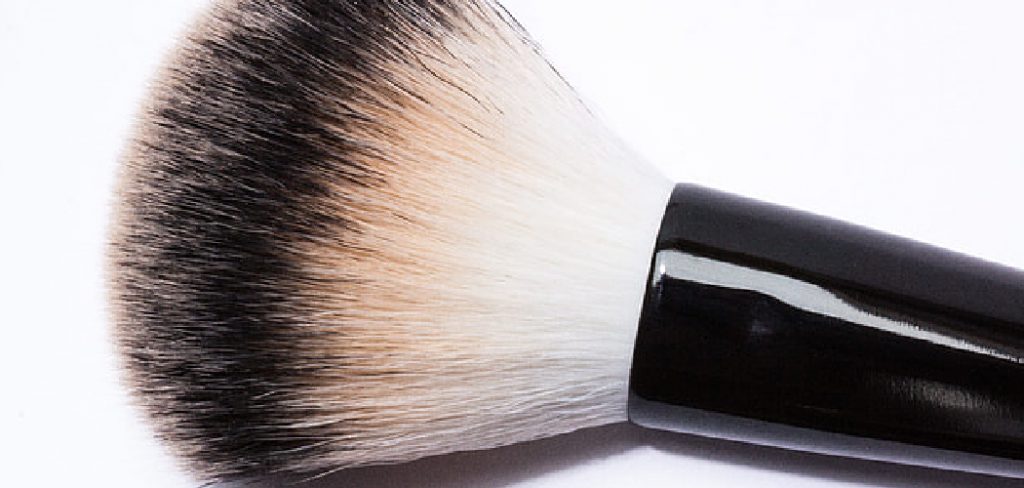
Dipping powder brush cleaning is essential to maintaining your nail tools, and it’s important to do it regularly. Over time, residual powder can accumulate in the bristles of your brush, making it less effective in picking up product and leading to a less-than-perfect manicure.
So if you want to take proper care of your equipment and extend its shelf life, keep reading until the end!
What Will You Need?
Before we jump into the cleaning process, make sure you have the following materials at hand:
- A small cup or jar
- Nail brush cleaner solution or liquid soap
- Paper towels
- A lint-free cloth
Once you have all of these items, let’s get started!
10 Easy Steps on How to Clean Dipping Powder Brush
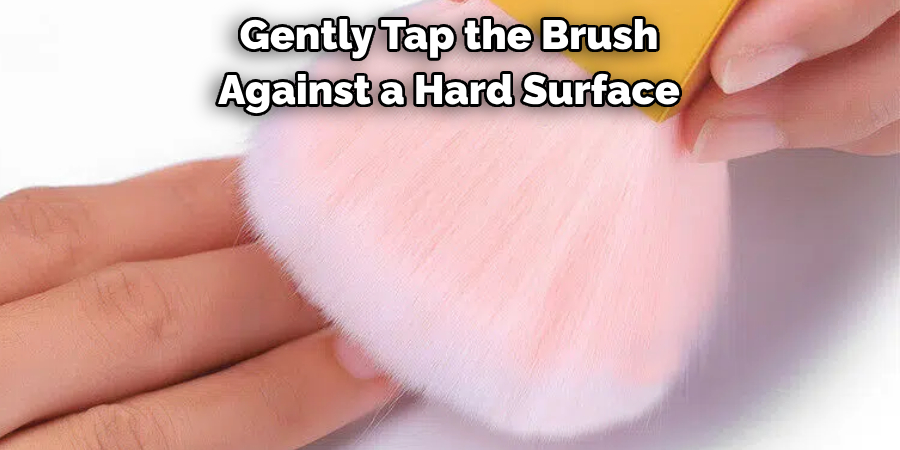
Step 1: Remove Excess Powder
First, remove any excess powder from the brush before cleaning it. This step will make the cleaning process much easier and more effective. Gently tap the brush against a hard surface or use a clean cloth to wipe off any remaining loose powder.
Step 2: Dip Brush Into Cleaning Solution.
Now, it’s time to finish the cleaning process. Pour some nail brush cleaner solution or liquid soap into a small cup or jar. Submerge your dipping powder brush into the solution. Make sure the liquid fully covers the bristles. Let the brush sit in the solution for a few minutes to allow any stuck powder to loosen and dissolve.
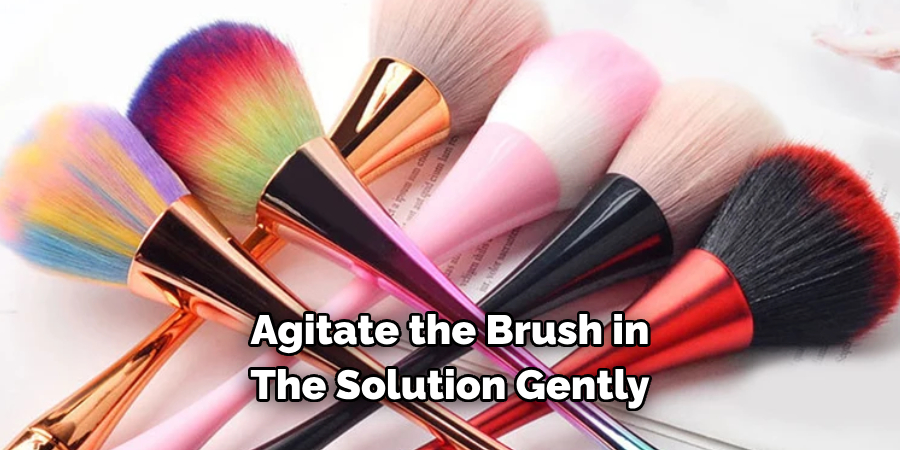
Step 3: Gently Agitate the Brush
After allowing it to soak, it’s time to agitate the brush in the solution gently. Move it around in circular motions to help release any stuck powder. Be careful not to push too hard. You don’t want to damage the bristles. After a few minutes, remove the brush and inspect it. If you still see powder stuck in the bristles, repeat this process until the brush is clean.
Step 4: Rinse with Warm Water.
Once you’ve removed all the powder from the brush, it’s time to rinse it. Hold the brush under lukewarm running water, ensuring the water flows toward the bristles. This is crucial as it prevents water from getting trapped in the handle, which can loosen the glue that holds the bristles in place. Continue rinsing until the water runs clear and you’re sure all the cleaning solution has been removed.
Step 5: Pat Dry with Paper Towel.
After rinsing, gently pat the brush dry using a soft paper towel. Be sure to gently squeeze out the excess water and avoid pulling on the bristles. This will ensure the bristles remain intact and the brush maintains its shape. Remember, getting as much water out as possible is essential to avoid any bacteria or fungus growth in your dipping powder brush.
Step 6: Leave to Air Dry.
After patting your brush dry, the next step is to leave it to air dry. Find a well-ventilated area and lay your brush flat on a lint-free cloth. It’s important to ensure that the bristles are not touching any surface, as this can cause them to bend or fan out. Leave the brush to dry for a few hours or overnight. This will help prevent leftover moisture from damaging the brush or causing bacteria to grow.
Step 7: Reshape the Brush
Once the brush is arid, it’s time to reshape the bristles. Using your fingers, gently mold the bristles back to their original shape. This is a crucial step in maintaining the effectiveness of your dipping powder brush, as it ensures that the brush will pick up and distribute the powder evenly during your next manicure. Always handle the bristles carefully to avoid shedding or damaging them.
Step 8: Store the Brush Properly
After your brush is clean and dry, store it properly to ensure its longevity. Keep your dipping powder brush in a dry, cool place and avoid direct sunlight, which can damage the bristles over time. Ideally, store the brush with its bristles facing upwards or lie it horizontally in a protective case to keep it in the best condition for your next use. Proper storage can significantly extend the lifespan of your brush, saving you time and money in the long run.
Step 9: Regularly Repeat the Process.
Consistency is key when it comes to maintaining your dipping powder brush. Be sure to repeat this cleaning process after every use. This will not only ensure the longevity of your brush but it will also keep your manicures looking fresh and flawless. Regular cleaning prevents product build-up, helping your brush perform at its best every time.
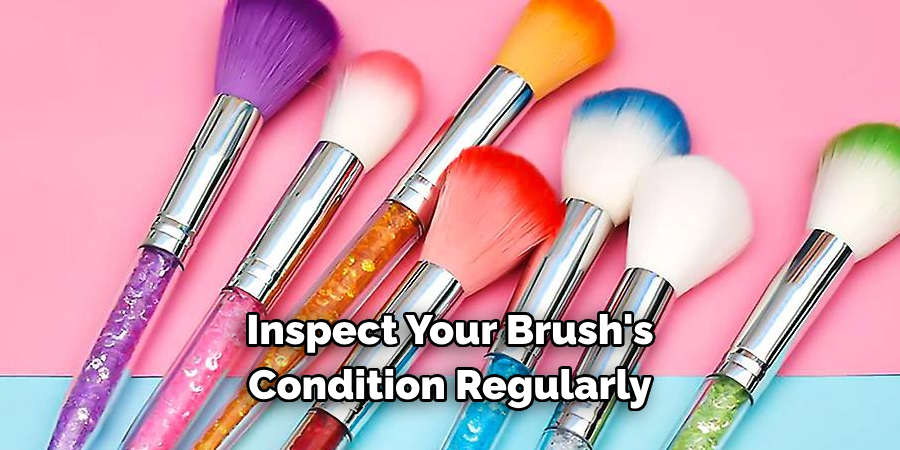
Step 10: Evaluate Your Brush’s Health Regularly
Last but not least, inspect your brush’s condition regularly. Look for signs of wear and tear, such as shedding bristles, a loose ferrule (the metal part that holds the bristles), or an uneven shape. If the brush no longer performs as it should, it might be time for a replacement. Doing this ensures that your manicures are always top-notch, as a well-performing brush is integral to the application process. Remember, a good dipping powder brush can make all the difference in achieving a professional, salon-quality manicure at home.
By following these ten easy steps to clean a dipping powder brush, you can ensure that your brush remains in top condition and lasts for many manicures.
5 Additional Tips and Tricks
- Prevent Dryness: To keep your brush in optimal condition, avoid leaving it out to dry for extended periods. This could cause the bristles to stiffen and become unusable.
- Use a Brush Cleaner: Enhance the longevity of your dipping powder brush by regularly using a specialized brush cleaner. This will effectively remove residue and maintain the brush’s softness.
- Avoid Harsh Chemicals: Cleaning your brush with harsh chemicals could degrade the bristles over time. Always opt for gentle, non-abrasive cleaning solutions.
- Proper Storage: Store your brush in a cool, dry place and upright position for proper air circulation, preventing mold buildup.
- Scheduled Cleaning: Regularly clean your dipping powder brush, preferably after each use. This helps to maintain its quality and ensures a flawless application each time.
With these additional tips and tricks, you can ensure that your dipping powder brush stays in top-notch condition for longer.
6 Things You Should Avoid
- Ignoring Regular Cleaning: One of the biggest mistakes is not regularly cleaning your dipping powder brush. Accumulated products can harden the bristles, impairing the brush’s performance.
- Using Hot Water: Avoid cleaning your brush with hot water as it can cause the bristles to become loose and fall out.
- Scrubbing Too Hard: Brush bristles are delicate. Avoid scrubbing too hard while cleaning, as it can cause the bristles to fray or break.
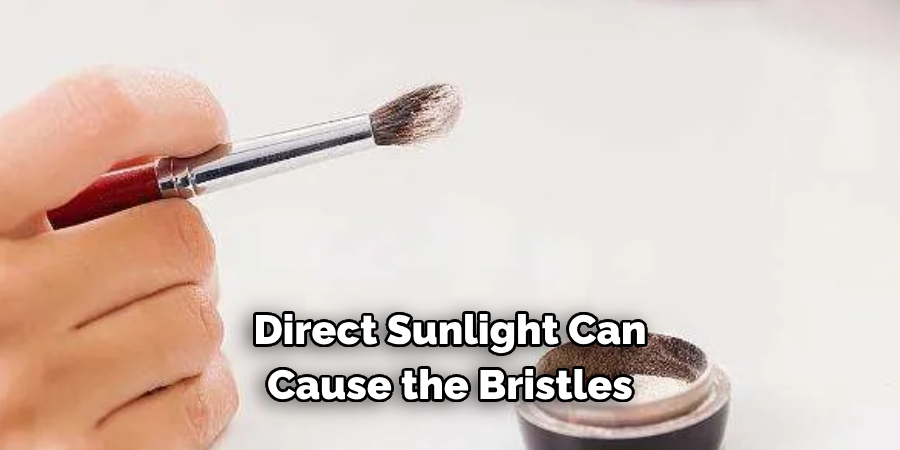
- Drying in Direct Sunlight: Direct sunlight can cause the bristles to become brittle and lose shape. Always allow your brush to dry naturally in a cool, shaded place.
- Storing While Wet: Never store your dipping powder brush while wet. This can lead to mold growth and permanent damage to your brush.
- Sharing Brushes: Sharing your dipping powder brush with others can lead to cross-contamination of bacteria and germs. Always have a separate brush for yourself to maintain hygiene.
By avoiding these common pitfalls, you can significantly extend the life of your dipping powder brush and ensure a perfect powder application every time.
Why Does My Dip Powder Brush Get Hard?
There are several reasons why your dip powder brush may become hard over time. One of the main culprits is residue buildup from previous use, which can harden and stiffen the bristles. This can also be caused by improper cleaning or leaving the brush to dry for extended periods.
Also, harsh chemicals and hot water can make your dipping powder brush hard and unusable. By following proper cleaning techniques and avoiding harsh chemicals, you can prevent your brush from becoming stiff and maintain its softness for longer.
Regularly using a specialized brush cleaner can also help remove any buildup and keep your brush in optimal condition.
Conclusion
To wrap up, deciding which cleaning routine works best for your dipping powder brushes is ultimately up to you. Cleaning these brushes frequently is essential to maintain their quality and allow them to last for years – however, be sure to clean them appropriately, as this can reduce the life of your beloved brushes. If you take our advice, you can extend the life and quality of your fundamental tools!
Remember: it’s important to keep your brush healthy and enjoy using it for a long time – so don’t forget about proper cleaning techniques!
Hopefully, the article on how to clean dipping powder brush has helped provide useful tips and tricks to keep your brush in tip-top shape. Happy dipping!
About the Author
Jane Hubbard is a passionate beauty expert with a wealth of experience in makeup, hair, and overall beauty techniques. After years of working as a hairdresser specialist, she followed her entrepreneurial spirit and started her own consultancy business.
Jane has always been driven by her desire to help others feel confident in their own skin, and she does this by sharing her knowledge, experiences, and practical beauty tips. Through her consultancy, she empowers individuals to embrace their unique beauty, offering tailored guidance that boosts both self-esteem and personal style.
Professional Focus
- Specializes in makeup, hairstyling, and beauty consulting.
- Provides personalized beauty advice, tips, and techniques to help individuals feel confident in their appearance.
- Dedicated to staying up-to-date with the latest industry trends and developments.
- Passionate about creating a comfortable and empowering experience for every client.
Education History
- University of Craft and Design – Bachelor of Fine Arts (BFA) in Woodworking and Furniture Design
- Woodworking Apprenticeships – Extensive hands-on training with skilled craftsmen to refine carpentry and furniture making techniques
- Online Courses & Masterclasses – Continued education in advanced woodworking techniques, design principles, and specialized tools
Expertise:
- Makeup artistry, hairstyling, and beauty consulting.
- Personalized beauty techniques to enhance confidence and self-expression.
- Educating clients on how to maintain their beauty routines at home.