Are you tired of constantly buying new false eyelashes? If you’re a regular user of falsies, you know that they can quickly become dirty and unusable.
How to apply false eyelashes is essential to maintaining their quality and ensuring they can be reused multiple times. Regular cleaning helps remove makeup, glue, and residue, extends the lifespan of your lashes, and keeps them looking fresh. Following a few simple steps, you can keep your false eyelashes in perfect condition while maintaining proper hygiene.
This guide on how to clean false eyelashes for reuse will walk you through the process, making it easy to care for your lashes and get the most out of them. Let’s get started!
What Are the Benefits of Cleaning False Eyelashes?
Cleaning your false eyelashes before reuse offers several benefits. First and foremost, it removes any bacteria or dirt that may have accumulated on the lashes while being worn. This helps to prevent any potential eye infections or irritations.
Additionally, cleaning your lashes helps maintain their shape and curl. After wearing false eyelashes for a while, they can become misshapen or lose their natural curl. By cleaning them, you can help them retain their original look and ensure they fit comfortably on your eyes.
Furthermore, regular cleaning can extend the lifespan of your false eyelashes. By removing any buildup of glue or makeup residue, you can prevent the lashes from becoming stiff and brittle, which can lead to them breaking or falling off prematurely.
What Will You Need?
To properly clean your false eyelashes, you will need a few basic supplies:
- A small bowl or container
- Gentle makeup remover or oil-free eye makeup remover
- Q-tips or cotton swabs
- Tweezers (optional)
Once you have gathered these supplies, follow the steps below to clean your false eyelashes effectively.
10 Easy Steps on How to Clean False Eyelashes for Reuse
Step 1. Remove Your False Eyelashes Gently
To begin, carefully peel off your false eyelashes starting from the outer corner and moving inward. Use your fingers or tweezers to gently lift the lash band without tugging or pulling forcefully, as this can damage the lashes or your natural ones. If the adhesive feels stubborn, apply a small amount of oil-free makeup remover along the lash line with a Q-tip to loosen the glue before removal. Handling them delicately will prevent unnecessary wear and tear, ensuring they remain in good condition for reuse.
Step 2. Remove Excess Adhesive
Once the false lashes have been removed, clearing away any leftover adhesive from the lash band is essential. Using a pair of tweezers or your fingers, gently pull off the adhesive residue, being cautious not to tug too hard or damage the delicate lash band. This step is crucial, as leftover glue can interfere with the following application or cause discomfort when reusing the lashes. For particularly stubborn adhesive, dampen a cotton swab with oil-free makeup remover and carefully blot it along the lash band to help dissolve the glue. Taking the time to remove excess adhesive properly ensures a smoother application next time and extends the lifespan of your false lashes.
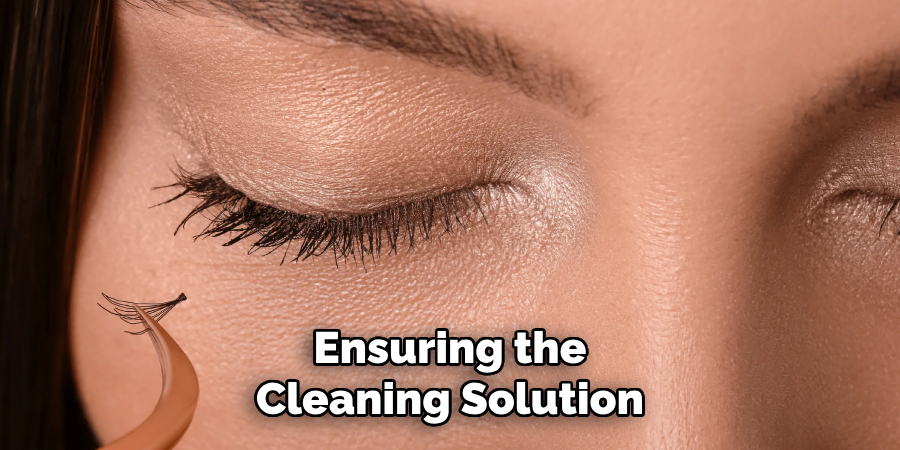
Step 3. Prepare a Cleaning Solution
To prepare a cleaning solution, start by filling a small, clean bowl with lukewarm water. Add a few drops of a gentle, oil-free makeup cleanser or baby shampoo to the water, as these are effective yet mild solutions that won’t damage the delicate lashes. Stir the mixture gently to create a soapy solution. This step is essential for loosening any leftover makeup or debris clinging to the lashes without compromising their shape or quality. Always avoid harsh chemicals or alcohol-based products, as they can weaken the lash fibers or cause them to lose their natural appearance. Ensuring the cleaning solution is prepared correctly sets the stage for a thorough yet safe cleaning process.
Step 4. Clean the Lashes
Using a soft bristle brush or a clean spoolie, gently dip it into the prepared cleaning solution, ensuring it absorbs minimal liquid. Carefully brush through the lashes, starting from the base and moving toward the tips, to remove any accumulated oil, makeup residue, or dirt. Use light, smooth strokes to prevent tangling or distortion of the lash fibers. Be patient and thorough during this step, focusing on each lash section to ensure a deep clean without applying excess pressure. If the lashes are soiled, you can repeat this process until they appear clean and debris-free.
Step 5. Clean Individual Lashes
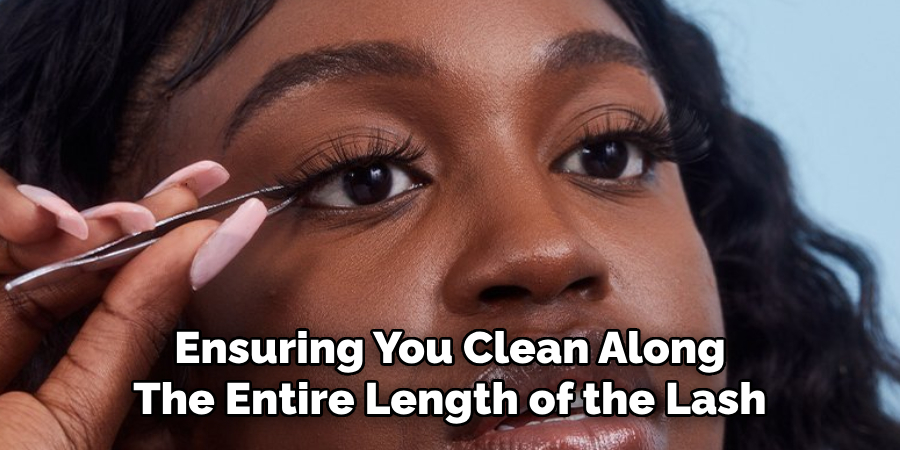
Cleaning individual lashes is essential to maintaining their longevity and natural appearance, especially for those using extensions. To begin, isolate one lash at a time using precision tools, such as tweezers or a lash separator, to avoid tangling or damaging adjacent lashes. Apply a specialized lash cleanser or diluted micellar water to the lash using a fine micro-brush or cotton swab. Move the tool in soft, downward strokes to remove any remaining residue or buildup, ensuring you clean along the entire length of the lash. Avoid tugging or pulling, as this can weaken the bond of extensions or cause natural hairs to shed prematurely.
Step 6. Rinse with Warm Water
After gently cleaning the lash extensions, it is essential to remove all traces of the cleanser or micellar water to prevent any residue from irritating the eyes or causing discomfort. Begin by dampening a soft cotton pad or lint-free cloth with warm water. Carefully dab or lightly press the pad against the lashes, allowing the warm water to rinse away any remaining product. Repeat this process as necessary, taking care not to rub or scrub the lashes, as this can disturb their alignment or weaken the adhesive. Warm water helps break down and wash away impurities without exposing the lashes to overly hot or cold temperatures, which could impact their integrity.
Step 7. Dry the Lashes
Carefully pat the lashes dry using a clean, lint-free cloth or a soft paper towel. Avoid rubbing or applying too much pressure, which can cause damage or misalignment. For best results, gently press the cloth against the lashes and let them air dry completely. Refrain from using blow dryers or exposing the lashes to high heat, as this can weaken the adhesive or affect the shape of the lashes.
Step 8. Reshape the Lashes
Once the lashes are completely dry, examine them to check if they have lost their original shape or curl during the cleaning and drying. To restore their form, use a clean spoolie or lash wand. Gently brush through the lashes, following their natural curve, to help them regain their intended shape. Use a lash curler specifically designed for false lashes or heated curlers for a subtle touch-up, but ensure the tools are clean and safe to prevent any potential damage. Taking these steps not only maintains the aesthetic appearance of the lashes but also prolongs their usability and ensures they remain both functional and beautiful for future applications.
Step 9. Brush the Lashes
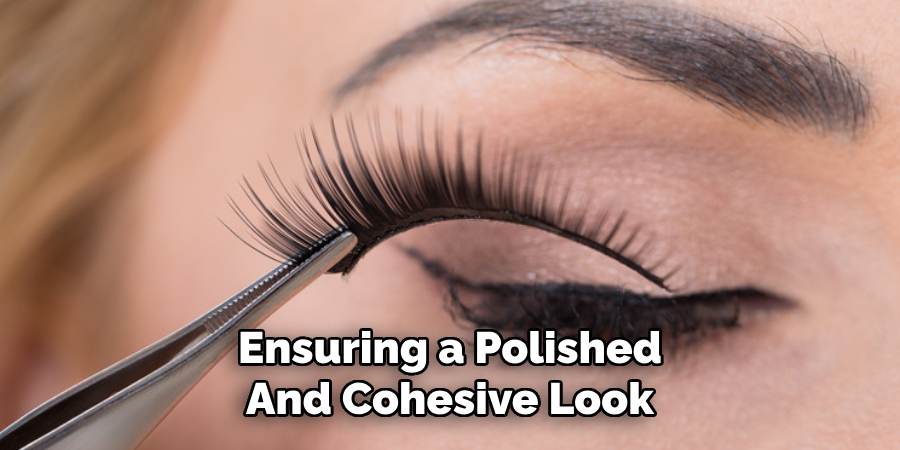
Using a soft, clean mascara wand or a lash comb, gently brush through the lashes to keep them tangle-free and looking fresh. Start from the base of the lashes, working your way toward the tips while following their natural direction. This step is crucial for maintaining the uniformity and alignment of the lashes, preventing them from appearing clumpy or messy. Regular brushing also helps to redistribute any product or residue that may have settled unevenly, ensuring a polished and cohesive look.
Step 10. Store Properly
Proper storage of your lash accessories is vital in maintaining quality and extending lifespan. Always keep lashes in a clean, dry container to protect them from dust, dirt, and moisture. Many lash sets come with a designated case; if so, use it, as it is specifically designed to preserve their shape and prevent damage. If a case is unavailable, opt for an airtight container and ensure lashes are stored flat and away from direct sunlight or extreme temperatures. Taking these precautions will help keep your lashes pristine for future use.
By following these simple steps, you can effectively clean your false eyelashes for reuse, ensuring they stay in great condition and remain safe to wear.
5 Things You Should Avoid
- Using Harsh Chemicals: Avoid cleaning your false eyelashes with alcohol or other harsh chemicals. These can damage the delicate materials and irritate your eyes during future use.
- Pulling on the Lashes: Never tug or pull aggressively on the lashes to remove glue or debris. This can distort their shape and weaken the lash band, reducing their lifespan.
- Submerging in Water: Do not soak false eyelashes in water, as this can loosen the lash fibers and ruin their structure, especially with lashes made of natural materials.
- Skipping Regular Cleaning: Failing to clean your lashes after each use can lead to a buildup of glue, makeup, and bacteria, making them unsanitary and less effective over time.
- Using Excessive Heat: Avoid exposing your lashes to high heat, such as using blow dryers, as this can warp the shape of the lashes and degrade the materials.
Conclusion
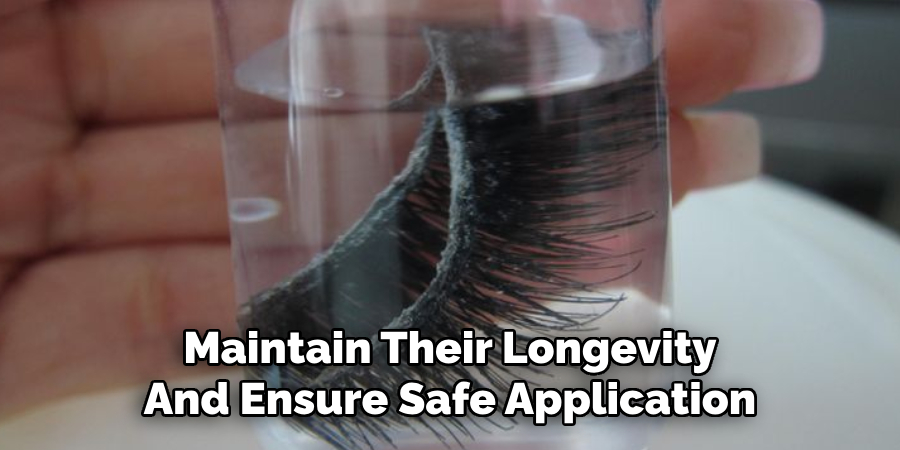
How to clean false eyelashes for reuse is a simple yet essential process to maintain their longevity and ensure safe application.
Start by gently removing excess glue from the lash band using a pair of tweezers. Next, soak a cotton pad in a makeup remover or micellar water and lightly dab it along the lashes to dissolve any remaining makeup or residue. Avoid soaking the lashes thoroughly, as this can damage their structure. Once cleaned, allow the eyelashes to air dry thoroughly on a clean surface, ensuring they maintain their original shape. Proper storage in their original case protects them from dust and damage.
By following these steps, you’ll keep your false eyelashes in excellent condition, ready for multiple uses.
About the Author
Jane Hubbard is a passionate beauty expert with a wealth of experience in makeup, hair, and overall beauty techniques. After years of working as a hairdresser specialist, she followed her entrepreneurial spirit and started her own consultancy business.
Jane has always been driven by her desire to help others feel confident in their own skin, and she does this by sharing her knowledge, experiences, and practical beauty tips. Through her consultancy, she empowers individuals to embrace their unique beauty, offering tailored guidance that boosts both self-esteem and personal style.
Professional Focus
- Specializes in makeup, hairstyling, and beauty consulting.
- Provides personalized beauty advice, tips, and techniques to help individuals feel confident in their appearance.
- Dedicated to staying up-to-date with the latest industry trends and developments.
- Passionate about creating a comfortable and empowering experience for every client.
Education History
- University of Craft and Design – Bachelor of Fine Arts (BFA) in Woodworking and Furniture Design
- Woodworking Apprenticeships – Extensive hands-on training with skilled craftsmen to refine carpentry and furniture making techniques
- Online Courses & Masterclasses – Continued education in advanced woodworking techniques, design principles, and specialized tools
Expertise:
- Makeup artistry, hairstyling, and beauty consulting.
- Personalized beauty techniques to enhance confidence and self-expression.
- Educating clients on how to maintain their beauty routines at home.
