
Are you worried about how to clean strip lashes? Fret not, because we’ve got you covered!
Properly cleaning your strip lashes is essential to maintain their quality, extend their lifespan, and ensure they are safe to reuse. Over time, lashes can accumulate glue residue, makeup, and dirt, which can affect their appearance and irritate your eyes if not removed properly. With the right techniques and a few simple tools, you can keep your strip lashes looking fresh and ready for multiple uses. Additionally, proper cleaning can save you money in the long run by eliminating the need to purchase new lashes constantly.
This guide on Cleaning strip lashes will walk you through the best practices for cleaning your strip lashes effectively and safely. Let’s get started!
What Are the Benefits of Cleaning Strip Lashes?
Cleaning your strip lashes has numerous benefits, including:
- Prolonging the Lifespan of Your Lashes: Regular cleaning can help remove dirt, makeup, or adhesive buildup that can break down the lash band, causing it to become stiff and uncomfortable to wear.
- Preventing Eye Irritation: Any leftover makeup or dirt on your strip lashes can potentially irritate your eyes when worn. Proper cleaning will ensure that no debris is left behind on the lashes.
- Saving Money: By properly cleaning and maintaining your strip lashes, you can extend their lifespan and save money in the long run by avoiding the need to purchase new pairs frequently.
What Will You Need?
To properly clean and maintain your strip lashes, you will need:
- Gentle eye makeup remover
- Cotton swabs or cotton pads
- Tweezers
- A small bowl or cup
- Warm water
- Mild soap or shampoo (optional)
Once you have gathered all of these items, you are ready to begin cleaning your strip lashes.
10 Easy Steps on How to Clean Strip Lashes
1. Remove the Lashes Carefully
Begin by gently removing the strip lashes from your eyes. It’s essential to handle them delicately to avoid damage. Start at the outer corner of your eyelid, and carefully lift the strip lash up and away from your natural lashes. Avoid tugging or pulling too hard, as this can distort the lash band or even cause your natural lashes to shed.
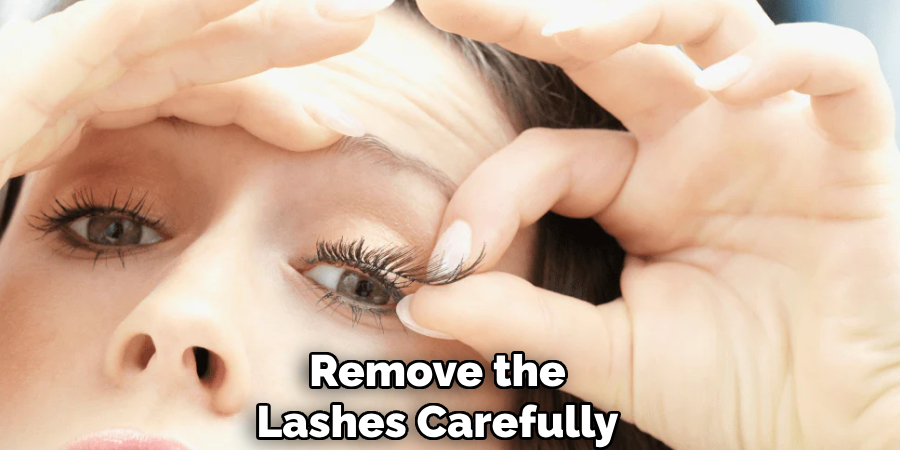
If the lash seems stuck, you can use a cotton swab dipped in a gentle eye makeup remover to loosen the adhesive. Dab the remover along the lash band to help dissolve the glue, making it easier to lift the strip lash without damage. Remember, patience is key to preserving the longevity of your lashes!
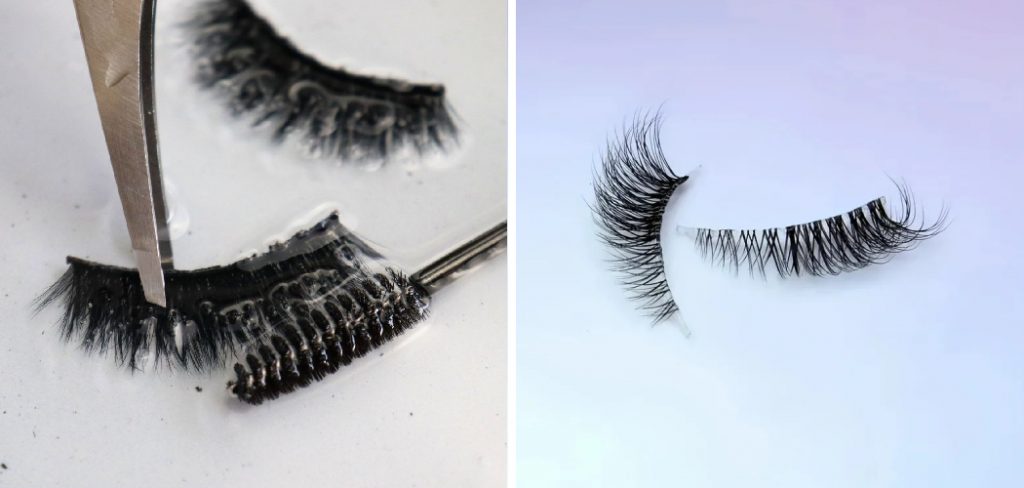
2. Peel Off Excess Glue
Once you have successfully removed the strip lash, it’s essential to peel off any excess glue from the lash band before storing or reusing it. Hold the lash gently between your fingertips or use a pair of tweezers for precision. Carefully inspect the band and look for any clumps of adhesive. Begin by pinching the glue at one end of the lash band and gently pulling it off in small sections. Avoid tugging too hard, as this might damage the delicate structure of the lash band or cause the lash hairs to shed.
If the glue is stubborn, you can dampen a cotton swab with a bit of makeup remover or rubbing alcohol and lightly dab the band to soften the adhesive, making it easier to remove. Taking this step not only ensures the lashes remain clean and comfortable to wear but also extends their lifespan, allowing you to enjoy flawless lashes for future applications. Patience and a delicate touch are essential for maintaining the pristine condition of your reusable lashes.
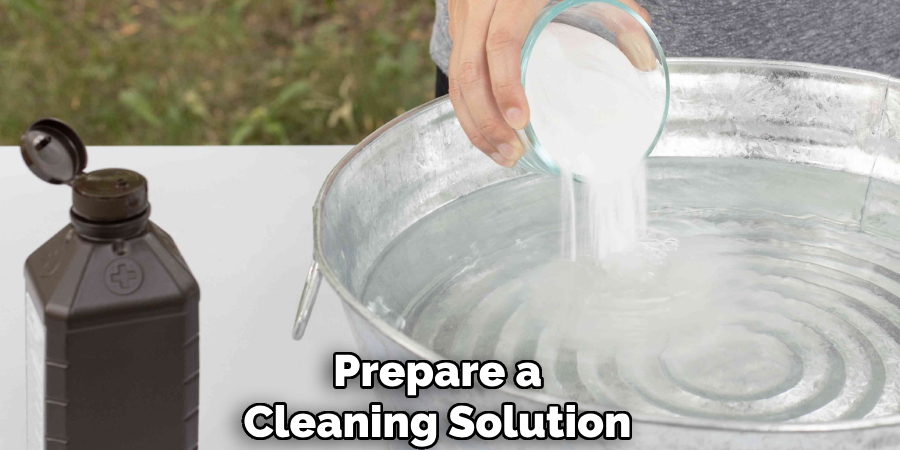
3. Prepare a Cleaning Solution
To prepare a cleaning solution for your reusable lashes, you will need a clean bowl, warm water, and a gentle, oil-free makeup remover or mild soap. Fill the bowl with warm water and add a few drops of the soap or makeup remover, stirring to combine. This mixture will help loosen any leftover glue, mascara, or debris from the lashes without causing damage.
Avoid using harsh cleansers or oil-based products, as they can break down the lash fibers or compromise the band’s integrity. Once your solution is ready, you are prepared to proceed with the cleaning process.
4. Dip the Lashes
Gently grasp one lash strip at a time with clean tweezers or your fingertips and dip it into the prepared cleaning solution. Gently swirl the lashes in the water to help loosen any remaining debris or makeup. Avoid submerging the lash band for too long, as over-soaking can weaken the glue that holds the fibers together.
After a few seconds, remove the lash from the solution and inspect it for any stubborn residue. Repeat the process if necessary to ensure the lash is thoroughly clean without being damaged.
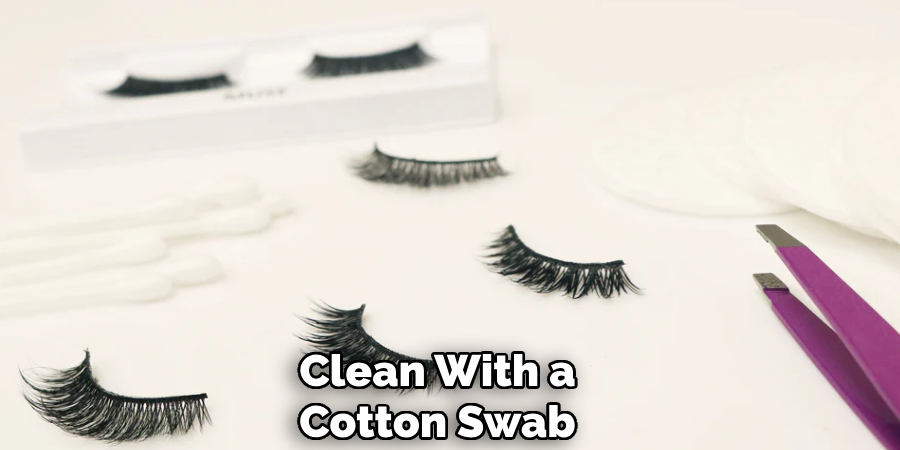
5. Clean with a Cotton Swab
Using a cotton swab is an effective way to remove any leftover residue from the lash band. Dip the tip of the swab into the cleaning solution and gently run it along the lash band to clear away any stubborn glue or buildup. Take care to avoid tugging on the delicate fibers, as this could distort the shape of the lashes.
For precision, work in small sections and ensure you rinse the cotton swab when it becomes dirty to avoid transferring debris back onto the lash. Once finished, inspect the lashes one final time to confirm they are spotless and free of residue.
6. Rinse with Warm Water
Gently rinse the lashes under a stream of warm water to remove any remaining cleaning solution. Use your fingertips to pat along the lash band lightly, ensuring all traces of residue are washed away. Be careful not to soak the lashes for too long or expose them to high water pressure, as this could weaken the fibers or alter their shape. After rinsing, hold the lashes up to the light to ensure they are spotless.
7. Pat Dry
After rinsing, place the lashes on a clean, dry towel. Gently pat them dry with another soft, lint-free cloth. Avoid rubbing the lashes, as this can cause tangling or damage. Ensure the lash band and fibers are thoroughly dried to maintain their shape and usability. Allow them to air dry completely before proceeding to the next step.
8. Reshape the Lashes
Once the lashes are dry, carefully reshape them to restore their natural curve. Use a clean spoolie brush to gently comb through the fibers, separating and aligning them as needed. For strip lashes, lightly press the band into its original curve using your fingers or the spoolie for precision. This step ensures the lashes retain their structure, making them easier to apply for future use.
9. Allow to Air Dry
After reshaping the lashes, lay them flat on a clean, dry surface. Ensure they are positioned correctly to maintain their structure while drying. Allow the lashes to air dry thoroughly in a cool, dry area. Avoid using heat sources or blow dryers, as they may damage the delicate fibers. Patience during this step will help preserve the quality and longevity of the lashes.
10. Store Properly
Proper storage is crucial to maintain your lashes in optimal condition for future use. Place the dry, reshaped lashes back into their original casing or a lash storage container. Ensure the container is clean and prevents dust or debris from settling on the lashes. Keeping the lashes stored in a curved, natural shape will help maintain their form. Avoid placing heavy objects on top of the storage container to prevent damage to the delicate fibers.
By following these simple steps, you can ensure that your false lashes remain in good condition and are ready to use whenever you need them.
5 Things You Should Avoid
- Using Harsh Chemicals: Avoid cleaning your strip lashes with products containing alcohol or other harsh chemicals. These substances can weaken the lash band and damage the delicate fibers, shortening the lifespan of your lashes.
- Submerging Lashes in Water: Do not soak your strip lashes in water, as this can loosen the adhesive on the lash band and compromise their structure. Instead, use a gentle approach to clean them without fully immersing them.
- Pulling or Tugging on Lashes: When removing residue or glue, avoid pulling or tugging at the lashes. This can cause the fibers to shed or the band to lose its shape, rendering the lashes unusable.
- Using Cotton Products: Avoid using cotton swabs or pads to clean your strip lashes. The tiny fibers can cling to the lashes and be challenging to remove, making the lashes look messy.
- Skipping Regular Cleaning: Failing to clean your strip lashes after each use can lead to a buildup of makeup, glue, and bacteria, which can cause irritation or infection when reused. Always clean them properly to maintain hygiene and quality.
Conclusion
How to clean false eyelashes is an essential step to ensuring their longevity and maintaining proper hygiene.
By avoiding common mistakes like using harsh chemicals, soaking them for too long, or neglecting regular cleaning, you can keep your lashes in excellent condition for multiple uses. Always handle them with care, use the right tools, and follow a consistent cleaning routine to preserve their quality and appearance.
With proper attention, your strip lashes can look flawless every time you wear them.
About the Author
Jane Hubbard is a passionate beauty expert with a wealth of experience in makeup, hair, and overall beauty techniques. After years of working as a hairdresser specialist, she followed her entrepreneurial spirit and started her own consultancy business.
Jane has always been driven by her desire to help others feel confident in their own skin, and she does this by sharing her knowledge, experiences, and practical beauty tips. Through her consultancy, she empowers individuals to embrace their unique beauty, offering tailored guidance that boosts both self-esteem and personal style.
Professional Focus
- Specializes in makeup, hairstyling, and beauty consulting.
- Provides personalized beauty advice, tips, and techniques to help individuals feel confident in their appearance.
- Dedicated to staying up-to-date with the latest industry trends and developments.
- Passionate about creating a comfortable and empowering experience for every client.
Education History
- University of Craft and Design – Bachelor of Fine Arts (BFA) in Woodworking and Furniture Design
- Woodworking Apprenticeships – Extensive hands-on training with skilled craftsmen to refine carpentry and furniture making techniques
- Online Courses & Masterclasses – Continued education in advanced woodworking techniques, design principles, and specialized tools
Expertise:
- Makeup artistry, hairstyling, and beauty consulting.
- Personalized beauty techniques to enhance confidence and self-expression.
- Educating clients on how to maintain their beauty routines at home.