
Learning how to clean your facial steamer properly ensures optimal performance while protecting your investment and skin health. Without regular maintenance, steamers develop mineral buildup that reduces steam output, creates unpleasant odors, and potentially harbors harmful bacteria. A dirty steamer can actually damage your skin instead of improving it, making proper cleaning essential for safe use.
This comprehensive guide provides simple, effective methods for maintaining your facial steamer in pristine condition. You’ll discover professional cleaning techniques that remove stubborn buildup while preserving your device’s functionality. Whether you use your steamer weekly or daily, these proven methods will keep it operating like new while ensuring every steam session delivers the pure, clean vapor your skin deserves.
Why Regular Facial Steamer Maintenance Matters
Proper steamer maintenance directly impacts both device longevity and skin health outcomes. Mineral deposits from hard water create blockages that reduce steam production and can permanently damage internal components, leading to costly repairs or premature replacement. Additionally, stagnant water and warm, moist environments create ideal breeding conditions for bacteria and mold that can cause skin irritation, breakouts, or infections.
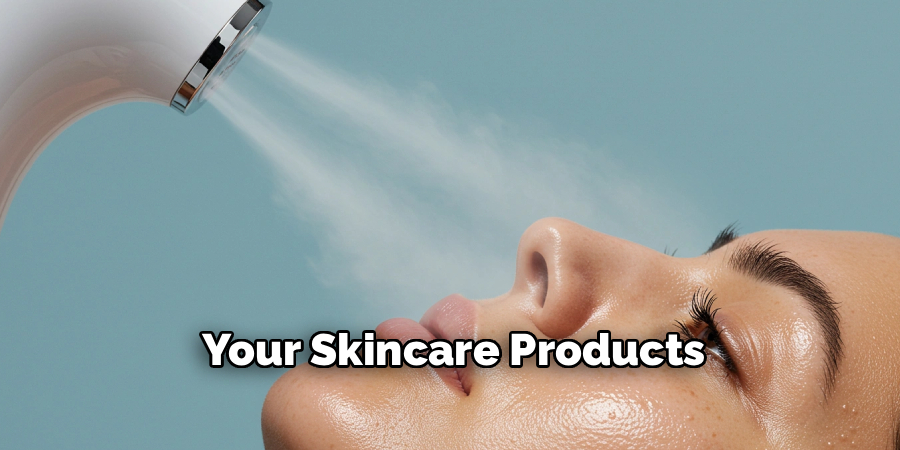
Regular cleaning also maintains optimal steam quality, ensuring you receive the full therapeutic benefits of your skincare routine. Clean steamers produce pure, consistent vapor that effectively opens pores and enhances product absorption, maximizing your investment in both the device and your skincare products.
7 Step-by-Step Guide: How to Clean Your Facial Steamer
Step 1: Unplug and Cool Down the Steamer
Safety always comes first when performing maintenance on any electrical appliance. Disconnect your facial steamer from power immediately after use and allow it to cool completely before beginning any cleaning procedures. Hot components can cause burns, while electrical current poses shock risks when combined with water and cleaning solutions. Most steamers need 30-45 minutes to reach safe handling temperatures, depending on how long they operated. Use this cooling period to gather your cleaning supplies and prepare your workspace. Check that all surfaces, especially the steam chamber and nozzle areas, feel cool to the touch before proceeding. Never attempt to clean a steamer that’s still plugged in or warm from recent use.
Step 2: Empty All Water and Remove Detachable Components
Complete water removal prevents bacterial growth and makes cleaning more effective throughout the entire system. Pour out any remaining water from the tank, tilting the device in different directions to ensure complete drainage from internal chambers. Remove all detachable parts including the face mask, steam nozzle, water tank, and any aromatherapy chambers according to your model’s instructions. Some components may twist off while others simply lift away, so consult your manual if you’re unsure. Lay all removable parts on a clean towel in your workspace, organizing them so nothing gets lost during the cleaning process. This systematic disassembly allows thorough cleaning of each component while preventing damage to delicate internal mechanisms.

Step 3: Clean Detachable Parts with Warm Soapy Water
Hand-washing removable components ensures gentle yet effective cleaning without damaging delicate materials. Fill a basin with warm water and add a few drops of mild dish soap, creating a gentle cleaning solution that removes oils and residue without harsh chemicals. Wash each component individually using a soft cloth or sponge, paying special attention to areas where steam passes through or where your skin makes contact.
Rinse thoroughly under clean running water to remove all soap residue, as leftover detergent can cause skin irritation during future use. For stubborn residue or mineral deposits on these parts, use a soft-bristled toothbrush to gently scrub affected areas. Allow all components to air dry completely on a clean towel before reassembly.
Step 4: Address Mineral Buildup in the Main Unit
Mineral deposits represent the most common maintenance challenge for facial steamer owners, requiring specific techniques for safe removal. Create a descaling solution using equal parts white vinegar and distilled water, which effectively dissolves calcium and lime buildup without damaging internal components. Fill the water tank with this solution and run a complete steam cycle according to your device’s normal operating procedures, allowing the acidic mixture to circulate through all internal pathways.
The vinegar solution breaks down mineral deposits while the heat helps dissolve stubborn accumulations. After the cycle completes, allow the unit to cool completely before proceeding to the next cleaning step. How to clean your facial steamer effectively requires this descaling process monthly for hard water areas or every two months for softer water.
Step 5: Flush the System with Clean Water
Thorough rinsing removes all cleaning solution residue and loosened mineral deposits from your steamer’s internal components. Empty the vinegar solution completely and rinse the tank multiple times with fresh distilled water until no vinegar odor remains. Fill the tank with clean distilled water and run another complete steam cycle to flush internal pathways, ensuring no acidic residue remains that could irritate your skin.
Some stubborn mineral deposits may require a second vinegar treatment, but most steamers need only one thorough descaling session. Pay attention to steam quality during this rinse cycle – it should be odorless and produce consistent vapor pressure. If you detect any vinegar smell or see remaining deposits, repeat the flushing process until the steam runs completely clear.
Step 6: Disinfect All Surfaces with Antibacterial Solution
Sanitizing eliminates bacteria and other microorganisms that could cause skin problems during future steaming sessions. Create a disinfecting solution using isopropyl alcohol (70% concentration) or a diluted bleach solution following manufacturer guidelines for safe concentrations. Using a clean microfiber cloth, wipe down all external surfaces including the base, controls, cord, and any areas your hands regularly touch during operation. For internal surfaces accessible through openings, use cotton swabs dipped in the disinfecting solution to clean thoroughly without damaging sensitive components. Allow the disinfectant to air dry completely rather than wiping it off immediately, giving it time to eliminate harmful microorganisms. This step is particularly important for how to clean your facial steamer if multiple people use the device.
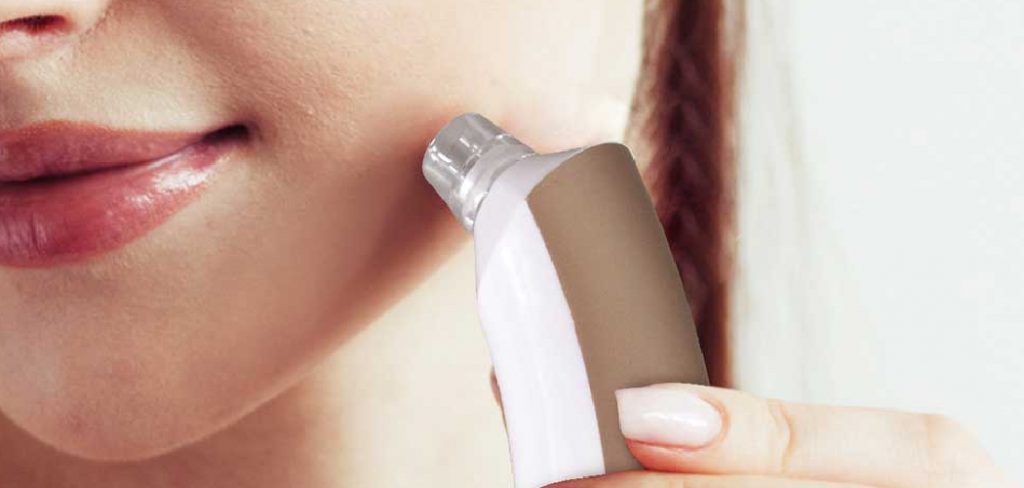
Step 7: Clean and Inspect the Steam Nozzle Thoroughly
The steam nozzle requires special attention since it directly contacts your face and concentrates mineral buildup from repeated use. Remove the nozzle if possible and examine it closely for clogs, discoloration, or residue accumulation that could affect steam flow or harbor bacteria. Use a thin brush or pipe cleaner to gently clear any blockages from the nozzle opening, working carefully to avoid damaging the precise opening that controls steam direction. Soak stubborn deposits by submerging the nozzle in your vinegar solution for 10-15 minutes before gently scrubbing with a soft brush. For non-removable nozzles, use cotton swabs and cleaning solution to reach interior surfaces, taking care not to push debris further into the mechanism.
Perform Final Assembly and Testing
Careful reassembly ensures all components function properly while preventing damage from incorrect installation. Make sure all parts are completely dry before reinstalling them, as trapped moisture can cause electrical problems or promote bacterial growth. Replace components in reverse order of removal, ensuring secure connections without over-tightening threaded parts that could strip or crack. Fill the clean water tank with fresh distilled water and perform a brief test cycle to confirm proper operation, checking for consistent steam production and normal operating sounds.
Frequently Asked Questions
How Often Should I Clean My Facial Steamer?
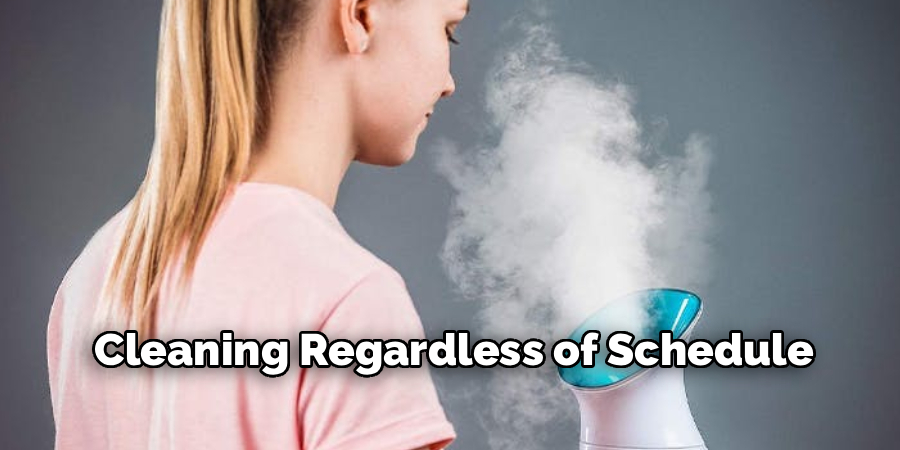
Clean your facial steamer after every 3-5 uses for basic maintenance, with deep cleaning monthly or bi-monthly depending on water hardness and usage frequency. Daily users should perform weekly basic cleaning and monthly deep cleaning, while occasional users can extend intervals slightly. Hard water areas require more frequent descaling due to faster mineral accumulation. Watch for reduced steam output, unusual odors, or discoloration as signs your steamer needs immediate cleaning regardless of schedule.
Can I Use Tap Water in My Facial Steamer?
While many steamers can use tap water, distilled water is strongly recommended to minimize mineral buildup and extend device lifespan. Tap water contains minerals that accumulate over time, requiring more frequent cleaning and potentially damaging internal components. If you must use tap water, increase your cleaning frequency and consider installing a water softener system. Some manufacturers void warranties for damage caused by hard water use, so check your device specifications and warranty terms.
What Should I Do If My Steamer Has a Strong Odor?
Strong odors typically indicate bacterial growth or mold in stagnant water areas. Immediately stop using the device and perform a thorough cleaning with vinegar solution followed by disinfection. Run multiple rinse cycles with clean water until no odor remains. For persistent smells, repeat the cleaning process or contact the manufacturer for guidance. Never use a steamer with unusual odors, as this could indicate serious contamination that might harm your skin.
Is It Safe to Use Bleach for Cleaning My Steamer?
Diluted bleach solutions can safely disinfect steamers when used properly, but always follow manufacturer guidelines and use appropriate concentrations (typically 1:10 bleach to water ratio). Never mix bleach with other cleaning products, especially vinegar, as this creates dangerous chlorine gas. Rinse thoroughly after bleach treatment and ensure complete removal before use. Some manufacturers recommend against bleach, so check your manual first. Isopropyl alcohol often provides safer, equally effective disinfection.
Why Is My Steamer Producing Less Steam After Cleaning?
Reduced steam output after cleaning usually indicates incomplete rinsing, leaving cleaning solution residue in internal pathways. Run additional rinse cycles with clean distilled water until steam production normalizes. Alternatively, you may have loosened mineral deposits that now block narrower passages – repeat the vinegar treatment followed by thorough flushing. Check that all components are properly reassembled and seated correctly, as loose connections can affect steam pressure and distribution.

Conclusion
Mastering how to clean your facial steamer ensures years of safe, effective skincare treatments while protecting your investment in this valuable beauty tool. The systematic approach outlined in this guide removes harmful buildup while maintaining optimal performance, delivering the pure, therapeutic steam your skin needs for maximum benefits.
Clean steamers operate more efficiently, last longer, and deliver consistently pure vapor that enhances your skincare results. Don’t let mineral buildup and bacteria compromise your skin health or device performance – implement these proven cleaning techniques today and enjoy the confidence that comes with perfectly maintained beauty equipment.
About the Author
Jane Hubbard is a passionate beauty expert with a wealth of experience in makeup, hair, and overall beauty techniques. After years of working as a hairdresser specialist, she followed her entrepreneurial spirit and started her own consultancy business.
Jane has always been driven by her desire to help others feel confident in their own skin, and she does this by sharing her knowledge, experiences, and practical beauty tips. Through her consultancy, she empowers individuals to embrace their unique beauty, offering tailored guidance that boosts both self-esteem and personal style.
Professional Focus
- Specializes in makeup, hairstyling, and beauty consulting.
- Provides personalized beauty advice, tips, and techniques to help individuals feel confident in their appearance.
- Dedicated to staying up-to-date with the latest industry trends and developments.
- Passionate about creating a comfortable and empowering experience for every client.
Education History
- University of Craft and Design – Bachelor of Fine Arts (BFA) in Woodworking and Furniture Design
- Woodworking Apprenticeships – Extensive hands-on training with skilled craftsmen to refine carpentry and furniture making techniques
- Online Courses & Masterclasses – Continued education in advanced woodworking techniques, design principles, and specialized tools
Expertise:
- Makeup artistry, hairstyling, and beauty consulting.
- Personalized beauty techniques to enhance confidence and self-expression.
- Educating clients on how to maintain their beauty routines at home.