
Are you tired of constantly worrying about making your face appear more defined, shapely, and contoured? Well, worry no more! In this tutorial, we will guide you through the step-by-step process of how to contour your face like a pro.
Contouring is a makeup technique used to enhance and define the natural structure of your face. By using shades that are slightly darker and lighter than your skin tone, you can create the illusion of shadows and highlights, giving your face a more sculpted and balanced appearance. Whether you’re aiming for a subtle, everyday look or a bold, dramatic effect, mastering the art of contouring can elevate your makeup routine and help you achieve a polished finish.
With the right tools, products, and techniques, anyone can learn to contour like a pro.
What Are the Benefits of Contouring?
Contouring has gained popularity in the beauty industry for its ability to enhance facial features and create a more defined, sculpted look. Some of the main benefits of contouring include:
- Creates the Appearance of a Slimmer Face: By strategically placing darker shades along the jawline, cheekbones, and temples, you can create the illusion of a narrower face shape.
- Defines Facial Features: Contouring allows you to highlight your natural bone structure and add definition to areas such as the nose, forehead, and chin.
- Adds Dimension to the Face: By using different shades on different parts of your face, you can create depth and dimension, making your makeup look more natural and three-dimensional.
Contouring is a popular makeup technique that has gained popularity in recent years, thanks to the rise of social media and beauty influencers. While contouring may seem intimidating at first, with practice and the right products, anyone can achieve a flawless contoured look.
What Will You Need?
- Contouring product (powder, cream, or liquid)
- Highlighter
- Blending brush/sponge
- Foundation and concealer
- Setting powder
Once you have all these products, it’s time to start achieving the perfect contoured look.
10 Easy Steps on How to Contour Your Face
Step 1. Prepare Your Skin
Start by cleansing your face to remove dirt, oil, and makeup residue. Follow this with a lightweight moisturizer to ensure your skin is hydrated, as this helps makeup blend seamlessly. If you have oily skin, you can also use a mattifying primer to control shine and create a smooth base for your contouring makeup. For dry skin, opt for a hydrating primer to prevent your makeup from appearing patchy. Prepping your skin properly not only improves the longevity of your makeup but also ensures a more natural and polished finish.
Step 2. Find Your Face Shape
Understanding your face shape is essential for mastering the art of contouring, as it determines where to apply products to emphasize or downplay certain features. Common face shapes include oval, round, square, heart, and diamond. To identify yours, pull your hair back and observe the width and length of your forehead, cheekbones, and jawline in a mirror. For an oval face, the forehead is slightly wider than the chin, and the face tapers gracefully toward the jawline.
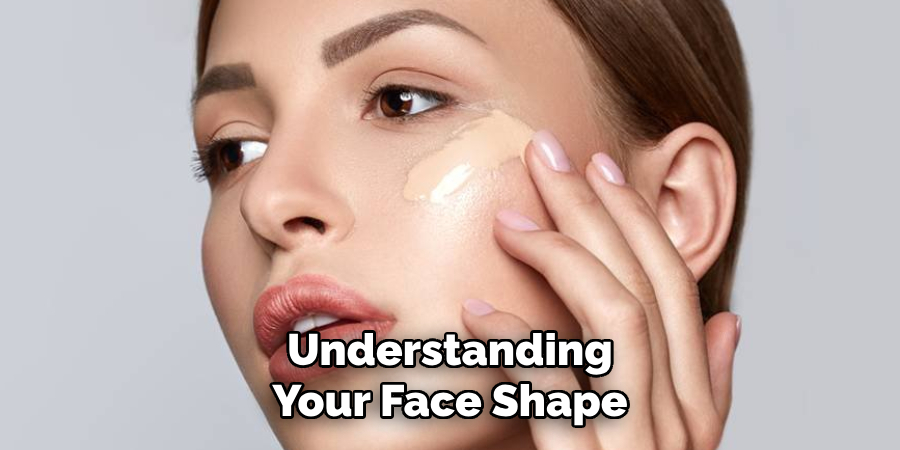
A round face is nearly equal in width and length, with soft, curved edges. Square faces feature strong, angular jawlines with a forehead and jaw of similar width. Heart-shaped faces have a broader forehead and cheekbones that narrow dramatically to a pointed chin, while diamond faces showcase prominent cheekbones with a narrower forehead and jawline.
Step 3. Apply Contour
Contouring helps add dimension to your face by enhancing its natural structure and defining its features. For an oval face, apply contour along the sides of your forehead and under your cheekbones to subtly accentuate the natural symmetry. Those with a round face can contour along the temples and the sides of the jawline to create a more elongated appearance, blending the product downward for a seamless transition.
For square-shaped faces, apply contour along the edges of the forehead and jawline to soften the angles and achieve a more balanced look. Heart-shaped faces benefit from contouring around the temples and under the cheekbones to minimize the width of the forehead while emphasizing the cheekbones. And for those with an oval face shape, contouring can be used to add definition along the jawline and underneath the chin.
Step 4. Highlight Key Areas
Highlighting is a crucial step in creating a radiant and dimensional look. The purpose of highlighting is to draw attention to the high points of the face where light naturally hits, adding a subtle glow and enhancing your facial structure. To begin, choose a highlighter shade that complements your skin tone. For fair skin, opt for pearl or champagne tones. For medium skin, choose golden or peachy hues. For deeper skin tones, rich golds or bronze shades work beautifully.
Apply the highlighter to the tops of the cheekbones, just above where you applied your contour. This will accentuate your bone structure and draw the eye upward, giving the face a lifted appearance. Then, dab a small amount onto the bridge of the nose for a slenderizing effect, and at the tip for an added glow. Highlighting the brow bone, just beneath the
Step 5. Blend, Blend, Blend
To achieve a flawless finish, blending is key. Use a clean makeup sponge or a blending brush to soften any harsh lines and ensure all products transition seamlessly into one another. Start with gentle, circular motions and focus on areas where different products meet, such as between contour and highlight or blush and foundation. Take your time with this step to create a natural, airbrushed look. Remember, the goal is to enhance your features while maintaining a harmonious gradient of colors across the face.
Step 6. Set with Powder
To lock your makeup in place and prevent unwanted shine, use a translucent setting powder or a powder that matches your skin tone. Lightly dip a fluffy powder brush or a puff into the powder, tapping off any excess. Gently press the powder onto your skin, focusing on areas prone to oiliness, such as the T-zone. Avoid over-powdering to maintain a natural finish. This step ensures your makeup lasts longer and stays flawless throughout the day.
Step 7. Add Warmth
To bring dimension and warmth to your face, use bronzer or a warm-toned contour product. With a fluffy bronzing brush, lightly sweep the product along the hollows of your cheeks, your temples, and the perimeter of your forehead. You can also add a touch along your jawline and the sides of your nose for subtle definition. Blend thoroughly to avoid harsh lines and ensure the warmth looks natural. Adding this step will enhance your features and create a sun-kissed glow that complements your makeup look.
Step 8. Optional Blush
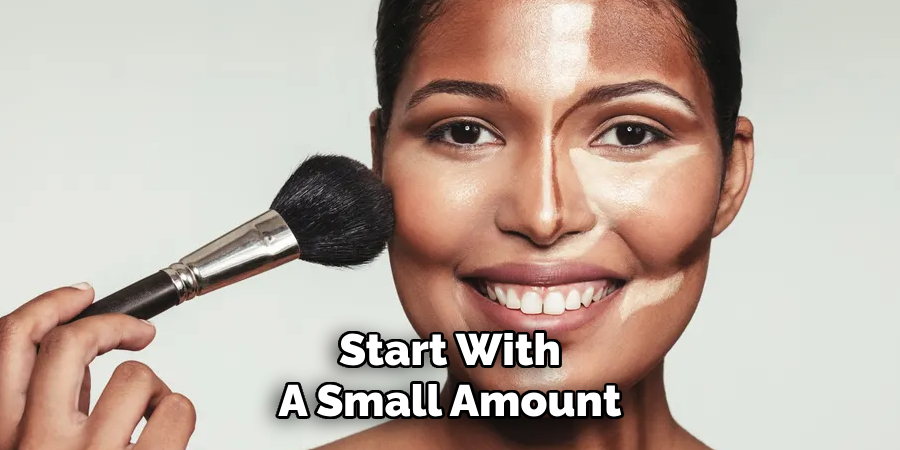
For a fresh, youthful flush, consider adding blush to your routine. Choose a shade that complements your skin tone—soft pinks, peaches, or deeper berries can work beautifully depending on your complexion. Using a fluffy blush brush, gently apply the product to the apples of your cheeks and blend it upward toward your temples for a lifted effect.
Start with a small amount of product and build the intensity as needed to maintain a natural look. Blush can add dimension and radiance to your face, completing your makeup with a healthy, glowing finish.
Step 9. Refine Details
The final step in your makeup routine is all about perfecting the little details that make a big difference. Check for any areas that need blending, such as where your foundation meets your neck or where eyeshadow transitions to a different color. Use a clean blending brush or sponge to smooth out any harsh lines. .
Ensure your eyebrows are neat and symmetrical by gently brushing them into place with a spoolie. If any lipstick has smudged, use a precise brush or a cotton swab with a tiny amount of concealer to clean up the edges. Setting sprays can be applied to lock your makeup in place and give it a seamless finish.
Step 10. Finish Your Look
To truly finalize your look, take a moment to assess every detail. Stand in different lighting conditions to ensure your makeup appears flawless both indoors and outdoors. If necessary, make minor adjustments to maintain balance, such as adding a touch more blush for warmth, deepening your contour for definition, or enhancing highlight on the high points of your face for a luminous glow.
Consider adding accessories, like a statement earring or a chic hairstyle, to complement your look perfectly. Finally, wear the confidence that comes from knowing you’ve put care and thought into your appearance, as that is the ultimate finishing touch to any makeup routine.
By following these simple steps, you can achieve a flawless and natural-looking makeup look that enhances your features and makes you feel confident.
Conclusion
How to contour your face doesn’t have to be daunting. With the right products, tools, and techniques, you can enhance your natural features and bring balance to your face.
Always start by identifying your face shape and applying contour and highlight strategically to accentuate your best features. Practice and experimentation will help you refine your skills, allowing you to create a polished look that suits any occasion. Remember, blending is key to achieving a seamless finish, and confidence is what truly brings your look to life.
Hopefully, this guide has given you the knowledge and inspiration to create your unique makeup style.
About the Author
Jane Hubbard is a passionate beauty expert with a wealth of experience in makeup, hair, and overall beauty techniques. After years of working as a hairdresser specialist, she followed her entrepreneurial spirit and started her own consultancy business.
Jane has always been driven by her desire to help others feel confident in their own skin, and she does this by sharing her knowledge, experiences, and practical beauty tips. Through her consultancy, she empowers individuals to embrace their unique beauty, offering tailored guidance that boosts both self-esteem and personal style.
Professional Focus
- Specializes in makeup, hairstyling, and beauty consulting.
- Provides personalized beauty advice, tips, and techniques to help individuals feel confident in their appearance.
- Dedicated to staying up-to-date with the latest industry trends and developments.
- Passionate about creating a comfortable and empowering experience for every client.
Education History
- University of Craft and Design – Bachelor of Fine Arts (BFA) in Woodworking and Furniture Design
- Woodworking Apprenticeships – Extensive hands-on training with skilled craftsmen to refine carpentry and furniture making techniques
- Online Courses & Masterclasses – Continued education in advanced woodworking techniques, design principles, and specialized tools
Expertise:
- Makeup artistry, hairstyling, and beauty consulting.
- Personalized beauty techniques to enhance confidence and self-expression.
- Educating clients on how to maintain their beauty routines at home.