
Waking up with a hickey on your neck can be a stressful experience, especially if you have commitments where appearance matters. Hickeys, or love bites, are simply bruises caused by broken capillaries under the skin. Their colors change as they heal, shifting from fresh red and purple to more faded greens and yellows. If you find yourself needing to conceal a hickey, know that it’s possible to achieve a natural, undetectable finish—with the right approach and the correct makeup products.
In this comprehensive guide on how to cover up hickeys with makeup, we’ll walk you step-by-step through neutralizing stubborn colors, building a flawless base that matches your neck and chest, and setting your work so it lasts all day—no matter your outfit or plans. You’ll also learn about the importance of color correction, applying concealer for realistic coverage, how to make your makeup transfer-proof, and techniques for quick touch-ups. By the end, you’ll have the confidence and knowledge to tackle any surprise bruise and keep your look polished, discreet, and selfie-ready.
Hickey Basics and Color Theory
Understanding what a hickey is and how its appearance changes is the foundation of effective coverage.
What a Hickey Actually Is
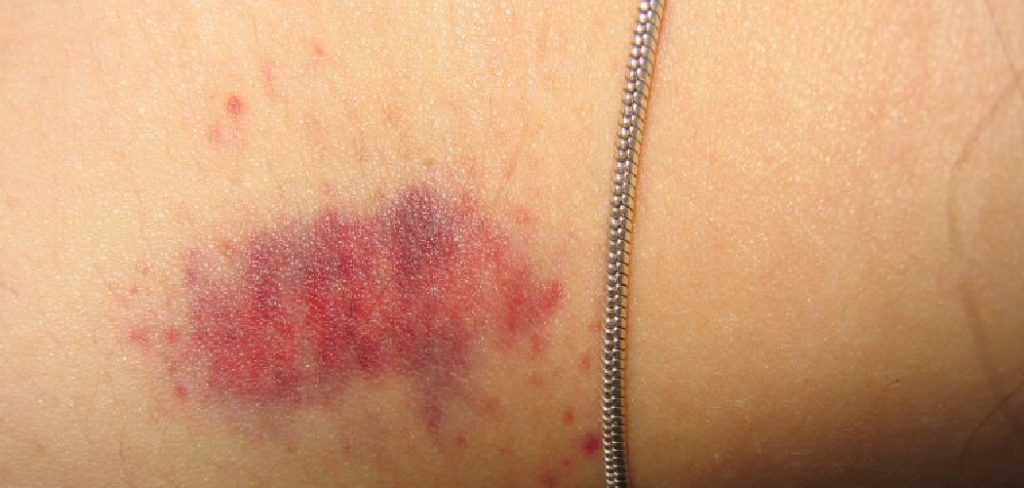
A hickey, also known as a love bite or kiss mark, is essentially a capillary bruise. Small blood vessels beneath the surface of your skin break due to suction or biting pressure, releasing red blood cells into the surrounding tissue. That trapped blood causes visible discoloration, the size and intensity of which depend on the force and sensitivity of your skin. Hickeys are harmless but can be stubborn to hide if handled incorrectly.
Color Stages of a Hickey
The color of a hickey evolves as it heals. Immediately after it forms, a hickey tends to appear reddish or purplish, signaling fresh blood near the skin surface. Over the next few days, your body begins to break down this trapped blood, causing colors to shift—purple might fade into deep blue or green, and later, the area can turn a yellowish or brownish shade before disappearing completely. Each stage presents its own challenge for coverage because the underlying color determines which products and techniques work best.
Which Corrector Colors Neutralize Each Stage
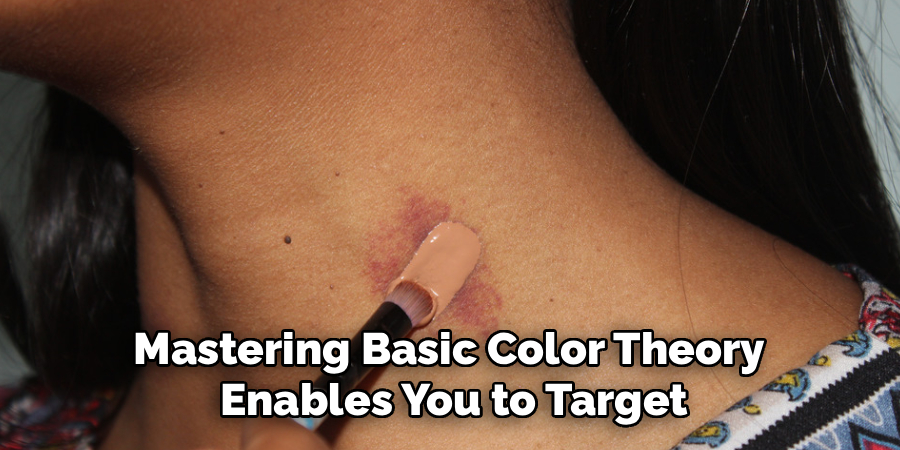
To conceal a hickey, color correction is a must. For red or pinkish marks, a green corrector is most effective. Purple bruises are neutralized with a yellow or peach corrector. If a hickey is fading into green or yellow, a peachy or orange-toned corrector can help. Mastering basic color theory enables you to target the bruise’s undertone, rather than simply layering on concealer and hoping for the best.
Prep for Grip and Flex
Proper skin preparation is often overlooked, but it’s crucial for seamless makeup application and long-lasting results—especially on skin that moves and is prone to friction.
Clean, Dry Skin and De-Puffing
Start with clean, dry skin. Remove any skincare residue, oils, or sweat, as these can cause makeup to slide or look patchy. If the area puffs up or feels tender, try de-puffing before applying makeup. This can be done with a chilled spoon, an ice cube wrapped in a cloth, or a cooling gel pack held gently against the skin for a few minutes. Not only does this soothe the area, but it also helps reduce redness and swelling, giving you a smoother canvas.
Using a Gripping Primer for the Neck
Once the skin is prepped, reach for a gripping or tacky primer to help foundation and concealer adhere, especially in a high-movement area like the neck. Choose a primer that is formulated for long wear and flexibility, preferably one without heavy silicones that can pill when layered. Apply a thin layer and allow it to get slightly tacky—this ensures the makeup does not slip or migrate, even if your clothing brushes against your neck.
Avoiding Products That Slip on Collars
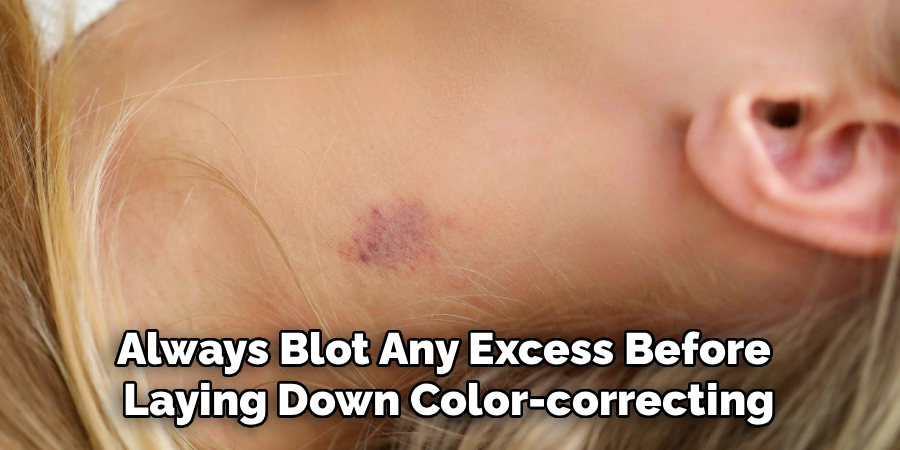
Be mindful of the formulas you choose, as some creamy products are prone to transferring onto collars and scarves. Avoid heavy emollient or oil-based items on the area you plan to cover, as these can break down when exposed to body heat and friction. Stick to lightweight, transfer-resistant options, and always blot any excess before laying down color-correcting or concealing layers.
Base Match: Neck and Chest Harmony
Achieving a truly invisible cover-up depends on more than just pigment—it requires harmonizing the treated area with the skin around it.
Undertone and Depth Matching on the Neck
The skin on your neck and chest can have undertones that differ from your face. Before you begin, inspect the color of your neck in natural light. Is it warmer or cooler than your face? Does it skew pink, yellow, olive, or neutral? Use this information to select the correct foundation and concealer shades. If you’re unsure, try swatching a few shades and undertones right beside the mark; the one that seems to melt away is usually the best match.
Sheer Foundation vs. No-Foundation Approach
Depending on your routine, you might wear foundation or keep your neck bare. If the rest of your neck and chest are makeup-free, resist the urge to use a full-coverage foundation all over, which can look flat and mask-like. Instead, opt for a sheer foundation or skin tint, feathering it just where you need color. If you prefer a no-foundation look, make sure any coverage is focused solely on the hickey, edged out softly into your bare skin. The goal is a seamless fade, not a visible patch.
Edge Blending into Bare Skin
For flawless coverage that vanishes into the neck, blending is your secret weapon. Use a clean brush or sponge to diffuse the edges of your work while the product is still damp—not wet but not fully set, either. Circular motions and gentle tapping help transition the concealed area into bare skin. Avoid leaving a hard line or border; instead, create a gradation so the covered area looks just like the rest of your skin, even up close.
How to Cover Up Hickeys with Makeup: Step-by-Step Guide
This is the heart of how to cover up hickeys with makeup—here’s a step-by-step plan for professional-level results.
Step 1: Apply a Targeted Corrector
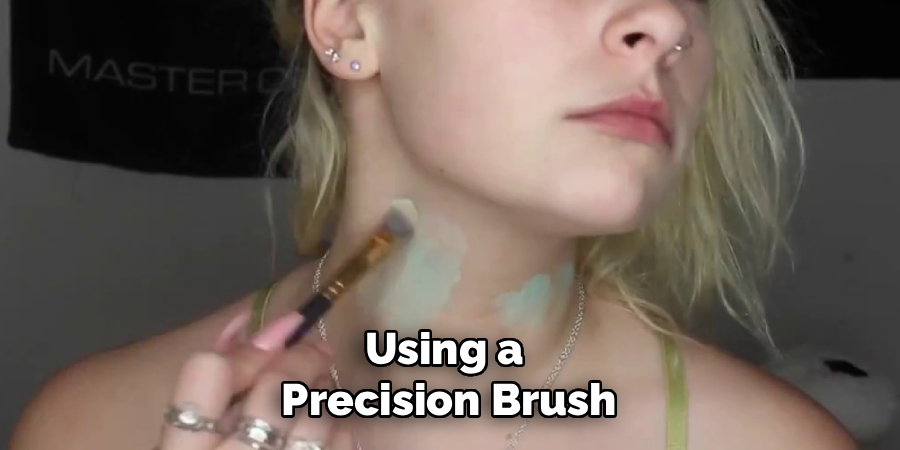
Begin by identifying the hickey’s strongest undertone. Using a precision brush, apply a very thin layer of corrector that specifically targets the hue: green for red marks, yellow or peach for purple, peach or orange for greenish bruises. Blend with a fingertip or small sponge until the color melts into your skin, appearing muted but not thick. The goal isn’t to erase all evidence at this stage—just to neutralize the color that would otherwise show through your concealer.
Step 2: Conceal in Thin, Tapping Layers
Pat a small amount of liquid or cream concealer that matches your neck’s undertone directly over the corrected spot. Use a clean fingertip or brush, tapping gently to avoid disturbing the corrector beneath. Build in sheer layers, allowing each coat to settle before applying the next. If needed, switch between a brush for precision and a sponge for seamless blending. Thin layers ensure a skin-like finish without crusting or sinking into fine lines.
Step 3: Set with Micro-Fine Powder and Puff
To lock the work in place and blur texture, reach for a micro-fine loose powder and a fluffy puff. Dip the puff gently in powder, press off excess, and then roll or press the puff firmly onto the area. Avoid sweeping motions, which can shift the underlying layers. Focus only on the concealed spot and softly feather out to the surrounding skin. This technique creates a transfer-resistant, natural finish that resists rubbing off on collars and clothing.
Step 4: Lock with Transfer-Resistant Setting Spray
Finish your coverage by misting the area with a long-wear, transfer-resistant setting spray. Hold the bottle 6–8 inches away and spritz lightly, then fan or allow it to dry before touching the skin. This step creates a breathable film of protection, making your base resilient against heat, sweat, and fabric friction. Don’t overload—just a fine mist is enough to hold everything in place without making it cakey.
Step 5: Collar and Lighting Check
Your work isn’t done until you check the result under different lighting conditions and with your planned clothing. Use a hand mirror to inspect from various angles and in both daylight and artificial light. Gently run a clean finger along the covered area—if product rubs off easily, apply a touch more powder or spray. Finally, try on your chosen top or accessory. Watch for transfer, and, if needed, use a scarf, collar, or hairstyle for extra concealment.

Tools, Textures, and Shades
Not all brushes, sponges, or formulas perform equally when covering a hickey. Your method and product choices can mean the difference between flawless coverage and a patchy, obvious spot.
Brushes vs. Sponges on the Neck
When working on the neck or chest, a small, flat concealer brush can provide precise placement of corrector and concealer, especially if the area is uneven. For blending, a damp makeup sponge delivers a soft, skin-like finish and helps avoid streaks or brush marks. Some prefer starting with a brush, then finishing with a sponge for an airbrushed effect. Experiment to find your preference, but always ensure your tools are clean to avoid irritation.
Cream vs. Liquid Correctors and Concealers
Cream products tend to offer high coverage and are ideal for precise application, but can appear heavy if not sheared out properly. Liquids are more forgiving: they’re buildable, easier to blend, and less likely to settle into skin texture. When concealing a hickey, start with a thin layer of liquid corrector followed by matching concealer; reach for creams only if you need extra opacity. Always prioritize products with a natural finish to avoid drawing attention to the area.
Choosing the Right Powder for Minimal Texture
Finish your work with a fine, talc-free translucent or skin-toned powder. Avoid powders with shimmer or heavy color, which can emphasize texture or look unnatural. A velvety, lightweight formula locks in product while blurring imperfections. If your skin is dry, use less powder—too much can create a cakey appearance and accentuate the bruise’s edges.
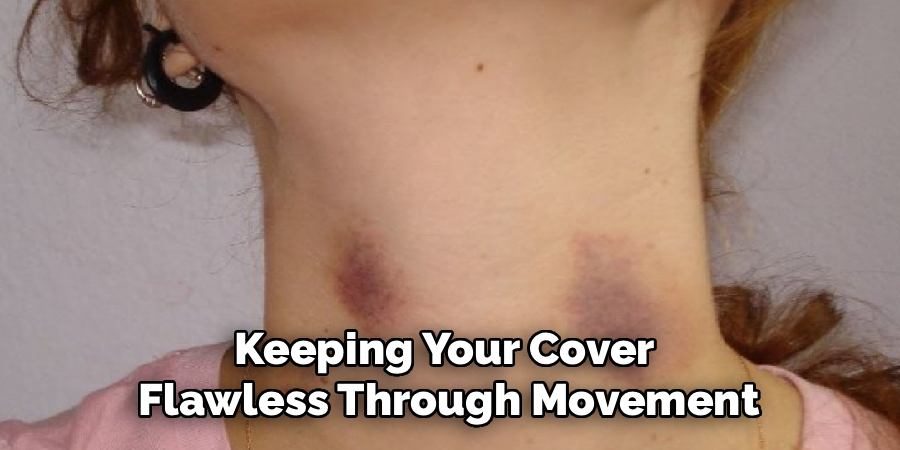
Make It Last Under Friction
Keeping your cover flawless through movement, clothing friction, and the day’s demands requires smart layering and prep.
Layer Timing and Pressing for Durability
The longevity of concealed hickeys depends largely on giving each layer time to set before adding the next. After applying the corrector, concealer, and powder, pause for a minute between steps. Press each layer into the skin with gentle, repeated dabs rather than swiping. This method binds the makeup with your skin for a flexible, transfer-resistant shield that should withstand scarf and collar rubs for hours.
Considering Clothing, Jewelry, and Hair
When hiding a hickey, your outfit and accessories matter. High collars, scarves, and statement necklaces can provide extra coverage and reduce the risk of makeup rubbing off. If you have longer hair, consider wearing it down to distract from the neck area. Try to avoid materials that catch or drag on the skin, such as wool or tight latex. Check your concealment periodically, especially after adding or removing accessories.
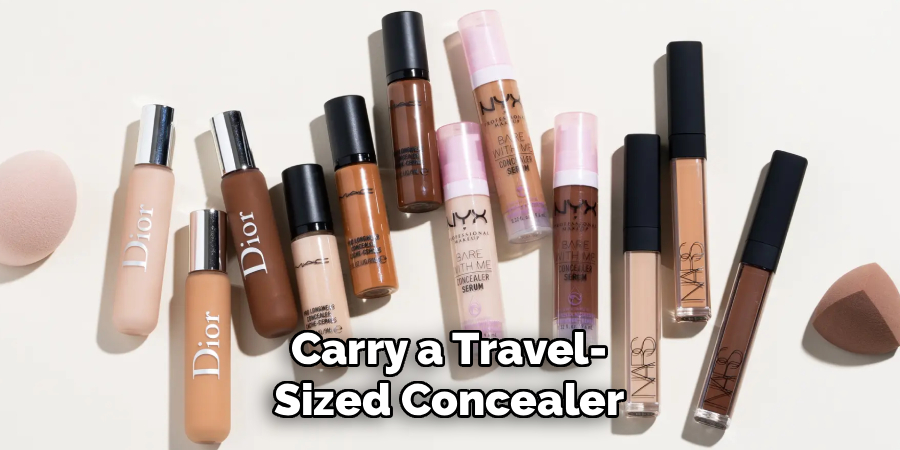
Efficient Touch-Up Protocols
Packed schedules call for discreet, portable touch-ups. Carry a travel-sized concealer, a slim powder compact, and some pre-moistened makeup wipes. If you need to refresh on the go, gently blot the area first before reapplying concealer or powder—never cake more product onto oil or sweat. A final mist of setting spray helps everything last until you’re home again.
Alternatives When You Can’t Use Makeup
Sometimes, makeup isn’t an option—whether due to allergies, skin sensitivities, or lack of time. Fortunately, there are discreet ways to minimize attention without reaching for your cosmetics bag.
Scar Wax, Cover Devices, and Color Tape
Specialty cover-up devices—like medical-grade scar wax or camouflage tape—can be pressed directly over a hickey for instant coverage. Some brands offer flesh-toned patches or colored strips that blend with your skin. Apply as directed, pressing out any air bubbles so the texture matches the surrounding area. These products remove easily and leave no pigment behind.
Using Clothing and Hair Placement to Your Advantage
If you’re skipping makeup, plan your outfit strategically. High-necked shirts, turtlenecks, scarves, or even layered necklaces can screen the area, as can longer hairstyles worn down. Choose lightweight, breathable fabrics to avoid drawing attention through sweat or discomfort. Experiment with bobby pins or headbands to direct hair across the neck as needed.
Etiquette and Discretion Tips
When you can’t or don’t want to conceal a hickey entirely, a tactful approach helps minimize awkwardness. Avoid fidgeting or touching the area while in public, and try to act natural during conversations. If asked directly, a light, neutral comment usually suffices—no need to overshare. Everyone gets bruises; most people are more understanding than you might imagine.
Common Mistakes and How to Fix Them
Even skilled makeup lovers can stumble when trying to cover up a hickey. By avoiding these common pitfalls, you’ll boost your odds of foolproof results.
Using the Wrong Corrector Shade
Choosing the wrong color corrector can turn the bruise ashy, gray, or even more visible. Always assess the hickey’s hue in natural light, and opt for the correct complement on the color wheel. Test a small dab and blend out—if the area still peeks through, adjust the shade and try again. Remember: less is often more when neutralizing bold colors.
Over-Layering and Crusting
It’s common to keep building layers in the hope of total invisibility, but too much product can create a thick, cakey crust. Instead, focus on sheer, blended layers—each allowed to set before the next. If you’ve gone too far, carefully remove makeup in small sections with a damp cotton swab, then correct, conceal, and set with a lighter hand.
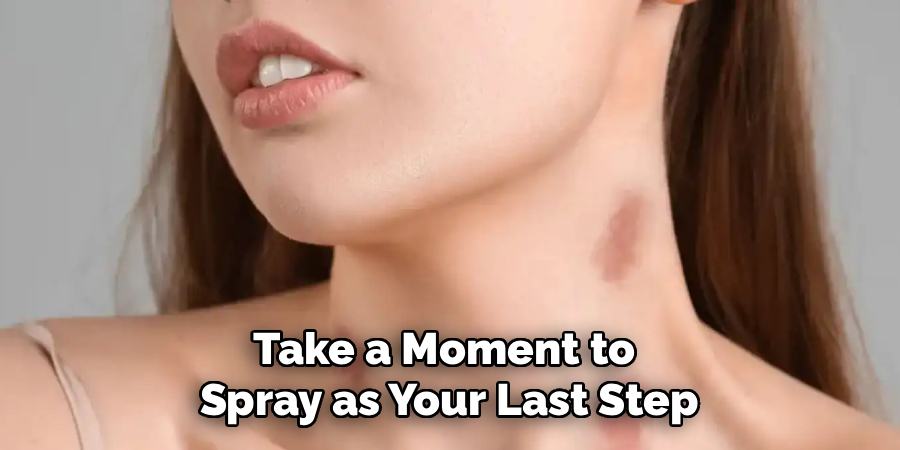
Skipping Transfer-Proof Steps
Neglecting to set in-between layers, or skipping setting spray, is a recipe for transfer onto clothing and accidental reveals. Always finish powdering before you handle garments or touch your neck, and take a moment to spray as your last step. A few seconds of extra attention ensure your concealment lasts until you decide to remove it.
Conclusion
Mastering how to cover up hickeys with makeup is all about prep, technique, and patience. Start by neutralizing the bruise’s color, then layer concealer to match your neck, blending seamlessly into bare skin. Set each step with powder and lock everything in with setting spray. Combine smart product choices with a gentle blending hand to ensure your work holds up to movement and fabric friction. Remember to check your results in various lights and with different outfits for total confidence.
With these strategies, you’ll be able to turn an unexpected hickey into a non-issue—keeping your look polished, professional, and entirely your own secret. If you’re new to this, practice when you have time, experiment with different products, and don’t be discouraged if your first attempt isn’t perfect. Soon, you’ll be able to cover any mark with ease, discretion, and peace of mind.
About the Author
Jane Hubbard is a passionate beauty expert with a wealth of experience in makeup, hair, and overall beauty techniques. After years of working as a hairdresser specialist, she followed her entrepreneurial spirit and started her own consultancy business.
Jane has always been driven by her desire to help others feel confident in their own skin, and she does this by sharing her knowledge, experiences, and practical beauty tips. Through her consultancy, she empowers individuals to embrace their unique beauty, offering tailored guidance that boosts both self-esteem and personal style.
Professional Focus
- Specializes in makeup, hairstyling, and beauty consulting.
- Provides personalized beauty advice, tips, and techniques to help individuals feel confident in their appearance.
- Dedicated to staying up-to-date with the latest industry trends and developments.
- Passionate about creating a comfortable and empowering experience for every client.
Education History
- University of Craft and Design – Bachelor of Fine Arts (BFA) in Woodworking and Furniture Design
- Woodworking Apprenticeships – Extensive hands-on training with skilled craftsmen to refine carpentry and furniture making techniques
- Online Courses & Masterclasses – Continued education in advanced woodworking techniques, design principles, and specialized tools
Expertise:
- Makeup artistry, hairstyling, and beauty consulting.
- Personalized beauty techniques to enhance confidence and self-expression.
- Educating clients on how to maintain their beauty routines at home.