
Are you tired of spending money on expensive Halloween wigs that never look right? Look no further because, with just a few simple steps, you can easily curl a cheap Halloween wig and have it look like a million bucks!
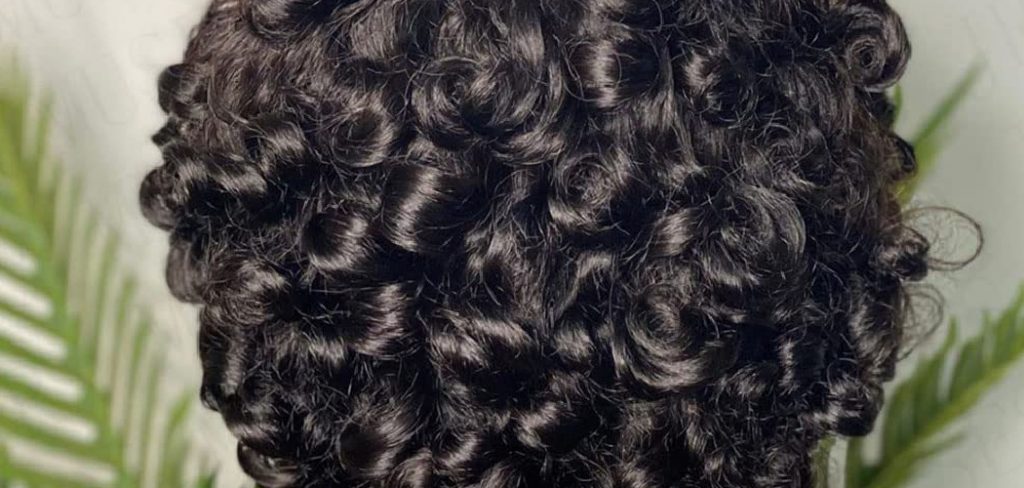
Curl a cheap Halloween wig can instantly transform your costume and add a touch of style and character. Whether you want bouncy curls, loose waves, or tight ringlets, this simple process can help you achieve the desired look without breaking the bank. With a few essential tools and some easy techniques, you can unleash your creativity and elevate your Halloween costume to the next level.
So, let’s dive in and learn how to curl a cheap Halloween wig to create a truly enchanting and captivating look!
What Will You Need?
Before we begin, gather the following tools and materials:
- A cheap Halloween wig (preferably made of synthetic hair)
- Hair rollers or flexi rods
- Boiling water or a steamer
- A spray bottle filled with cold water
- A wide-toothed comb or wig brush
- Styling products such as hairspray, mousse, or gel (optional)
Once you have these items, you can give your Halloween wig a fabulous makeover!
10 Easy Steps on How to Curl a Cheap Halloween Wig
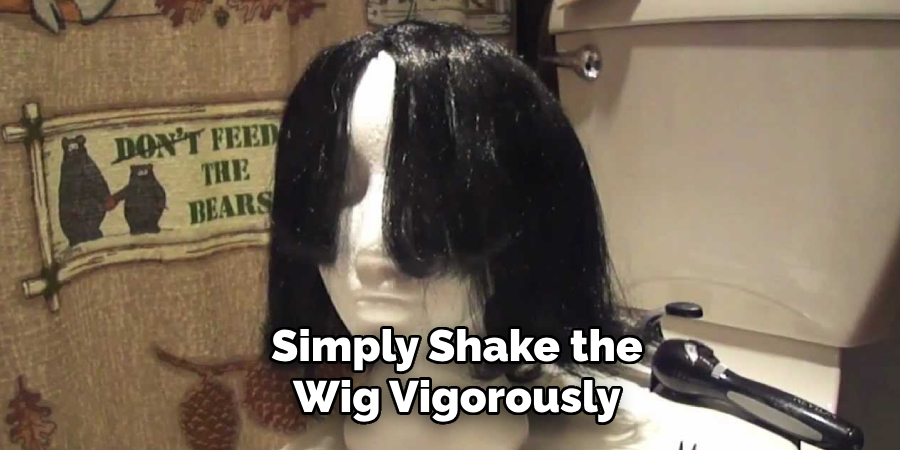
Step 1: Prepare Your Wig for Curling
If your wig is brand new, it might come in a straight and stiff style. You will need to loosen up the fibers before curling them. To do this, simply shake the wig vigorously or gently comb through it with your fingers to remove any tangles. This will make it easier to style and achieve more natural-looking curls.
Step 2: Heat Up the Water
Boil a pot of water or prepare a steamer for the curling process. If you’re using a steamer, make sure it’s ready to emit a steady stream of steam. Allow the water to reach a rolling boil and then carefully pour it into a heat-safe container. It’s crucial to handle hot water or steam with caution to avoid burns. This step will help set the curls in the wig’s synthetic fibers.
Step 3: Section the Wig
Divide the wig into small, manageable sections using clips or hair ties. Smaller sections will help you achieve more defined and uniform curls. Work on one section at a time, starting from the bottom and moving upward. This will ensure you don’t miss any part of the wig and make the curling process much more manageable.
Step 4: Roll the Hair
To achieve beautiful curls, take a small section of hair from the first section you divided and wrap it around a curling rod or a small, heat-resistant roller. Start from the ends of the hair and roll it up towards the roots, ensuring the hair is evenly distributed along the rod or roller. Secure the hair in place with a clip or bobby pin if needed.
Repeat this process for each section of the wig, ensuring that the sections’ size and the curls’ tightness are consistent for a cohesive look.
Use smaller rods or rollers to wrap the hair tightly for tighter curls. For looser curls, opt for larger rods or rollers and wrap the hair more loosely. Feel free to experiment with different sizes and techniques to achieve your desired curl pattern. Once all the sections are rolled, allow the hair to cool completely.
Step 5: Create Steam to Set the Curls
This step is crucial if you’re using synthetic hair. To help set the curls in place, hold the wig over a pot of boiling water or use a steamer to emit steam directly onto the rolled sections. Be careful not to get too close to avoid damaging the fibers or burning yourself. Do this for a few minutes, then allow the hair to cool completely before moving on to the next step.
Step 6: Remove the Rollers
Once the wig has completely cooled down, carefully remove the rollers or curling rods from each section. Start from the bottom sections and work your way up, gently unraveling the curls to avoid disturbing their shape.
Be patient during this process to ensure your curls remain defined and neat. If any sections feel stiff or stuck, gently loosen them with your fingers. You should start seeing your wig transforming with gorgeous, bouncy curls at this stage.
Step 7: Style the Curls
After removing all the rollers, use a wide-toothed comb or your fingers to loosen and gently arrange the curls as desired. Avoid using a regular brush, which may cause frizz and disrupt the curl pattern. For a more voluminous look, fluff the curls with your fingers; for more defined curls, leave them as they are. Customize the styling to complement your Halloween costume and create the effect you’re aiming for.
Step 8: Set the Style
If you want your curls to last longer or maintain a specific shape, apply a small amount of styling product such as mousse, gel, or hairspray to the wig. Lightly spritz the curls with hairspray to lock them in place, avoiding overly heavy application to prevent stiffness or residue. This step ensures your curls stay intact throughout your Halloween festivities.
Step 9: Add Finishing Touches
Place the wig on your head or a wig stand to assess the overall look. Adjust any sections or curls as needed to perfect the style. If certain areas appear uneven, you can re-roll those sections and repeat the steaming process. Remember, the goal is to bring your vision to life and enhance your costume with the perfect hairstyle!

Step 10: Show Off Your Look
Your curled wig is ready to complement your Halloween outfit and elevate your costume’s charm. Whether you’re going for a spooky, glamorous, or whimsical look, your freshly styled wig will make a statement. Put it on, get into character, and enjoy the compliments that will surely come your way. Have fun, and make your Halloween unforgettable!
By following these easy steps, you can transform a cheap Halloween wig into a stunning showpiece that enhances your costume and adds creativity to your outfit.
5 Things You Should Avoid
Here are five common mistakes you should avoid when curling a cheap Halloween wig:
- Using High Heat Settings: Cheap Halloween wigs are often made from synthetic materials that cannot withstand high temperatures. Using high heat settings on curling irons or hot rollers can damage the wig fibers, causing them to melt or frizz.
- Skipping Heat Protection: Heat-protectant products are essential when curling cheap wigs. They create a barrier between the heat source and the wig fibers, helping to prevent damage and maintain the wig’s quality.
- Overusing Hair Products: While styling products like hairspray or mousse can help hold curls, too much can weigh down the wig, making it look unnatural and stiff. Use hair products sparingly, focusing on lightweight formulas that won’t leave residue or weigh down the wig.
- Ignoring the Wig’s Care Instructions: Cheap Halloween wigs often come with care instructions specific to the materials used. Ignoring these instructions can lead to irreversible damage. Take the time to read and follow the care guidelines provided to ensure the longevity and quality of your wig.
- Using the Wrong Curling Technique: Curling a wig requires a different approach than curling natural hair. Avoid wrapping large sections of hair around curling irons or hot rollers, as this can create unnatural-looking curls.
By avoiding these common mistakes, you can successfully curl your cheap Halloween wig and achieve a fabulous, natural-looking hairstyle for your costume.
5 Different Use Cases for Curling a Cheap Halloween Wig
- Creating Spooky Curls: If you’re dressing up as a witch, vampire, or other spooky character for Halloween, curling your cheap wig can add an extra element of creepiness to your costume. Using a small barrel curling iron, create tight curls all over the wig for a wild and chaotic look.
- Adding Volume to Flapper Wigs: Flapper costumes from the 1920s often feature short bob wigs that need extra volume. Use hot rollers or a larger barrel curling iron to create loose waves and give your flapper wig some added bounce and texture.
- Achieving a Retro Look: If you’re dressing up as a character from the ’60s, ’70s, or ’80s, using a cheap wig and curling it can help achieve an authentic retro hairstyle. Use hot rollers or a smaller barrel curling iron to create tight curls or waves, depending on the era you’re going for.
- Transforming Into a Mermaid: A cheap, long, and wavy or curly wig can quickly transform into mermaid hair with some strategic curling. Using large-barreled curling irons, create loose beachy waves over the wig to give off those under-the-sea vibes.
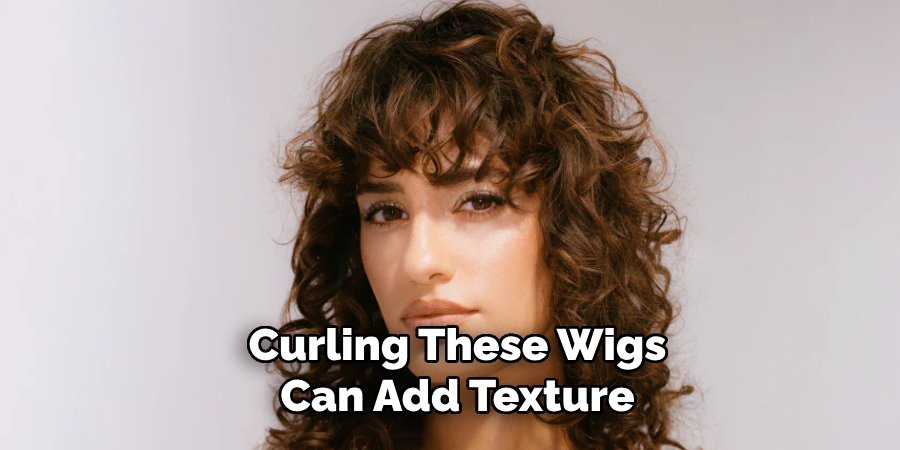
- Adding Texture to Cosplay Wigs: Many cosplayers use cheap wigs as the base for their elaborate costumes. Curling these wigs can add texture and dimension to create a more realistic and eye-catching look.
Conclusion
Curling a cheap Halloween wig can be a cost-effective and fun way to elevate your costume.
By avoiding common mistakes, following care instructions, and experimenting with different techniques for various use cases, you can achieve stunning curls that will complete your Halloween look. Remember to always prioritize protecting the wig’s fibers from heat damage and having fun with your styling!
Hopefully, the article on how to curl a cheap halloween wig has provided you with helpful tips and inspiration for your next costume. Happy styling!
About the Author
Jane Hubbard is a passionate beauty expert with a wealth of experience in makeup, hair, and overall beauty techniques. After years of working as a hairdresser specialist, she followed her entrepreneurial spirit and started her own consultancy business.
Jane has always been driven by her desire to help others feel confident in their own skin, and she does this by sharing her knowledge, experiences, and practical beauty tips. Through her consultancy, she empowers individuals to embrace their unique beauty, offering tailored guidance that boosts both self-esteem and personal style.
Professional Focus
- Specializes in makeup, hairstyling, and beauty consulting.
- Provides personalized beauty advice, tips, and techniques to help individuals feel confident in their appearance.
- Dedicated to staying up-to-date with the latest industry trends and developments.
- Passionate about creating a comfortable and empowering experience for every client.
Education History
- University of Craft and Design – Bachelor of Fine Arts (BFA) in Woodworking and Furniture Design
- Woodworking Apprenticeships – Extensive hands-on training with skilled craftsmen to refine carpentry and furniture making techniques
- Online Courses & Masterclasses – Continued education in advanced woodworking techniques, design principles, and specialized tools
Expertise:
- Makeup artistry, hairstyling, and beauty consulting.
- Personalized beauty techniques to enhance confidence and self-expression.
- Educating clients on how to maintain their beauty routines at home.