
Are you struggling with applying false lashes? Don’t worry, you’re not alone. Many people struggle to make their false lashes look natural and stay in place.
How to curl false lashes is an essential step to achieving a seamless and natural look. While false lashes are designed to enhance your eyes, they may sometimes appear stiff or misaligned with the natural curvature of your lashes. With the proper techniques and tools, you can easily curl false lashes to blend them perfectly with your own, creating a voluminous and polished finish.
Whether you’re new to false lashes or looking to refine your routine, learning how to curl them properly can make a big difference in your overall makeup look. Let’s dive into some valuable tips and tricks for how to curl your lashes.
What Are the Benefits of Curling False Lashes?
There are several benefits to curling false lashes. Firstly, it helps to give your eyes a more open and lifted appearance. Curled lashes also help to create the illusion of longer and thicker lashes, making your eyes look bigger and more defined.
Curling false lashes can also make them blend in more seamlessly with your natural lashes, creating a more natural-looking result. This is especially important if you’re wearing individual or flare lashes, as they tend to require more blending for a natural finish.
Additionally, curled false lashes are less likely to poke or irritate your eyes throughout the day.
What Will You Need?
To curl your false lashes, you will need a lash curler and mascara.
- Lash Curler: This is a crucial tool for achieving a curled effect on your false lashes. Look for a lash curler with a curved shape and soft silicone pads to avoid any discomfort or damage to your natural lashes.
- Mascara: While optional, applying mascara after curling your false lashes can help blend them in with your natural lashes, creating a more seamless look. Choose a mascara that is gentle and safe for use on false lashes, such as a water-based or oil-free formula.
- False Lashes: Of course, you will also need the false lashes themselves. You can purchase them from any drugstore or beauty supply store in various styles and lengths to suit your preferences.
8 Easy Steps on How to Curl False Lashes
Step 1: Prepare Your Tools
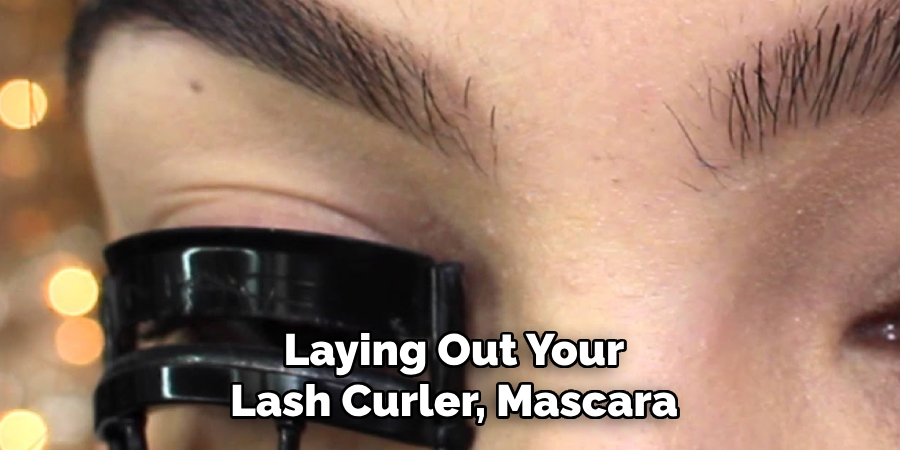
Before you begin curling your false lashes, make sure you have all the necessary tools ready and within reach. Start by laying out your lash curler, mascara, and the false lashes for easy access. If your lash curler is adjustable or heated, check that it is clean and in good working condition.
A clean curler ensures that no residue from previous applications will transfer onto your lashes. You should also have a small mirror nearby to help you see the process more clearly and ensure precision. Finally, ensure your hands are clean, especially your fingertips, to prevent transferring dirt or oils onto the lashes, which can affect the final look.
Step 2: Apply the False Lashes
Begin by carefully removing the false lashes from their packaging using tweezers or your fingers, ensuring you do not damage the delicate lash band. Measure the lashes against your natural lash line and trim any excess from the outer ends if the strip is too long for your eyes.
This will help the lashes sit comfortably and blend seamlessly. Next, apply a thin, even layer of lash adhesive along the band and wait a few seconds until it becomes tacky—this ensures better adherence. With a steady hand, position the lashes as close to your natural lash line as possible, pressing gently at the center, inner, and outer edges to secure them in place. Use tweezers or your fingertips to adjust and ensure the lashes sit evenly.
Step 3: Wait for the Lashes to Set
Once the lashes are in place, it’s essential to give the adhesive a little time to fully dry and secure. Avoid touching or adjusting the lashes excessively during this period, as it can disrupt their adherence and potentially misalign them. You can gently fan your face or use a clean, dry applicator to lightly press along the band to ensure every section is firmly in place. While the adhesive sets, check for any gaps between the false lashes and your natural lash line. If needed, use a black or dark brown eyeliner to fill in these spaces for a seamless, natural look.
This little touch can make a significant difference in blending the lashes perfectly and enhancing their overall appearance.
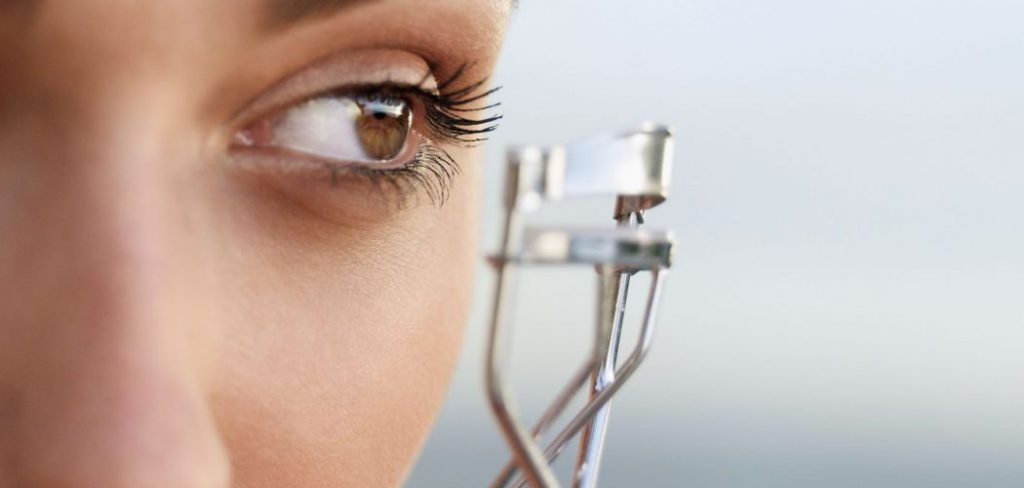
Step 4: Use an Eyelash Curler
Once the false lashes are securely in place and the adhesive has fully dried, use an eyelash curler to blend your natural lashes with the falsies gently. Position the curler at the base of your lash line, ensuring it grabs both your natural and false lashes. Squeeze gently for a few seconds, then release. This step adds a natural lift and enhances the curl of the lashes, giving your eyes a more open and defined appearance.
For best results, follow up with a coat of mascara to further unify the lashes and create a polished, cohesive look.
Step 5: Move Along the Lashes
Once your lashes are properly curled and blended, carefully check for any areas where the false lashes might appear unaligned or separated from your natural lash line. Using a small precision applicator or a clean brush, gently press along the lash band to ensure it adheres securely. If needed, reapply a tiny amount of lash adhesive to any loose corners and allow it to dry. Taking this final step ensures a seamless finish and a flawless, natural appearance for your lashes.
Step 6: Apply Mascara
Applying mascara is the finishing touch that binds your natural lashes and false lashes together for a unified, voluminous look. Using a high-quality mascara, gently coat your lashes starting from the base and moving upward in a zig-zag motion.
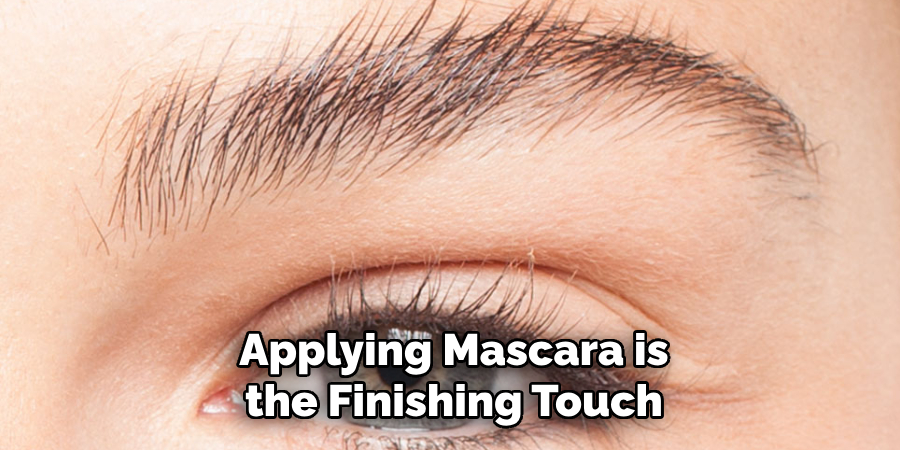
This technique helps to prevent clumping while evenly distributing the product. Focus on blending the false lashes with your natural ones to ensure they appear seamless and natural. Be careful not to apply too much mascara directly on the false lashes, as this could weigh them down or reduce their longevity. Once finished, allow the mascara to dry completely, and your lashes will look flawless and camera-ready!
Step 7: Check the Curl
After applying mascara and ensuring your lashes are set, it’s time to check the curl. Gently use a lash curler on your natural and false lashes to lift and enhance their shape. Be cautious and apply minimal pressure to avoid damaging the lashes or causing them to detach. This step ensures that your lashes have a unified and captivating curl, perfectly complementing your overall look. Take a final glance to make sure everything is in place, and you’re ready to flaunt your flawless lashes!
Step 8: Remove the False Lashes
At the end of your day or event, carefully remove your false lashes to maintain their quality and comfort. Begin by soaking a cotton pad with an oil-free makeup remover or micellar water, then gently press it against your lash line for a few seconds to loosen the adhesive. Use clean fingers or a pair of tweezers to slowly peel off the lashes, starting from the outer corner and working inwards.
Avoid tugging or pulling to prevent discomfort or damage to your natural lashes. Once removed, clean the false lashes with a small amount of makeup remover to remove any remaining mascara or adhesive, and store them in their original packaging for reuse. Proper care will help you get the most out of your false lashes and ensure they remain in excellent condition for future use.
By following these steps, you can easily apply and remove false lashes without any hassle.
5 Things You Should Avoid
- Using Excessive Heat
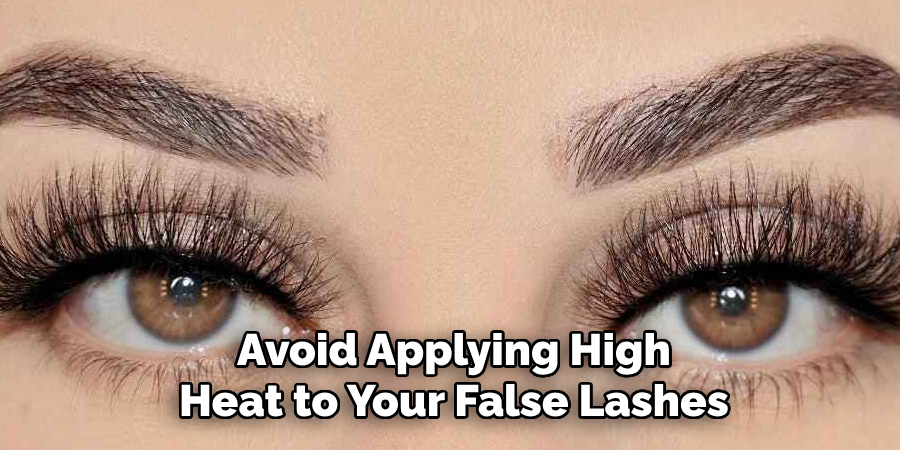
Avoid applying high heat to your false lashes, as this can damage the synthetic strands or warp their shape. Use a lash curler specifically designed for false lashes, or opt for alternative techniques to achieve a natural curl without the use of heat.
- Curling After Application
Do not curl false lashes after you’ve already applied them to your lash line. This can tug on the adhesive and cause them to loosen or come off entirely, as well as potentially damage your natural lashes.
- Using a Regular Lash Curler
Standard lash curlers are not ideal for curling false lashes. They are designed for natural lashes and may crimp your false lashes awkwardly or cause them to lose their smooth appearance.
- Applying Excessive Pressure
When curling your false lashes, avoid pressing too hard. Excess pressure can lead to bending, uneven curls, or even breakage, reducing the lifespan of your lashes.
- Skipping Cleaning Before Curling
Ensure that your false lashes are clean before attempting to curl them. Curling lashes that have residue from mascara or adhesive can create clumps or damage the lash fibers. Always clean and dry your lashes first for the best results.
Conclusion
How to curl false lashes can truly enhance their appearance and ensure a more natural, eye-catching look.
By following each step carefully—using the right tools, applying gentle pressure, and avoiding common mistakes—you can maintain the quality and longevity of your lashes while achieving a flawless curl. Always handle your lashes with care, prioritizing cleanliness and precision to achieve the best results each time.
Hopefully, this guide has provided you with all the necessary information and tips to master the art of applying false lashes.
About the Author
Jane Hubbard is a passionate beauty expert with a wealth of experience in makeup, hair, and overall beauty techniques. After years of working as a hairdresser specialist, she followed her entrepreneurial spirit and started her own consultancy business.
Jane has always been driven by her desire to help others feel confident in their own skin, and she does this by sharing her knowledge, experiences, and practical beauty tips. Through her consultancy, she empowers individuals to embrace their unique beauty, offering tailored guidance that boosts both self-esteem and personal style.
Professional Focus
- Specializes in makeup, hairstyling, and beauty consulting.
- Provides personalized beauty advice, tips, and techniques to help individuals feel confident in their appearance.
- Dedicated to staying up-to-date with the latest industry trends and developments.
- Passionate about creating a comfortable and empowering experience for every client.
Education History
- University of Craft and Design – Bachelor of Fine Arts (BFA) in Woodworking and Furniture Design
- Woodworking Apprenticeships – Extensive hands-on training with skilled craftsmen to refine carpentry and furniture making techniques
- Online Courses & Masterclasses – Continued education in advanced woodworking techniques, design principles, and specialized tools
Expertise:
- Makeup artistry, hairstyling, and beauty consulting.
- Personalized beauty techniques to enhance confidence and self-expression.
- Educating clients on how to maintain their beauty routines at home.