
Are you tired of using a curling iron that leaves your hair frizzy, damaged, and lacking volume? Look no further than the Tyme Iron!
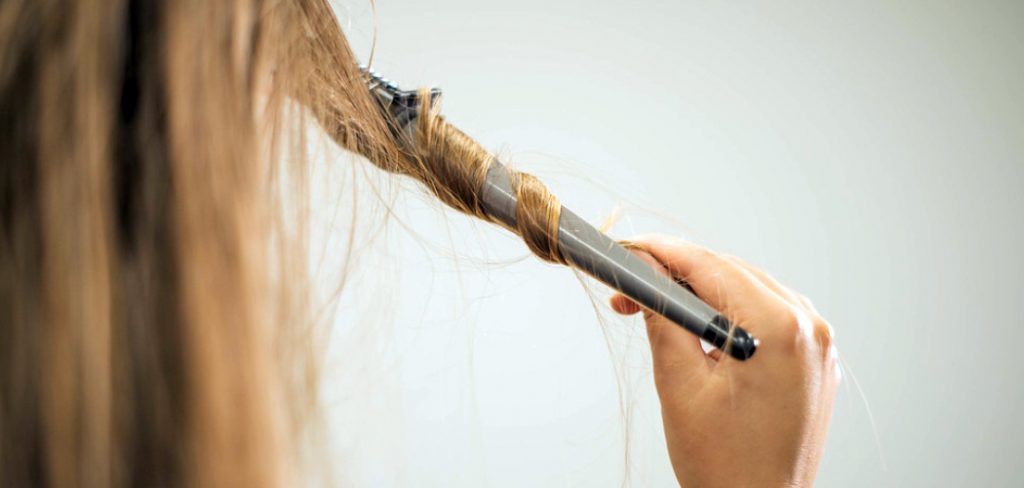
Curling hair with Tyme Iron is a quick and efficient way to achieve salon-quality curls from the comfort of your home. This versatile styling tool is designed to create a variety of looks, from loose waves to tight, defined curls, all with a single device. Whether you’re prepping for a casual outing or a special occasion, mastering the Tyme Iron can help you easily achieve a polished, professional hairstyle.
With just a bit of practice and the correct technique, you can transform your hair into a beautiful, curled masterpiece in no time. Let’s dive into the step-by-step instructions on how to curl hair with Tyme Iron.
What Are the Benefits of Using Tyme Iron for Curling Hair?
Before we get into the details, let’s first understand why Tyme Iron is a game changer in curling hair.
- Time-Saving: As its name suggests, Tyme Iron saves you time by combining the functions of both a flat iron and a curling iron in one device, cutting down your styling time significantly.
- Versatility: The Tyme Iron’s unique design allows you to create different curls – from loose waves to tight curls – all with just one tool.
- Damage-Free Styling: Unlike traditional curling irons, the Tyme Iron uses heat plates that evenly distribute heat throughout your hair, minimizing damage and promoting healthy-looking curls.
- Easy to Use: Its ergonomic design makes the Tyme Iron easy to hold and maneuver, making it user-friendly for all hair types and lengths.
- Long-Lasting Results: Thanks to its advanced technology, the curls created by Tyme Iron tend to last longer than those made with traditional curling irons or other styling tools.
These are just a few benefits of using Tyme Iron for curling hair. Now, let’s move on to the steps of achieving perfect curls with this revolutionary tool.
What Will You Need?
Before we begin, make sure you have these items on hand:
- Tyme Iron
- Heat protectant spray or serum
- Hairbrush or comb
- Sectioning clips (optional)
- Hairspray (optional)
Once you have all the necessary tools, it’s time to start curling!
10 Easy Steps on How to Curl Hair With Tyme Iron
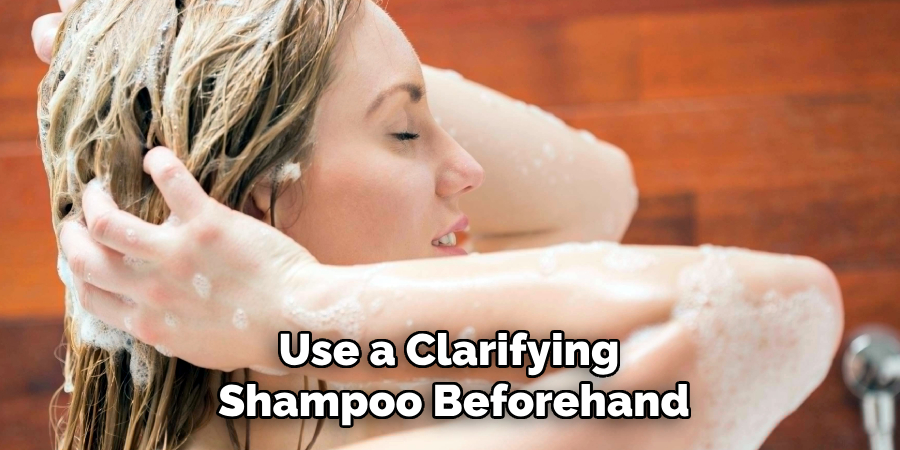
Step 1: Prep Your Hair
Start by thoroughly washing and drying your hair. Clean hair helps the curls hold better and ensures a smoother styling process. If your hair feels heavy with product buildup, use a clarifying shampoo beforehand. Once your hair is dry, apply a heat protectant spray or serum evenly throughout your strands to shield them from heat damage during styling. Combine your hair with a brush or comb to remove tangles and distribute the product evenly. If your hair is thick or long, you can divide it into sections using clips, making the curling process easier and more precise. Proper preparation is key to achieving long-lasting, beautiful curls with the Tyme Iron!
Step 2: Heat the Tyme Iron
Plug in your Tyme Iron and set it to the desired heat setting, keeping your hair type in mind. Lower heat settings are ideal for delicate or damaged hair, while higher settings work well for thick or coarse hair. Allow the iron to fully heat up before use, as this ensures consistent results and helps the curls form correctly. Most Tyme Irons come with an indicator light or beep to signal when they are ready to use.
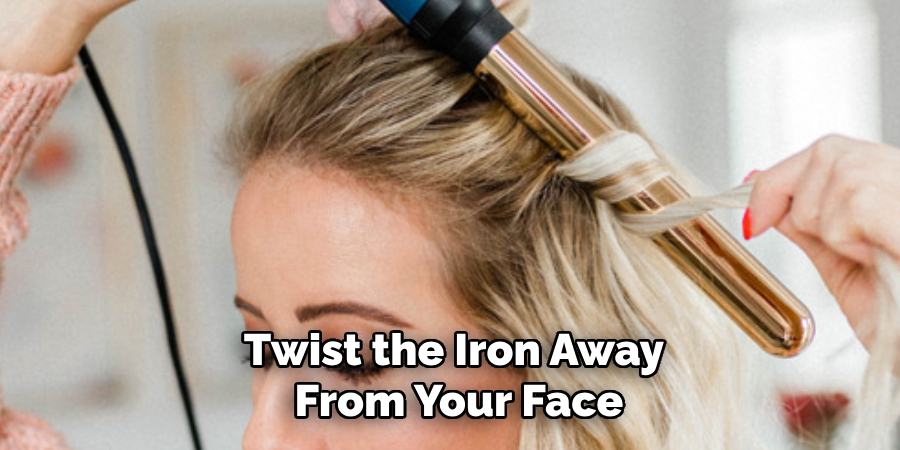
Step 3: Curl Your Hair
Take a small section of hair, about 1 inch wide, and position the Tyme Iron near the roots, clamping it gently. Twist the iron away from your face while slowly gliding it down the length of your hair. The unique design of the Tyme Iron makes it easy to create curls with a twist of your wrist. For tighter curls, twist the iron more; for looser waves, reduce the amount of twisting. Repeat this process on each section of hair, working methodically to ensure consistent curls. Be sure to alternate directions for a more natural look or curl all sections in the same direction for a polished style.
Step 4: Set Your Style
Once you’ve curled all sections of your hair, use your fingers to gently tousle and separate the curls for a more natural appearance. Use a wide-tooth comb to shape the curls for a smoother, more defined look. To ensure your style lasts throughout the day, apply a light mist of hairspray or a finishing product suitable for your hair type. Avoid using too much product, as this can weigh down the curls or make them appear stiff. Now, your hair is styled to perfection with the Tyme Iron!
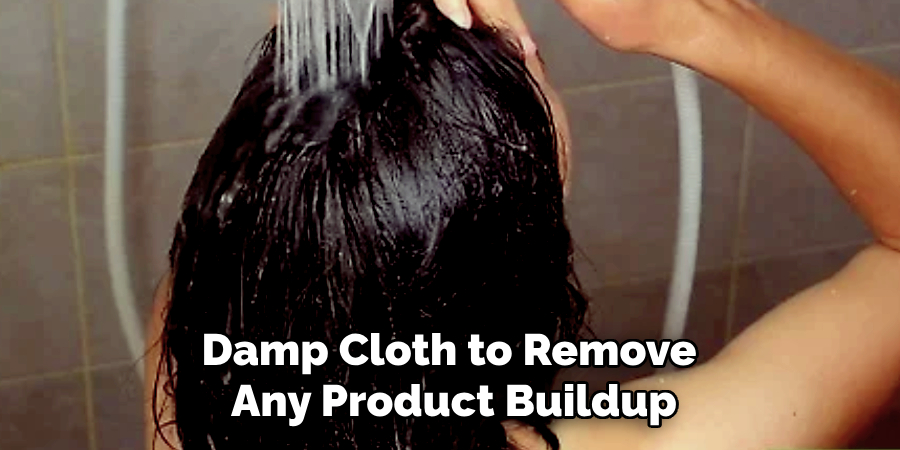
Step 5: Maintain Your Tyme Iron
To keep your Tyme Iron in excellent condition, it’s essential to maintain it properly. After each use, ensure the iron is turned off and completely cool before cleaning. Gently wipe the plates and exterior with a soft, damp cloth to remove any product buildup or residue. For a deeper clean, use a cotton swab dipped in rubbing alcohol to clean hard-to-reach areas. Store the Tyme Iron in a safe, dry place, preferably in its heat-resistant pouch or case, to protect it from damage. Proper maintenance will ensure your tool stays effective and lasts for years.
Step 6: Troubleshooting Your Tyme Iron
If you encounter any issues while using your Tyme Iron, there are a few simple troubleshooting steps to try. First, ensure the iron is securely plugged in, and the power outlet is properly. If the iron doesn’t heat up, check that the power light is on and the temperature settings are adjusted correctly. Allow the iron to warm up before use for uneven heating, ensuring consistent performance thoroughly. If your curls aren’t turning out as expected, adjust your technique by ensuring the hair is appropriately angled and taut during styling. If problems persist, consult the user manual or contact customer support.
Step 7: Storing Your Tyme Iron Safely
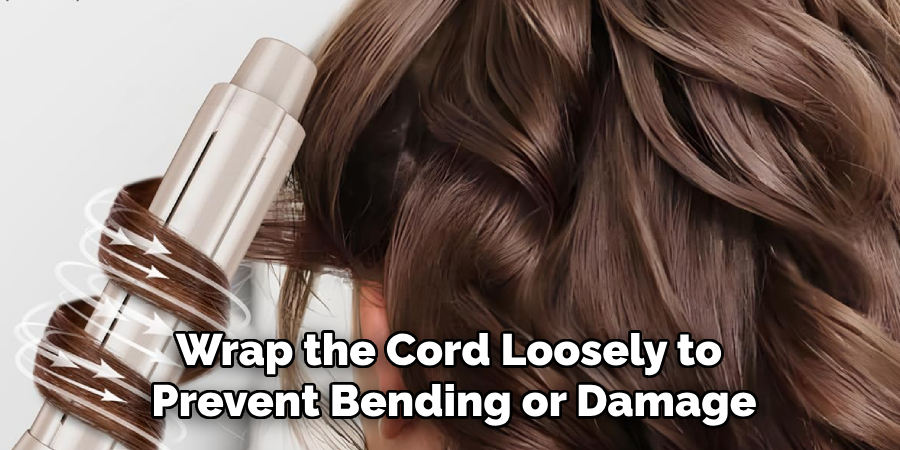
After using your Tyme Iron, always ensure it has completely cooled down before storing it. Place it in a heat-resistant pouch or case to protect the tool and surrounding surfaces. Avoid wrapping the power cord too tightly around the iron, which could damage the cord over time. Store the iron in a dry, cool place away from direct sunlight or moisture to maintain its durability and performance. Proper storage helps extend the life of your Tyme Iron and keeps it ready for your next use.
Step 8: Cleaning Your Tyme Iron
To keep your Tyme Iron in optimal condition, it’s essential to clean it regularly. Ensure the iron is unplugged and completely cooled before cleaning. Use a soft, damp cloth to gently wipe the plates and exterior surfaces, removing any residue or buildup from hair products. Avoid harsh chemicals or abrasive materials, which can damage the iron’s finish. A mild soap solution can be used for stricter buildup, but ensure all cleaning agents are thoroughly wiped away before the next use. Proper maintenance will help your Tyme Iron perform at its best over time.
Step 9: Troubleshooting Your Tyme Iron
If you encounter any issues with your Tyme Iron, there are a few steps you can take to resolve common problems. For instance, if the iron does not heat up, ensure it is securely plugged into a functioning power outlet and the power switch is turned on. If the iron is not styling as expected, check the plates for any residue needing cleaning and confirm the appropriate temperature settings for your hair type. For persistent problems, consult the user manual or contact Tyme’s customer support for assistance. Taking these actions can often resolve issues without the need for professional repair.
Step 10: Storing Your Tyme Iron
Proper storage of your Tyme Iron is essential to maintain its longevity and functionality. After use, allow the iron to cool completely before storing it. Wrap the cord loosely to prevent bending or damage, and place the iron in a safe, dry location away from heat or moisture. If your Tyme Iron comes with a storage pouch or case, use it to protect the device from dust and scratches. Avoid leaving the iron in areas with extreme temperature fluctuations, as this can negatively affect its performance over time.
Following these steps, you can quickly and effectively use your Tyme Iron to achieve beautiful curls and waves.
Conclusion
Using the Tyme Iron to curl your hair is a straightforward and effective way to achieve salon-quality results at home.
By following the step-by-step instructions, you can easily create stunning curls and waves. Always prepare your hair correctly, adjust the iron’s temperature to suit your hair type, and use the correct techniques for optimal results. With proper care, maintenance, and storage of your Tyme Iron, you can enjoy beautiful, lasting hairstyles while keeping your tool in excellent condition for years.
Hopefully, the article on how to curl hair with tyme iron in markdown format has been informative and helpful for you. Happy styling!
About the Author
Jane Hubbard is a passionate beauty expert with a wealth of experience in makeup, hair, and overall beauty techniques. After years of working as a hairdresser specialist, she followed her entrepreneurial spirit and started her own consultancy business.
Jane has always been driven by her desire to help others feel confident in their own skin, and she does this by sharing her knowledge, experiences, and practical beauty tips. Through her consultancy, she empowers individuals to embrace their unique beauty, offering tailored guidance that boosts both self-esteem and personal style.
Professional Focus
- Specializes in makeup, hairstyling, and beauty consulting.
- Provides personalized beauty advice, tips, and techniques to help individuals feel confident in their appearance.
- Dedicated to staying up-to-date with the latest industry trends and developments.
- Passionate about creating a comfortable and empowering experience for every client.
Education History
- University of Craft and Design – Bachelor of Fine Arts (BFA) in Woodworking and Furniture Design
- Woodworking Apprenticeships – Extensive hands-on training with skilled craftsmen to refine carpentry and furniture making techniques
- Online Courses & Masterclasses – Continued education in advanced woodworking techniques, design principles, and specialized tools
Expertise:
- Makeup artistry, hairstyling, and beauty consulting.
- Personalized beauty techniques to enhance confidence and self-expression.
- Educating clients on how to maintain their beauty routines at home.