
Are you tired of chasing that perfect curl? Do your curls always fall flat and lose shape after a few hours? Don’t worry, you’re not alone! Many people struggle with achieving and maintaining beautiful, bouncy curls.
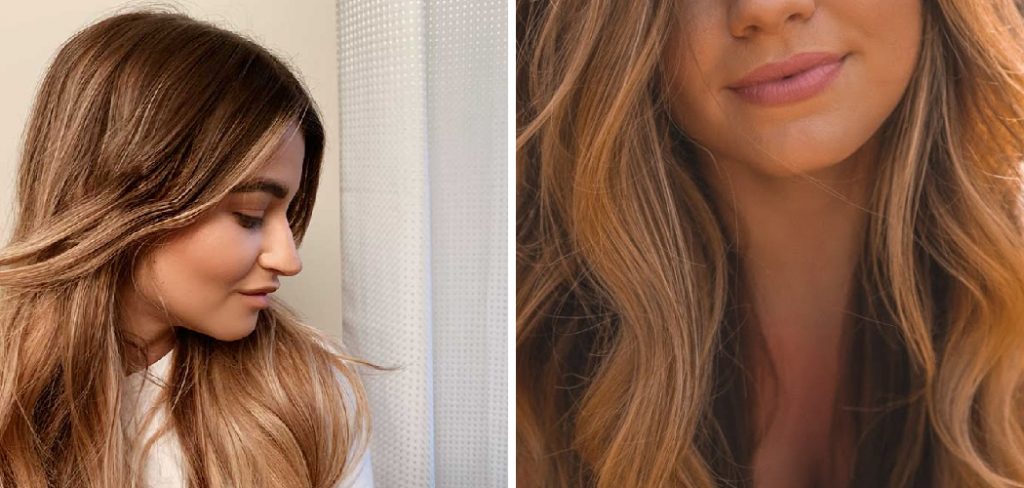
Having hard-to-curl hair can be frustrating when you long for those luscious curls. But fear not! With the right techniques and tools, you can achieve beautiful curls that last.
In this guide on how to curl hard to curl hair, we’ll walk you through effective methods and tips to curl stubborn hair types. Say goodbye to flat locks and hello to voluminous, bouncy curls that are sure to turn heads. Get ready to embrace the curls you’ve always dreamed of! Let’s get started.
What Are the Causes of Hard-to-Curl Hair?
Before we dive into the curling techniques, it’s essential to understand why some hair types are more complicated to curl than others. Here are a few factors that can contribute to stubborn curls:
- Hair Texture: The texture of your hair plays a significant role in how well it holds a curl. Fine, straight hair tends to have trouble holding curls as they lack the natural volume and texture.
- Natural Oils: Natural oils produced by the scalp can weigh down the hair and make it resistant to styling products, making it difficult for curls to hold.
- Previous Chemical Treatments: If you’ve had chemical treatments like straightening or relaxers done on your hair, the bonds in your hair have been altered and may resist curling.
- Heat Damage: Overuse of hot styling tools can damage the hair’s cuticle and make it difficult for curls to form or hold.
Now that you know some of the reasons behind hard to curl hair let’s move on to the fun part – how to achieve those gorgeous curls!
What Will You Need?
- Curling Iron or Wand: Depending on your preference and hair type, choose a curling tool that works best for you. A wand is great for loose, natural-looking curls, while an iron can create tighter, more defined curls.
- Heat Protectant Spray: This is a must-have to protect your hair from heat damage.
- Styling products such as mousse, hairspray, and texturizing spray can help add volume and hold to your curls.
- Hair Clips or Bobby Pins: These will come in handy when sectioning off your hair for curling.
- Comb or Brush: Use a comb to detangle your hair before curling and a brush to smooth out any tangles after styling.
Now that you have all the necessary tools, let’s move on to the curling techniques!
10 Easy Steps on How to Curl Hard to Curl Hair
Step 1. Prep Your Hair:
Before you begin curling your hard-to-curl hair, it’s essential to prepare and protect it properly. Here’s how:
- Wash and Condition: Start by washing your hair with a moisturizing shampoo and conditioner to nourish and hydrate your strands. This helps create a healthy foundation for styling.
- Heat Protectant: Apply a heat protectant spray evenly throughout your damp hair. This helps shield your hair from the damaging effects of heat styling tools, ensuring your curls stay healthy and shiny.
- Detangle with Care: Gently detangle your hair using a wide-tooth comb or fingers. Starting from the ends and working your way up, carefully remove any knots or tangles to prevent breakage when curling.
- Add Styling Products: Apply a small amount of mousse or curl-enhancing cream to your hair for added hold and definition. This can help your curls last longer and maintain their shape.
Following these preparatory steps creates a solid foundation for the curling process, ensuring that your hard-to-curl hair is primed for beautiful, long-lasting curls.
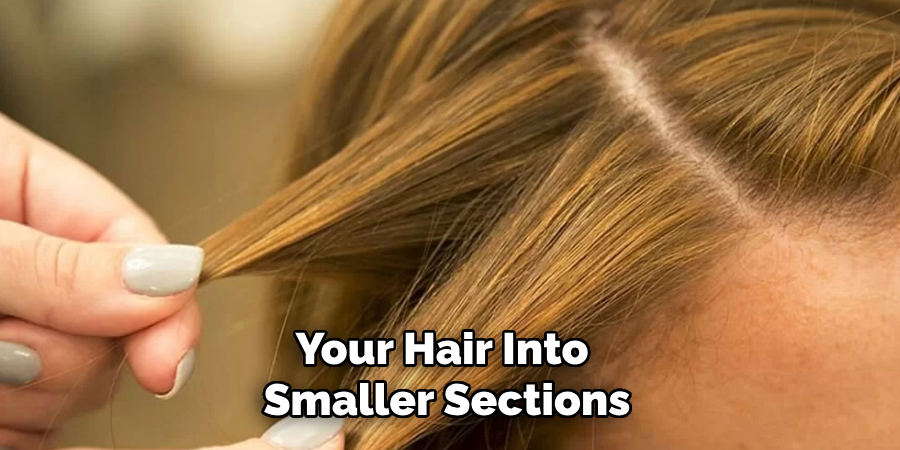
Step 2. Section Your Hair:
Dividing your hair into smaller sections makes it easier to curl and ensures that all sections are evenly styled. This is especially important for hard-to-curl hair, as the curls may need more time and attention to hold their shape. Use hair clips or bobby pins to secure each section.
Step 3. Choose a Curling Tool:
The right curling tool is crucial for achieving long-lasting curls, especially with hard-to-curl hair. Consider the following when choosing your curling tool:
- Barrel Size: A smaller barrel (¾ to 1 inch) is ideal for stubborn, fine, or straight hair because it creates tighter curls that tend to loosen over time, giving you a more lasting style. Larger barrels typically create loose waves that may not hold as well for hard-to-curl hair.
- Material: Opt for a curling iron or wand made of ceramic, tourmaline, or titanium. These materials distribute heat evenly and reduce damage, making them gentler on your hair.
- Adjustable Heat Settings: Tools with adjustable heat settings allow you to select the ideal temperature for your hair type. Lower heat is key for fine or brittle hair, while thicker hair may require higher temperatures for curls to hold.
- Clamp vs. Wand: A curling iron with a clamp can create sleek and polished curls, whereas a wand allows for more natural, relaxed waves. Choose the one that best suits your style preference.
Once you’ve chosen your curling tool, you’re ready to begin creating gorgeous, bouncy curls that last.
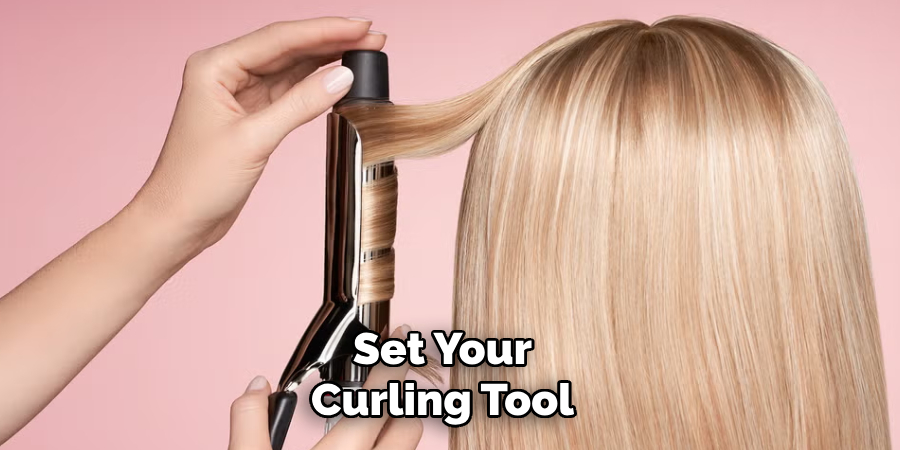
Step 4. Heat Your Tool:
Set your curling tool to the appropriate temperature based on your hair’s texture and type. Aim for 300–350°F for delicate or fragile hair and 350–400°F for normal to thick hair. Avoid excessive heat, as it can cause unnecessary damage, especially if your hair is already prone to dryness or breakage. Allow your curling tool plenty of time to heat up evenly before you start styling for best results.
Step 5. Start Curling:
Here’s where the magic happens! Follow these steps for perfect curls every time:
- Take a Section of Hair: Start with a small section about 1–2 inches wide.
- Wrap Your Hair Around the Barrel: Hold your curling tool vertically and wrap the hair around it, starting from the bottom and working your way up.
- Hold for 10–15 Seconds: Keep your hair wrapped around the barrel for about 10–15 seconds before releasing it. This helps ensure that the heat thoroughly penetrates each strand for lasting curls.
- Release and Repeat: Release your hair from the iron or wand, being careful not to tug or pull on the curls. Repeat this process with each section of hair, working your way around your head.
- Curl Away from Your Face: For a more natural and flattering look, curl all sections away from your face. This creates a beautiful frame for your features and prevents the curls from falling flat.
Step 6. Let Your Curls Cool:
Once you’ve curled a section of hair, allowing the curl to cool down completely before touching or styling it further is crucial. This step helps the curl appropriately set, ensuring it holds its shape longer. After releasing the curl from the tool, gently cup it in your hand for a few seconds or use a hair clip to pin it in place while it cools. Repeat this process for each section, letting all the curls cool thoroughly before moving on to the next steps. Patience here pays off, leaving you with resilient, bouncy curls.
Step 7. Finger Comb and Style:
After all the curls have cooled, carefully run your fingers through your hair to loosen them up and create a more natural, effortless look. Avoid using a brush or comb at this stage, as it might disrupt the curls’ shape. You can also lightly shake your hair to add some volume and movement. Customize your hairstyle to your preference—leave the curls defined for a polished appearance, or tousle them for a relaxed, beachy vibe.
Step 8. Add a Finishing Touch:
Complete your look by applying a small texturizing spray or a light-hold hairspray. These products provide hold without making your hair feel stiff or weighed down, enhancing the curls’ longevity. For extra shine, you can use a small drop of hair oil or serum, focusing on the ends to avoid greasiness. This will give your curls a smooth, glossy finish.
Step 9. Maintain Your Curls:
For long-lasting results, consider refreshing your curls throughout the day. If your curls start to loosen, you can gently twist them back into shape using your fingers or touch them up with the curling tool on a low heat setting. Remember to avoid excessive manipulation to prevent frizz or flattening.
Step 10. Protect Your Hair Overnight:
To preserve your curls overnight, use a silk or satin pillowcase or wrap your hair in a silk scarf before bed. These smooth materials prevent friction, reducing frizz risk and maintaining your curls’ shape. Alternatively, you can loosely tie your hair in a pineapple bun at the top of your head to keep the curls intact while you sleep.
Following these steps, you can achieve stunning, long-lasting curls, even if you have hard-to-curl hair.
Conclusion
With the right techniques, tools, and products, anyone can achieve lasting beautiful curls. Don’t let your hard-to-curl hair discourage you – embrace it and use these tips to create gorgeous, bouncy curls that will turn heads.
Remember to choose the right curling tool for your hair type, heat up properly, take small sections of hair, and allow your curls to cool completely before styling. And remember to maintain your curls and protect them overnight for lasting results.
Hopefully, the article on how to curl hard to curl hair has provided some valuable tips and tricks for those struggling to achieve the perfect curl. So go ahead and give it a try – your hard-to-curl hair will thank you!
About the Author
Jane Hubbard is a passionate beauty expert with a wealth of experience in makeup, hair, and overall beauty techniques. After years of working as a hairdresser specialist, she followed her entrepreneurial spirit and started her own consultancy business.
Jane has always been driven by her desire to help others feel confident in their own skin, and she does this by sharing her knowledge, experiences, and practical beauty tips. Through her consultancy, she empowers individuals to embrace their unique beauty, offering tailored guidance that boosts both self-esteem and personal style.
Professional Focus
- Specializes in makeup, hairstyling, and beauty consulting.
- Provides personalized beauty advice, tips, and techniques to help individuals feel confident in their appearance.
- Dedicated to staying up-to-date with the latest industry trends and developments.
- Passionate about creating a comfortable and empowering experience for every client.
Education History
- University of Craft and Design – Bachelor of Fine Arts (BFA) in Woodworking and Furniture Design
- Woodworking Apprenticeships – Extensive hands-on training with skilled craftsmen to refine carpentry and furniture making techniques
- Online Courses & Masterclasses – Continued education in advanced woodworking techniques, design principles, and specialized tools
Expertise:
- Makeup artistry, hairstyling, and beauty consulting.
- Personalized beauty techniques to enhance confidence and self-expression.
- Educating clients on how to maintain their beauty routines at home.