
Are you tired of using a lash curler every day to achieve that perfectly curled and lifted look? Look no further, as here is a step-by-step guide on how to curl lashes without lash curler.
Curling your lashes can instantly enhance your eyes, making them look bigger and brighter. While a lash curler is a popular tool for achieving this effect, it is not always available or suitable for everyone. Fortunately, there are simple and effective alternative methods to curl your lashes using everyday items or natural techniques.
Whether you’re on the go, don’t own a curler, or want to try a gentler approach, these tips can help you achieve beautifully curled lashes without the need for a traditional lash curler.
What Are the Benefits of Curling Your Lashes?
Before we dive into the different methods of curling lashes without a traditional lash curler, let’s first explore why it is beneficial to do so.
Curling your lashes can enhance your overall appearance by making your eyes look bigger and more awake. This is because curled lashes create an illusion of openness, making your eyes appear wider and brighter.
Additionally, curling your lashes can also help keep them healthy and strong. When you use a lash curler, you are essentially training your lashes to grow in a particular direction, preventing them from growing straight down or towards your eye. This can prevent damage to your eyelashes and promote growth in the desired direction.
What Will You Need?
To curl your lashes, you will need a few tools and products:
- Eyelash Curler: This is the primary tool you will need. Look for one with a comfortable grip, a curved shape that fits the natural curve of your eye, and replaceable rubber pads.
- Mascara: While not necessary, using mascara before or after curling can help hold the curl in place for longer.
- Eyelash Comb: This can be used to separate any clumped lashes after applying mascara.
- Optional: Heated eyelash curler or lash primer.
Once you have your tools ready, follow these steps to curl your lashes.
8 Easy Steps on How to Curl Lashes Without Lash Curler
Step 1. Wash Your Hands
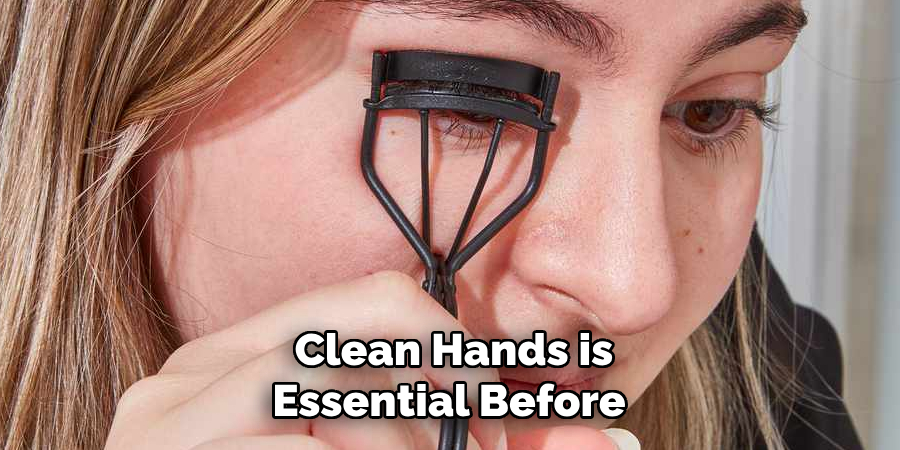
Having clean hands is essential before touching any part of your face, especially your eyes. Dirt, oils, or bacteria on your hands can transfer to your lashes, potentially causing irritation or infection. To ensure your hands are properly cleaned, use warm water and soap to wash them thoroughly.
Pay special attention to scrubbing between your fingers, under your nails, and the backs of your hands for at least 20 seconds. Once washed, dry them with a clean towel or allow them to air dry. This small but crucial step helps maintain good hygiene and ensures a safe and effective lash curling process.
Step 2. Warm Your Fingers
Warming your fingers is an essential step that can make the lash curling process more effective and comfortable. When your fingers are warm, they help transfer heat to the lash curler, creating a slight warming effect on the tool.
This can enhance the curl of your lashes, allowing the tool to shape them more effectively. To warm your fingers, simply rub your hands together briskly for a few seconds or hold them around a warm cup of tea or coffee.
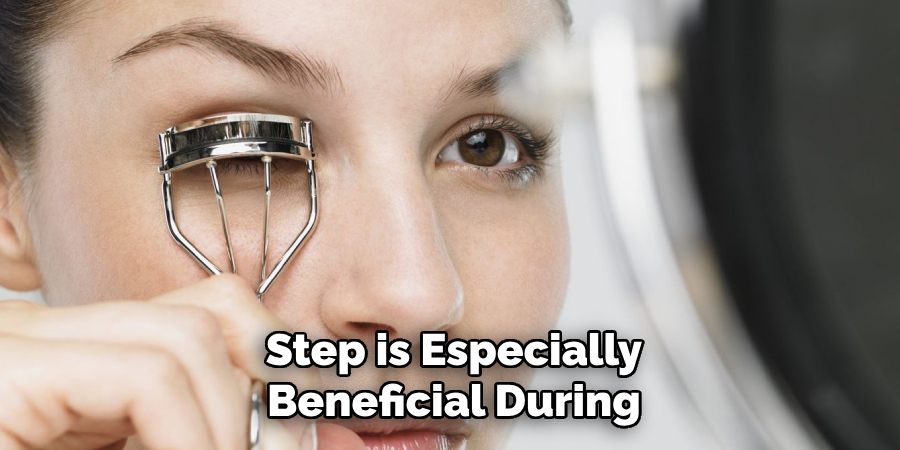
This step is especially beneficial during colder months when your hands may naturally feel colder. Just ensure your hands remain dry and clean before proceeding to the next step to maintain hygiene and a firm grip on the curler.
Step 3. Use a Spoon
Using a spoon as an alternative to a traditional eyelash curler is an age-old beauty hack that works surprisingly well. To begin, select a spoon with a smooth, rounded edge that comfortably fits against your eyelid. Hold the spoon so that the curved edge aligns with the base of your lashes, resting gently against your skin.
With one hand holding the spoon in place, use the other hand to carefully press your lashes against the curved surface of the spoon using your thumb. Apply gentle pressure as you slide your thumb along the lashes, working in small sections to ensure an even curl.
This technique mimics the effect of a curling tool without needing additional equipment. It’s an excellent option for those on the go or in situations where a proper curler isn’t available, offering a quick and effective way to naturally enhance your lashes.
Step 4. Press and Curl with Your Fingers
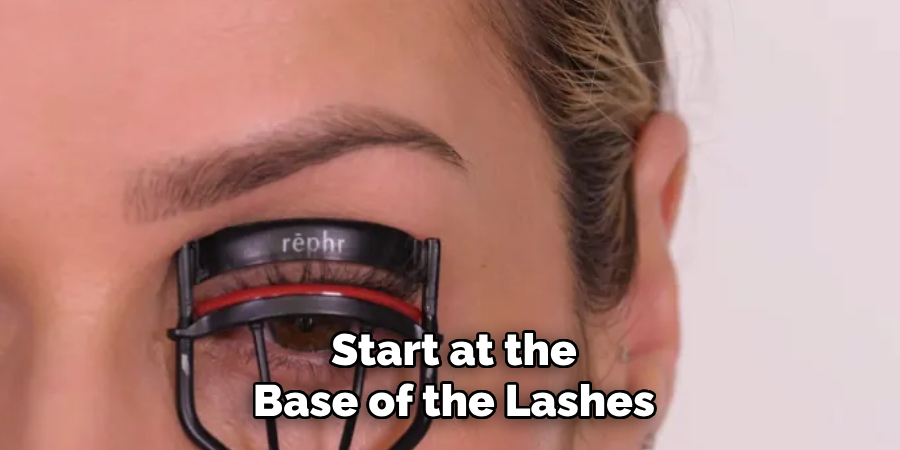
After positioning your lashes against the curved surface of the spoon, ensure that you press firmly yet gently to avoid any discomfort or pulling of the delicate lash hairs. Work methodically, starting from the base of the lashes and gradually moving toward the tips.
This allows you to create a natural and consistent curl throughout the entire lash line. Additionally, holding each section in place for a few seconds while applying pressure can help the lashes retain their shape for a more extended period.
If desired, repeat the process for a more defined curl, but be careful not to overwork the lashes to avoid damage.
Step 5. Ups and Mascara Application
Once both eyes are curled to your satisfaction, you may want to further enhance the look by applying mascara. Mascara helps to intensify the curl while adding volume and length to your lashes. Begin by selecting a high-quality mascara that complements your desired look, such as one that lengthens, volumizes, or is waterproof.
When applying, start at the base of the lashes and use a gentle wiggling motion as you move the wand upward toward the tips. This technique ensures even distribution of the product and prevents clumping.
Step 6. Heat the Spoon Slightly
Heating the spoon gently is a key step to achieving a smooth and lasting curl for your lashes. Using a warmed spoon can mimic the effect of a heated lash curler, helping to set the curl more effectively. To warm the spoon, run it under warm water or place it in a cup of warm water for a short moment. Be sure to test the temperature on the back of your hand to ensure it’s comfortable and not too hot, especially when using it near your delicate eye area.
Step 7. Finish with Mascara
Once your lashes are perfectly curled, applying mascara is essential to define and hold the look in place. Choose a high-quality mascara that suits your desired effect—whether that’s volumizing, lengthening, or waterproof. Start by wiping off any excess product from the mascara wand to avoid clumping.
Gently wiggle the wand at the base of your lashes to ensure even application and build volume, then sweep it upward toward the tips for length and definition. For a more dramatic look, apply a second or third coat, allowing each layer to dry slightly in between.
Don’t forget to coat your bottom lashes lightly for a balanced finish, taking care not to smudge. A good mascara will enhance the curl, make your lashes appear longer, and complete your eye makeup beautifully.
Step 8. Try the Finger Method
The finger method is an excellent tip for perfecting your mascara application and ensuring smudge-free results. After applying your mascara, gently place your index finger under your top lashes and press lightly upward, holding for a few seconds. This technique helps to enhance the natural curl of your lashes and prevents wet mascara from transferring onto your eyelids.
Additionally, this method can help separate any clumped lashes, ensuring a more natural and fanned-out effect. For bottom lashes, use your finger as a guard by placing it beneath the lashes as you apply mascara, which helps reduce the chance of smudging onto your skin. This simple yet effective step can elevate your mascara game, giving your lashes a defined, finished look with minimal effort.
By using these simple techniques, you can achieve beautifully curled lashes without the need for a lash curler!
5 Things You Should Avoid
- Using Excessive Heat: While warming tools like a spoon can help in curling lashes, applying too much heat can damage your lashes or even cause burns. Always test the temperature on your hand before bringing it close to your eyes.
- Applying Too Much Force: When using methods like pressing lashes with a spoon or your fingers, avoid pressing too hard. Overdoing it can weaken or break your lashes.
- Skipping Clean Tools: Ensure that items like spoons or your hands are clean before touching your lashes. Using unclean tools can increase the risk of eye infections.
- Neglecting Proper Application of Mascara: Avoid using old or clumpy mascara during the process. It can weigh down your lashes, making them harder to curl and achieve your desired look.
- Ignoring Gentle Technique: Aggressively pulling or tugging at your lashes can lead to fallout and damage. Always handle your lashes gently to keep them healthy and looking natural.
Conclusion
How to curl lashes without lash curler can be achieved effectively using alternative methods and the right techniques.
By employing tools like a clean spoon or crafting a safe, lash-friendly heat with your fingers, you can create a beautiful curl without risking damage to your lashes. Remember to focus on gentle handling, prioritize proper hygiene, and use fresh mascara to achieve a more enhanced look.
With care and attention, you can achieve stunning lashes with minimal tools while ensuring their long-term health and strength.
About the Author
Jane Hubbard is a passionate beauty expert with a wealth of experience in makeup, hair, and overall beauty techniques. After years of working as a hairdresser specialist, she followed her entrepreneurial spirit and started her own consultancy business.
Jane has always been driven by her desire to help others feel confident in their own skin, and she does this by sharing her knowledge, experiences, and practical beauty tips. Through her consultancy, she empowers individuals to embrace their unique beauty, offering tailored guidance that boosts both self-esteem and personal style.
Professional Focus
- Specializes in makeup, hairstyling, and beauty consulting.
- Provides personalized beauty advice, tips, and techniques to help individuals feel confident in their appearance.
- Dedicated to staying up-to-date with the latest industry trends and developments.
- Passionate about creating a comfortable and empowering experience for every client.
Education History
- University of Craft and Design – Bachelor of Fine Arts (BFA) in Woodworking and Furniture Design
- Woodworking Apprenticeships – Extensive hands-on training with skilled craftsmen to refine carpentry and furniture making techniques
- Online Courses & Masterclasses – Continued education in advanced woodworking techniques, design principles, and specialized tools
Expertise:
- Makeup artistry, hairstyling, and beauty consulting.
- Personalized beauty techniques to enhance confidence and self-expression.
- Educating clients on how to maintain their beauty routines at home.