
A neat haircut can make all the difference, and the area around the ears is often the first place to look untidy as your hair grows out.
Learning to trim this specific area can keep your haircut looking fresh between professional appointments, saving you time and money. It might seem intimidating at first, but with the right tools and a steady hand, you can easily achieve a clean, professional-looking finish at home.
This guide on how to cut hair around ears will walk you through everything you need to know, from preparation to the final snip.
What are the Benefits?
Mastering the art of trimming around your ears comes with several advantages.
- Cost Savings: You can extend the time between professional haircuts, which saves you money in the long run.
- Convenience: A quick touch-up at home is much more convenient than scheduling and traveling to a salon appointment for a minor trim.
- Maintained Appearance: You can keep your hairstyle looking sharp and well-groomed at all times, preventing that overgrown, shaggy look.
- Skill Development: It’s a useful grooming skill to have, giving you more control over your personal style.
What Will You Need?
Before you begin, gather the right tools to ensure a smooth and precise cut. Using household scissors is not recommended as they can damage your hair and result in an uneven finish.
- Hair Clippers with Guards: Essential for blending and tapering the hair.
- Trimmers or Edgers: Smaller than clippers, these are perfect for creating clean lines around the ear.
- Hair-Cutting Shears: A pair of sharp, professional scissors for detail work.
- Comb: A fine-tooth comb is necessary for sectioning and holding hair in place.
- Handheld Mirror: To see the back and side of your head.
- Cape or Old Towel: To keep hair off your clothes.
- Clips or Hair Ties: To hold back the longer sections of hair you don’t want to cut.
10 Easy Steps on How to Cut Hair Around Ears
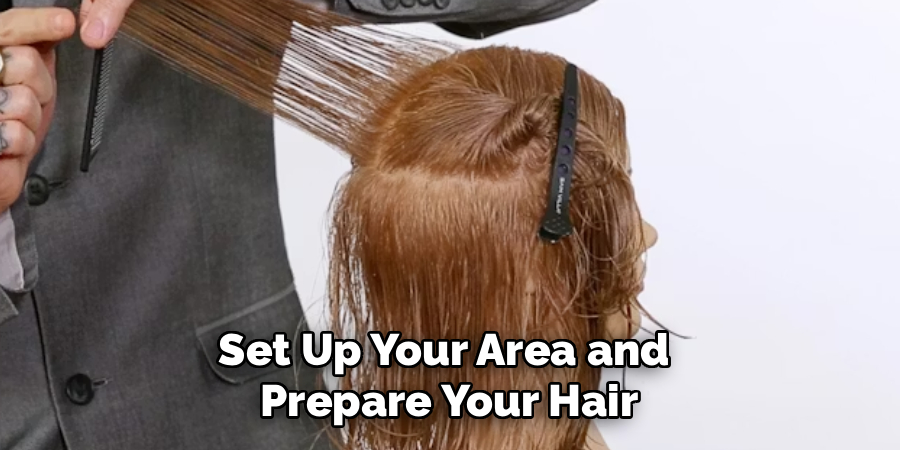
Step 1: Prepare Your Hair and Workspace
First things first, you need to set up your area and prepare your hair. It is crucial to work with clean, completely dry hair. When hair is wet, it clumps together and appears longer than it is. If you cut it wet, you risk taking off too much, as it will shrink and look different once dry. A clean slate ensures you see exactly how the hair falls naturally. Choose a well-lit room, ideally with a large mirror. The bathroom is often a perfect spot. To avoid a messy cleanup, drape an old towel or a barber’s cape over your shoulders to catch the falling hair clippings.
Step 2: Comb and Section the Hair
With your hair ready, the next step is to isolate the area you will be working on. Use a fine-tooth comb to brush the hair around your ears downward, following its natural growth pattern. This action reveals the hair that needs to be trimmed and separates it from the rest of your haircut. To prevent accidentally cutting into the longer hair on top, use hair clips or ties to secure these sections up and out of the way. This creates a clear, unobstructed working zone around each ear, which is vital for achieving a clean and precise result.
Step 3: Start with Clippers for Bulk Removal
If you have a significant amount of growth around the ears, clippers are your best friend for initial bulk removal. It’s a common mistake to go too short too soon. To avoid this, select a clipper guard that is one or two sizes longer than what you believe you need. You can always trim more later, but you can’t add hair back. Hold the clippers firmly and, moving against the direction of hair growth, use a gentle upward, scooping motion. This technique helps remove the excess length efficiently and begins the process of creating a tapered, blended look.
Step 4: Fold the Ear and Create the Initial Guideline
This step is where precision becomes paramount. Using your non-dominant hand, carefully fold the top of your ear down and forward. This action protects your ear and exposes the entire hairline you intend to cut. Now, take your trimmers (or you can use the corner of your clipper blade without a guard if you have a steady hand). Start at the front of the ear where the hairline begins and carefully etch a clean, slightly curved guideline. This line will serve as the foundation for the entire trim, so take your time to get it right.
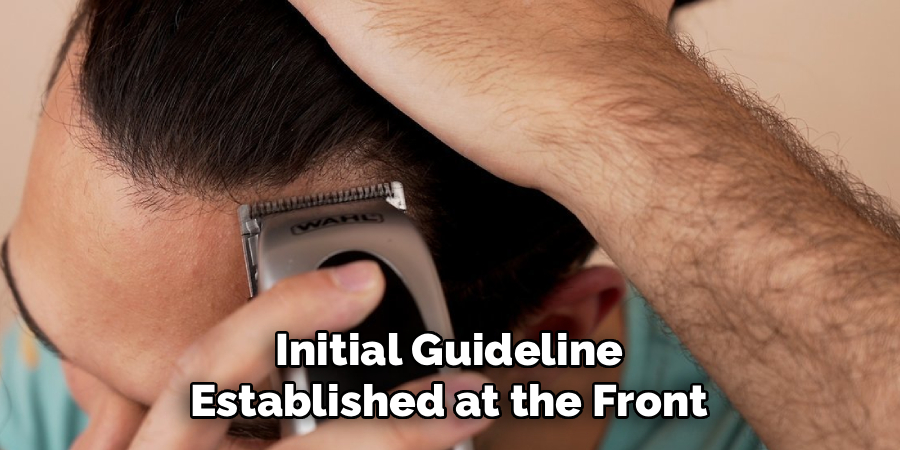
Step 5: Trim Behind the Ear
With your initial guideline established at the front, continue this line around the back of the ear. Keep the ear folded down to maintain a clear view and prevent any nicks. Use the tip of your trimmers to make short, deliberate strokes, following the natural curve where your ear meets your head. It can be tricky to see what you are doing, so this is where a handheld mirror comes in handy. Use it to check your progress from multiple angles and ensure the line is smooth and continuous.
Step 6: Define the Bottom Line
After you’ve successfully navigated the curve of your ear, you need to connect that line to the rest of your haircut. This involves cleaning up the area behind your earlobe down toward your neckline or sideburn. Use your trimmers to create a crisp, defined edge. Look at how the line flows and aim for a seamless transition that looks natural. This step is about cleaning up any stray hairs and finalizing the shape of the cutout around the ear.
Step 7: Repeat on the Other Side
Once you are happy with the first ear, it’s time to tackle the second. The goal is perfect symmetry. Follow the exact same sequence of steps, from sectioning the hair to defining the final line. It’s helpful to use reference points—for example, aligning the bottom of the cut with the bottom of your earlobe on both sides. Frequently step back and look in the main mirror to compare the two sides, using your handheld mirror to check the back. Make small adjustments as needed until both sides match.
Step 8: Detail with Shears
Clippers and trimmers are great for shaping, but sharp hair-cutting shears are essential for refinement. Comb the hair down over the ear one more time to spot any uneven hairs or thick spots the clippers may have missed. Use a technique called “point cutting,” where you snip into the ends of the hair with the tips of the scissors held vertically. This softens any harsh lines left by the clippers and helps the trimmed area blend more naturally with the longer hair.
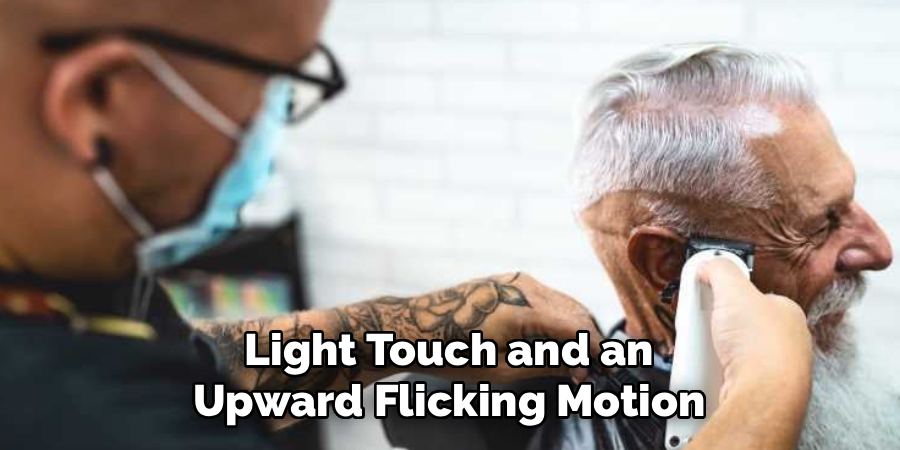
Step 9: Blend the Edges
A sharp line can sometimes look too severe. Blending is the key to a professional-looking finish. For this, you can use either your clippers or a scissor-over-comb technique. If using clippers, attach a guard that is one size longer than the one you used for bulk removal. With a light touch and an upward flicking motion, go over the edge of your guideline. This will soften the transition. Alternatively, place a comb at the edge, angled slightly outward, and snip the hair that pokes through with your shears.
Step 10: Clean Up and Review
The final step is to clean up and admire your work. Use a small brush, a cloth, or a damp paper towel to wipe away all the loose hair from your ears, neck, and shoulders. Now, conduct a final, thorough inspection. Use your mirror setup to examine your work from every possible angle. Look for any stray hairs or slightly uneven spots you might have missed. Make any tiny, final touch-ups with your trimmers or shears to perfect the look.
5 Things You Should Avoid
- Using Dull Scissors: Regular kitchen or craft scissors will pull and damage hair, leading to split ends and an uneven cut.
- Cutting Too Much at Once: Always start by trimming less than you think you need. You can always go back and cut more, but you can’t put it back on.
- Rushing the Process: Take your time. Hurrying often leads to mistakes and a crooked hairline.
- Forgetting to Use a Mirror: Don’t try to cut blind. Use a combination of a wall mirror and a handheld mirror to see all sides of your head.
- Cutting Wet Hair: Cutting hair around the ears when it’s wet can be deceptive. It shrinks as it dries, which could leave you with a much shorter and uneven result than you intended.
Frequently Asked Questions
1. How Often Should I Trim the Hair Around My Ears?
This depends on how fast your hair grows and your desired level of neatness. Generally, a quick touch-up every two to three weeks is sufficient to keep your haircut looking clean and sharp between your regular salon visits.
2. Can I Use a Razor Instead of Trimmers for the Outline?
While a straight razor can create a very sharp line, it is not recommended for beginners. It requires significant skill and carries a high risk of cutting yourself. Stick with electric trimmers for a safer and more controlled experience at home.
3. What’s the Best Way to Make Both Sides Even?
The key to symmetry is to work slowly and check your progress often. Use reference points on your face, like the top or bottom of your ear, to guide you. Frequently step back from the mirror to compare both sides from a distance.

Conclusion
Trimming the hair around your ears is a practical skill that helps you maintain a polished look with minimal effort.
While it may take a bit of practice to perfect, following these steps will build your confidence. By investing in the right tools and taking a patient, methodical approach, you can achieve salon-quality results from the comfort of your own home. You’ll not only look great but also enjoy the satisfaction of mastering a new grooming technique.
Hopefully, the article on how to cut hair around ears has given you all the information and guidance you need to successfully trim your hair at home.
About the Author
Jane Hubbard is a passionate beauty expert with a wealth of experience in makeup, hair, and overall beauty techniques. After years of working as a hairdresser specialist, she followed her entrepreneurial spirit and started her own consultancy business.
Jane has always been driven by her desire to help others feel confident in their own skin, and she does this by sharing her knowledge, experiences, and practical beauty tips. Through her consultancy, she empowers individuals to embrace their unique beauty, offering tailored guidance that boosts both self-esteem and personal style.
Professional Focus
- Specializes in makeup, hairstyling, and beauty consulting.
- Provides personalized beauty advice, tips, and techniques to help individuals feel confident in their appearance.
- Dedicated to staying up-to-date with the latest industry trends and developments.
- Passionate about creating a comfortable and empowering experience for every client.
Education History
- University of Craft and Design – Bachelor of Fine Arts (BFA) in Woodworking and Furniture Design
- Woodworking Apprenticeships – Extensive hands-on training with skilled craftsmen to refine carpentry and furniture making techniques
- Online Courses & Masterclasses – Continued education in advanced woodworking techniques, design principles, and specialized tools
Expertise:
- Makeup artistry, hairstyling, and beauty consulting.
- Personalized beauty techniques to enhance confidence and self-expression.
- Educating clients on how to maintain their beauty routines at home.