
Are you a fan of exquisite and glamorous makeup? If so, then you will certainly love the artful expression and intricate details that come with Arabic eyeliner. This type of liner is known for its beautiful designs that feature an exotic flair, giving the eyes an overall dramatic effect. Whether you’re looking for something new to use in your eye makeup look or seeking to recreate some traditional Arabic patterns on paper or other crafts, this tutorial has got you covered!
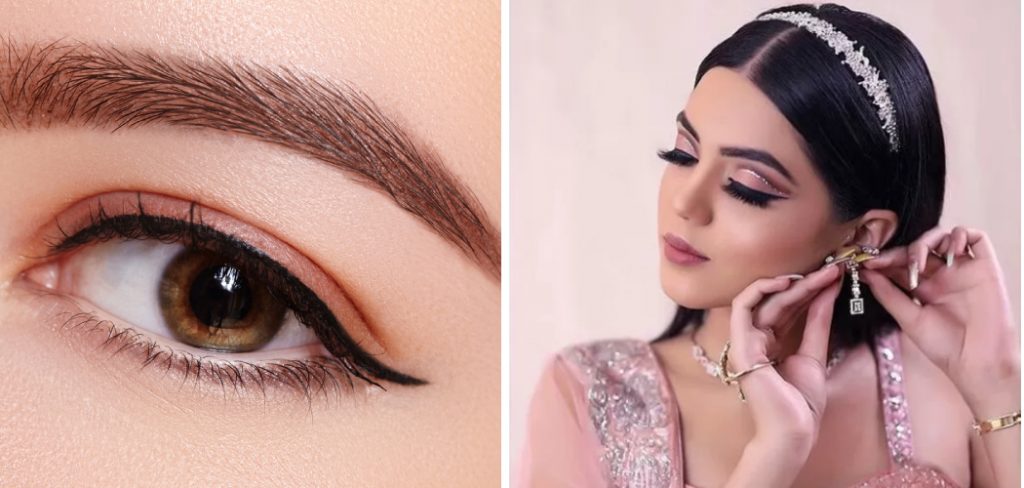
Through comprehensive instructions and helpful tips on how to do arabic eyeliner, we’ll show you how to unleash your creative potential and create stunning designs with Arabic eyeliner. Feel free to play around–you’ll be surprised at the gorgeous creations available! So let’s get started right away – it’s time to enjoy some inventive creativity!
Why is It Different From Other Eyeliners?
Arabic eyeliner has a few unique characteristics that set it apart from regular liners. It typically consists of bold and highly stylized lines, often composed of intricate shapes such as swirls and curved designs. This type of liner also tends to be thicker than other styles and usually involves the use of kohl or black eyeliner pencils.
Unlike traditional eyeliner, Arabic liner places a greater focus on eye shape and design. It can even be used to create different shapes or enhance certain features, such as your eyes’ natural curves. The possibilities for creativity are endless!
Required Items
Before you dive into creating your own Arabic eyeliner, make sure to have all the necessary materials. This includes:
- A black or brown eyeliner pencil (kohl is preferred)
- An angled brush
- Liquid liner or gel liner
- Mascara
- Eye shadow in complementary colors, such as shades of brown, black, gold, or bronze
- Cotton swabs
- An eye pencil sharpener.
10 Ways How to Do Arabic Eyeliner
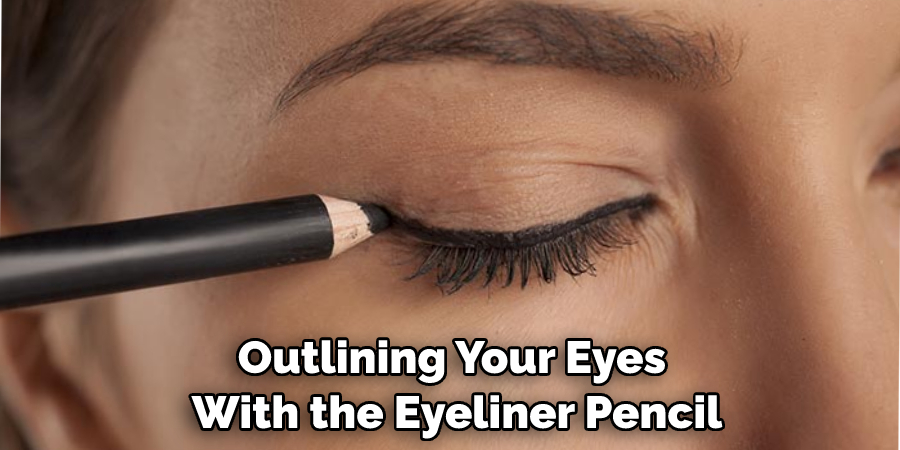
1. Outline
Start by outlining your eyes with the eyeliner pencil, using an angled brush to draw thin lines and fill in gaps where needed. While doing this, keep in mind the overall shape and design you want to create. If you’re a beginner, it might be helpful to practice first with regular eyeliner before attempting Arabic eyeliner.
2. Fill in
Once your initial outline is done, fill in any gaps or edges using liquid or gel liner. This helps to create a crisp and even finish. Filling in also gives you more control over your final shape. Remember to take your time and be precise!
3. Add Dimension
Using the eye shadow of your choice, add some depth and definition to your design by adding darker tones to the outer areas or lighter shades in the inner corners. This will help you create a more dimensional look.
4. Sharpen Details
To create sharper details, it’s best to use an eye pencil sharpener. This will help make sure that the lines are precise and even. Sharpening also helps to reduce smudging and makes your design look more polished.
5. Add Highlights
Once you’re happy with the base of your design, use a light-colored eye shadow to add some subtle highlights. This will help bring out any intricacies and give the overall design a more glamorous effect.
6. Soften Edges
Using a cotton swab, soften any harsh lines or edges to create a smoother finish. This is especially helpful in creating rounded designs and will help blend different colors together seamlessly.
7. Add Mascara
Apply a few coats of mascara to your lashes for an extra touch of drama. Make sure to avoid getting any on your eyeliner, as this may cause it to smudge. Mascara is also great for creating more volume and length.
8. Test It Out
Once your design is finished, test it out by blinking a few times to make sure that everything looks good and there’s no smudging or fading. This will help ensure that the final product looks exactly how you want it to!
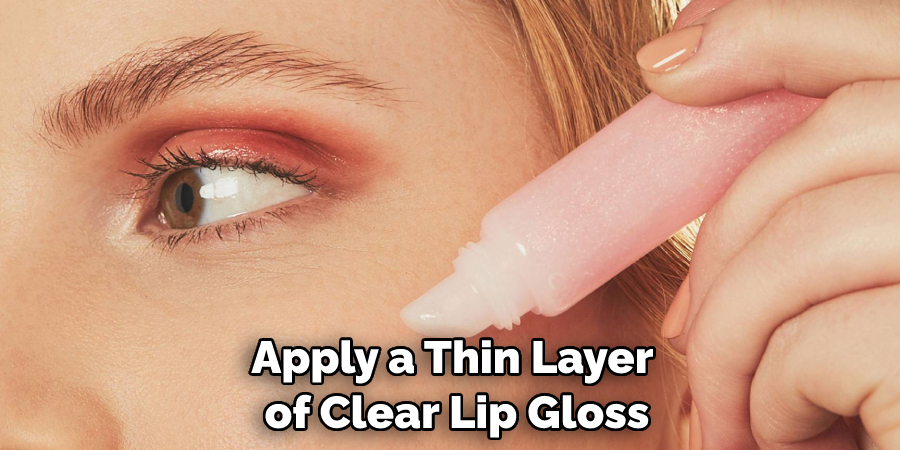
9. Seal It in
To make sure your design lasts, apply a thin layer of clear lip gloss or face powder over the eyeliner. This will help keep it looking fresh for longer and reduce smudging. Sealing is also great for making your design look more vibrant and dramatic.
10. Show it off!
And voila! You’re now ready to show off your beautiful Arabic eyeliner. With a little practice and patience, you’ll be able to create stunning designs that will turn heads. So what are you waiting for? Get creative and experiment with different shapes and colors to find the perfect look for you!
8 Common Mistakes to Avoid When Applying Arabic Eyeliner
When it comes to creating the perfect Arabic eyeliner look, there are a few common mistakes that can easily be avoided. Here’s what to keep an eye out for when applying your Arabic eyeliner:
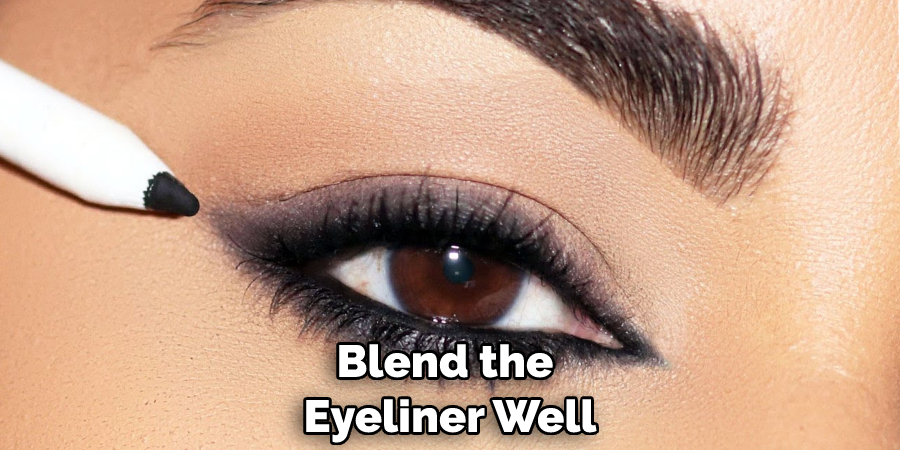
1. Not using enough of the product. For best results, make sure you’re using enough eyeliner to get a good, solid line. Keep in mind to start your line thin and then make it thicker towards the end. Also, make sure you blend your eyeliner well so that it doesn’t look too bold.
2. Not taking the time to measure correctly. Before applying your Arabic eyeliner, take the time to measure from the outside corner of your eye to ensure that both sides are even when creating a cat-eye shape with liner.
3. Not sharpening your pencil first. Using a freshly sharpened pencil will help you get the perfect line with fewer mistakes and smudging than using one that’s dull. Sharpening your pencil before applying will also help you get a sharper, more precise line.
4. Not being careful with the edges. When creating a cat-eye shape with Arabic eyeliner, it’s important to be careful not to make the edges too sharp. Too sharp of an angle can look harsh and unnatural, so take care when blending and smudging the eyeliner for a softer edge.
5. Not using a primer or setting spray. Before applying Arabic eyeliner, make sure to use an eye shadow primer and then set it with a makeup setting spray once you’re done with your look. This will ensure that your eyeliner stays in place all day long and won’t smudge.
6. Not using the right color. The key to achieving a beautiful Arabic eyeliner look is finding the perfect shade of black that works for you. Make sure to swatch different shades before deciding on which one looks best with your skin tone and eye color.
7. Applying too much eyeliner. When applying Arabic eyeliner, make sure you’re not overdoing it. Start with a thin line and then gradually build up the intensity as you move toward the end of your eye. Too much liner can easily overwhelm your look, so take care when applying your liner.
8. Not blending enough. Make sure to blend the eyeliner well so that it looks natural and not too harsh. This will also help to ensure that your look lasts longer without smudging or fading.
By avoiding these common mistakes, you’ll be able to achieve a perfect Arabic eyeliner look every time! Just remember to take your time when applying and make sure each step of the process is done correctly.
Frequently Asked Question
How Long Does the Arabic Liner Stay Good?
When applied correctly, your Arabic eyeliner can last all day. It’s important to use a high-quality liner and make sure it is properly applied before heading out for the day. If you want even longer wear time, try using an oil-free primer or finish with a long-lasting makeup setting spray. Also, take care when removing your liner at night; use an oil-free makeup remover to minimize smudging or fading.
Do I Need Special Products for Arabic Eyeliner?
You don’t necessarily need special products for Arabic eyeliner, but using the right ones can help you achieve the perfect look. Many beauty brands offer kohl liners specifically designed for creating the Arabic look, as they are usually more pigmented and can be layered to reach full opacity. If you don’t have access to kohl liner, a liquid eyeliner or gel liner will also work — just make sure it is highly pigmented and long-wearing so that your look lasts all day.
Conclusion
Creating Arabic-style eyeliner can be a fun and creative way to add flair to any eye makeup look. This tutorial on how to do Arabic eyeliner demonstrated how you can create intricate yet chic designs using eyeliner. Although the steps can seem intimidating, with the right technique and practice, anyone can try this style. Helping friends who are not as experienced in applying short, precise lines of eyeliner also makes for a great bonding session.
Once you’ve perfected your own techniques, consider trying out different colors or designs! You never know what subtle changing in a few details may give you – so have some fun exploring your creativity and seeing what works best for you. Have you ever tried doing Arabic-style eyeliner? Share your experiences below! If you’d like to get started on giving it a shot or, even better – level up to crafting items such as an eyeliner stencil – check out our DIY kits today!
About the Author
Jane Hubbard is a passionate beauty expert with a wealth of experience in makeup, hair, and overall beauty techniques. After years of working as a hairdresser specialist, she followed her entrepreneurial spirit and started her own consultancy business.
Jane has always been driven by her desire to help others feel confident in their own skin, and she does this by sharing her knowledge, experiences, and practical beauty tips. Through her consultancy, she empowers individuals to embrace their unique beauty, offering tailored guidance that boosts both self-esteem and personal style.
Professional Focus
- Specializes in makeup, hairstyling, and beauty consulting.
- Provides personalized beauty advice, tips, and techniques to help individuals feel confident in their appearance.
- Dedicated to staying up-to-date with the latest industry trends and developments.
- Passionate about creating a comfortable and empowering experience for every client.
Education History
- University of Craft and Design – Bachelor of Fine Arts (BFA) in Woodworking and Furniture Design
- Woodworking Apprenticeships – Extensive hands-on training with skilled craftsmen to refine carpentry and furniture making techniques
- Online Courses & Masterclasses – Continued education in advanced woodworking techniques, design principles, and specialized tools
Expertise:
- Makeup artistry, hairstyling, and beauty consulting.
- Personalized beauty techniques to enhance confidence and self-expression.
- Educating clients on how to maintain their beauty routines at home.