
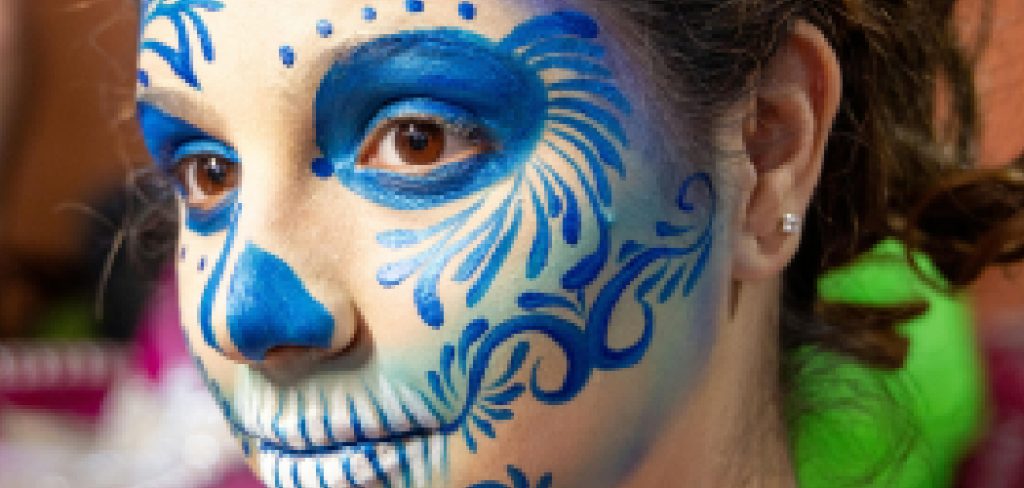
Are you looking to perfect your Latina makeup look? Look no further! This guide will provide you with step-by-step instructions on how to achieve the classic and glamorous Latina makeup style.
Latina makeup celebrates vibrant beauty, confidence, and warmth, incorporating bold colors, glowing skin, and striking features. It is all about blending traditional techniques with modern trends to highlight natural beauty while adding a touch of drama and flair. Whether you’re aiming for a sultry smokey eye, a flawless complexion, or a vibrant lip, Latina makeup toturials can help accentuate your features and express your unique style.
This guide on how to do Latina makeup will walk you through the essential steps, tips, and tricks to achieve a stunning Latina-inspired makeup look with ease.
What Are the Benefits of Doing Latina Makeup?
Latina makeup is not just about the final look but also the process and how it makes you feel. Here are some of the benefits of doing Latina makeup:
- Boosts Confidence: Latina makeup’s vibrant and bold colors can help boost your confidence and empower you.
- Celebrates Diversity: Latina makeup embraces diversity and celebrates different skin tones, features, and styles.
- Enhances Natural Beauty: By combining traditional techniques with modern trends, Latina makeup enhances your natural beauty instead of masking it.
- Expresses Individuality: With its unique blend of drama and flair, Latina makeup allows you to express your style and personality.
Now that we’ve covered the benefits of Latina makeup let’s dive into how you can achieve this stunning look.
What Will You Need?
Before we get started, make sure you have the following items on hand:
- Primer: A good primer will help create a smooth and even base for your makeup.
- Foundation: Choose a foundation that matches your skin tone to achieve a flawless complexion.
- Concealer: Use concealer to hide any imperfections or dark circles under your eyes.
- Bronzer/Contour: Achieve a sun-kissed look with bronzer or use contour products to define and sculpt your features.
- Blush: Add a pop of color to your cheeks with a rosy blush.
- Eyeshadow Palette: Opt for an eyeshadow palette with warm, earthy tones to create a classic Latina eyeshadow look.
- Eyeliner: Whether you prefer a winged liner or a smokey eye, eyeliner is essential for achieving the perfect Latina makeup look.
- Mascara: Get long and voluminous lashes with a good lengthening mascara.
- Lipstick/Lip Gloss: Choose bold and vibrant shades for your lips to complete the look.
With these basic makeup items, you’re ready to get started!
8 Easy Steps on How to Do Latina Makeup
Step 1: Prepare Your Skin
The first and most crucial step in achieving flawless Latina makeup is to start with a well-prepped canvas. Begin by cleansing your face thoroughly to remove any dirt, excess oil, or makeup residues from previous applications.
If needed, follow up with a gentle exfoliator to ensure your skin is smooth and free of dead skin cells, which helps makeup apply evenly. After cleansing, hydrate your skin by using a moisturizer suited to your skin type—this helps keep the makeup from looking cakey or dry.
You can also use a primer tailored to your skin’s needs for added benefits. If you have oily skin, go for a mattifying primer to help control shine throughout the day. If your skin is drier, a hydrating or luminous primer can add a natural glow to your look. Don’t forget to apply sunscreen if your moisturizer or primer doesn’t already include SPF—protecting your skin is key to long-term health and ensuring a smooth base for your makeup.
Step 2: Apply Foundation and Concealer
Once your face is prepped, it’s time to even out your skin tone with foundation. Choose a foundation that matches your skin tone and undertone for a seamless finish. Using a damp makeup sponge or brush, blend the foundation evenly across your face, focusing on areas that need more coverage. Avoid applying too much product to prevent a heavy or unnatural look.
Next, use a concealer to cover blemishes, dark circles, or redness. Opt for a shade slightly lighter than your foundation for under-eye areas to brighten your complexion. Gently blend the concealer using your ring finger, sponge, or brush to create a smooth and natural result. Proper blending ensures the base looks cohesive and flawless.
Step 3: Set Your Base with Powder
Set your base with a translucent or pressed powder to ensure your foundation and concealer stay in place throughout the day. Using a fluffy powder brush, lightly dust the powder over your T-zone or any areas prone to oiliness.
For a longer-lasting finish, you can press the powder into your skin with a powder puff, focusing on areas like the under eyes and around the nose. Be careful not to over-apply; too much powder can make your makeup look cakey. This step helps lock in your base, reduces shine, and provides a smooth surface for the rest of your makeup application.
Step 4: Add Dimension with Contour and Bronzer
To bring dimension and warmth to your face, apply contour and bronzer. Use a matte contour powder or cream to define your cheekbones, jawline, and the sides of your nose. Blend well to avoid harsh lines for a natural appearance. Next, apply bronzer to the areas where the sun naturally hits your face, such as your forehead, temples, and cheeks. This step adds depth and a sun-kissed glow, enhancing your facial structure and creating a more sculpted look.

Step 5: Add a Pop of Color with Blush
Blush is the perfect way to bring a healthy flush and vibrancy to your complexion. Choose a shade that complements your skin tone—soft pinks and peaches work well for lighter skin tones, while deeper shades like berry or coral flatter medium to darker tones.
Using a fluffy blush brush, lightly sweep the blush over the apples of your cheeks, blending it upward toward your temples. This technique not only adds a natural warmth to your face but also lifts and defines your cheekbones. For a more youthful appearance, you can add a touch of blush to the bridge of your nose or blend it slightly into your bronzer for a seamless transition of colors. Remember, build the color gradually to avoid overpowering your look.
Step 6: Highlight for a Radiant Glow
Highlighter is the key to achieving a luminous, glowing complexion. Choose a highlighter that complements your skin tone—champagne tones are versatile, whereas golds and bronzes work beautifully on deeper skin tones, and icy or pearl shades suit lighter complexions.
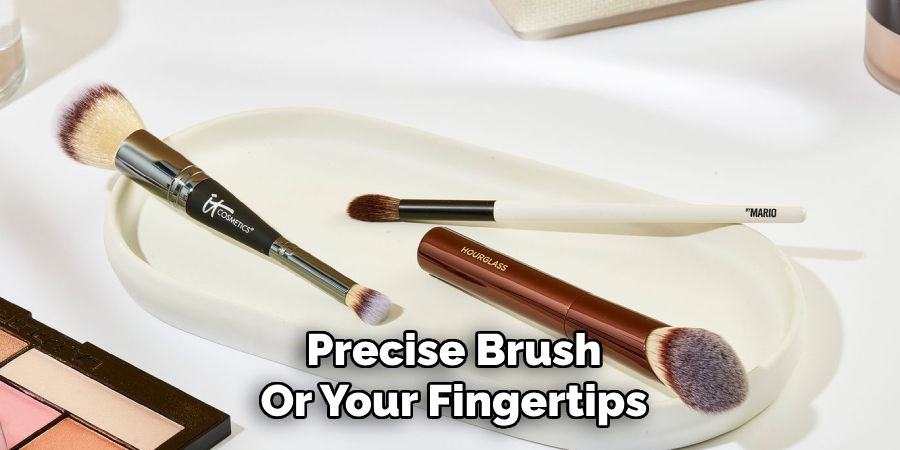
Using a small, precise brush or your fingertips, apply the highlighter to the high points of your face that naturally catch the light, such as the tops of your cheekbones, the bridge of your nose, your brow bone, and the cupid’s bow. You can lightly dust some on the inner corners of your eyes or your collarbones for an extra radiant look. Be sure to blend well to create a seamless, lit-from-within glow without any harsh lines.
Step 7: Set Your Makeup
Setting up your makeup is an essential final step to ensure it stays in place throughout the day. Use a setting spray or a translucent setting powder, depending on your skin type and preference. For those with oily skin, a light dusting of setting powder can help control shine and keep your makeup looking fresh.
A setting spray is ideal for a more dewy finish—it locks your makeup in place while maintaining a hydrated, natural glow. Hold the spray about 8-10 inches away from your face and mist evenly, avoiding over-saturating any area. This step will help your makeup last longer while giving it a polished, flawless finish.
Step 8: Final Touches
The final touches are what elevate your makeup look and give it a professional finish. Check for any areas that might need a little extra blending or adjustment.
Use a clean brush or sponge to smooth out any edges and ensure everything is cohesive. Add a bit more mascara, touch up your lipstick, or apply a hint of blush for a fresh pop of color. Don’t forget to assess your makeup under different lighting to ensure it looks flawless in natural and artificial light. With these final tweaks, your makeup look is complete—ready to make a lasting impression!
By following these steps and using the right products and techniques, you can create a flawless, long-lasting base for any makeup look.
5 Things You Should Avoid
- Over-lightening the Foundation: Avoid using a foundation shade that is too light for the skin tone. Latina skin often has warm undertones, and choosing the wrong shade can make the complexion appear ashy or unnatural.
- Ignoring the Brows: Neglecting the eyebrows can throw off the entire look. Over-plucking or ignoring the natural brow shape can detract from the makeup’s cohesive effect. Instead, enhance the brows to frame the face beautifully.
- Overusing Contour: While contouring can define features, over-contouring can create harsh lines that appear unnatural. Stick to subtle, well-blended contouring to enhance the face’s natural structure.
- Using the Wrong Lip Shades: Certain lip colors, such as overly pale tones, might not complement the warmth of Latina skin tones. Instead, opt for rich colors like reds, berries, or mauves to complement the natural beauty.
- Not Setting the Makeup: Failing to set the makeup can lead to smudging or a patchy appearance, especially in humid climates. Use a setting powder or spray to ensure the makeup stays flawless throughout the day.
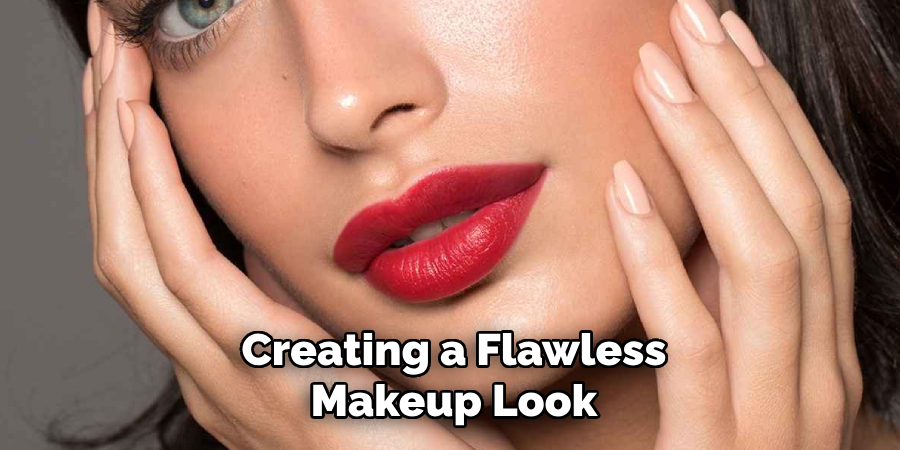
Conclusion
Creating a flawless makeup look for Latina skin tones involves understanding the unique features and tones that make this complexion vibrant.
By selecting the right foundation shades, enhancing natural features like brows, and choosing complementary lip and eye colors, the beauty of Latina skin can truly shine. Remember to blend well, use products sparingly, and always set the makeup to ensure a long-lasting, polished finish.
Hopefully, the article on how to do latina makeup has provided valuable insights and tips for creating a stunning look that celebrates the natural beauty of Latina skin.
About the Author
Jane Hubbard is a passionate beauty expert with a wealth of experience in makeup, hair, and overall beauty techniques. After years of working as a hairdresser specialist, she followed her entrepreneurial spirit and started her own consultancy business.
Jane has always been driven by her desire to help others feel confident in their own skin, and she does this by sharing her knowledge, experiences, and practical beauty tips. Through her consultancy, she empowers individuals to embrace their unique beauty, offering tailored guidance that boosts both self-esteem and personal style.
Professional Focus
- Specializes in makeup, hairstyling, and beauty consulting.
- Provides personalized beauty advice, tips, and techniques to help individuals feel confident in their appearance.
- Dedicated to staying up-to-date with the latest industry trends and developments.
- Passionate about creating a comfortable and empowering experience for every client.
Education History
- University of Craft and Design – Bachelor of Fine Arts (BFA) in Woodworking and Furniture Design
- Woodworking Apprenticeships – Extensive hands-on training with skilled craftsmen to refine carpentry and furniture making techniques
- Online Courses & Masterclasses – Continued education in advanced woodworking techniques, design principles, and specialized tools
Expertise:
- Makeup artistry, hairstyling, and beauty consulting.
- Personalized beauty techniques to enhance confidence and self-expression.
- Educating clients on how to maintain their beauty routines at home.