
Your passport photo is more than just a picture; it’s your official identity for international travel for the next ten years. Given its long lifespan and the strict rules surrounding it, you want to look your best while still looking like yourself. The right makeup can help you achieve a polished and photo-ready appearance that meets all official requirements.
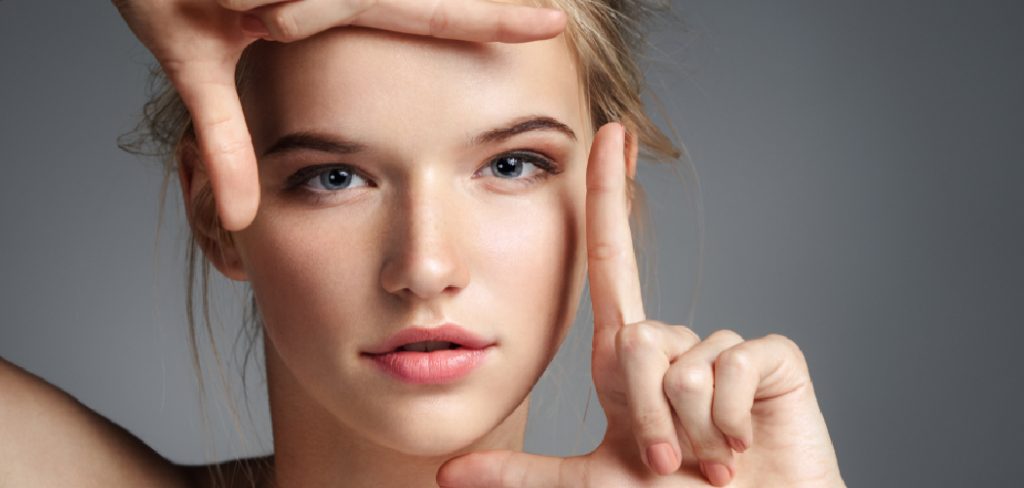
This guide on how to do passport makeup will walk you through creating a look that enhances your natural features without being over-the-top. We’ll cover everything from the essential tools to step-by-step instructions, ensuring your passport photo is one you can be proud of for years to come.
Tools and Materials You’ll Need
- Hydrating Primer
- Matte Foundation or BB Cream
- Concealer
- Translucent Setting Powder
- Neutral Eyeshadow Palette (mattes and satins)
- Eyebrow Pencil or Powder
- Black or Brown Mascara
- Eyelash Curler
- Subtle Blush (peachy or rosy tones)
- Contour Powder (one or two shades darker than your skin tone)
- Neutral Lipstick or Tinted Lip Balm
- Makeup Brushes and Sponges
7 Simple Step-By-Step Guidelines on How to Do Passport Makeup
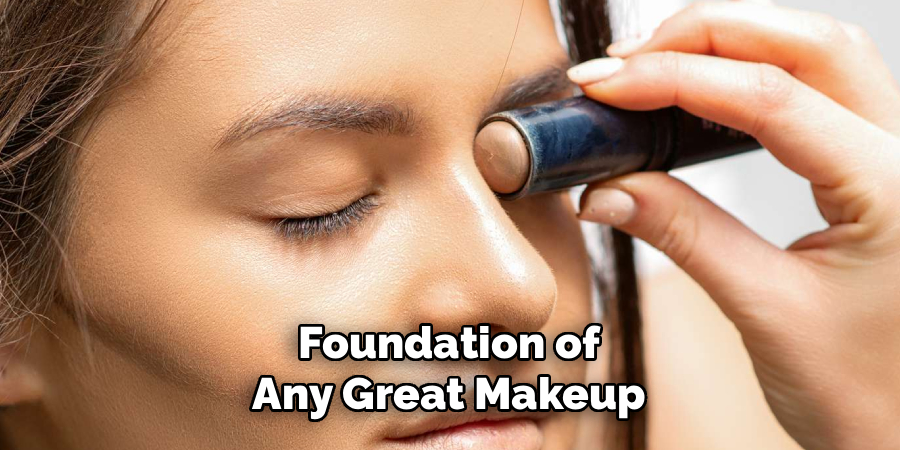
Step 1: Start with a Clean, Prepped Base
The foundation of any great makeup look is a well-prepared canvas. Begin by cleansing your face thoroughly to remove any dirt or oil, then follow up with a lightweight, hydrating moisturizer. This step is crucial because it prevents your makeup from looking patchy or clinging to dry spots. Once your moisturizer has fully absorbed, apply a mattifying or smoothing primer. A primer helps to fill in pores and fine lines, creating a smooth surface for your foundation and helping your makeup last longer under the bright lights of the photo booth.
Given that passport photos are often taken under harsh, direct lighting, a matte finish is your best friend. A good primer will control shine and prevent flashback from your foundation, which can make your face look overly white or greasy in the final picture. Think of this initial prep as creating the ideal, even base that ensures the rest of your makeup application goes on smoothly and looks flawless, both in person and on camera.
Step 2: Create an Even, Natural-Looking Complexion
For your complexion, the goal is to look like the best version of your natural self. Choose a foundation with a matte or satin finish that perfectly matches your skin tone. Avoid foundations with SPF, as ingredients like zinc oxide and titanium dioxide can cause a white cast or “flashback” in photos. Apply the foundation in thin layers using a damp beauty sponge or a foundation brush, building coverage only where needed. This approach ensures your skin looks even and fresh, not heavy or caked-on.
After applying foundation, use a concealer that is one shade lighter than your skin tone to brighten your under-eye area. Gently pat it in with your ring finger or a small brush to blend seamlessly. You can also use the concealer to cover any blemishes or redness. The key is to blend everything thoroughly so there are no harsh lines. This careful application will give you a bright-eyed, well-rested appearance without looking overly made up, which is perfect for a government-issued ID.
Step 3: Set Your Makeup to Avoid Shine
Once your base is complete, setting it with powder is a non-negotiable step for passport photos. The bright flash used in photo booths can accentuate any hint of oil or dewiness on your skin, resulting in an unflattering, shiny appearance. Use a finely milled translucent setting powder to lightly dust over your entire face, paying special attention to your T-zone (forehead, nose, and chin), where oil tends to accumulate the most. This will lock your foundation and concealer in place and provide a smooth, matte finish.
When selecting a powder, make sure it is truly translucent and does not contain any light-reflecting particles or shimmer. Some “HD” powders can cause flashback, which creates a ghostly white effect on camera, so it’s best to test your powder with a flash photo beforehand. Apply the powder with a large, fluffy brush for a light application, or use a powder puff to press it into the skin for maximum oil control.
Step 4: Define Your Eyes Subtly
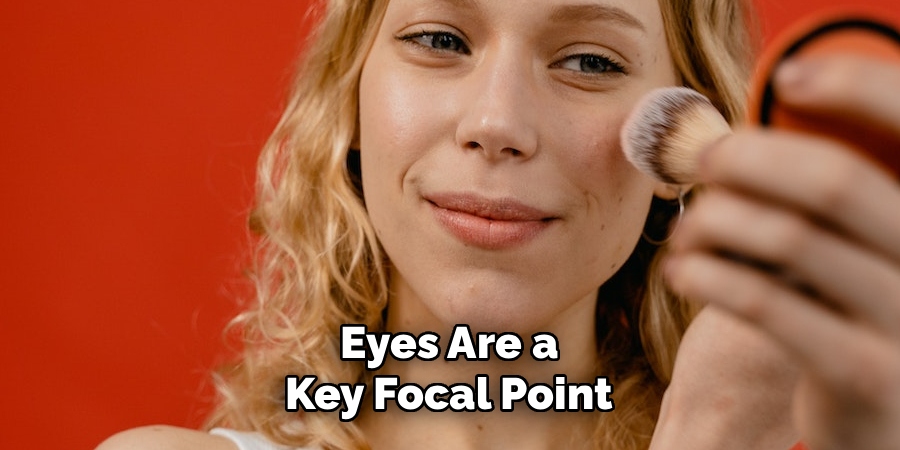
Your eyes are a key focal point, but passport makeup calls for definition, not drama. Stick to a neutral, matte eyeshadow palette with shades of brown, taupe, or soft grey. Apply a light shade across your entire eyelid as a base. Then, use a medium shade in the crease to add depth and dimension. This technique helps to define the shape of your eyes without overwhelming them. Avoid shimmer, glitter, or bold colors, as they can be distracting and may not photograph well.
To complete the eye look, a thin line of brown or black eyeliner along the upper lash line can make your lashes appear fuller. A small wing is acceptable, but avoid anything too dramatic that alters your natural eye shape. Curl your lashes to open up your eyes and apply one or two coats of a lengthening or defining mascara. Skip false lashes, as they are often prohibited or can cast shadows that obscure your eyes, which might lead to your photo being rejected.
Step 5: Groom and Fill in Your Eyebrows
Well-groomed eyebrows are essential for framing your face and adding structure to your features. Before applying any product, use a spoolie brush to comb your brows upwards and outwards to see their natural shape. This helps you identify any sparse areas that need filling in. Your brows should look polished and defined, but still natural. The goal is to enhance what you have, not create an entirely new shape that looks artificial or harsh.
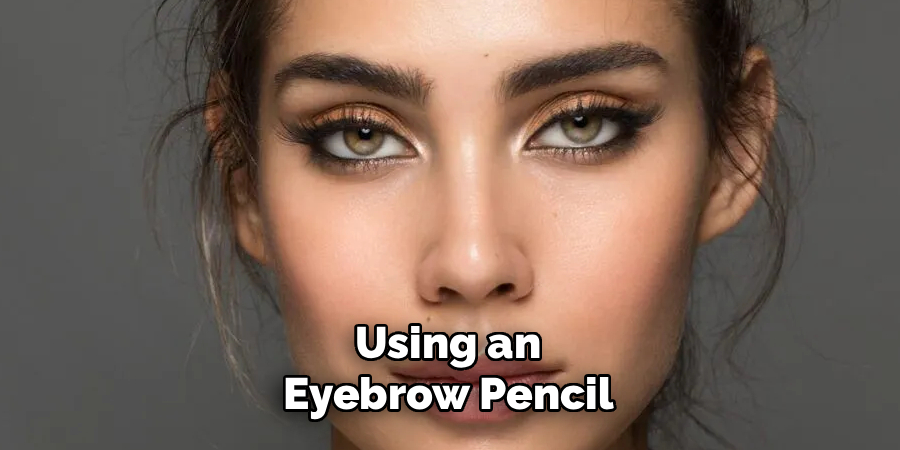
Using an eyebrow pencil, powder, or pomade that matches your hair color, lightly fill in any sparse spots with short, hair-like strokes. Focus on creating a defined arch and extending the tail if needed, but be careful not to make them too dark or blocky. After filling them in, use the spoolie again to brush through your brows. This step blends the product seamlessly and softens any harsh lines, resulting in brows that look naturally full and perfectly shape your face for the photo.
Step 6: Add Color and Dimension with Contour and Blush
Passport photos are taken straight-on with flat lighting, which can make your face appear one-dimensional. Reintroducing some subtle shadows and color is key to looking like yourself. Use a matte contour powder that is one to two shades darker than your skin tone. Lightly apply it under your cheekbones, along your jawline, and on the sides of your nose to gently sculpt and define your features. Be sure to blend thoroughly to avoid any obvious lines.
After contouring, add a touch of color to the apples of your cheeks with a matte, neutral-toned blush. Peachy or rosy shades tend to look the most natural on camera. A pop of blush brings life back into your complexion and prevents you from looking washed out. Avoid blushes with shimmer or glitter. Apply it sparingly and blend it upwards towards your temples for a healthy, natural-looking flush that enhances your bone structure.
Step 7: Finish with a Neutral Lip Color
The final step is to apply a subtle color to your lips. Your lips should look hydrated and polished, but the color should remain close to your natural lip shade. Bright or dark lipsticks can be distracting and may even be against regulations in some places. Opt for a neutral lipstick in a satin or matte finish, a tinted lip balm, or a nude lip liner filled in across the entire lip. Shades like mauve, dusty rose, or soft beige are excellent choices.
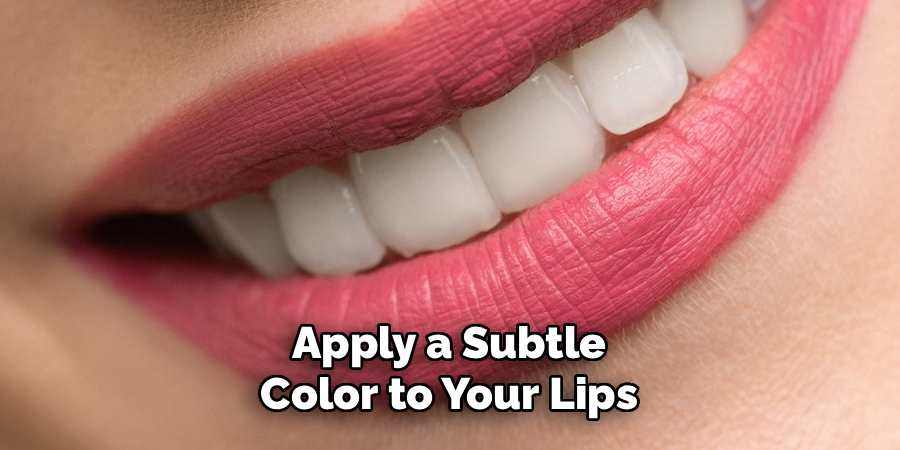
Before applying color, you can lightly exfoliate your lips and apply a bit of balm to ensure they are smooth. This prevents the lip color from settling into fine lines. The goal is a “my lips but better” look. A touch of natural color completes your polished appearance, ensuring your entire face looks balanced and put-together in your passport photo without drawing unnecessary attention to any single feature.
Following these steps on how to do passport makeup can help you achieve a natural and flattering look for your photo. Remember to keep it simple, avoid heavy makeup, and focus on enhancing your natural features rather than covering them up.
Additional Tips
- Wear a dark-colored top (like black, navy, or burgundy) to create a nice contrast against the white or off-white background required for passport photos. Avoid white or light-colored shirts that can blend in.
- Style your hair away from your face. Your entire face, from your forehead to your chin, must be visible. Push your hair back or tuck it behind your ears.
- Practice your makeup look and take a test photo with a flash on your phone. This helps you check for any potential flashback from your products and see how the makeup translates on camera.
- Ensure you get a good night’s sleep before your photo appointment to look refreshed.
- Maintain a neutral expression or a soft, closed-mouth smile as required by passport regulations.
Common Mistakes to Avoid
- Using a foundation with SPF can cause a white cast in photos.
- Applying too much highlighter or any product with shimmer or glitter.
- Forgetting to blend your contour, blush, and eyeshadow leads to harsh lines.
- Choosing bold or bright colors for your eyes or lips.
- Wearing heavy false eyelashes can obstruct your eyes.
Do You Need To Use Professionals?
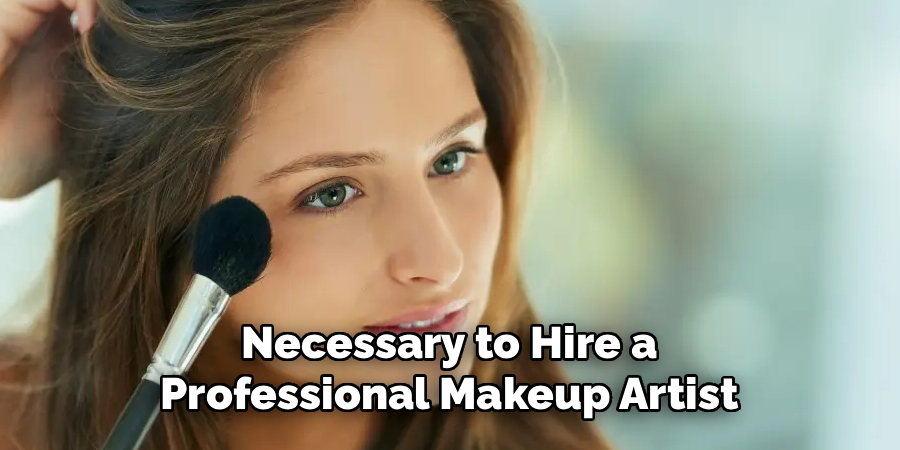
While it’s not necessary to hire a professional makeup artist for your passport photo, it can be a good option if you’re unsure about your makeup skills or simply want to ensure a perfect result. A professional will have experience with photo-ready makeup and will know exactly how to apply products to look great under flash photography without causing flashback. They can define your features subtly and ensure the look is polished and compliant with all regulations. If you’re stressed about getting it right, investing in a professional can provide peace of mind and a photo you’ll be happy with for the next decade.
How Much Will It Cost?
The cost of passport makeup depends on whether you do it yourself or hire a professional. If you use makeup you already own, the cost is essentially free. If you need to purchase a few key products like a matte foundation or a translucent powder, you might spend anywhere from $30 to $100+, depending on whether you choose drugstore or high-end brands. If you decide to hire a professional makeup artist, the cost can range from $75 to $200 or more, depending on their experience and your location. This fee typically includes a full face of camera-ready makeup designed to last and look flawless.
Frequently Asked Questions
Q1: Can You Wear Makeup in a Passport Photo?
A1: Yes, you are generally allowed to wear makeup in a passport photo. The key is that the makeup should not significantly alter your appearance. The photo must be a true and accurate representation of you. Therefore, you should stick to a natural, subtle makeup look that enhances your features rather than disguises them. Avoid heavy, theatrical, or glamorous makeup that changes your facial structure.
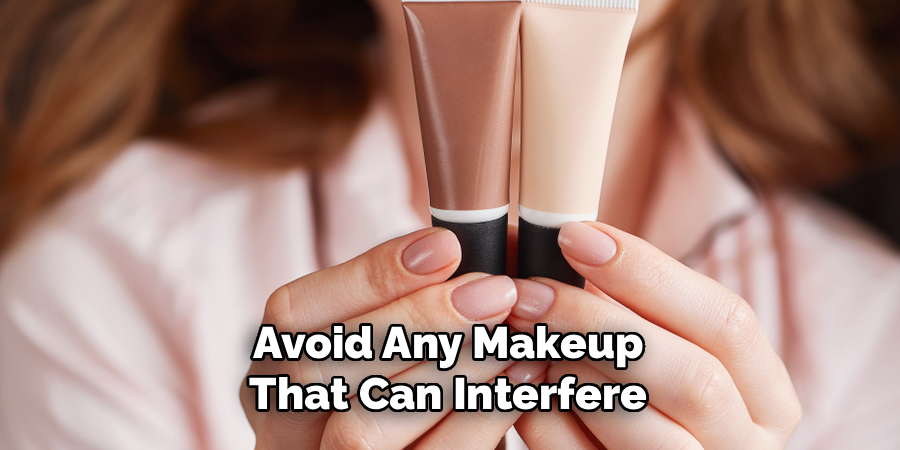
Q2: What Makeup Should You Avoid for a Passport Photo?
A2: For a passport photo, you should avoid any makeup that can interfere with the image quality or your identification. This includes products with SPF or silica (often found in HD powders), as they can cause flashback. Stay away from glitter, shimmer, and heavy highlighter, as these can create bright spots in the photo. Also, avoid very dark or bright lipstick, dramatic eyeliner, and false eyelashes.
Q3: Is It Better to Wear Foundation or Go Without?
A3: It is generally better to wear a light layer of matte foundation. The bright, direct lighting used for passport photos can highlight any uneven skin tone, redness, or blemishes. A good-quality matte foundation will help create an even canvas, control shine, and give you a polished look. If you have clear skin, a tinted moisturizer or BB cream can also work well. The goal is a natural, non-greasy finish.
Q4: How Should You Smile in a Passport Photo?
A4: Most countries, including the United States, require a neutral facial expression with both eyes open. You can have a “soft” or slight, closed-mouth smile, but a wide, toothy grin is not allowed. This is because biometric technology is used to map your facial features for security purposes, and a large smile can distort these features. It’s best to relax your face and aim for a pleasant, neutral look.
Conclusion
Doing your own passport makeup is entirely achievable with the right techniques and products. By focusing on a clean, matte base, subtle definition, and neutral colors, you can create a polished look that enhances your natural beauty while adhering to all official guidelines.
This photo will represent you on your travels for years, so taking a little extra time to prepare is a worthwhile investment. With these tips on how to do passport makeup, you’ll be ready for your close-up and confident in your new passport photo.
About the Author
Jane Hubbard is a passionate beauty expert with a wealth of experience in makeup, hair, and overall beauty techniques. After years of working as a hairdresser specialist, she followed her entrepreneurial spirit and started her own consultancy business.
Jane has always been driven by her desire to help others feel confident in their own skin, and she does this by sharing her knowledge, experiences, and practical beauty tips. Through her consultancy, she empowers individuals to embrace their unique beauty, offering tailored guidance that boosts both self-esteem and personal style.
Professional Focus
- Specializes in makeup, hairstyling, and beauty consulting.
- Provides personalized beauty advice, tips, and techniques to help individuals feel confident in their appearance.
- Dedicated to staying up-to-date with the latest industry trends and developments.
- Passionate about creating a comfortable and empowering experience for every client.
Education History
- University of Craft and Design – Bachelor of Fine Arts (BFA) in Woodworking and Furniture Design
- Woodworking Apprenticeships – Extensive hands-on training with skilled craftsmen to refine carpentry and furniture making techniques
- Online Courses & Masterclasses – Continued education in advanced woodworking techniques, design principles, and specialized tools
Expertise:
- Makeup artistry, hairstyling, and beauty consulting.
- Personalized beauty techniques to enhance confidence and self-expression.
- Educating clients on how to maintain their beauty routines at home.