
Are you tired of visiting the salon every few weeks to get your nails done? Want to save time and money by doing them at home? Then polygel nails may be the perfect solution for you!
Polygel nails are a popular and versatile option for creating beautiful, durable nail extensions at home or in the salon. Combining the strength of acrylic nails with the flexibility of gel nails, polygel offers a unique formula that is easy to work with and achieves stunning results. Whether you’re a seasoned nail enthusiast or a beginner, learning how to do polygel nails can be a fun and rewarding process. With the right tools, techniques, and a bit of practice, you can create stunning nail designs that last for weeks.
This guide will walk you through the steps to achieve flawless polygel nails.
What Are the Benefits of Polygel Nails?
Polygel nails offer several benefits over traditional nail extensions, making them a popular choice for professionals and DIY enthusiasts. Some of the key advantages include:
- Easy to Apply: Unlike acrylic nails that require mixing powders and liquids, polygel comes in a convenient tube form that is easy to dispense and work with.
- Strong and Durable: Polygel is a hybrid formula that combines acrylics’ strength with gels’ flexibility, making it less prone to cracking or breaking than other types of nail extensions.
- Lightweight: Polygel is lighter than acrylics and feels more comfortable on your natural nails.
- Odorless: If you dislike the strong smell of acrylics, you’ll love polygel, which is odorless.
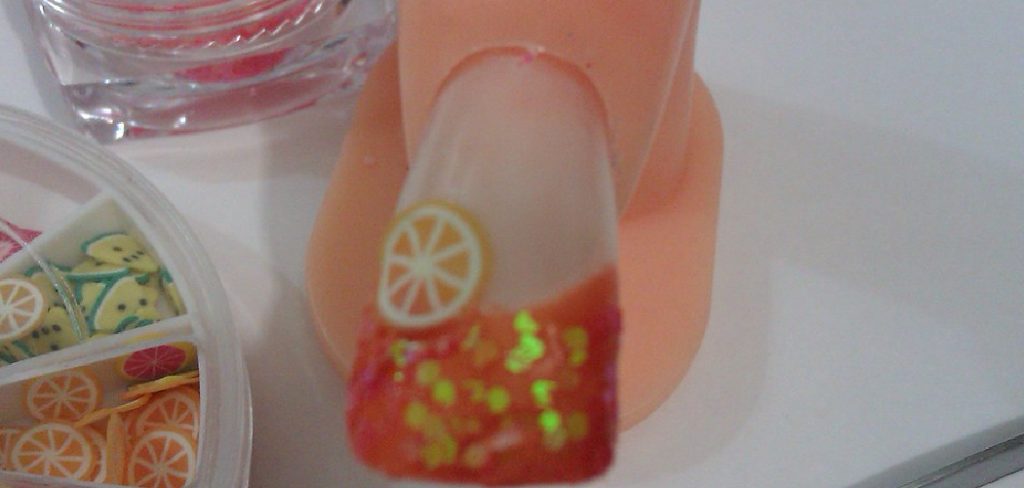
- Customizable: You can mix colors and add glitters or other nail art elements to create unique designs with polygel nails.
- Long-lasting: When applied correctly and maintained properly, polygel nails can last up to three weeks without chipping or lifting.
Polygel nails are also an excellent alternative for those with allergies or sensitivities to acrylics or gels. The formula is hypoallergenic and gentle on the natural nail bed, making it suitable for most people.
What Will You Need?
Before you start, make sure you have the following tools and materials on hand:
- Polygel Kit: This includes a polygel tube, base coat, top coat, dual forms or nail tips, a slip solution, and other accessories.
- UV or LED Lamp: To harden and set, Polygel requires curing under a UV or LED lamp.
- Nail File and Buffer: These are essential for shaping and smoothing your nails.
- Cuticle Pusher: Use this to gently push back your cuticles before applying the gel.
- Nail Cleanser or Rubbing Alcohol: Remove excess oils from your nails before applying.
- Lint-free Wipes or Cotton Pads: These are used to wipe off the sticky layer after curing.
- Nail Polish Remover: If you make any mistakes or need to remove your polygel nails.
- Nail Art Tools (Optional): If you want to add creative designs or details, have your favorite nail art tools ready.
8 Easy Steps on How to Do Polygel Nails
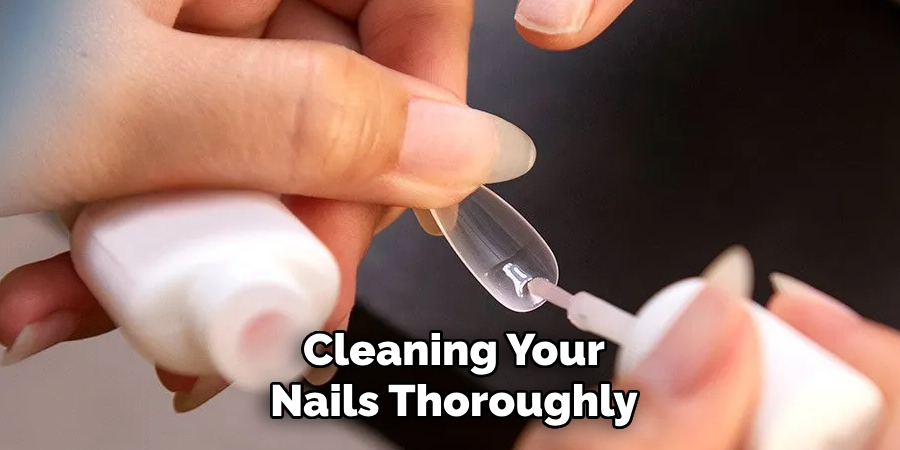
Step 1. Prep Your Nails:
Start by cleaning your nails thoroughly to ensure a smooth application. Remove any existing nail polish using a non-acetone remover. Once your nails are clean, gently push back your cuticles using a cuticle pusher to create an even surface for the polygel application.
Trim and shape your nails with a nail file to your desired length and style. Smooth out the surface of your nail plate using a nail buffer to remove any shine — this helps the polygel adhere more effectively. Finally, clean your nails with a nail cleanser or rubbing alcohol using a lint-free wipe to remove any oils or dust left from filing and buffing. Ensuring properly prepped nails is crucial for achieving long-lasting and flawless polygel nails.
Step 2. Apply the Base Coat:
Once your nails are prepped, apply a thin layer of base coat to each nail. Ensure the coat is even and covers the entire nail surface, avoiding the skin and cuticles. Cure the base coat under a UV or LED lamp according to the manufacturer’s instructions, usually for 30-60 seconds. This base coat creates a strong foundation for the polygel and helps it stick better to your nails.
Step 3. Apply the Polygel:
Squeeze a small amount of polygel onto a metal spatula or directly onto the center of your nail. Using a polygel brush dipped in a small amount of slip solution, gently pat and shape the polygel across the nail surface.
Start from the center, working toward the edges and the free edge, ensuring the layer is smooth and evenly distributed. Be careful not to touch your skin or cuticles with the gel. Once satisfied with the shape, cure the nail under the UV or LED lamp for the recommended time. Repeat this process for each nail.
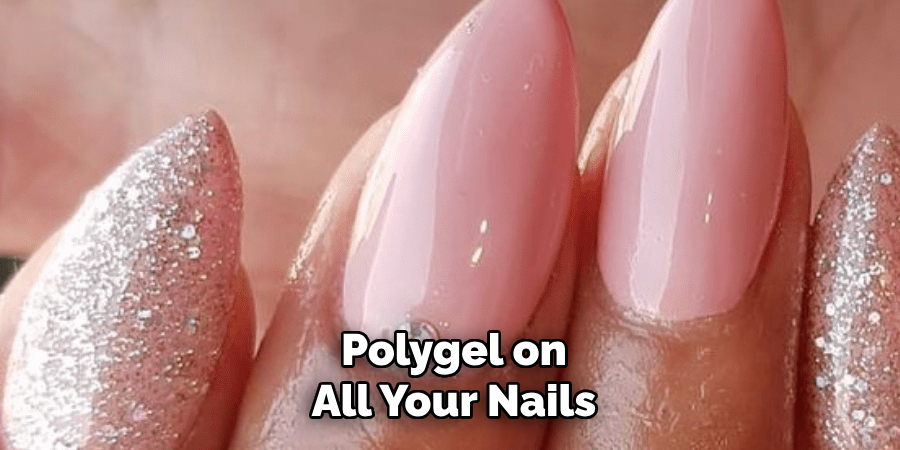
Step 4. File and Shape the Nails:
After curing the polygel on all your nails, use a nail file to shape them to your desired style—whether that’s square, round, almond, or another shape.
Smooth out any uneven edges and refine the overall structure of the nails. You can also use a buffer to gently smooth the surface of the polygel gently, ensuring a sleek and polished look. Be patient and thorough during this step to achieve a professional-quality finish.
Step 5. Apply a Top Coat:
Once the nails are filed, shaped, and smoothed, it’s time to seal your work with a top coat. Apply a thin, even layer of top coat over the entire nail surface, ensuring you cap the free edges for added durability. This step protects the polygel and adds a beautiful glossy or matte finish, depending on your preference.
Cure the nails under the UV or LED lamp for the recommended time to set the top coat. After curing, gently wipe the nails with a lint-free wipe and a small amount of isopropyl alcohol to remove any sticky residue, leaving your nails flawless and ready to show off.
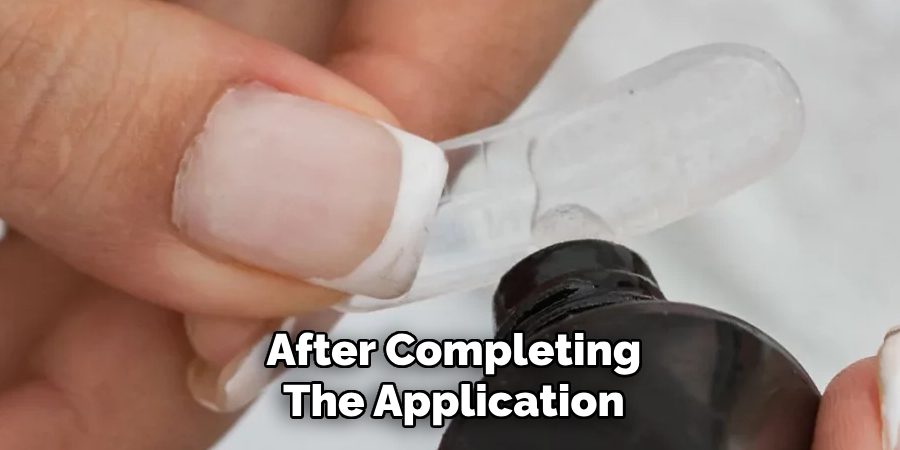
Step 6. Moisturize and Finish:
After completing the application and curing process, it’s essential to moisturize your hands and nails. Apply a nourishing cuticle oil to hydrate and condition the cuticles, gently massaging it in to promote healthy nail growth.
Follow up with your favorite hand cream to keep your skin soft and smooth. This final step ties the entire process together, leaving you with beautiful, salon-quality nails and well-moisturized hands. Enjoy your stunning new look!
Step 7. Removal of Polygel Nails:
When it’s time to remove your polygel nails, it is essential to do so gently to avoid damaging your natural nails. Begin by filing down the top layer of the polygel to break the seal.
Then, soak a cotton ball with acetone, place it on your nail, and wrap it tightly with aluminum foil. Leave it on for 10-15 minutes to soften the polygel. Once softened, carefully push the polygel off using a cuticle pusher. If needed, repeat the process until all residue is removed. Finish by buffing your nails lightly and applying cuticle oil to nourish and protect them.
Step 8. Maintaining Healthy Nails After Polygel Removal:
After removing your polygel nails, caring for your natural nails is essential to keep them healthy and strong. Start by shaping your nails with a gentle nail file, ensuring you avoid over-filing.
Apply a strengthening nail treatment or a clear base coat to reinforce the nail structure. Use cuticle oil and hand cream daily to maintain hydration and promote healthy nail growth. Give your nails a break from enhancements to recover fully before your next polygel application. This proper care routine ensures your nails remain beautiful and resilient.
You can achieve gorgeous polygel nails at home by following these simple steps. With the right tools and proper technique, you’ll be able to create a salon-worthy look in the comfort of your own home.
5 Things You Should Avoid
- Skipping Nail Preparation: Ensure your nails are adequately prepped before applying polygel. This includes removing old polish, gently buffing the nail surface, and pushing back the cuticles. Neglecting this step can lead to poor adhesion and shorter-lasting results.
- Using Too Much Polygel: Overloading your nail with polygel can cause uneven curing and make the nails look bulky. Apply thin, even layers to achieve a more natural and polished appearance.
- Not Curing Properly: Failing to cure each layer under the UV/LED lamp entirely can leave the polygel soft or sticky, leading to fragile nails or lifting. Follow the recommended curing time for your lamp and polygel product.
- Skipping the Slip Solution: The slip solution is essential for smoothing the polygel and shaping the nail correctly. Without it, the polygel can become sticky and difficult to work with, making the process more frustrating.
- Neglecting to Seal the Edges: When shaping and filing the nails, ensure the edges are well-sealed with a top coat. Skipping this step can result in chips and cracks, reducing the durability of your manicure.
Conclusion
Polygel nails are excellent for durable, professional-looking manicures at home, provided you follow the proper steps and avoid common mistakes.
Preparation is key, so always start with clean, well-shaped nails and ensure each layer is applied and cured correctly. Using the right amount of polygel, working with a slip solution, and sealing the edges are crucial for achieving a flawless and long-lasting finish.
Hopefully, the article on how to do polygel nails in 8 easy steps has given you the confidence to try this technique and create beautiful nails at home. With practice and patience, you’ll be able to achieve salon-worthy results every time! Happy polygelling!
About the Author
Jane Hubbard is a passionate beauty expert with a wealth of experience in makeup, hair, and overall beauty techniques. After years of working as a hairdresser specialist, she followed her entrepreneurial spirit and started her own consultancy business.
Jane has always been driven by her desire to help others feel confident in their own skin, and she does this by sharing her knowledge, experiences, and practical beauty tips. Through her consultancy, she empowers individuals to embrace their unique beauty, offering tailored guidance that boosts both self-esteem and personal style.
Professional Focus
- Specializes in makeup, hairstyling, and beauty consulting.
- Provides personalized beauty advice, tips, and techniques to help individuals feel confident in their appearance.
- Dedicated to staying up-to-date with the latest industry trends and developments.
- Passionate about creating a comfortable and empowering experience for every client.
Education History
- University of Craft and Design – Bachelor of Fine Arts (BFA) in Woodworking and Furniture Design
- Woodworking Apprenticeships – Extensive hands-on training with skilled craftsmen to refine carpentry and furniture making techniques
- Online Courses & Masterclasses – Continued education in advanced woodworking techniques, design principles, and specialized tools
Expertise:
- Makeup artistry, hairstyling, and beauty consulting.
- Personalized beauty techniques to enhance confidence and self-expression.
- Educating clients on how to maintain their beauty routines at home.