
Bridal makeup is one of the most personal and cherished aspects of your wedding day. Doing your own makeup allows you to create a look that feels truly authentic and comfortable, all while expressing your individual style. With the right preparation, you can achieve a flawless finish that looks stunning in person and photographs beautifully.
Taking on your bridal makeup can also be a calming, empowering ritual on such an important day. Following the right steps and planning ahead will help you look radiant and feel confident as you walk down the aisle. This guide on how to do your own bridal makeup is designed to help you understand the essential tools, strategic steps, and pro tips for stunning home-done bridal makeup.
Tools and Materials You’ll Need
- Primer Suited to Your Skin Type
- Foundation (Liquid or Powder)
- Concealer and Color Corrector
- Setting Powder
- Brow Pencil or Powder
- Eyeshadow Palette
- Eyeliner (Gel or Pencil)
- Mascara (Waterproof Preferred)
- False Eyelashes and Glue (Optional)
- Blush, Bronzer, and Highlighter
- Lip Liner, Lipstick, and Gloss
- Makeup Brushes and Sponges
- Setting Spray
- Cotton Swabs and Makeup Remover
- Tissues and Blotting Papers
9 Step-by-step Guidelines on How to Do Your Own Bridal Makeup
Step 1: Prep and Prime Your Skin
Start with a freshly washed face for the smoothest possible application. Gently exfoliate and moisturize to ensure your skin is hydrated but not greasy—this helps create an even canvas. If you’re prone to dryness or oiliness, select a moisturizer and primer tailored to your skin type.
Next, apply a primer evenly over your face. This step is crucial for ensuring your makeup lasts throughout the day and night. Primers can smooth out texture, minimize pores, and keep excess shine at bay. Allow your primer to set for a minute before moving on.
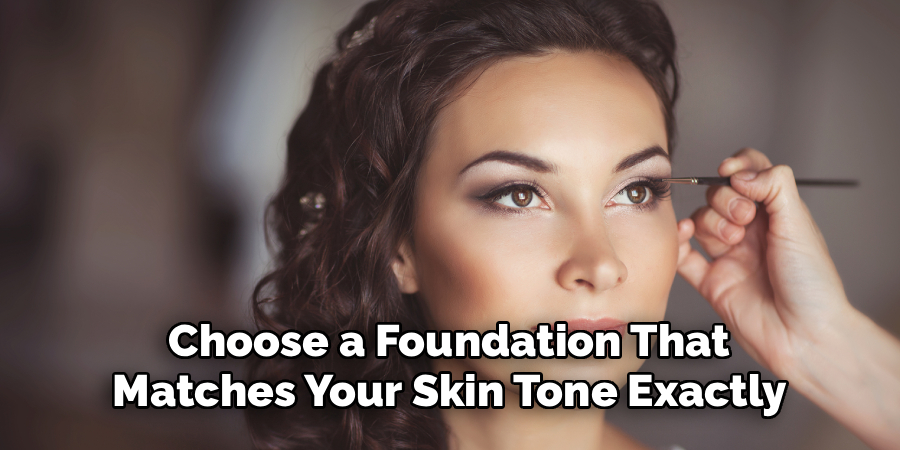
Step 2: Apply Foundation
Choose a foundation that matches your skin tone exactly, testing in natural light if possible. Using a damp sponge or foundation brush, start at the center of your face and blend outward. This technique delivers a more natural, airbrushed finish.
Layer the foundation gradually—build up coverage only where needed, instead of applying a thick layer all over. Blend well around the jawline, hairline, and ears to avoid any obvious lines or tide marks. Your goal is a flawless but natural-looking complexion.
Step 3: Conceal and Correct
Dab concealer under your eyes, around your nose, or any areas that need extra coverage such as blemishes or discoloration. Use a lightweight, full-coverage concealer for a seamless look. For very dark circles or redness, use a color corrector beneath your concealer.
Blend the concealer with a small brush or fingertip, pressing it gently into the skin instead of wiping. This helps maintain coverage and ensures a smooth transition between foundation and natural skin. Set with a small amount of translucent powder to prevent creasing.
Step 4: Perfect Your Brows
Well-defined brows frame your face and finish your bridal look beautifully. Start by brushing your brow hairs upwards and filling sparse areas with a pencil or powder a shade close to your hair color. Use small, hair-like strokes for a natural effect.
Shape the brow softly, following your natural arch rather than drawing harsh lines. Set your brows with a clear gel or wax to keep them in place all day. Remember, fuller brows often photograph better and create a youthful appearance.
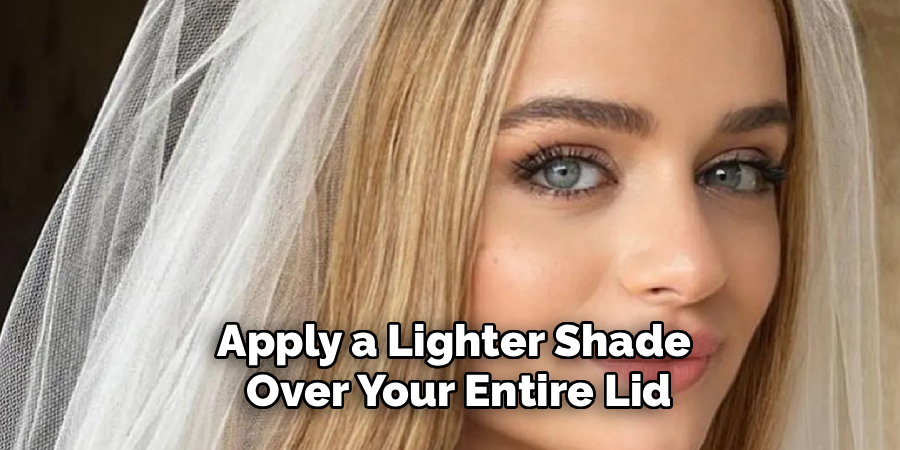
Step 5: Create Your Eye Look
Begin by applying an eyeshadow primer or a bit of concealer to your lids. This will enhance color payoff and keep your shadow in place. Choose shades that complement your eye color and match the mood of your wedding, such as soft golds, pinks, or neutral browns.
Apply a lighter shade over your entire lid, followed by a medium tone in the crease. Blend thoroughly to avoid harsh lines. To add depth, use a darker color at the outer corner and along the lower lash line if desired. Finish with a shimmery or satin highlight in the inner corners.
Step 6: Eyeliner and Lashes
For eyeliner, use a waterproof formula to avoid smudging. Draw a thin line along your upper lash line—wing out the ends slightly for a more dramatic effect, or keep it subtle for classic elegance. For extra definition, line your lower lashes with a soft pencil or shadow.
Curl your lashes before applying two coats of waterproof mascara, focusing on length and separation. If you like, apply false eyelashes for added glamour. Trim the lashes to fit your eye and secure them with a thin line of glue, pressing them close to your natural lashes.
Step 7: Add Color to Your Face
Apply blush to the apples of your cheeks, blending outward towards your temples for a natural flush. Choose a blush shade in rosy, peachy, or coral tones that suits your skin tone. Use a light hand—building color gradually is best for a soft, radiant effect.
Add bronzer to the edges of your forehead, hollows of your cheeks, and jawline to create dimension and a sun-kissed glow. Finally, highlight the high points of your face (cheekbones, bridge of the nose, cupid’s bow) with a light touch for a luminous finish.
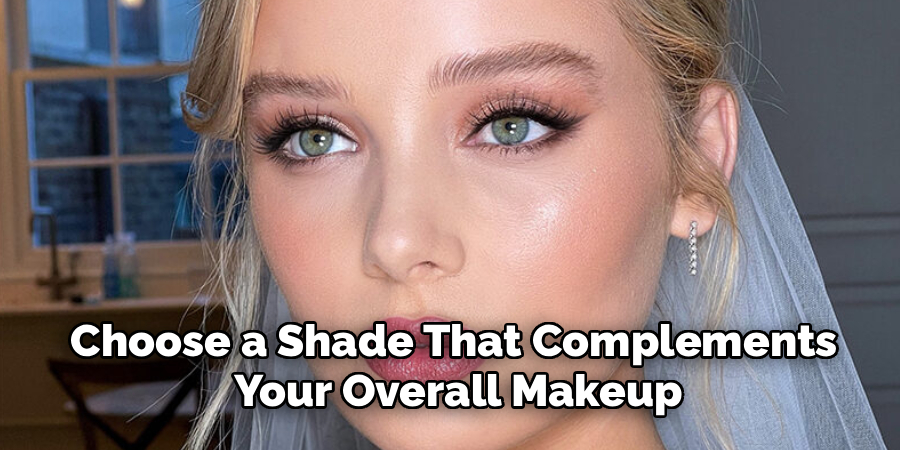
Step 8: Perfect Your Lips
Start by gently exfoliating your lips to remove any dry skin, then apply a balm to hydrate. Trace your lips with a liner that matches your lipstick to prevent feathering and ensure clean edges. Fill in your lips with your chosen color, blotting and reapplying for long-lasting wear.
Top with a gloss for extra shine if desired, or leave them matte for a more classic look. Choose a shade that complements your overall makeup and fits the style of your wedding—think soft pinks, berries, or timeless nudes.
Step 9: Set and Finish Your Look
Once you’re happy with your makeup, lock it all in with a generous mist of setting spray. This step will help your look stay fresh and vibrant throughout the ceremony, photos, and reception. Let the spray dry naturally, and avoid touching your face.
Keep a small touch-up kit handy with blotting papers, lipstick, and powder for quick fixes throughout the day. Staying calm and embracing little imperfections will help you glow even more as you celebrate your special day.
Following these steps on how to do your own bridal makeup will not only save you money but also give you a sense of accomplishment as you walk down the aisle looking stunning and feeling confident.
Additional Tips
Practice your full bridal makeup look several times before the big day to perfect the application and timing. Take photos in different lighting to check how the makeup appears in flash and natural light. Always allow extra time on the wedding day—rushing can lead to mistakes or stress.
Choose products formulated for longevity and comfort, especially if you expect to cry or party late into the night. Remember to stay hydrated and keep your skincare routine consistent in the weeks leading up to your wedding.
Frequently Asked Questions
Q1: How Do I Make My Bridal Makeup Last All Day?
To ensure all-day wear, prep your skin thoroughly with moisturizer and primer and use long-lasting, waterproof products whenever possible. Setting your makeup with powder and a setting spray is key. Carry a small touch-up kit for quick fixes and avoid touching your face throughout the day.
Q2: What If I Have Sensitive Skin?
Start with a patch test of all new products at least two weeks before the wedding. Stick to hypoallergenic and fragrance-free formulas designed for sensitive skin. On the wedding day, keep makeup layers light and gentle to avoid irritation, and keep soothing skincare products on standby.
Q3: Should I Hire a Professional or Do My Own Makeup?
This depends on your comfort and skill level with makeup. Doing your own bridal makeup offers complete control and a personal touch, but hiring a pro ensures a high level of expertise and less stress on the big day. Practice at home to see which option feels best for you and your needs.
Q4: How Can I Avoid Looking Washed Out in Photos?
Opt for slightly more definition than your everyday look—this translates better under photography lights. Ensure your base is even, cheeks have a hint of color, and eyes are well defined. Avoid products with heavy SPF or very dewy finishes, as they can cause unwanted flashback or shine.
Conclusion
Doing your own bridal makeup is a rewarding opportunity to showcase your style and skills. With thoughtful preparation, quality tools, and reliable techniques, you can achieve a look that makes you feel beautiful and confident.
Practice, patience, and self-care in the lead-up to your special day will set you up for success. As you walk down the aisle, trust your work and embrace every moment—you’ll glow from within and cherish these memories for a lifetime. Thanks for reading this article on how to do your own bridal makeup.
About the Author
Jane Hubbard is a passionate beauty expert with a wealth of experience in makeup, hair, and overall beauty techniques. After years of working as a hairdresser specialist, she followed her entrepreneurial spirit and started her own consultancy business.
Jane has always been driven by her desire to help others feel confident in their own skin, and she does this by sharing her knowledge, experiences, and practical beauty tips. Through her consultancy, she empowers individuals to embrace their unique beauty, offering tailored guidance that boosts both self-esteem and personal style.
Professional Focus
- Specializes in makeup, hairstyling, and beauty consulting.
- Provides personalized beauty advice, tips, and techniques to help individuals feel confident in their appearance.
- Dedicated to staying up-to-date with the latest industry trends and developments.
- Passionate about creating a comfortable and empowering experience for every client.
Education History
- University of Craft and Design – Bachelor of Fine Arts (BFA) in Woodworking and Furniture Design
- Woodworking Apprenticeships – Extensive hands-on training with skilled craftsmen to refine carpentry and furniture making techniques
- Online Courses & Masterclasses – Continued education in advanced woodworking techniques, design principles, and specialized tools
Expertise:
- Makeup artistry, hairstyling, and beauty consulting.
- Personalized beauty techniques to enhance confidence and self-expression.
- Educating clients on how to maintain their beauty routines at home.