
Are you tired of constantly filling in your eyebrows every day? Have you always wanted perfectly shaped and defined eyebrows but didn’t know how to achieve them?
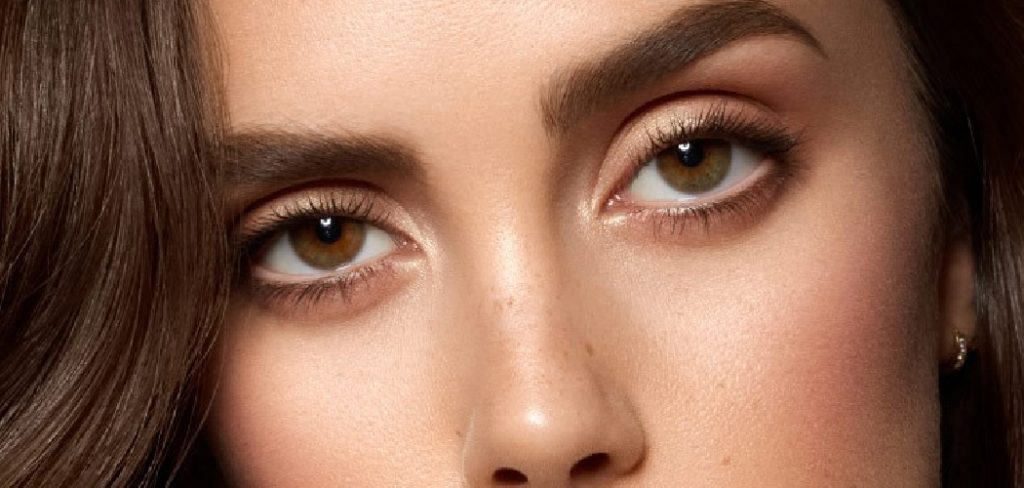
Drawing eyebrows is an essential step in achieving a polished and balanced look, whether for makeup application or character illustration. The shape and style of eyebrows can significantly impact the overall appearance, as they frame the face and accentuate its features. Learning how to draw eyebrows requires attention to detail, a steady hand, and an understanding of the natural structure of the brows.
With the right tools, techniques, and a little practice, anyone can create well-defined and symmetrical eyebrows that complement their unique style or artistic vision. Let’s dive into the step-by-step guide.
What Are the Benefits of Drawing Eyebrows?
Drawing eyebrows not only enhances the appearance but also has several benefits. Here are some reasons why learning how to draw eyebrows can be beneficial:
- Enhances Facial Features: Well-defined and symmetrical eyebrows can enhance the eyes, making them appear more prominent and adding balance to the face.
- Creates a More Polished Look: Drawing eyebrows helps create a more polished look by filling in sparse areas and creating a cleaner overall appearance.
- Expresses Personal Style: Drawing eyebrows allows for creativity and personal expression, enabling individuals to achieve their desired look or aesthetic.
- Hides Imperfections: For individuals with scars or uneven eyebrow hair growth, drawing eyebrows can help conceal these imperfections and create a more symmetrical appearance.
What Will You Need?
To draw eyebrows, there are a few key items that you will need:
- Eyebrow Pencil or Powder: This is the primary tool used to create and fill in eyebrows. Choose a color that closely matches your natural eyebrow color for a more natural look.
- Spoolie Brush: This is essential for blending and combing out any harsh lines or excess product.
- Angled Brow Brush: This can be used with an eyebrow powder to create precise and defined strokes.
- Clear Eyebrow Gel: This helps set the drawn-on eyebrows in place and keep them looking neat throughout the day.
- Concealer or Highlighter: Optional but helpful for cleaning up any mistakes or defining the brow shape further.
- Eyebrow Pencil: This is an excellent option for beginners as it allows for more control and precision when filling in eyebrows.
10 Easy Steps on How to Draw Eyebrows
Step 1. Start with Clean Brows
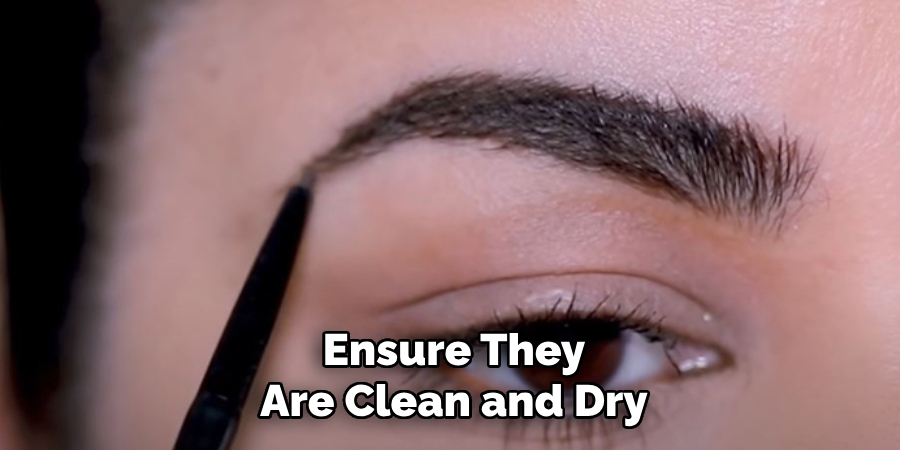
Before you begin drawing your eyebrows, ensure they are clean and dry. Use a gentle cleanser or makeup remover to wipe away any oils, dirt, or leftover makeup from your brows. Pat them dry with a soft towel to ensure there’s no moisture, as this can interfere with the application of products. Groom your brows by brushing them upward with a spoolie brush to identify their natural shape. This step provides a fresh canvas, helping you achieve more even and precise results when shaping and filling your eyebrows.
Step 2. Brush Your Eyebrows
Using a clean spoolie brush, gently brush your eyebrows upward to reveal their natural shape and direction of growth. This step is essential because it highlights any sparse areas that may need filling and helps you see the structure of your brows more clearly. Brushing your brows upward also encourages a lifted, polished look that enhances your overall appearance.
If you have particularly long eyebrow hairs, brushing them in this manner allows you to identify stray hairs that may need trimming for a neater finish. Take your time with this step to ensure the brows are evenly brushed and well-prepared for the following stages of grooming.
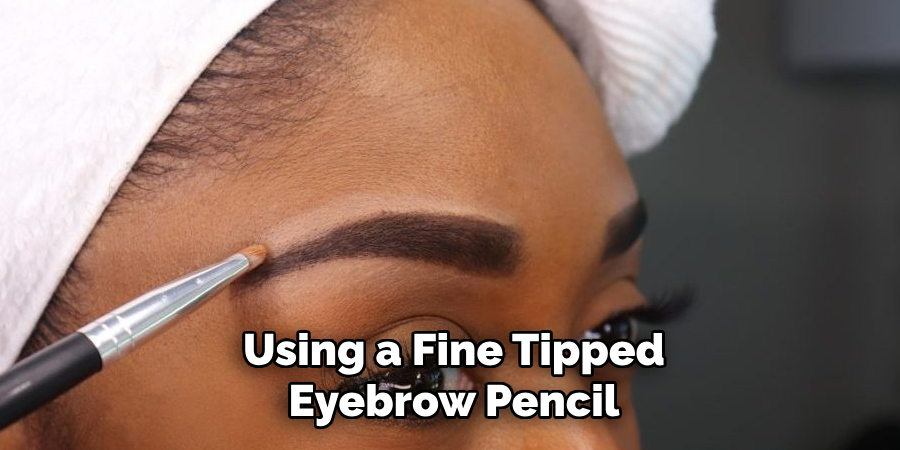
Step 3. Outline the Bottom Edge
Using a fine-tipped eyebrow pencil or a flat, angled brush with a pomade product, gently outline the bottom edge of your eyebrows to define their shape. Start from the inner corner of your brow and work outward toward the tail, following the natural curve of your brow line. Keep the strokes light and precise to avoid overloading the area with product, as a heavy line can appear harsh.
This step serves as the foundation for creating a clean and structured look while enhancing your natural brow shape. Be sure to step back occasionally to check for symmetry and alignment, ensuring your brows appear balanced on both sides. This outline will guide the filling process in the next steps, so take your time to achieve smooth, even lines.
Step 4. Outline the Top Edge
Starting from the inner corner of your brow, trace a soft, even line along the top edge, following the natural arch of your brow shape. Use gentle, feather-like strokes to ensure the outline looks natural and not overly harsh. Gradually extend the line toward the tail of your brow, ensuring it tapers seamlessly for a polished look. Maintain a steady hand and check for symmetry between both brows to achieve a cohesive appearance. This step frames your brows and prepares them for the filling process.
Step 5. Fill in Sparse Areas
Using a brow pencil, powder, or pomade that matches your natural hair color, gently fill in any sparse areas within your brows. Use light, hair-like strokes to mimic the appearance of natural brow hairs, focusing on areas where the brows appear thinner or uneven. Start at the inner part of your brows and gradually work toward the tail, ensuring the product is evenly distributed for a smooth, blended look.
Be careful not to overfill, as this can create a heavy or unnatural appearance. For a soft finish, gently brush through your brows with a spoolie to blend the product and soften any harsh lines.
Step 6. Blend for a Natural Finish
Using a clean spoolie or a brow brush, gently comb through your brows in the direction of hair growth. This helps to distribute the product evenly and softens any harsh lines, ensuring your brows look natural and well-defined. If needed, use a cotton swab or a clean brush to tidy up the edges for a polished appearance. Blending is key to achieving a seamless look, so take your time with this step to perfect the finish.
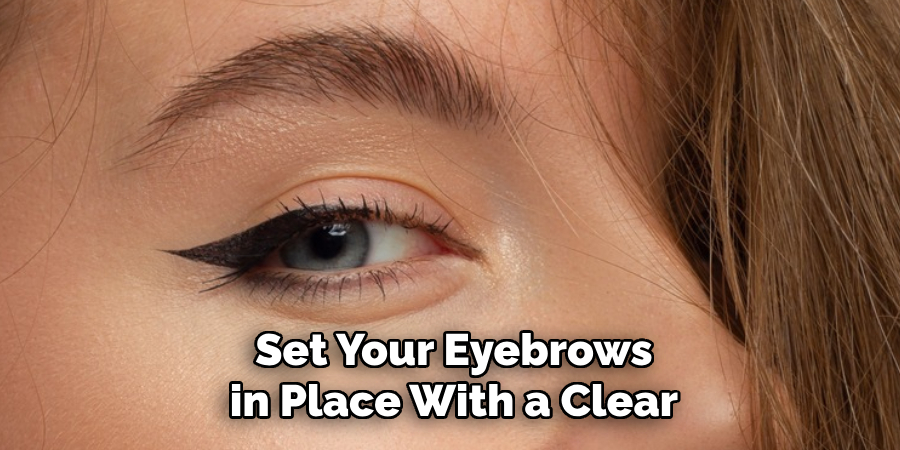
Step 7. Use a Clear Eyebrow Gel
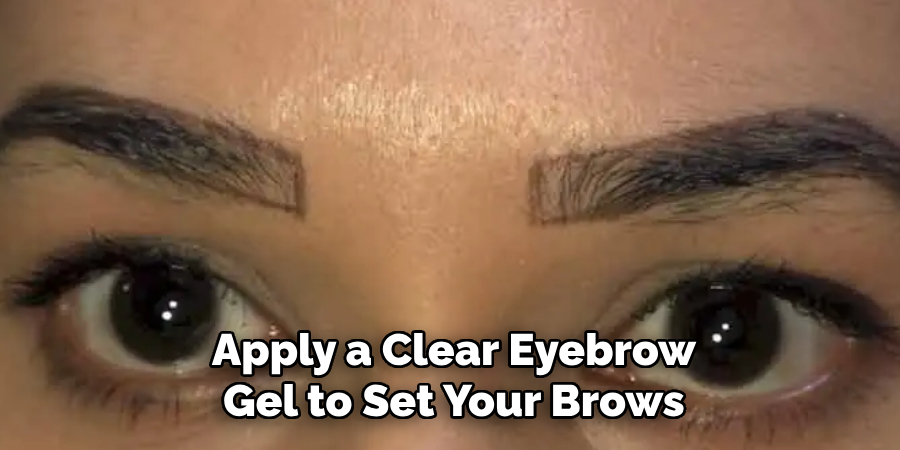
Apply a clear eyebrow gel to set your brows in place and keep them looking flawless all day long. Gently brush the gel through your brow hairs, following their natural direction. This step not only locks in the product but also ensures your brows maintain their shape and hold. Be careful not to use too much gel, as a light coating is enough to achieve a clean and polished finish.
Step 8. Clean Up the Edges
After completing the filling and shaping process, it’s time to clean up any excess product around your eyebrows for a crisp and defined look. Using a small, flat brush and a concealer that matches your skin tone, carefully trace along the edges of your brows. Blend the concealer outward to avoid any harsh lines and to create a seamless finish.
Step 9. Match Both Brows
Take a moment to compare both eyebrows to ensure they look balanced and symmetrical. While no two brows are identical, aim to make them as similar as possible in shape, thickness, and arch. Use a spoolie or eyebrow brush to blend the product evenly and make any necessary minor adjustments. Remember, subtle refinements can make a big difference in achieving a cohesive and natural look.
Step 10. Final Touches
To complete your look, set your eyebrows in place with a clear or tinted brow gel. This will help maintain the shape and keep any unruly hairs from shifting throughout the day. For added definition, highlight your brow bone with a touch of highlighter or a light concealer to enhance the arch and make your eyes pop. Take a step back to review your work, making any necessary minor adjustments. With these final touches, your eyebrows will look polished, natural, and ready to complement the rest of your makeup.
By following these simple steps, you can achieve perfectly groomed eyebrows that will enhance your natural beauty and complete your overall makeup look.
5 Things You Should Avoid
- Over-Plucking: Avoid over-plucking your eyebrows, as it can create uneven shapes and make it challenging to achieve a natural look. Instead, focus on cleaning up stray hairs while maintaining the overall shape.
- Using the Wrong Shade: Selecting an eyebrow product that is too dark or light for your natural hair color can result in an unnatural appearance. Match your product to your brow hairs or choose a shade slightly lighter for a softer look.
- Ignoring Your Natural Shape: Forcing your eyebrows into a shape that doesn’t suit your natural arch can make them look overly drawn or artificial. Work with your natural structure to enhance your features.
- Overfilling: Filling in eyebrows too heavily can create a block-like appearance that is harsh and unflattering. Use light, feathery strokes to mimic the look of real hair and build up color gradually.
- Skipping Blending: Harsh lines and unblended edges can make your eyebrows look stark and unpolished. Blend the product thoroughly with a spoolie brush to create a soft, seamless finish.
Conclusion
How to draw eyebrows is a skill that requires patience and practice, but with the right techniques, anyone can achieve a polished and natural look.
Focus on working with your natural brow shape, avoiding harsh lines, and blending thoroughly to ensure a seamless finish. Remember to use light, feathery strokes and build up color gradually for the most flattering result.
Mastering these steps will enhance your overall appearance and help your eyebrows frame your face beautifully.
About the Author
Jane Hubbard is a passionate beauty expert with a wealth of experience in makeup, hair, and overall beauty techniques. After years of working as a hairdresser specialist, she followed her entrepreneurial spirit and started her own consultancy business.
Jane has always been driven by her desire to help others feel confident in their own skin, and she does this by sharing her knowledge, experiences, and practical beauty tips. Through her consultancy, she empowers individuals to embrace their unique beauty, offering tailored guidance that boosts both self-esteem and personal style.
Professional Focus
- Specializes in makeup, hairstyling, and beauty consulting.
- Provides personalized beauty advice, tips, and techniques to help individuals feel confident in their appearance.
- Dedicated to staying up-to-date with the latest industry trends and developments.
- Passionate about creating a comfortable and empowering experience for every client.
Education History
- University of Craft and Design – Bachelor of Fine Arts (BFA) in Woodworking and Furniture Design
- Woodworking Apprenticeships – Extensive hands-on training with skilled craftsmen to refine carpentry and furniture making techniques
- Online Courses & Masterclasses – Continued education in advanced woodworking techniques, design principles, and specialized tools
Expertise:
- Makeup artistry, hairstyling, and beauty consulting.
- Personalized beauty techniques to enhance confidence and self-expression.
- Educating clients on how to maintain their beauty routines at home.