
Are you tired of having wet hair every time you step out of the shower? Are you looking for ways to speed up your hair-drying process without damaging your natural curls? Look no further because we’ve got you covered with tips and tricks on how to dry natural hair.
Drying your natural hair properly is essential in maintaining its health and promoting beautiful curls and coils. The proper techniques and tools can minimize damage, reduce frizz, and enhance your hair’s natural texture. This guide will explore various methods and tips to help you achieve optimal results when drying your natural hair.
Whether you prefer air-drying or using heat styling tools, these techniques will empower you to embrace your natural hair and keep it looking its best. Let’s dive in and discover the secrets to drying natural hair with care and finesse.
What Are the Benefits of Drying Natural Hair?
Before we dive into the specific techniques and tips for drying natural hair, let’s take a look at some of the benefits that come with proper hair drying:
- Prevents Damage: Air-drying or gentle heat can help minimize damage to your curls.
- Reduces Frizz: Properly dried hair is less likely to become frizzy, maintaining a smoother appearance.
- Enhances Natural Texture: The proper drying techniques can improve your curls and coils’ natural shape and definition.
- Saves Time: With the proper methods, you can significantly reduce the time it takes to dry your hair without sacrificing health.
These are just a few benefits you can expect when drying your natural hair correctly. Now, let’s look at some practical tips and techniques to help you achieve these results.
What Will You Need?
Before we get started, we must have the right tools and products on hand. Here are some basic items you’ll need for any hair-drying method:
- Microfiber Towel or T-shirt: These are gentler alternatives to traditional towels that can help minimize frizz.
- Wide-Tooth Comb or Detangling Brush: A wide-tooth comb or detangling brush is crucial for removing tangles and reducing breakage.
- Leave-In Conditioner: This will help keep your curls moisturized during the drying process.
- Heat Protectant (Optional): If you use heat styling tools, be sure to apply a heat protectant to minimize damage.
Now that you have everything you need, let’s dive into the different methods of drying natural hair.
10 Easy Steps on How to Dry Natural Hair
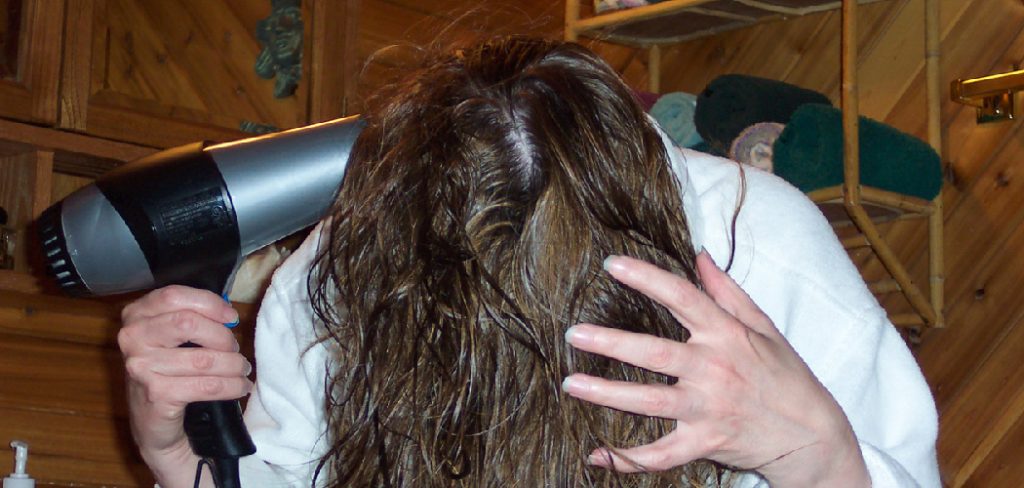
Step 1: Gently Pat Your Hair:
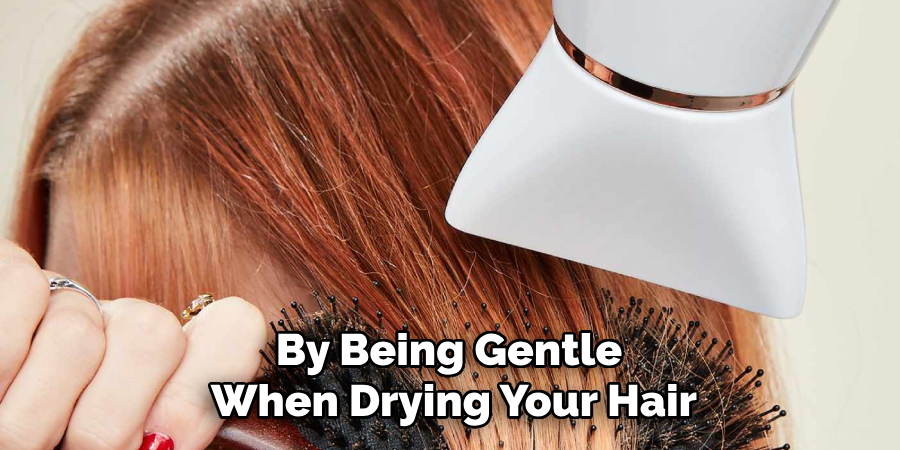
After washing your natural hair, handling it with care is crucial to minimize frizz and breakage. Instead of vigorously rubbing your hair with a towel, which can lead to friction and damage, gently pat your hair dry using a microfiber towel or a soft cotton T-shirt. These materials are more gentle on the hair and help to absorb excess water without causing unnecessary friction. By being gentle when drying your hair, you can maintain the integrity of your natural curls and reduce the risk of frizz.
Step 2: Apply a Leave-In Conditioner:
Once your hair is gently patted dry, it’s time to apply a leave-in conditioner to keep your curls moisturized during the drying process. Leave-in conditioners help to hydrate and nourish your hair, reducing frizz and promoting overall hair health. Apply a small amount of leave-in conditioner to your palms and work it through your hair, focusing on the ends. This will provide extra moisture and protection as your hair dries, keeping your curls soft and manageable.
Step 3: Detangle Your Hair:
Before proceeding to the next step, it’s crucial to detangle your hair using a wide-tooth comb or detangling brush. This will remove knots or tangles and reduce breakage as your hair dries. Start from the ends of your hair and work your way up to the roots, gently combing through any knots. Be patient and gentle with this step to avoid damaging your hair.
Step 4: Choose Your Drying Method:
Now, it’s time to decide on the drying method that suits your lifestyle, hair type, and preferences. You can choose between air-drying, diffusing with a blow dryer, or a mix of both. Each method has its advantages depending on your desired results and the amount of time you have available.
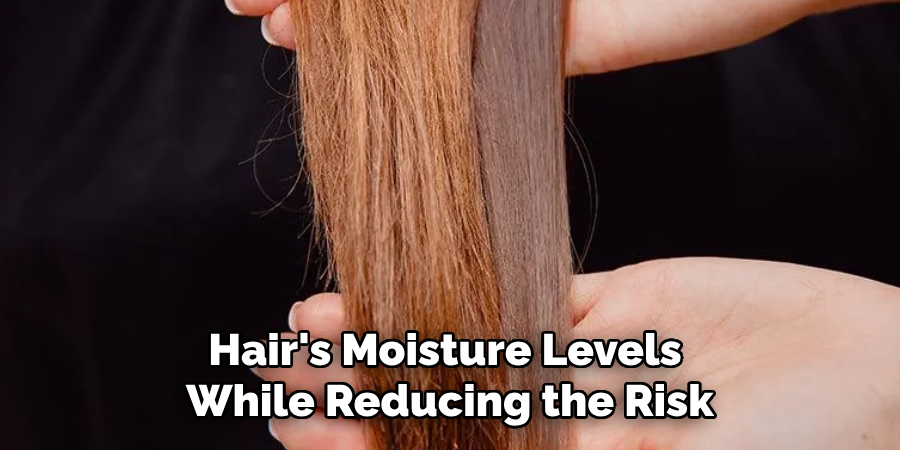
If you prefer air drying, allow your hair to dry naturally without applying heat. This method is the gentlest option and helps maintain your hair’s moisture levels while reducing the risk of heat damage. On the other hand, if you’re short on time or want to enhance your curls’ definition, using a diffuser attachment on your blow dryer is an excellent option. A diffuser helps distribute heat evenly and minimizes frizz, leaving your curls bouncy and well-defined.
Step 5: Section Your Hair:
Regardless of your drying method, sectioning your hair can make the process more manageable and effective. Divide your hair into 4–6 sections, depending on its thickness and length. Use hair clips or elastics to secure each section, ensuring you can focus on drying one area at a time. Working in smaller sections allows for more even product application and better control during the drying process, resulting in a polished and consistent look.
Step 6: Air-Dry or Use a Diffuser:
If you’re air-drying, leave your hair loose and let it dry at its own pace. Avoid touching your hair too much as it dries, disrupting your curl pattern and leading to frizz. If you’re using a diffuser, attach it to your blow dryer and set it to a low or medium heat setting. Gently cup sections of your hair in the diffuser and bring it toward your scalp, holding it there for a few seconds before moving to the next section. Repeat this process until your hair is primarily dry, keeping the heat and airflow gentle to protect your curls.
Step 7: Scrunch for Definition:
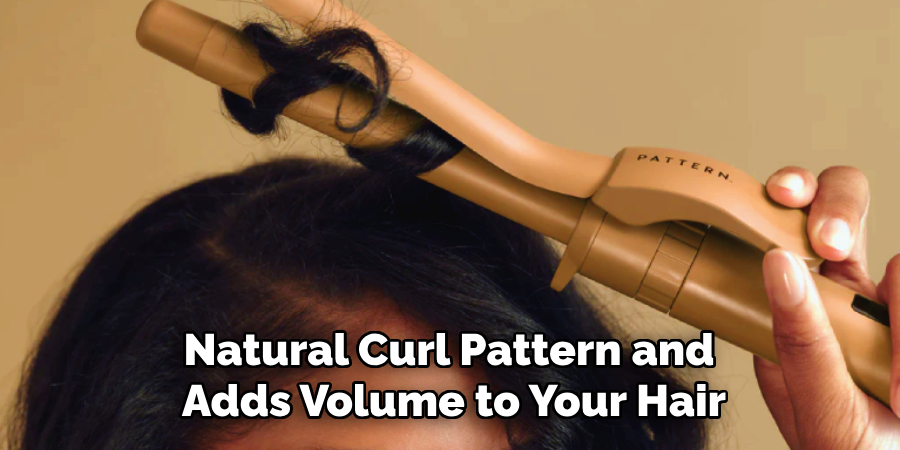
Once your hair is partially or dehydrated, use your hands to scrunch your curls gently. Scrunching helps to enhance your natural curl pattern and adds volume to your hair. You can apply a lightweight hair gel or curl-defining cream for an added boost during this step. Just work the product evenly through your hair to avoid clumping or stiffness.
Step 8: Fluff Your Roots (Optional):
To achieve extra volume and lift, gently fluff your roots using your hands or a pick comb. Focus on the crown and sides of your head, lifting the hair at the roots to create fullness without disturbing your curl pattern. This step is optional and depends on your hair goals and the look you want to achieve.
Step 9: Seal with an Oil or Serum:
Once your hair is dehydrated, consider sealing in moisture with a lightweight oil or serum. This step adds shine and softness while reducing frizz and creating a polished final look. Use a small amount of oil or serum, warming it between your palms, and lightly smooth it over your curls, focusing on the ends.
Step 10: Preserve Your Hair Overnight:
To keep your curls fresh and defined, consider using protective techniques while sleeping. Pineapple your hair by gathering it into a loose, high ponytail, or wrap your curls in a silk or satin scarf. Sleeping on a silk or satin pillowcase can reduce friction and help maintain your style. These measures will protect your hair from frizz and tangles, waking you up with gorgeous curls the next day.
By following these steps, you’ll be well on your way to drying your natural hair with care and achieving healthy, beautiful curls every time. Experiment with these techniques to find the routine that works best for you.
5 Things You Should Avoid
- Heat Styling Tools: Excessive heat from tools like blow dryers, flat irons, and curling irons can cause damage and lead to dryness and breakage. Opt for air-drying or using low-heat settings when necessary.
- Rubbing with a Towel: Vigorously rubbing your hair with a towel can cause frizz and disrupt your curl pattern. Instead, gently squeeze out excess water with a microfiber towel or an old t-shirt to minimize damage.
- Brushing or Combing Wet Hair: Wet hair is more prone to breakage, so avoid brushing or combing it when it’s soaking wet. Instead, use your fingers or a wide-toothed comb to detangle gently, starting from the ends and working your way up.
- Using Harsh Hair Products: Avoid harsh chemicals, sulfates, and alcohol, as they can strip moisture from your hair and leave it dry and brittle. Look for products specifically formulated for natural hair, focusing on moisturizing and nourishing ingredients.
- Skipping Regular Trims: Regular trims are essential for maintaining healthy hair. Split ends can travel up the hair shaft, causing further damage. Aim to trim your natural hair every 6-8 weeks to prevent split ends and promote healthy growth.
Avoiding these common mistakes ensures your natural hair remains healthy, strong, and vibrant throughout your drying routine.
Conclusion
How to dry natural hair requires a gentle touch and a proper routine to maintain healthy, defined curls.
By following these steps and avoiding common mistakes, you can achieve beautiful results without compromising the health of your hair. Listen to your hair’s needs and adjust your drying routine to find what works best for you. With patience and care, you can confidently embrace and enhance your natural curls.
So go ahead, try out these techniques, rock those gorgeous curls, and love the unique beauty of your natural hair! Happy styling!
About the Author
Jane Hubbard is a passionate beauty expert with a wealth of experience in makeup, hair, and overall beauty techniques. After years of working as a hairdresser specialist, she followed her entrepreneurial spirit and started her own consultancy business.
Jane has always been driven by her desire to help others feel confident in their own skin, and she does this by sharing her knowledge, experiences, and practical beauty tips. Through her consultancy, she empowers individuals to embrace their unique beauty, offering tailored guidance that boosts both self-esteem and personal style.
Professional Focus
Specializes in makeup, hairstyling, and beauty consulting.
Provides personalized beauty advice, tips, and techniques to help individuals feel confident in their appearance.
Dedicated to staying up-to-date with the latest industry trends and developments.
Passionate about creating a comfortable and empowering experience for every client.
Education History
University of Craft and Design – Bachelor of Fine Arts (BFA) in Woodworking and Furniture Design
Woodworking Apprenticeships – Extensive hands-on training with skilled craftsmen to refine carpentry and furniture making techniques
Online Courses & Masterclasses – Continued education in advanced woodworking techniques, design principles, and specialized tools
Expertise:
Makeup artistry, hairstyling, and beauty consulting.
Personalized beauty techniques to enhance confidence and self-expression.
Educating clients on how to maintain their beauty routines at home.