
Are you looking to achieve pink hair without the damaging effects of bleach? Look no further!
Dyeing your hair pink can be a fun and vibrant way to express your personality, but many people worry about the damage bleach can cause to their locks. The good news is that achieving a pink hue is possible without subjecting your hair to harsh bleaching processes. Whether you naturally have light-colored hair or want to explore techniques tailored for darker tones, several methods are available to help you add a pop of pink while keeping your hair healthy and strong.
This guide on how to dye hair pink without bleach will walk you through the steps and tips to successfully dye your hair pink without bleach, making the process both simple and safe.
What Are the Benefits of Dyeing Hair Pink Without Bleach?
- Avoids Damage: The most apparent benefit of dyeing hair pink without bleach is that it avoids the potential damage caused by bleaching agents. Bleaching can strip your hair of its natural oils, leaving it dry, brittle, and prone to breakage.
- Lowers Maintenance: Many people opt for hair colors that require frequent touch-ups because their roots are a different color than the rest of their hair. Pink shades fade naturally into light-colored hair, making root maintenance less challenging.
- Saves Time & Money: Using bleach requires multiple steps and repeated applications, which can be time-consuming and pricey. Skip these extra steps and save money by opting for a bleach-free pink hair dye.
- Protects Sensitive Scalps: Bleach can also be harsh on sensitive scalps, causing irritation and discomfort. By choosing a bleach-free pink hair dye, you can avoid any potential scalp problems.
What Will You Need?
Gather all the necessary supplies and tools before you begin the hair coloring process. These may include:
- Bleach-Free Pink Hair Dye: Look for a bleach pink hair dye-labeled “bleach-free” or “no bleach.” These products are designed to work on darker hair without bleaching.
- Gloves: Keep your hands clean and safe from any potential staining by using gloves during application.
- Wide-Tooth Comb: This will help evenly distribute the dye throughout your hair.
- Hair Clips: For sectioning off your hair while applying the dye.
- Hair Conditioner: To keep your hair hydrated and healthy during and after the dyeing process.
- Old Towels or T-Shirts: To protect your clothing from any potential staining.
Once you have all your supplies gathered, it’s time to get started on the dyeing process.
9 Easy Steps on How to Dye Hair Pink Without Bleach
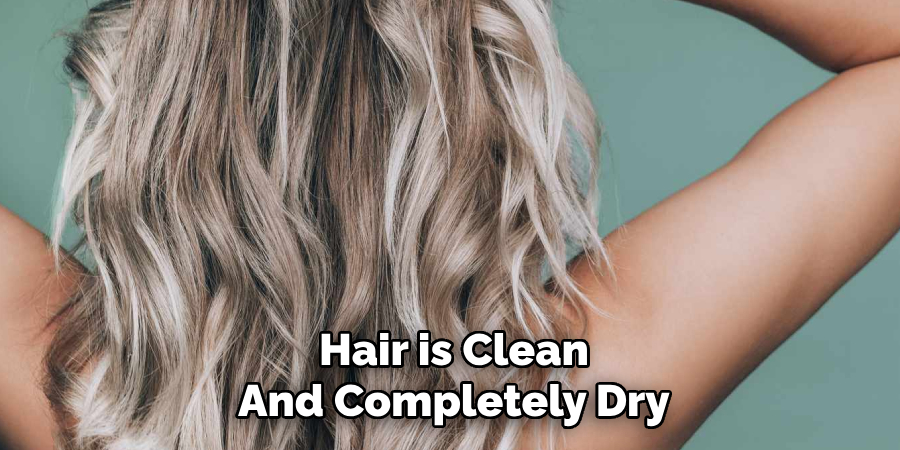
Step 1: Start with Clean, Dry Hair
Begin by ensuring your hair is clean and completely dry. Wash your hair with a gentle shampoo beforehand to remove any dirt, oil, or product build-up that could affect how the dye adheres to your strands. Avoid using conditioner before dyeing your hair, as this can create a barrier that may prevent the dye from fully saturating your hair.
Step 2: Protect Your Workspace and Yourself
Before you start dyeing, take the necessary precautions to protect your surroundings and yourself from stains and mess. Cover your workspace with old towels, newspaper, or a disposable plastic sheet to catch any drips or spills. Wear an old shirt or a dye cape you don’t mind getting stained, and wear gloves to keep the dye off your hands.
Additionally, apply a layer of petroleum jelly or a thick moisturizer along your hairline, ears, and neck to create a protective barrier preventing the dye from staining your skin. Taking these steps will protect your environment and make the cleanup process much easier.
Step 3: Section Your Hair
Use a comb to divide your hair into manageable sections, typically four or more, depending on your hair’s thickness and length. This will ensure the dye is even applied and help you avoid missing any spots. Clip each section securely with hair clips or pins to separate them while working.
If you’re dyeing your hair at home, having well-defined sections will make the process more organized and efficient. Start by creating a center part from your forehead to the nape of your neck, and then divide each half horizontally from ear to ear. Adjust the sections based on what feels comfortable and practical for your hair type.
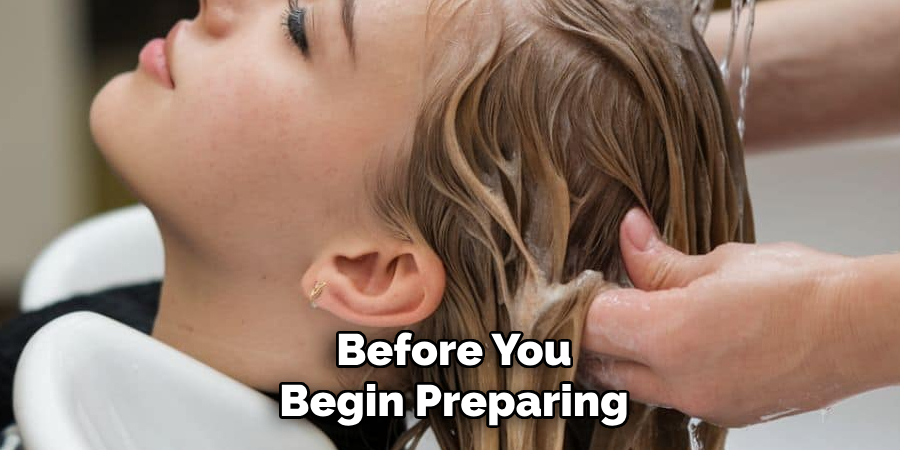
Step 4: Prepare the Dye
Before you begin preparing the dye, ensure you have all the necessary tools to ensure a smooth and efficient process. Lay out your mixing bowl, application brush, gloves, and the hair dye itself. Read the instructions on the dye box carefully, as different brands or formulas may have specific guidelines for mixing or application.
Follow the recommended ratio of color to developer if the dye needs mixing, and stir the mixture thoroughly until it reaches a smooth, consistent texture. Working in a well-ventilated area is essential to avoid inhaling any strong fumes that might be emitted during the preparation process.
Test a small amount of dye on a patch of skin, typically on the inside of your wrist or behind your ear, and wait for the duration specified in the instructions to check for any allergic reactions. This patch test helps ensure your safety and minimizes the risk of irritation.
Step 5: Apply the Dye
Begin by sectioning your hair into manageable parts to ensure even application. Using hair clips can help keep the sections separated and prevent the dye from transferring to unintended areas. Start with one section at a time, applying the dye from the roots to the tips of your hair. For precise application, use a dye brush to coat the hair evenly.
Make sure to spread the dye thoroughly, working it through with your fingers if necessary, while wearing gloves to protect your hands. Pay extra attention to areas requiring more coverage, such as gray strands or previously untouched sections.
Step 6: Saturate Your Hair
Ensure your hair is fully saturated with the dye to achieve an even and vibrant result. Check each section carefully, ensuring no dry spots or areas where the dye hasn’t been applied. When the hair is thoroughly coated, comb through it gently with a wide-tooth comb to ensure the dye is evenly distributed from root to tip.
Be mindful not to tug too hard, especially if your hair is prone to tangling. Saturation is key, as uneven application can lead to patchy or inconsistent coloring. Take your time with this step, as thoroughness will significantly impact the final results. If you have longer hair, clip the sections up as you go to keep them out of the way and allow better access to the remaining areas.
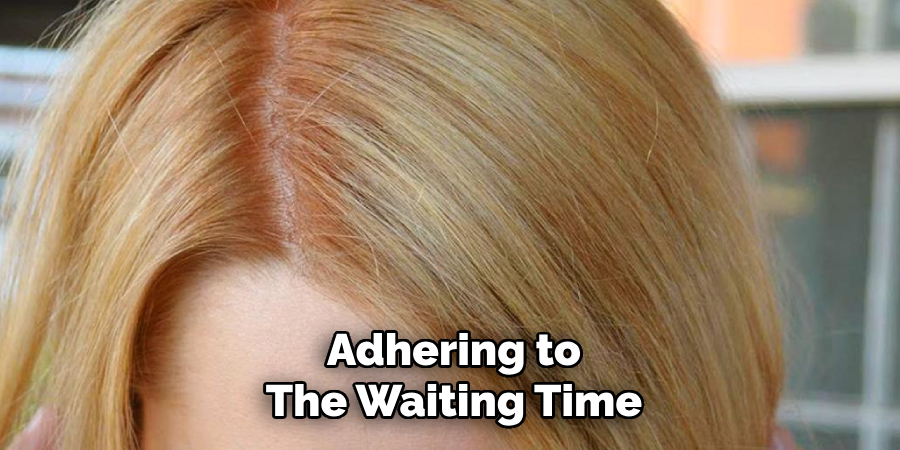
Step 7: Follow the Recommended Waiting Time
Once the dye has been applied, adhering to the waiting time specified in the product’s instructions is crucial. This duration allows the dye to penetrate the hair shafts and fully develop its color. Set a timer to avoid under- or over-processing, as both could affect the outcome. Under-processing may result in a weaker or uneven tone while over-processing might lead to dryness or unnecessary damage to your hair.
During this time, avoid touching or disturbing your hair, as this could disrupt the dye’s even distribution. To keep the process neat, you can cover your hair with a disposable shower cap, which helps prevent the dye from drying out. Use this time to relax—read a book, listen to music, or simply unwind before revealing your refreshed look.
Step 8: Rinse Your Hair
When the waiting time is over, rinse your hair thoroughly with lukewarm water until the water runs clear. Do not use shampoo at this step, as it might strip away some of the freshly applied color. Instead, use the conditioner in the dye kit or your conditioner to nourish and hydrate your hair.
Step 9: Dry and Style
After rinsing, gently pat your hair with a towel to remove excess water. Avoid rubbing your hair too harshly, as wet hair is more prone to breakage. Allow your hair to air dry, or use a blow dryer on a low heat setting. Once dry, style your hair as you normally would to reveal its stunning new pink shade.
By following these steps, you can achieve beautiful pink hair without bleach, keeping your hair healthy and vibrant throughout the process.
5 Things You Should Avoid
- Skipping a Patch Test: Never skip a patch test before applying the dye, even if you’ve used the product before. A patch test helps you identify potential allergic reactions, ensuring your safety.
- Choosing the Wrong Shade for Your Hair Color: Not all pink dyes work well on darker hair. Avoid selecting a too light shade, as it may not show up correctly without bleach. Instead, opt for deeper pink tones designed explicitly for unbleached hair.
- Applying Dye to Dirty or Oily Hair: While some natural oils protect your scalp, excessively greasy or dirty hair might prevent the dye from adhering evenly. Always wash your hair 24 to 48 hours before dyeing for the best results.
- Using Heat Styling Tools Immediately After Dyeing: Avoid using heat-styling tools like flat irons or curling wands right after dyeing your hair. Freshly dyed hair can be weaker and more prone to damage, so give your hair time to recover before applying heat.
- Washing Your Hair Too Soon After Dyeing: Washing your hair too soon, especially with shampoo, can strip away the color. Wait at least 48 hours post-dye to allow the color to set, and always use color-safe products to maintain vibrancy over time.
Conclusion
How to dye hair pink without bleach is entirely possible with the right approach and products.
By choosing a darker pink dye designed for unbleached hair, preparing your hair correctly, and adopting careful aftercare practices, you can achieve vibrant results while protecting the health of your hair. Remember always to follow the instructions provided with your hair dye and be patient during the process to ensure the best possible outcome.
With these tips, you can enjoy beautiful pink hair without bleaching.
About the Author
Jane Hubbard is a passionate beauty expert with a wealth of experience in makeup, hair, and overall beauty techniques. After years of working as a hairdresser specialist, she followed her entrepreneurial spirit and started her own consultancy business.
Jane has always been driven by her desire to help others feel confident in their own skin, and she does this by sharing her knowledge, experiences, and practical beauty tips. Through her consultancy, she empowers individuals to embrace their unique beauty, offering tailored guidance that boosts both self-esteem and personal style.
Professional Focus
- Specializes in makeup, hairstyling, and beauty consulting.
- Provides personalized beauty advice, tips, and techniques to help individuals feel confident in their appearance.
- Dedicated to staying up-to-date with the latest industry trends and developments.
- Passionate about creating a comfortable and empowering experience for every client.
Education History
- University of Craft and Design – Bachelor of Fine Arts (BFA) in Woodworking and Furniture Design
- Woodworking Apprenticeships – Extensive hands-on training with skilled craftsmen to refine carpentry and furniture making techniques
- Online Courses & Masterclasses – Continued education in advanced woodworking techniques, design principles, and specialized tools
Expertise:
- Makeup artistry, hairstyling, and beauty consulting.
- Personalized beauty techniques to enhance confidence and self-expression.
- Educating clients on how to maintain their beauty routines at home.