
Are you tired of your sparse eyebrows? Do you want to achieve a fuller and more defined brow look? Filling in sparse eyebrows is an easy way to achieve the desired look without resorting to permanent makeup solutions.
Having perfectly shaped and filled-in eyebrows can significantly enhance your facial features and overall appearance. For those with sparse or uneven brows, learning to fill them in can make a huge difference in achieving a polished and balanced look. Whether caused by genetics, over-plucking, or thinning over time, sparse eyebrows are a common concern. Fortunately, with the right tools and techniques, you can create fuller, natural-looking brows that complement your face.
This guide on how to fill in sparse eyebrows will walk you through simple steps to help you master the art of filling in your eyebrows effortlessly.
What Are the Benefits of Filling in Sparse Eyebrows?
Filling in sparse eyebrows can bring numerous benefits to your overall look. Here are some reasons why you should consider filling in your brows:
- Enhance Facial Features: Well-shaped and filled-in eyebrows can enhance your facial features, making them appear more symmetrical and defined.
- Frame the Face: The right eyebrow shape and fill can help frame your face, giving it a more polished and put-together appearance.
- Achieve a Youthful Look: As we age, our eyebrows tend to thin out, which can make us appear older. By filling in sparse areas, you can create the illusion of thicker, fuller brows, resulting in a more youthful look.
- Boost Confidence: Well-groomed and defined eyebrows can give you a confidence boost, as they enhance your overall appearance. Knowing that your brows look great can also help you feel more put together and ready to tackle the day ahead.
In addition to these benefits, filling in your eyebrows can also help balance out any facial asymmetry.
What Will You Need?
Before you start filling in your eyebrows, you will need a few key tools and products. Here are some essential items to have on hand:
- Spoolie brush
- Eyebrow pencil or pomade
- Angled brush
- Clear brow gel
- Concealer (optional)
Once you have these items, you are ready to begin filling in your eyebrows!
10 Easy Steps on How to Fill in Sparse Eyebrows
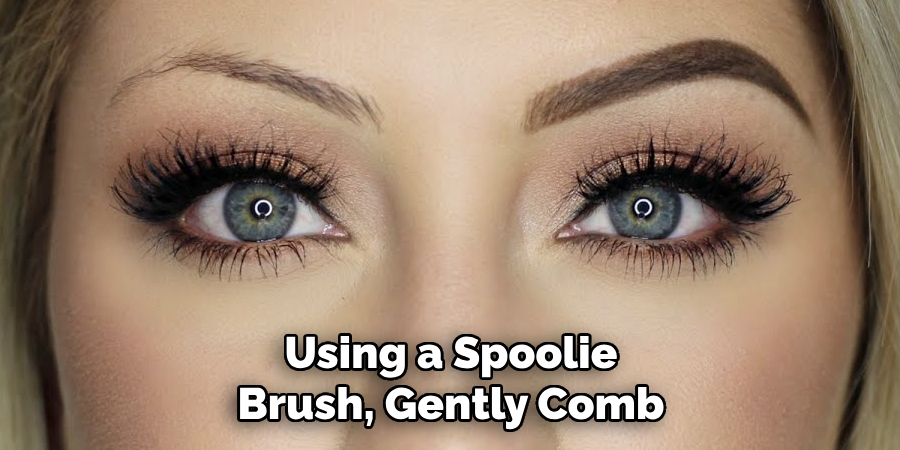
Step 1: Brush Your Eyebrows
Using a spoolie brush, gently comb your eyebrows in the direction of their natural growth. This helps to neaten them and reveal their natural shape, providing a clear outline to follow when filling them in. Brushing also ensures that any product you apply will be evenly distributed.
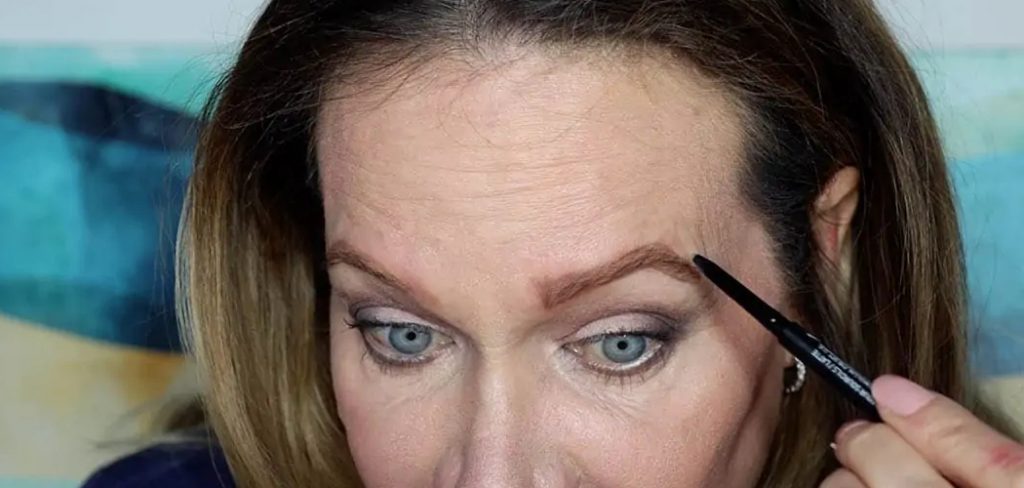
Step 2: Outline the Shape
Using an eyebrow pencil or a fine-tipped brow pen, lightly trace the natural shape of your eyebrows. Start by outlining the bottom edge of your brow, beginning at the inner corner and working towards the tail.
Be careful to use light, feathery strokes to avoid harsh lines. Next, outline the top edge of your brow, again following its natural arch and tapering toward the tail. Aim to keep the brows symmetrical, but don’t stress too much about perfection—eyebrows are sisters, not twins! Outlining provides a guide for filling in sparse areas and ensures your brows retain their structure and look polished.
Step 3: Fill in Sparse Areas
After outlining your brows, it’s time to fill in the sparse areas to create a fuller, more defined look. Choose a brow product that matches the natural color of your eyebrows, such as a pencil, powder, or pomade. Using small, hair-like strokes, begin filling in the areas where your brows are thinnest or have gaps, focusing on keeping the strokes soft and natural. Start at the inner corner and work your way outward, following the direction of your natural hair growth. If you’re using a powder, consider applying it with an angled brush for more precise coverage.
For a more detailed and realistic appearance, you can add a touch of a brow pen to mimic individual hairs in particularly sparse spots. Remember, the goal is to enhance your natural brows, not to create stark, overly filled lines. Take your time and step back occasionally to assess your work and maintain balance.
Step 4: Blend the Product
Blending is a crucial step to achieving natural-looking brows. After applying your chosen product, use a spoolie brush to blend the product through your eyebrows gently. This helps soften any harsh lines and ensures an even application, creating a more seamless finish. Begin at the inner corner of your brow and sweep outward, following the natural direction of hair growth.
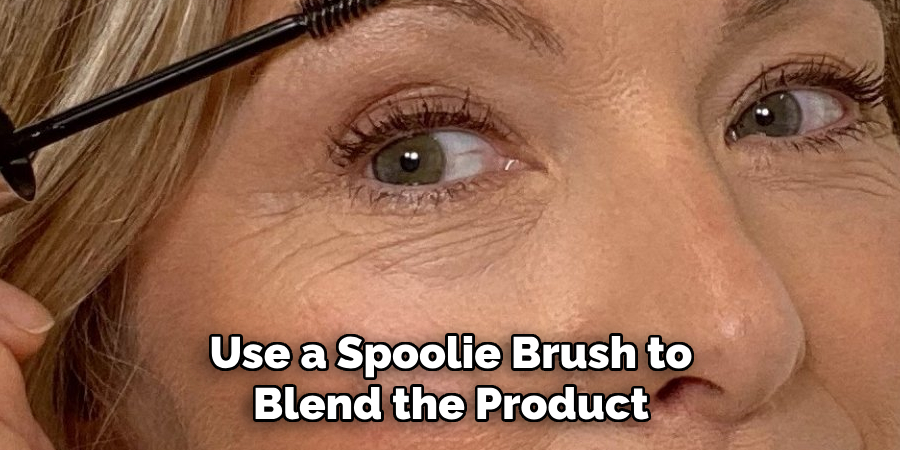
Blending not only distributes the product evenly but also fluffs and shapes the brows for a polished yet natural appearance. If needed, go back over the area with a small amount of product on your brush to fill in any uneven spots, but always blend again to maintain a soft, realistic look. A well-blended brow complements your features without overpowering them.
Step 5: Define the Arch (Optional)
If you want to add extra definition to your brows, focus on emphasizing the arch. Using a fine-tipped brow pencil or brush, lightly apply product to the highest point of your brow, creating a subtle, clean line. This step helps to lift the overall shape of the brow, giving it more structure. Be sure to use small, feather-like strokes to mimic natural hair and avoid creating harsh lines. Gently blend the product into the rest of your brow for a seamless finish. Defining the arch is a personal choice, but it can add a touch of sophistication to your look.
Step 6: Set Your Brows
To set your brows and keep them in place all day, use a clear or tinted brow gel. Gently sweep the gel through your brows using the wand, following the natural direction of your hair growth. This step not only locks your brows in place but also adds a polished finish to your overall look. Avoid applying too much product to keep the brows from appearing stiff or unnatural. A well-set brow enhances your makeup and completes your routine with a professional touch.
Step 7: Clean Up the Edges
Use a concealer or makeup remover with a precision brush or cotton swab to clean up any mistakes or sharpen the edges around your brows. This step helps to define their shape and ensures a crisp, clean look. Gently apply the concealer beneath and above your brows, blending it outward to avoid harsh lines. Be careful not to remove too much of your brow product while cleaning up. A little precision in this step can make a significant difference in achieving flawless brows.
Step 8: Step Back and Assess
Take a moment to step back and assess your brows in the mirror. Ensure they are symmetrical, neatly groomed, and suit your facial features. Check if any areas need touching up or blending to achieve a natural finish. Remember, brows are sisters, not twins, so slight differences are normal. Once you’re satisfied with the overall look, you’re ready to confidently showcase your perfectly shaped brows.
Step 9: Highlight Your Brow Bone
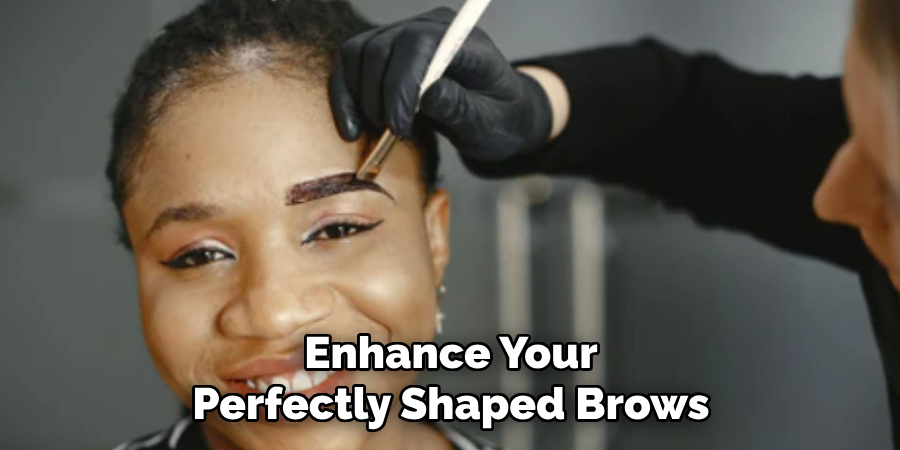
To enhance your perfectly shaped brows, apply a subtle highlighter or a light eyeshadow shade to your brow bone, just beneath the arch of your brows. Use a small brush to gently blend the product, ensuring a seamless and polished look. This step adds dimension and lifts your brows, creating a brighter, more refreshed appearance. For an extra glow, opt for a highlighter with a slight shimmer, but keep it natural to complement your brows rather than overpowering them.
Step 10: Set with Brow Gel
To complete your polished brow look and ensure that they stay in place all day, use a clear or tinted brow gel to set your brows. This step also helps to keep any unruly hairs in check and adds an extra layer of definition. Simply brush the product through your eyebrows in the direction of hair growth, starting from the inner corner and working outwards. For a more natural look, choose a clear gel. If you want added color and coverage, opt for a tinted one that matches your brow shade.
By following these steps and using the right products, you can achieve perfectly polished eyebrows that will elevate your overall makeup look.
5 Things You Should Avoid
- Overdrawing or Using Too Much Product
Avoid heavily applying product or overdrawing your eyebrows, as this can create an unnatural or harsh look. Focus on light, precise strokes to mimic the appearance of natural hair.
- Choosing the Wrong Shade
Selecting a brow pencil or powder that is too dark or too light can make your eyebrows look mismatched or artificial. Aim for a shade that closely matches your natural brow color.
- Ignoring Your Natural Brow Shape
Trying to reshape your eyebrows drastically or ignoring their natural arch can result in a look that feels out of place. Work with your natural brow structure for the most flattering results.
- Not Blending the Product Properly
Leaving harsh lines or unblended product can make your brows appear unnatural. Always blend your strokes using a spoolie brush to achieve a softer, polished finish.
- Skipping a Setting Product
Skipping brow gel or other setting products can cause your hard work to smudge or wear off throughout the day. Use a clear or tinted brow gel to lock your look in place for long-lasting results.
Conclusion
how to shape eyebrows can seem challenging at first, but with the right techniques and tools, it becomes a seamless part of your beauty routine.
The key is to focus on creating natural, balanced brows that complement your facial features. Start by choosing a shade that matches your hair color, follow the natural shape of your brows, and use light, feathery strokes for a realistic effect.
Don’t forget to blend thoroughly and set your work with a reliable brow gel. With practice and attention to detail, achieving perfectly filled-in eyebrows is within your reach!
About the Author
Jane Hubbard is a passionate beauty expert with a wealth of experience in makeup, hair, and overall beauty techniques. After years of working as a hairdresser specialist, she followed her entrepreneurial spirit and started her own consultancy business.
Jane has always been driven by her desire to help others feel confident in their own skin, and she does this by sharing her knowledge, experiences, and practical beauty tips. Through her consultancy, she empowers individuals to embrace their unique beauty, offering tailored guidance that boosts both self-esteem and personal style.
Professional Focus
- Specializes in makeup, hairstyling, and beauty consulting.
- Provides personalized beauty advice, tips, and techniques to help individuals feel confident in their appearance.
- Dedicated to staying up-to-date with the latest industry trends and developments.
- Passionate about creating a comfortable and empowering experience for every client.
Education History
- University of Craft and Design – Bachelor of Fine Arts (BFA) in Woodworking and Furniture Design
- Woodworking Apprenticeships – Extensive hands-on training with skilled craftsmen to refine carpentry and furniture making techniques
- Online Courses & Masterclasses – Continued education in advanced woodworking techniques, design principles, and specialized tools
Expertise:
- Makeup artistry, hairstyling, and beauty consulting.
- Personalized beauty techniques to enhance confidence and self-expression.
- Educating clients on how to maintain their beauty routines at home.