Are you a beauty enthusiast looking for a way to create personalized and unique lip glosses? Have you been searching for the perfect stop-gap solution between hardwearing store-bought lip gloss and expensive, custom-made varieties? If so, then learning how to fill your own lip gloss tubes may be the perfect skill for you! With the right tools and our handy guide, anyone can learn how to fill lip gloss tubes. So if you want to find out more about filling your own customized lip gloss tubes, read on!
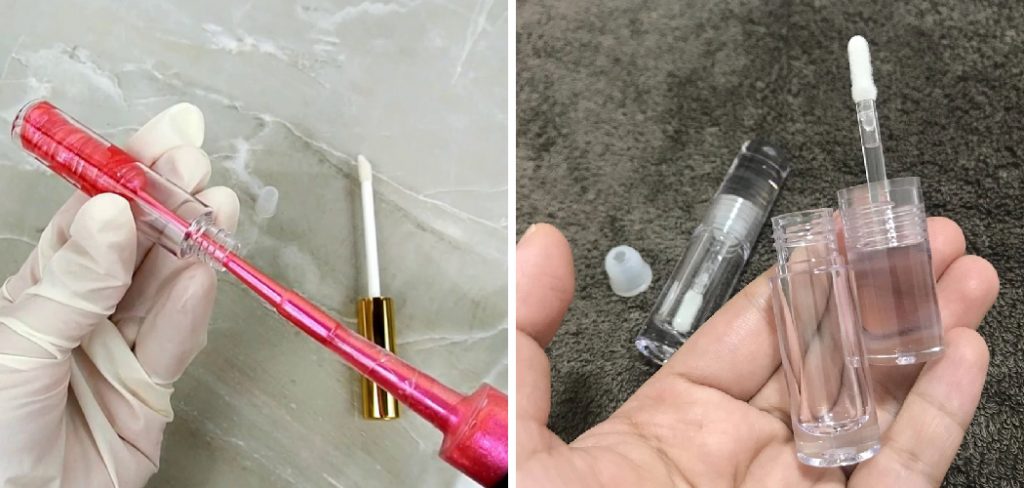
If you’ve ever wanted to create your own signature lip gloss or make your own gifts for friends, filling lip gloss tubes is a fun and easy way to put your spin on one of today’s most beloved beauty products. Not only will you be able to customize the color and flavor of the product, but by taking control of the production process yourself, you can ensure that it meets any criteria that may not be met when buying store-bought gloss unless required by law. In this blog post, we’ll walk through all the necessary steps in detail.
Things You Should Keep in Mind Before Filling Lip Gloss Tubes
There are many things to consider before filling lip gloss tubes. Here are just a few tips that you should keep in mind:
1. Use Good Quality Ingredients
Using good quality ingredients is essential to creating long-lasting, high-quality lip gloss. Make sure you purchase your ingredients from a trusted source and read the labels carefully to make sure they are suitable for lip gloss used.
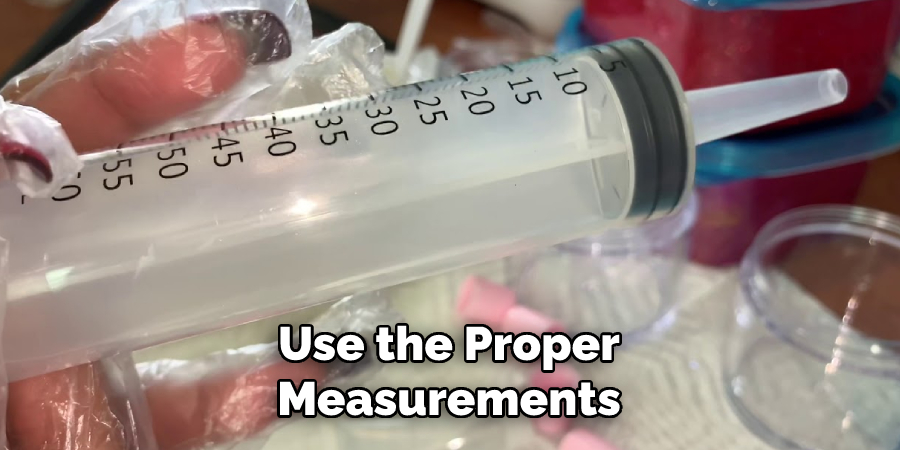
2. Use Proper Measurements
To ensure that your lip gloss comes out perfectly every time, it is important to use the proper measurements. Measure each ingredient carefully and make sure you use the same measurements for all of your ingredients when mixing them together.
3. Use The Right Mixing Tools
The right tools are necessary when making lip gloss. Make sure you have a clean bowl, spatula, and spoon on hand before beginning the process. Be sure to use separate tools for mixing and stirring the ingredients.
4. Clean Your Tubes Before Filling
To ensure that your lip gloss is free of contamination, make sure you clean out your tubes before filling them with the mixture. Use a cotton swab or a solution made specifically for cleaning lip gloss tubes and rinse thoroughly with warm water before adding the mixture.
5. Store Your Lip Gloss Tubes Properly
Once your lip gloss tubes are filled, make sure you store them in a cool and dry place to prevent spoilage or contamination. Make sure that the caps are tightly closed before storing them away so no dirt or debris can get inside.
By following these tips, you can make sure your lip gloss is of the highest quality and consistency. It’s also important to keep safety in mind when making or using lip gloss. Always wear protective gear such as gloves and goggles when working with chemicals and make sure to read all instructions thoroughly before beginning any project.
How to Fill Lip Gloss Tubes in 7 Easy Steps
Step 1: Gather the Necessary Materials
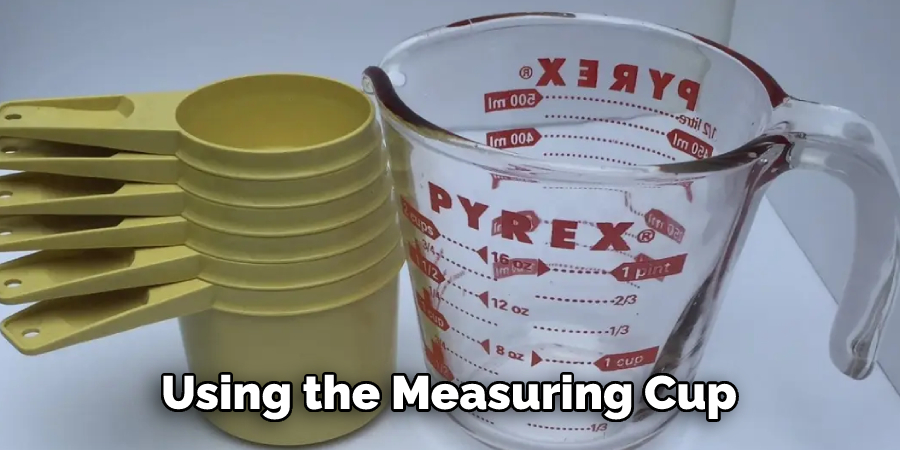
The very first step is to make sure you have all the materials needed to fill your lip gloss tubes. You’ll need a container, measuring cup, syringe or dropper, and of course the lip gloss base (or any other product you are filling the tubes with).
Step 2: Prepare Your Lip Gloss Base
Once you have all the materials needed, the next step is to prepare your lip gloss base. Depending on what type of product you are using, you may need to measure and mix it according to its instructions.
Step 3: Fill Your Syringe/Dropper
Using the measuring cup and syringe or dropper, fill up the applicator with your lip gloss base. Make sure to fill the applicator accurately and slowly, as overfilling can cause messes and make it difficult to apply the lip gloss later.
Step 4: Apply the Lip Gloss
Once your syringe/dropper is filled, you can now start applying the lip gloss into each tube. Hold the tubes upright and carefully apply the lip gloss into each one until they are all filled.
Step 5: Clean Up and Repeat
Once you have filled all the tubes, be sure to clean up your work area. Then, repeat steps 2 through 4 until you’ve finished filling all of your lip gloss tubes.
Also, it may be beneficial to label your lip gloss tubes with the product’s name, ingredients, and expiration date.
Step 6: Seal The Tubes
Once all of the tubes are filled and labeled, the next step is to seal them. You can use a heat gun for this purpose if you have one available. Place the heat gun on the tube and hold it in place for a few seconds. Be sure to evenly distribute the heat along each lip gloss tube, as uneven heating can cause them to leak.
Step 7: Double-Check
Once the tubes are sealed, give them a quick double-check to make sure they are filled and sealed properly. If all looks good, you can now package and store your lip gloss tubes until they’re ready for use.
Some Additional Tips And Tricks to Fill Lip Gloss Tubes
1. Do Not Overfill
When filling the lip gloss tubes, make sure not to overfill them. You want to leave a tiny bit of space at the top so that the cap can be secured and no product will leak out when you apply it.
2. Use A Pipette or Dropper
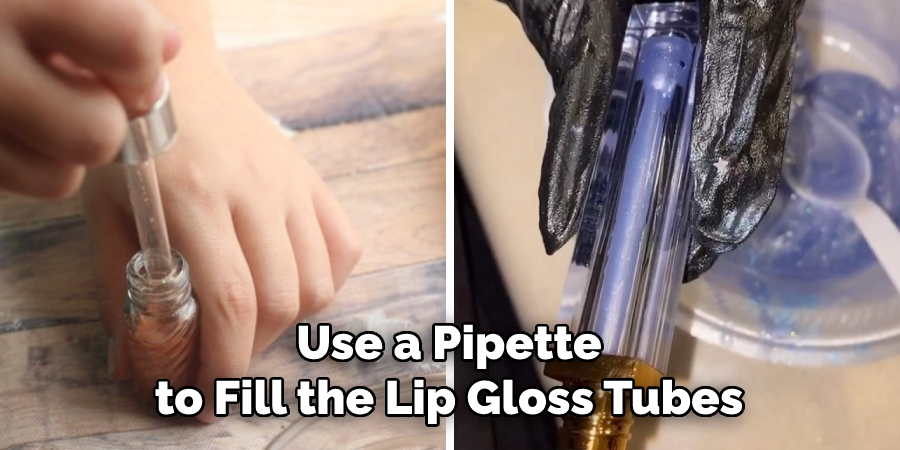
If you don’t have a syringe or needle-tip applicator, you can use a pipette or dropper to fill the lip gloss tubes. This will help ensure that the product is evenly distributed throughout the tube.
3. Be Careful When Handling The Tubes
When handling the lip gloss tubes, make sure to be careful not to damage them. Lip gloss tubes are often fragile and can crack if handled too roughly. Also, make sure to remove any air bubbles that may have formed inside the tube.
4. Seal The Tube Properly
Once you have filled the lip gloss tubes, make sure to seal them properly with the cap or stopper. This will help to prevent any leakage and keep your product fresh and long-lasting.
5. Clean Up Spills Immediately
When filling lip gloss tubs, it’s important to make sure that any spills are cleaned up immediately. This will help to prevent staining and other damage to the tubes, as well as help you avoid wasting product.
Following these tips and tricks can help make your lip gloss-filling process much easier and more successful! When done correctly, you will have perfectly filled lip gloss tubes that will enhance your look and last for a long.
Frequently Asked Questions
How Much Lip Gloss Should Go in Each Tube?
The amount of lip gloss you should fill each tube with depends on the size and capacity of the tube. Generally, a 5ml lipgloss tube is filled only about halfway so that it does not exceed its capacity or become too heavy for the container. However, some people prefer to fill tubes all the way to the top, which may be appropriate depending on the size of the tube.
What Are Some Tips for Filling Lip Gloss Tubes?
Before filling the tubes, make sure they are clean and free of any residue. To avoid spillage or mess when filling the tubes, use a funnel and a syringe to insert the lip gloss into the container. This makes it easier to accurately measure how much you’re putting in and helps to reduce wastage.
Additionally, it’s important to keep the lip gloss tubes tightly sealed after filling them to ensure that the product remains fresh and doesn’t spoil. Finally, when selecting a lip gloss for filling, make sure that you select one with a consistency suitable for use in tubes. If the lip gloss is too thick, it will not be able to flow through the tube properly.
How Do You Store Lip Gloss Tubes?
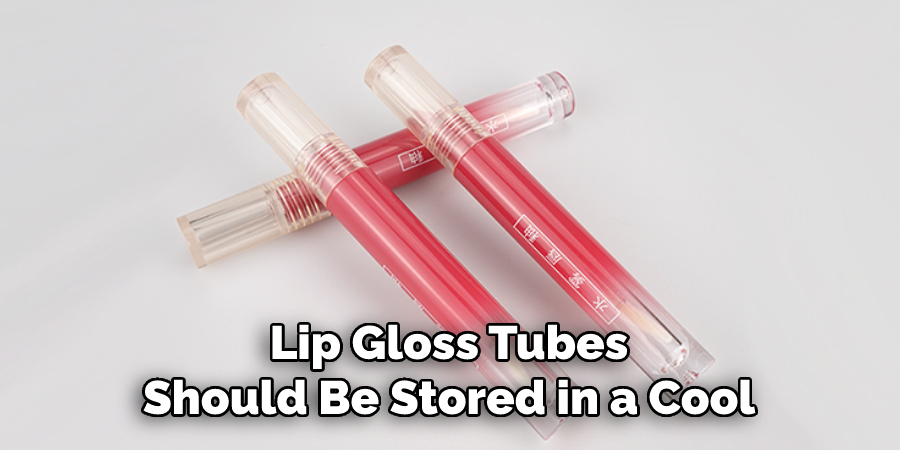
Lip gloss tubes should be stored in a cool, dark place away from direct sunlight and humidity. Additionally, they should always be kept tightly sealed when not in use to maintain their freshness and shelf life. If the tubes are stored correctly, they should last for several months without spoiling or degrading in quality.
Conclusion
Now you know how to fill lip gloss tubes properly, you can create your own custom lip glosses with ease. Just remember to double-check the filling and sealing of the tubes for each batch, use a pipette or dropper if you don’t have a syringe and needle-tip applicator, be careful when handling the tubes, and store them properly to ensure that they last as long as possible. With these basic tips, you’ll be a lip gloss expert in no time!
Overall, filling lip gloss tubes is a relatively simple process that only requires a few supplies. Although it may seem intimidating at first, with patience and practice anyone can become an expert craftsperson. After doing this task a few times, you will have the confidence to experiment with endless possibilities of customization.
You can create gloss formulas suitable for different skin types and tone, add various scents, use festive containers and decorate cubes beautifully for any occasion. As always, the most critical aspect of assembling any beauty product is safety; be sure to practice proper hygiene practices when working with these items to ensure the longevity of your project.
You Can Check It Out to Use Gelish Dip Powder
About the Author
Jane Hubbard is a passionate beauty expert with a wealth of experience in makeup, hair, and overall beauty techniques. After years of working as a hairdresser specialist, she followed her entrepreneurial spirit and started her own consultancy business.
Jane has always been driven by her desire to help others feel confident in their own skin, and she does this by sharing her knowledge, experiences, and practical beauty tips. Through her consultancy, she empowers individuals to embrace their unique beauty, offering tailored guidance that boosts both self-esteem and personal style.
Professional Focus
- Specializes in makeup, hairstyling, and beauty consulting.
- Provides personalized beauty advice, tips, and techniques to help individuals feel confident in their appearance.
- Dedicated to staying up-to-date with the latest industry trends and developments.
- Passionate about creating a comfortable and empowering experience for every client.
Education History
- University of Craft and Design – Bachelor of Fine Arts (BFA) in Woodworking and Furniture Design
- Woodworking Apprenticeships – Extensive hands-on training with skilled craftsmen to refine carpentry and furniture making techniques
- Online Courses & Masterclasses – Continued education in advanced woodworking techniques, design principles, and specialized tools
Expertise:
- Makeup artistry, hairstyling, and beauty consulting.
- Personalized beauty techniques to enhance confidence and self-expression.
- Educating clients on how to maintain their beauty routines at home.
