
A great Halloween wig can be the crowning glory of your costume, but after a night of fun or a year in storage, it often ends up as a tangled, frizzy mess. It’s tempting to just toss it and buy a new one next year, but that’s both wasteful and expensive. Most cheap, synthetic Halloween wigs can be surprisingly resilient and brought back from the brink of ruin with a little care. You don’t need to be a professional stylist to revive that matted mop. This guide will provide easy, step-by-step instructions on how to fix halloween wigs, turning that scary mess back into a stunning accessory.

Whether it’s a vibrant witch’s hairpiece or a wild, costume-ready mane, Halloween wigs are an essential part of bringing characters to life. However, after a night of thrills and chills, these wigs often look far from their original glory. With the right approach, though, even the most disheveled wig can be restored, saving money and reducing waste in the process. So, let’s dive into the world of wig care and learn how to fix those halloween wigs!
Materials Needed
Before we get started, it’s good to gather all the necessary materials for this task. Here are some items you will need to have on hand:
- A wide-tooth comb or detangler brush
- Warm water
- Mild shampoo or wig-specific cleanser
- Towel or terry cloth fabric
- Wig stand or towel-covered surface for drying
Step-by-Step Guide on How to Fix Halloween Wigs
Step 1: Secure the Wig on a Stand
Before you can begin the detangling process, you need to have the wig securely mounted. The best tool for this is a foam mannequin head or a wig stand. If you don’t have one, you can get creative by placing the wig over a vase, a large bottle, or the top of a floor lamp. Securing the wig gives you two free hands to work and prevents it from sliding around. This stable base allows you to apply the necessary tension for brushing without pulling the wig onto the floor, making the entire restoration process much more manageable.
Step 2: Gently Detangle by Hand
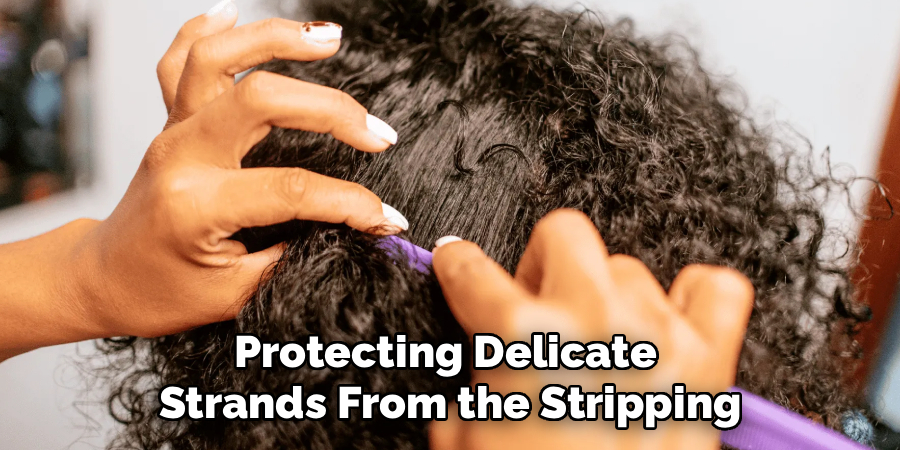
Never attack a tangled synthetic wig directly with a brush. You will only tighten the knots and rip out the fibers. The first and most important detangling step is to work through the tangles gently with your fingers. Start at the tips of the hair and slowly work your way up toward the wig cap. As you encounter knots, carefully pull the strands apart. This initial pass will break up the largest tangles and prepare the wig for the next stage, making the entire process smoother and preserving as many of the delicate synthetic fibers as possible.
Step 3: Use a Detangling Spray
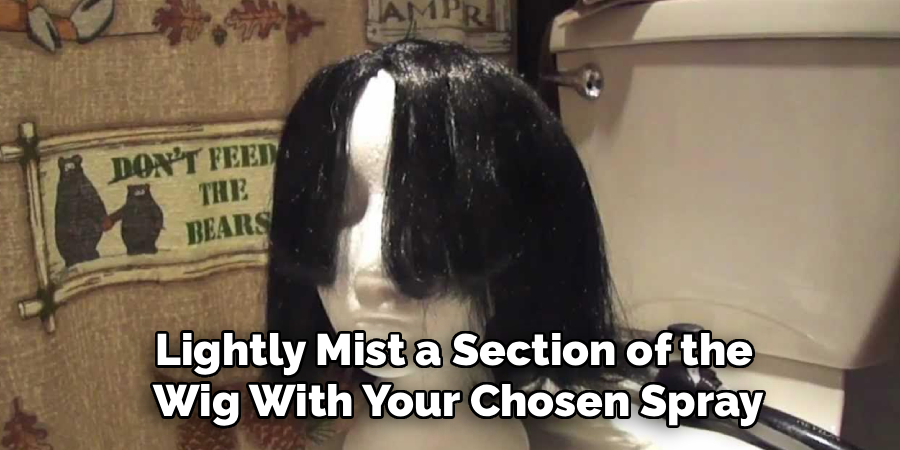
Synthetic wig fibers are essentially a form of plastic and don’t have the natural oils that human hair does, which is why they tangle so easily. To combat this, you need a good lubricant. You can use a wig-specific detangling spray or create your own highly effective solution. Mix one part liquid fabric softener with three parts cool water in a spray bottle. Lightly mist a section of the wig with your chosen spray. This solution coats the fibers, reducing static and friction, which allows the knots to slip apart much more easily.
Step 4: Brush the Wig
Now you can introduce a brush, but make sure it’s the right kind. A wide-tooth comb or a wig brush is ideal. Avoid using standard bristle brushes, as they can stretch and break the synthetic fibers. Begin brushing at the very ends of the wig fibers. Once the bottom few inches are completely tangle-free, move your starting point a few inches higher and brush down. Continue this process, working in small sections from the bottom up, until you can run the comb smoothly from the wig cap all the way to the tips.
Step 5: Use Low Heat for Stubborn Tangles
For very stubborn, frizzy, or matted sections, a little bit of low heat can work wonders on most synthetic fibers. A garment steamer is the best tool for this. Hold the steamer several inches away from the wig and steam a small section of hair. The heat and moisture will help relax the plastic fibers. Immediately after steaming, gently brush through the section. If you don’t have a steamer, you can also use a blow dryer on its lowest heat setting, but be extremely careful to keep it moving and far from the fibers to avoid melting.
Step 6: Wash and Condition the Wig
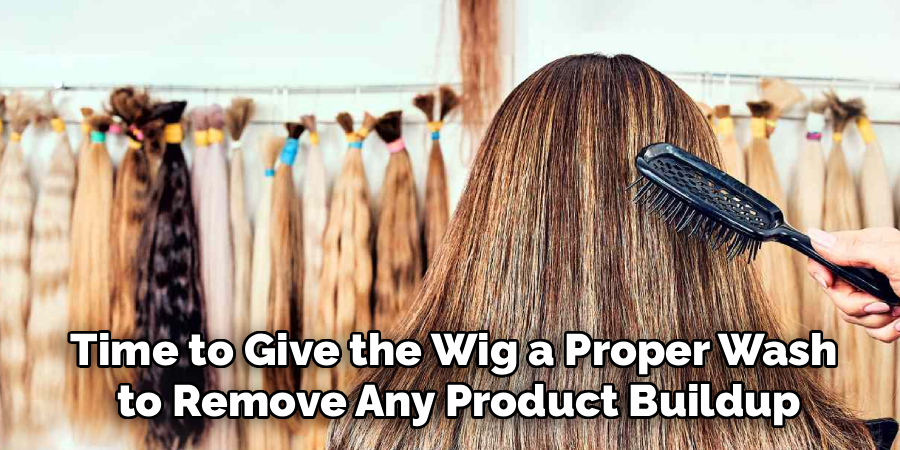
After all the detangling is complete, it’s time to give the wig a proper wash to remove any product buildup, dust, and grime. Fill a sink or basin with cool water and add a small amount of mild shampoo or a specialized wig shampoo. Gently submerge the wig and swish it around, but do not scrub or rub it. Drain the soapy water, refill the basin with clean, cool water, and add a small amount of conditioner or fabric softener to rinse. This final conditioning step will leave the fibers feeling softer and more manageable.
Step 7: Rinse and Gently Squeeze
After conditioning, rinse the wig thoroughly under cool, running water until all the product is gone and the water runs clear. It’s important to be gentle during this stage to avoid creating new tangles. Once rinsed, do not wring or twist the wig. Lay it flat on a clean, dry towel. Gently fold the towel over the wig and press down firmly to blot out as much excess water as possible. This careful drying preparation helps the wig maintain its shape and prevents stretching or damaging the wet fibers.
Step 8: Air Dry Completely
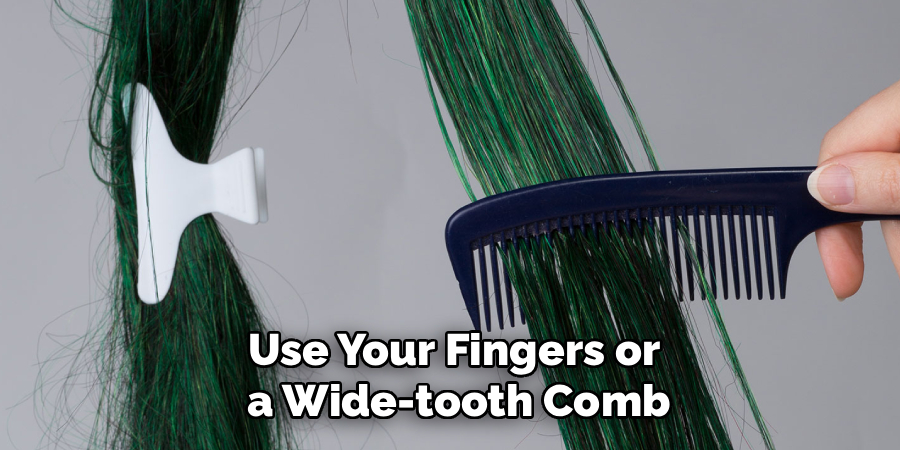
Once you have blotted the excess water, place the wig back on its stand or mannequin head. Use your fingers or a wide-tooth comb to gently style the fibers into their desired shape. Now, you must let it air dry completely. This can take several hours or even overnight, depending on the wig’s length and thickness. Never use a blow dryer on high heat to speed up the process, as this will melt the synthetic fibers and ruin all your hard work. Patience is key to letting the wig set properly.
Frequently Asked Questions (FAQ)
Can I Use a Regular Brush on a Halloween Wig?
It is best to avoid using a regular hairbrush, especially one with tightly packed bristles. These brushes can snag, stretch, and break the delicate synthetic fibers, leading to frizz and damage. The ideal tools are a wide-tooth comb or a brush specifically designed for wigs. Always start brushing from the tips and work your way up to the roots.
How Can I Make a Cheap Wig Look Better?
To improve the appearance of a cheap, overly shiny wig, try a few tricks:
- Dry Shampoo: A light spray of dry shampoo can absorb some of the excessive shine, giving the wig a more natural, matte finish.
- Fabric Softener: Soaking the wig in a fabric softener solution can make the fibers softer and less “plastic-y.”
- Careful Trimming: Customizing the cut slightly can make it look less like it came straight out of a bag.
Can I Use Heat to Style a Synthetic Halloween Wig?
You must be extremely careful. Most cheap Halloween wigs are not heat-resistant and will melt if exposed to high temperatures from curling irons or flat irons. Always test a small, hidden strand of hair first. If you must use heat, use the lowest possible setting or, for a safer alternative, use a garment steamer or hot water to relax the fibers before setting them in rollers to dry.
What Is the Best Way to Store a Halloween Wig?
Proper storage is key to preventing tangles. After wearing, gently detangle the wig and place it back on a wig stand or mannequin head to help it keep its shape. If you don’t have a stand, you can gently fold it and store it in its original packaging or a large, sealed plastic bag. Make sure the wig is completely dry and tangle-free before storing it.
My Wig Is Still Frizzy. What Can I Do?
For persistent frizz, a low-heat treatment is your best bet. A garment steamer is the most effective tool. Gently steam the frizzy sections from a safe distance and immediately comb through them. This will relax the synthetic fibers and smooth them out. You can also try a very light application of an anti-frizz serum designed for human hair, using just a tiny amount on the ends.
Conclusion
A tangled wig doesn’t have to signal the end of your costume’s life. With a bit of patience and the right techniques, you can detangle, wash, and restore even the most chaotic-looking synthetic hair. The key takeaways are to work gently, use the right tools like a wide-tooth comb, and embrace the power of a fabric softener solution. By following these steps, you can save money, reduce waste, and ensure your favorite costume piece is ready for another year. Now that you know how to fix halloween wigs, you can confidently rescue your collection from the trash and keep them looking great.
About the Author
Jane Hubbard is a passionate beauty expert with a wealth of experience in makeup, hair, and overall beauty techniques. After years of working as a hairdresser specialist, she followed her entrepreneurial spirit and started her own consultancy business.
Jane has always been driven by her desire to help others feel confident in their own skin, and she does this by sharing her knowledge, experiences, and practical beauty tips. Through her consultancy, she empowers individuals to embrace their unique beauty, offering tailored guidance that boosts both self-esteem and personal style.
Professional Focus
- Specializes in makeup, hairstyling, and beauty consulting.
- Provides personalized beauty advice, tips, and techniques to help individuals feel confident in their appearance.
- Dedicated to staying up-to-date with the latest industry trends and developments.
- Passionate about creating a comfortable and empowering experience for every client.
Education History
- University of Craft and Design – Bachelor of Fine Arts (BFA) in Woodworking and Furniture Design
- Woodworking Apprenticeships – Extensive hands-on training with skilled craftsmen to refine carpentry and furniture making techniques
- Online Courses & Masterclasses – Continued education in advanced woodworking techniques, design principles, and specialized tools
Expertise:
- Makeup artistry, hairstyling, and beauty consulting.
- Personalized beauty techniques to enhance confidence and self-expression.
- Educating clients on how to maintain their beauty routines at home.