Having lumpy gel nails is an aesthetic issue and can signify improper application. If the nail technician has not applied the gel polish properly, it can lead to air bubbles or even lumps forming in your manicure. This can make your manicure look uneven and unprofessional, so it’s important to take the time to fix lumpy gel nails.
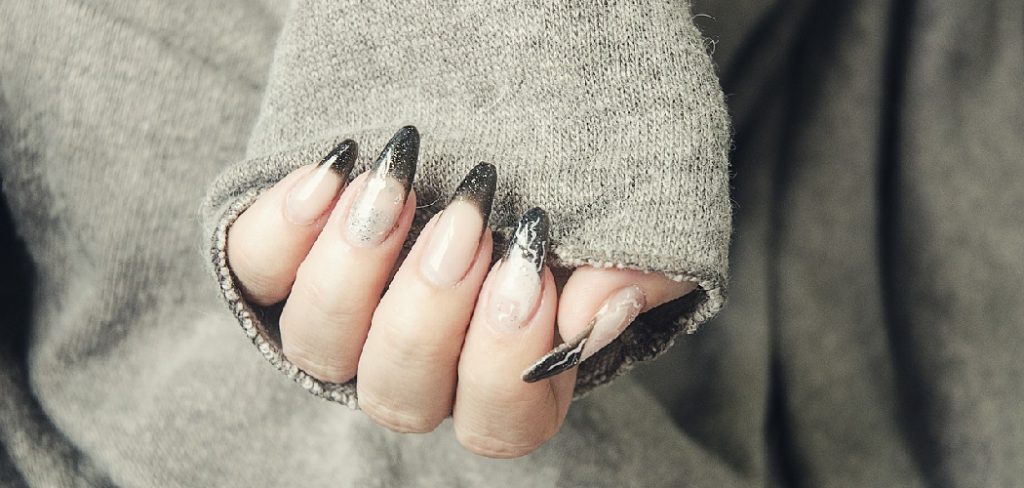
The advantages of learning to fix lumpy gel nails are that the process is relatively simple and can save you time and money. A successful repair job requires minimal tools and materials, and its results can last for a long period of time when done correctly. It also allows you to fashion your unique style of manicure that fits your individual preference. In this blog post, You will learn in detail how to fix lumpy gel nails.
How Do You Identify Lumpy Gel Nails?
Lumpy gel nails can be identified by their uneven surface, which is caused by air bubbles or dust particles trapped underneath the hardening coat of gel. The lump may appear as a white spot or an area that looks raised compared to the surrounding nail. Lumpy gels may also have a textured surface due to uneven areas in the application.
Most Common Causes of Lumpy Gel Nails
- Too Much Gel: If you’ve used too much gel when applying the nail polish, it can cause a lumpy surface as the excess product dries.
- Poor Application Technique: It’s important to use an even and gentle motion when applying your gel nails. If you apply too much pressure, it can create bumps and lumps.
- Not Waiting for the Gel to Dry: If you fail to wait for the gel to dry properly between coats, it can cause a lumpy finish.
- Incorrect Polish Removal: Improper removal of your nail polish can also cause lumpiness, so always make sure you are using the recommended technique to ensure a smooth finish.
To fix lumpy gel nails, the first step is to remove the old polish using a non-acetone remover. Once all of the old polish has been removed, use an emery board or buffer to even out any rough edges or bumps.
Step-by-Step Processes for How to Fix Lumpy Gel Nails
Step 1: Inspect the Nail
Before attempting to fix the lumpy gel nails, it is important to inspect the nail for any signs of damage or infection. If there are any signs of damage or infection, it should be treated first before continuing with the repair process. Using a cuticle pusher, gently scrape away any excess gel from the nail. Be sure not to apply too much pressure, as this can cause more damage to the nail.
Step 2: Remove the Gel Nail Polish
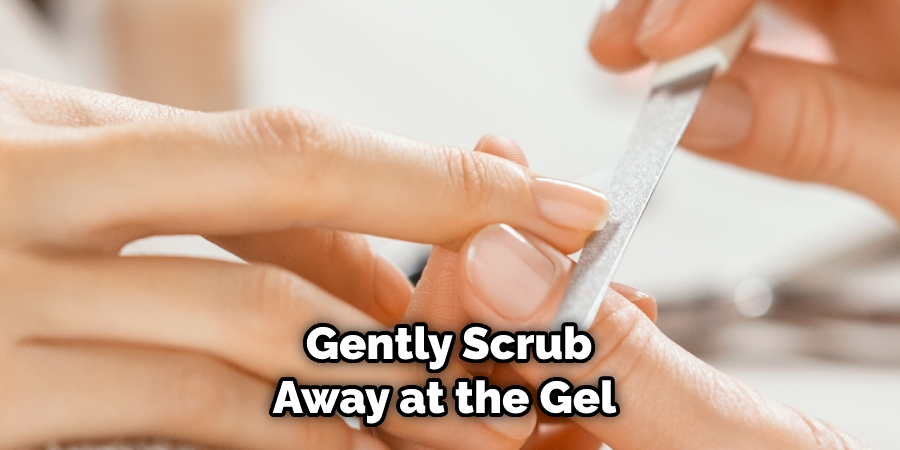
Once any excess gel has been removed, it is time to remove the nail polish. To do this, use a non-acetone nail polish remover and apply it directly to the gel nails. Gently scrub away at the gel until most of the polish has been removed. If the gel is still slightly lumpy after this step, move on to the next step.
Step 3: File and Buff the Nails
Using a fine-grit nail file, gently buff away any remaining bumps in the nails. Be sure not to apply too much pressure as this can damage the nail. Do this until the nail has a smooth, even surface. After filing and buffing the nails, it is important to apply a nail conditioner to help restore moisture and elasticity back into the nail. Use a cuticle oil or cream specifically designed for use on nails. Massage it into the nail and cuticles to help restore moisture.
Step 4: Re-apply the Gel Nail Polish
Once the nails are properly conditioned, it is time to re-apply the gel nail polish. Apply a thin coat of gel over the entire nail, and be sure not to apply too much pressure when brushing it on. Allow the gel to dry for about 10 minutes before moving on to the next step. Once the gel has been applied, it must be cured under a UV or LED light. Place your hand underneath the light and let it cure for about 30 seconds. Once the curing process is complete, move on to the next step.
Step 5: Apply a Topcoat of Gel Nail Polish
Once the gel has been cured, apply a top coat of gel nail polish to help protect and enhance the color of the gel. This will create a smooth, glossy finish on your nails. Allow the topcoat to dry for about 10 minutes before moving on to the next step. Using a buffing block, gently buff away any excess gel from the nails. This will help give them a smooth, glossy finish that is free of bumps or lumps. Be sure not to apply too much pressure, as this can cause damage to the nails.
Step 6: Apply Cuticle Oil
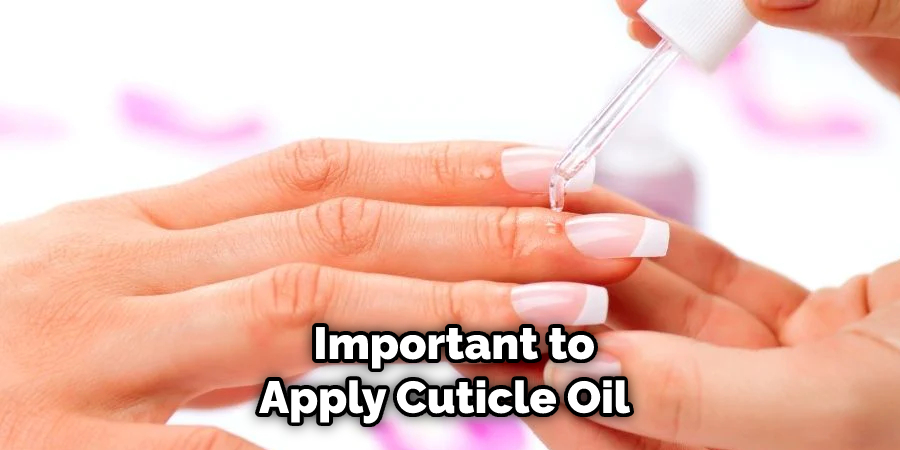
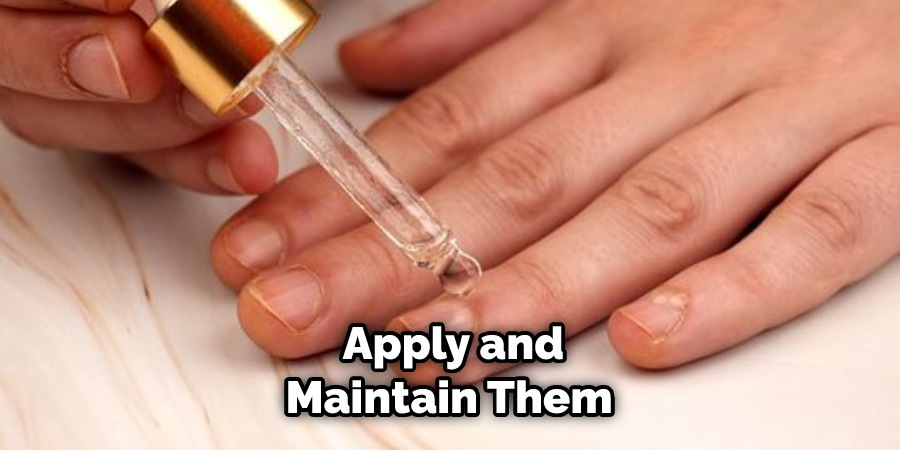
Once the nails have been buffed and shined, it is important to apply cuticle oil to help moisturize and protect the nails. Massage a small amount of cuticle oil into the nail and cuticles to help promote healthy nail growth.
Tips for How to Fix Lumpy Gel Nails
- Always wear goggles or safety glasses when filing your nails, and use a dust mask to reduce inhalation of nail dust.
- Gently file off the lumpy areas with an emery board, avoiding going over the same spot multiple times so as not to damage your natural nail bed. To avoid creating any cracks in your nails, make sure to file in one direction.
- To reduce the risk of thinning out your natural nail bed too much, use a coarse-grit nail buffer instead of a metal file to remove excess gel and smooth out any bumps.
- After filing the lumpy areas and buffing them out, use an alcohol-based nail polish remover to remove residual gel residue.
- To help provide extra protection and nourish the nails, apply a thin layer of cuticle oil. This will lock in moisture and keep the nails healthy and strong.
How Can You Prevent Lumpiness in Your Gel Nails?
The best way to prevent lumpiness in your gel nails is to ensure that the nail bed and surface are clean and free of debris before applying the gel. To do this, you can use an alcohol-based polish remover or acetone. Once the nails are prepped and cleaned, make sure to buff away any ridges on the nails before applying the gel.
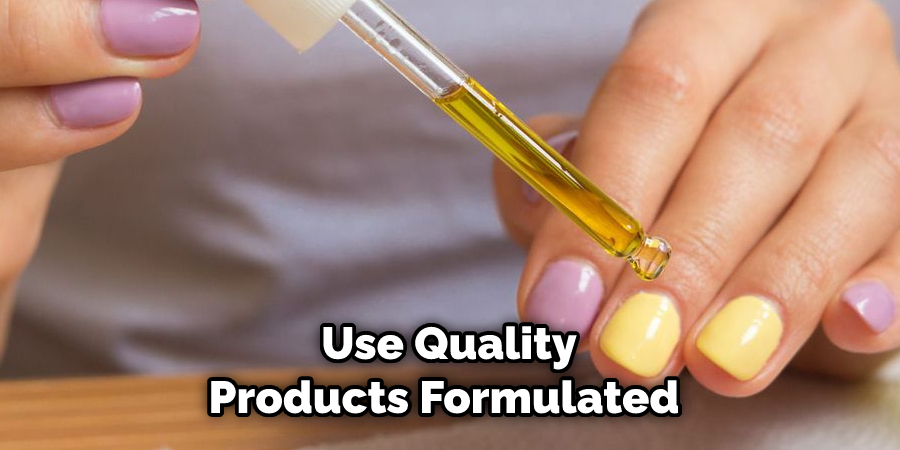
It’s also important to use a product specifically designed for gels, as this will help provide better adhesion and smoother application. Additionally, use quality products formulated with a low odor that won’t cause lumpiness or bubbling.
When you’re ready to apply the gel, ensure each layer is smooth and free of air bubbles. Finally, when curing the gel nails in the UV or LED lamp, make sure to evenly cure each layer and adjust the timer setting if necessary. This way, you can get an even, glossy finish that won’t be lumpy or bubbly.
How Often Should You Get a Professional Manicure to Ensure Your Gel Nails Stay in Good Condition?
If you want to keep your gel nails looking their best for as long as possible, it’s important to get them professionally maintained regularly. How often should you visit the salon for this? Generally speaking, most experts recommend getting a professional manicure every two to three weeks. This will help ensure that any lifting or damage to your nails is spotted and repaired quickly before it gets any worse.
At each manicure appointment, the technician will check for signs of damage or lifting in your gel nails, as well as correct any misshapen or lumpy areas that may have occurred over time. They’ll also offer advice on keeping your nails looking their best and ensuring your hands are hydrated. This helps to reduce the risk of breakage or other issues in the future.
How Long Will the Results of Fixing Lumpy Gel Nails Last?
The results of fixing lumpy gel nails can last up to several weeks, depending on how carefully you apply and maintain them. The better care you take with your manicure, the longer it will last. Make sure to always follow the instructions provided by your nail technician when caring for gel nails, including filing and buffing your nails regularly to keep them looking their best. You should also abstain from activities that could cause the gel nails to chip or crack, like washing dishes or opening cans without gloves.
Additionally, you must return to your nail technician every few weeks for a touch-up. This will help keep your manicure looking fresh and prevent any new lumps or bumps from forming. With proper care, your lump-free gel nails should last for several weeks before needing touch-ups.
Conclusion
The main disadvantage of trying to fix lumpy gel nails is the difficulty in completely removing the product. Lumpy gel nails cannot just be scraped off like regular nail polish, as it will cause damage to the nail bed and can leave residual product on the surface of the nail, which will not look aesthetically pleasing.
Additionally, if the lumpy gel is not removed correctly, it can increase the risk of infection. Furthermore, if the correct materials are not used to remove the product, it can cause further damage to your nails and make them weak and brittle. For these reasons, attempting to fix lumpy gel nails without professional help is not recommended.
In conclusion, fixing lumpy gel nails is not an easy task. It requires patience and careful attention to detail, but it can be done with the right tools and techniques. Before attempting to fix a lumpy gel nail, make sure you have all of the necessary supplies on hand to prevent further damage or harm.
With the correct steps followed carefully, you can achieve a smooth, even gel manicure that looks great and lasts longer. If you find yourself overwhelmed by the task of fixing lumpy gel nails, seek help from a professional who can provide guidance and assistance. I hope this article has been beneficial for learning how to fix lumpy gel nails. Make Sure the precautionary measures are followed chronologically.
You Can Check It Out to Use Black Shampoo Hair Dye
About the Author
Jane Hubbard is a passionate beauty expert with a wealth of experience in makeup, hair, and overall beauty techniques. After years of working as a hairdresser specialist, she followed her entrepreneurial spirit and started her own consultancy business.
Jane has always been driven by her desire to help others feel confident in their own skin, and she does this by sharing her knowledge, experiences, and practical beauty tips. Through her consultancy, she empowers individuals to embrace their unique beauty, offering tailored guidance that boosts both self-esteem and personal style.
Professional Focus
- Specializes in makeup, hairstyling, and beauty consulting.
- Provides personalized beauty advice, tips, and techniques to help individuals feel confident in their appearance.
- Dedicated to staying up-to-date with the latest industry trends and developments.
- Passionate about creating a comfortable and empowering experience for every client.
Education History
- University of Craft and Design – Bachelor of Fine Arts (BFA) in Woodworking and Furniture Design
- Woodworking Apprenticeships – Extensive hands-on training with skilled craftsmen to refine carpentry and furniture making techniques
- Online Courses & Masterclasses – Continued education in advanced woodworking techniques, design principles, and specialized tools
Expertise:
- Makeup artistry, hairstyling, and beauty consulting.
- Personalized beauty techniques to enhance confidence and self-expression.
- Educating clients on how to maintain their beauty routines at home.
