
We’ve all been there. You stand in front of the mirror, scissors in hand, convinced that a quick snip is all you need for perfect bangs. A few minutes later, you’re left staring at a slightly crooked, uneven fringe. Or maybe you just left the salon with a style that didn’t quite match your vision.
Whatever the reason, dealing with uneven bangs can be frustrating. But don’t worry, it’s a common issue with a straightforward solution. With a little patience and the right technique, you can easily correct your fringe at home and get the polished look you were hoping for.
This guide on how to fix uneven bangs will walk you through everything you need to know to fix your uneven bangs with confidence.
What Will You Need?
Before you start, gather the right tools to ensure a clean, precise fix. Working with the proper equipment makes all the difference.
- Sharp Hair-Cutting Scissors: This is non-negotiable. Invest in a pair of professional shears designed specifically for cutting hair.
- A Fine-Tooth Comb: You’ll use this to section your hair and ensure each strand is smooth and straight before cutting.
- Hair Clips or Ties: These will help you keep the rest of your hair out of the way so you can focus solely on your bangs.
- Two Mirrors: A main mirror and a handheld one will allow you to see your bangs from all angles and check for evenness.
- A Spray Bottle (Optional): If you prefer to work with slightly damp hair, a spray bottle with water can be useful. However, for beginners, cutting dry hair is recommended.
10 Easy Steps on How to Fix Uneven Bangs
Fixing your fringe might seem daunting, but breaking it down into simple steps makes the process manageable. Follow this detailed guide for a professional-looking result.
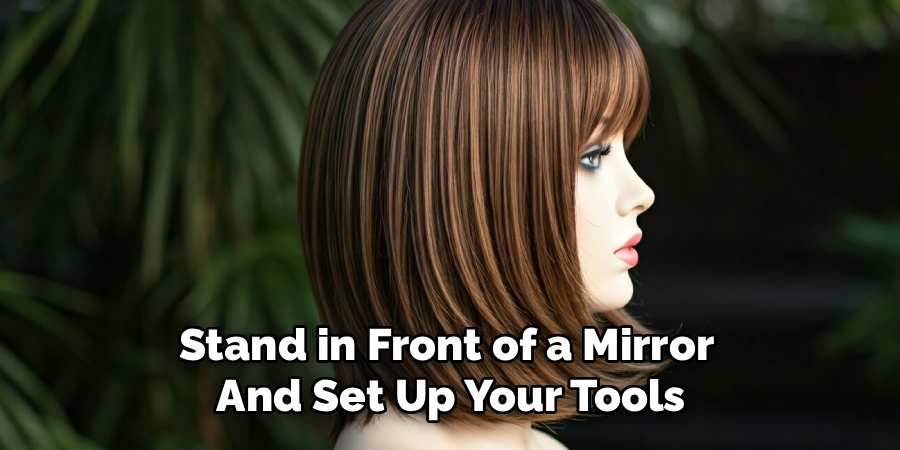
Step 1: Prepare Your Hair and Workspace
First, find a well-lit area where you can see your hair clearly. Stand in front of a mirror and set up your tools. Your hair should be completely dry and styled as you would normally wear it. Cutting dry hair gives you an accurate view of how your bangs will lay naturally. If your hair is dirty or oily, give it a quick wash and dry it completely before you begin. Greasy hair can clump together, which can lead to an inaccurate cut. Once your hair is ready, use your fine-tooth comb to brush your bangs forward, smoothing them out over your forehead. This initial combing helps you see the full extent of the unevenness you need to correct.
Step 2: Section Your Bangs
Isolation is key to a precise cut. You need to separate your bangs from the rest of your hair to avoid accidentally snipping longer pieces. Use your comb to create a clean triangular section for your bangs. The peak of the triangle should be at your natural part, and the two base points should be at the outer corners of your eyebrows. Once you have this section defined, use hair clips or ties to pull the rest of your hair back and away from your face. This ensures you’re only working with the hair you intend to cut, giving you a clear field of vision and preventing any costly mistakes.
Step 3: Identify the Problem Area
Now, take a close look at your bangs in the mirror. With your hair combed straight down, identify which side is longer and where the unevenness begins. Is one side drooping lower than the other? Is there a chunk in the middle that’s shorter than the rest? Understanding exactly what needs fixing will guide your cuts. Use your fingers to feel the ends of your hair. This tactile feedback can sometimes reveal subtle differences in length that are harder to spot visually. This assessment phase is crucial, as it helps you create a plan instead of just cutting randomly.
Step 4: Create a Guide
Your first cut will set the standard for the rest of your bangs. Start with the shorter side of your fringe. Using your index and middle fingers, pinch a small, thin section of hair from the shortest part of your bangs. This will be your guide. Pull this section taut and straight down. Decide on the ideal length you want your bangs to be. Remember to be conservative—you can always cut more later, but you can’t add hair back. This first piece is the most important one, as you will use it to match the length of the rest of your bangs.
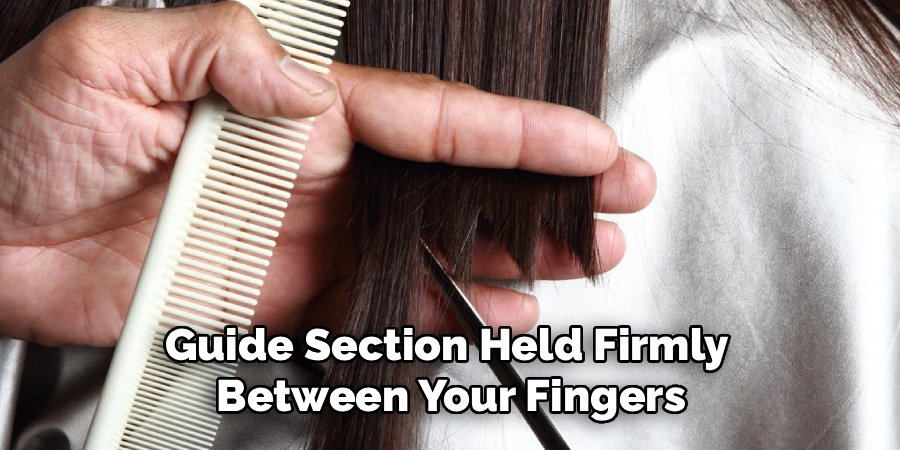
Step 5: Make the First Small Cut
With the guide section held firmly between your fingers, take your hair-cutting scissors and trim the very ends. Do not cut horizontally across. Instead, use a technique called “point cutting.” Hold your scissors vertically and make small snips upwards into the ends of the hair. This creates a softer, more blended line and is much more forgiving than a blunt, straight cut. Point cutting helps to texturize the ends, preventing that harsh, just-cut look and allowing your bangs to lay more naturally. Cut less than you think you need to.
Step 6: Work Across in Small Sections
Now that you have your guide length, continue working across your bangs. Take a new, small section of hair next to the one you just cut. Combine it with a little bit of the already-cut guide section. Pinch this combined piece between your fingers, pulling it straight down. You should be able to see the shorter, already-cut hair next to the longer, uncut hair. Using the length of the guide section as your reference, use the same point-cutting technique to trim the longer hairs to match. Continue this process, moving slowly and methodically across your entire fringe.
Step 7: Cross-Check for Evenness
After you’ve worked your way across your entire fringe, it’s time to check your work. Use your comb to brush your bangs straight down again. Look closely in the mirror to see if the line appears even. Then, use your fingers to lift your bangs slightly and check the horizontal line from underneath. Use your handheld mirror to check the sides. If you spot any longer pieces you missed, go back and carefully trim them using the same point-cutting method. Don’t rush this step; taking an extra minute to check your work can save you from having to do another major correction.
Step 8: Blend the Edges
To ensure your bangs blend seamlessly with the rest of your hair, you need to soften the corners. Take the outermost sections of your bangs on both sides. Hold them out at a slight angle, away from your face. Use the point-cutting technique to lightly trim the ends. This creates a subtle graduation in length that helps frame your face and prevents your bangs from looking like a separate, disconnected block of hair. This step is particularly important for creating a natural, professional-looking finish.
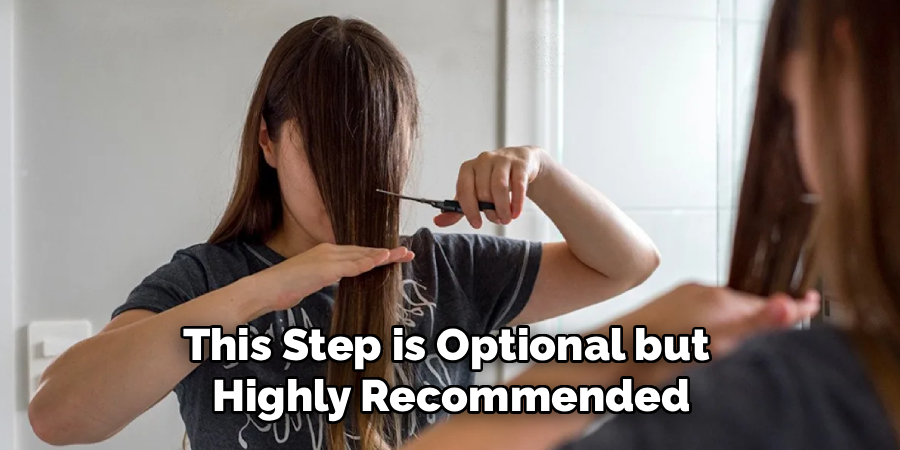
Step 9: Texturize for a Softer Look
If your bangs still feel a bit heavy or blunt, you can add some texture. This step is optional but highly recommended for a modern, soft finish. Lift a small, thin section of your bangs straight up. Holding the scissors parallel to the hair section, make a few light snips into the middle of the hair shaft—not at the ends. Be very careful and only remove a tiny amount of hair. This technique, known as “slide cutting” or “deep point cutting,” helps to remove bulk and adds movement, allowing your bangs to fall more lightly on your forehead.
Step 10: Final Review and Style
Give your bangs one last brush and check them from all angles. Comb them, part them, and tousle them to see how they fall. If you’re happy with the result, you’re done! Style them as you normally would, perhaps with a little bit of light hairspray or styling cream to keep them in place. Congratulations, you’ve successfully fixed your uneven bangs. Now you can step out with confidence, knowing your fringe looks fantastic.
5 Things You Should Avoid
When you’re in fix-it mode, it’s easy to make a few common mistakes. Keep these points in mind to ensure a successful outcome.
- Don’t Cut Straight Across: Making a single, blunt horizontal cut is the fastest way to create an even harsher, more uneven line. Always use the point-cutting technique.
- Don’t Cut Too Much at Once: Be conservative. You can always trim more off, but you can’t undo a cut that’s too short. Start by trimming the smallest amount possible.
- Don’t Cut Wet Hair: As hair dries, it shrinks. Cutting bangs when wet almost always leads to them ending up shorter than you intended and can reveal unevenness. Always cut on dry, styled hair.
- Don’t Pull Hair Too Tightly: When you pull your hair taut before cutting, you create tension. Once you release it, the hair will spring back up and appear shorter. Hold it firmly but gently.
- Don’t Rush the Process: Fixing your bangs requires patience. Rushing will only lead to more mistakes. Set aside enough time so you can work slowly and carefully.

Conclusion
Fixing uneven bangs doesn’t have to be a stressful experience. With the right tools, a bit of patience, and a methodical approach, you can easily correct a crooked fringe from the comfort of your own home. Remember to work on dry hair, cut vertically instead of horizontally, and always trim less than you think you need.
By following these steps and avoiding common pitfalls, you can achieve a polished, even look that perfectly frames your face. Now you have the skills to tackle any minor bang mishap with confidence.
Hopefully, the article on how to fix uneven bangs has given you the knowledge and tools to confidently handle any bang dilemma that may arise.
About the Author
Jane Hubbard is a passionate beauty expert with a wealth of experience in makeup, hair, and overall beauty techniques. After years of working as a hairdresser specialist, she followed her entrepreneurial spirit and started her own consultancy business.
Jane has always been driven by her desire to help others feel confident in their own skin, and she does this by sharing her knowledge, experiences, and practical beauty tips. Through her consultancy, she empowers individuals to embrace their unique beauty, offering tailored guidance that boosts both self-esteem and personal style.
Professional Focus
- Specializes in makeup, hairstyling, and beauty consulting.
- Provides personalized beauty advice, tips, and techniques to help individuals feel confident in their appearance.
- Dedicated to staying up-to-date with the latest industry trends and developments.
- Passionate about creating a comfortable and empowering experience for every client.
Education History
- University of Craft and Design – Bachelor of Fine Arts (BFA) in Woodworking and Furniture Design
- Woodworking Apprenticeships – Extensive hands-on training with skilled craftsmen to refine carpentry and furniture making techniques
- Online Courses & Masterclasses – Continued education in advanced woodworking techniques, design principles, and specialized tools
Expertise:
- Makeup artistry, hairstyling, and beauty consulting.
- Personalized beauty techniques to enhance confidence and self-expression.
- Educating clients on how to maintain their beauty routines at home.